


To see if this custom-fit item will work for you please tell us what vehicle you'll use it with.


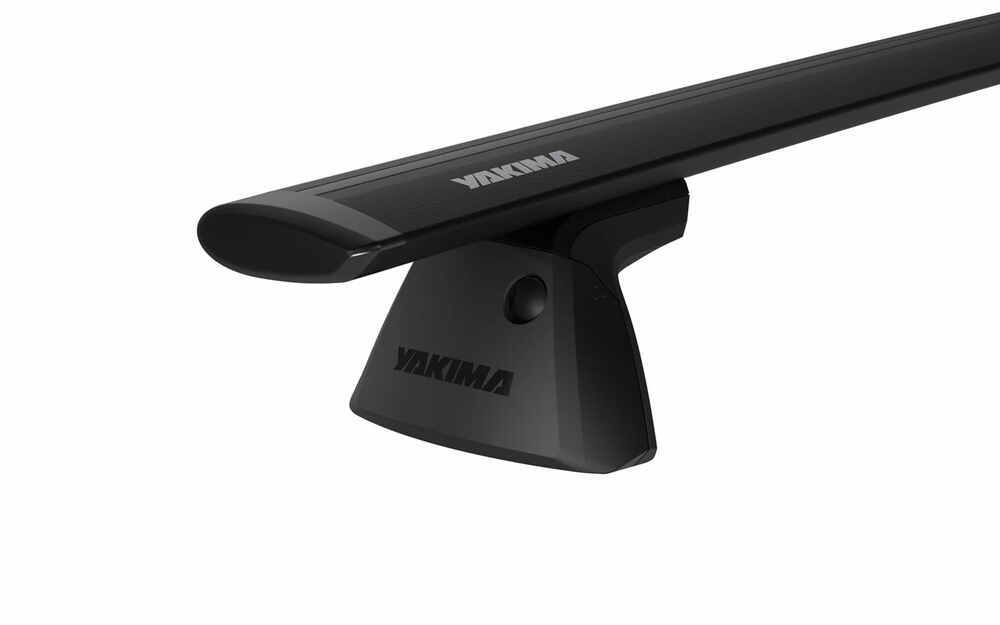


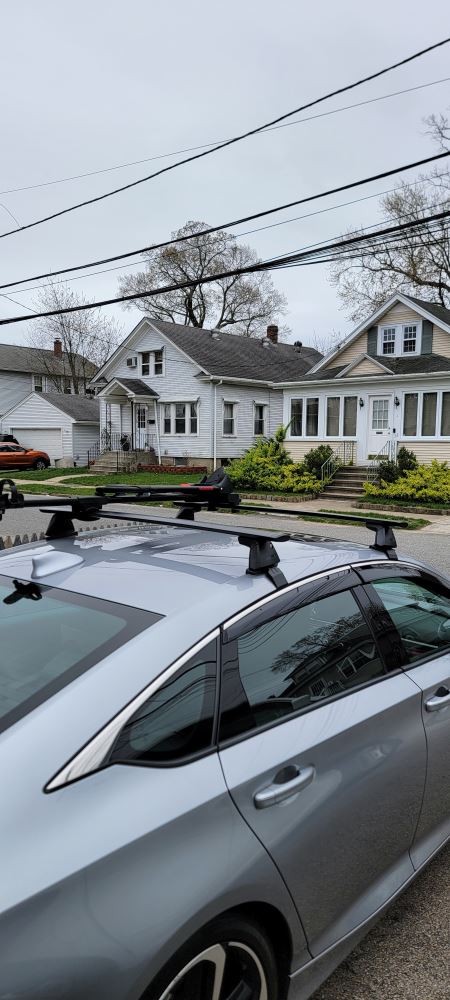
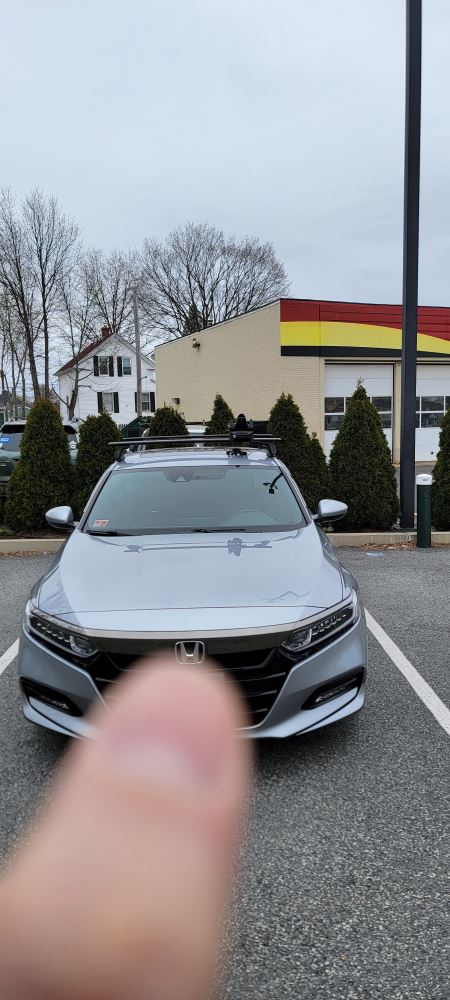

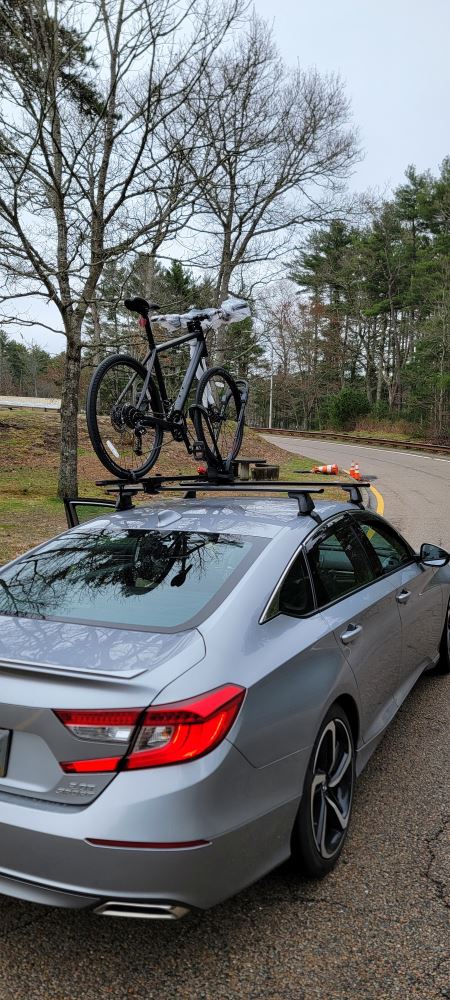
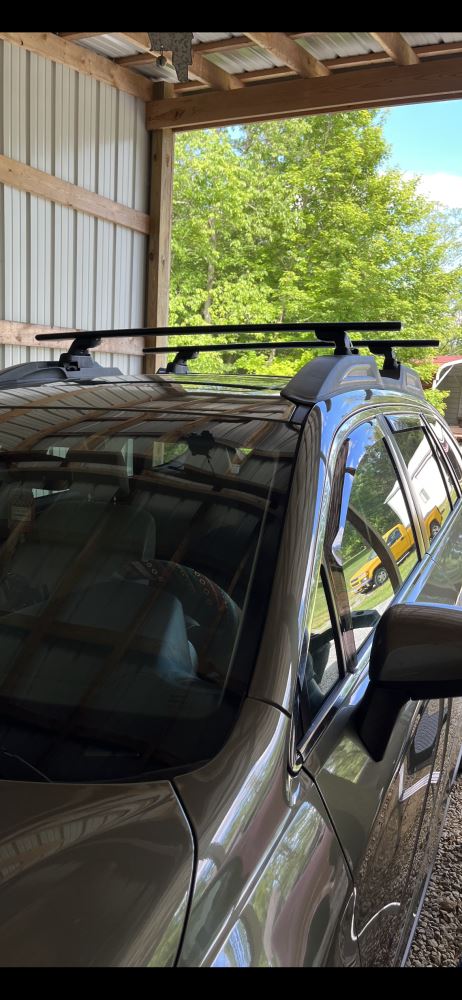
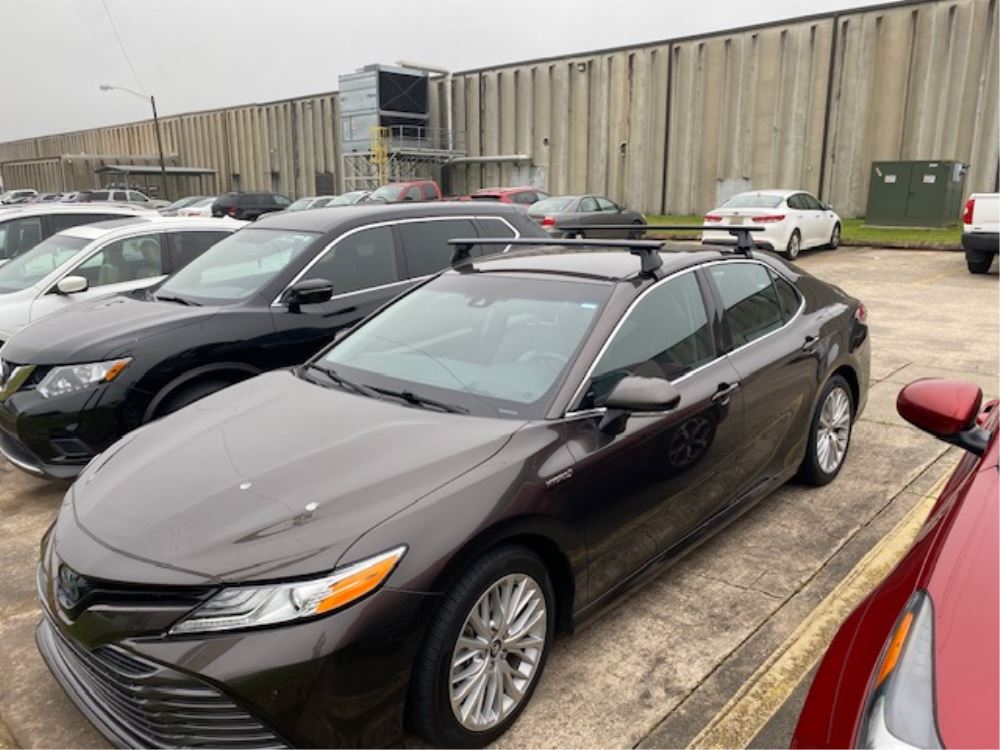
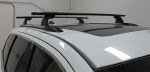
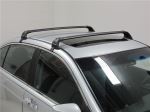
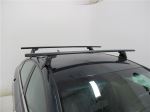
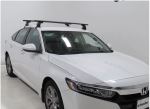
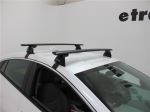
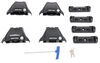
This Yakima setup gives you everything you need to haul gear securely—2 JetStream crossbars, 4 BaseLine towers, and a custom fit kit. It’s a complete system built for naked roofs, giving you a solid foundation for cargo boxes, kayaks, or camping gear. The aluminum construction adds strength without unnecessary weight, and the 165-lb capacity means you can load up for serious trips while staying within safe limits.
No one likes that constant hum from roof racks on the highway. The JetStream crossbars use an aero-style shape to manage airflow and reduce noise. Rubber strips sit in the top channels to quiet things down even more by sealing gaps that cause whistling or vibration. It’s a smooth, aerodynamic design that makes long drives easier on your ears.
Setting up accessories is quick with the push-down rubber strips in the top channels. Just press your hardware into the tracks—no cutting or trimming needed. The strips close back around your mounts to help block wind and weather while keeping the bars ready for your next loadout.
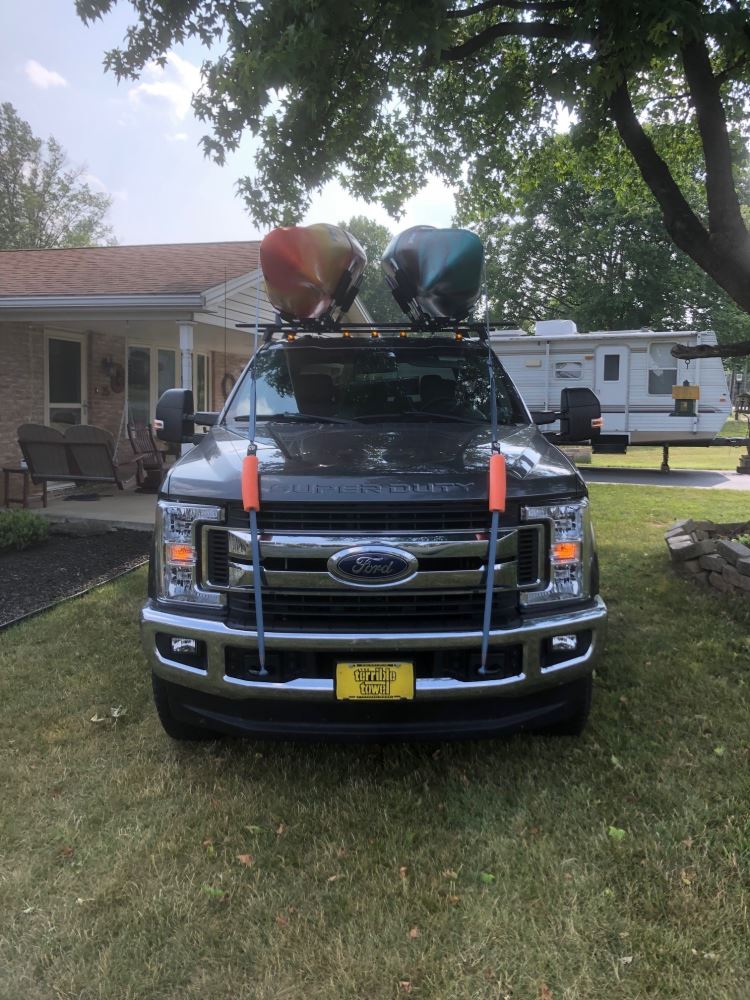
Whether you’re carrying a cargo box for a road trip or loading up bikes, skis, or a kayak for a weekend outdoors, these bars have you covered. They work with most universal carriers that mount in the top channel or clamp around the bars, so you can use the gear you already own or mix in new accessories later.
You can upgrade the setup with Yakima Same Key System (SKS) lock cores (sold separately) to deter theft of the rack when you leave your vehicle parked overnight or at a trailhead. It’s an easy way to add peace of mind without changing how you load up your adventures.
 Alternate Instructions
Videos are provided as a guide only. Refer to manufacturer installation instructions and specs for complete information.
Hi, Matt with etrailer. Today we're gonna be talking about the Yakima Roof Rack, on our 2025 GMC Canyon. So let's take a closer look at it. With a roof rack, this is gonna allow you to carry a lot more gear for your adventures, because with the Canyon you're gonna have these smaller bed so, another spot that tore your gear, it's gonna go a long way. So this can be perfect if you have a rooftop tent, a box, a basket, even rooftop bike racks. It's gonna be perfect for those applications.
But here at etrailer we'd love to see how you're using it. So, snag a picture, let us know how that journey is working for you with this roof rack, if you decide to go with it. Now with most roof racks, they're gonna be custom fit options, so you just wanna make sure you plug in the vehicle's information into our fit guide to make sure you got the right one for you. Now what I really like about the Yakima one that we have today is two things. One, it's gonna be a really sleek design on top of our truck.
And two, how accommodates for the curvature in our roof. 'Cause a lot of roof racks out there would be great for putting stuff onto, but Yakima just kind of takes that extra step to make sure you're comfy up there, even if you are using this for your rooftop tents. Now let's kind go into a little more detail about what comes with this kit. So the kit's gonna come in three pieces. We're gonna have the 50 inch JetStream crossbar on top.
We're gonna have the tower beneath it, and then we're gonna have the fit kit. So with this crossbar, this is also gonna have a T-channel at the very top of it. That T-channel has this rubber eye strip in there. This is gonna be perfect if you have any accessories that don't have clamps, or you just don't want to use your clamps, it'll just plug in here instead. And this weather strip just prevents any type of debris from getting in there and clogging it up.
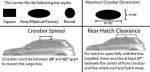
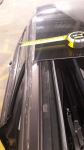
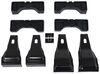
And the design of the JetStreams are supposed to be a little more quiet. They're gonna be thicker in the front, thinner in the back, so it's gonna make 'em more aerodynamic. And beneath that crossbar we're gonna have the tower. Now this is a pretty seamless design or very slick design, and it's gonna have this little circle on there. That circle you can get replaced with a metal locking core, if you want some extra security. And you can also get a key to like with the other Yakima gear. Now if I remove that, we can see all our different settings underneath here and that's what gives us this very unique or very custom fit design to our roof. 'Cause we have this little bit of a slope here, and with all these settings, we can get it just right or just level. Now we'll talk a little bit on how to manipulate these and get it just right for your roof later on during the installation. Well let me put this back on and move over to the fit kit. So the fit kit is gonna sit right underneath here and that's what's gonna hold onto your roof. It's gonna be two parts, it's gonna be a hook and then there's gonna be this rubber pad so you're not gonna scratch up your roof. And we're getting a really good fit today, 'cause we don't have any big gaps, so this is gonna be pretty seamless. Now look at a few measurements to see if this is gonna work for you and your lifestyle. So the first one I want to get is gonna be underneath our crossbar. This distance here is gonna be about three and a half inches. That's important to know if you have any gear up here that has extra large clamps, there's gonna be plenty of room for this to sit under there. But if you have a sunroof on your canyon and it expands up, it does have the chance of making contact with those clamps, so just keep that in mind. Now for the overall height this is gonna add, that's gonna be about five inches. So what I'd recommend doing is just taking a total height of your vehicle, your crossbars, and if you have any gear on top of that, include that too. Just so you can know if you can go under tight spaces, anywhere like a garage. And next step I'm gonna get our crossbar spread. That's gonna be the distance between these two. So this is gonna be 32 and a half inches from the back to the back. Now that's gonna let you know if whatever gear you have, like those roof boxes or baskets or bike racks, if that's gonna be compatible with this or not. And lastly, I just wanna check our overhand or overhang. This is gonna be about a little bit under three inches of usable space. That's important to know because, if you have any larger items or longer items, let's say like skis, you wanna be able to access those a little bit easier, so that's gonna be plenty of room for that. Now if you have a kayak carrier, that might be a little bit tight here on the edge. So what I'd recommend doing is if you really like the Yakima roof racks, you can actually go up a size in crossbar without having any issues, so you can get those kayak carriers on here too. And then we've built pretty well and we can handle a lot of weight. And really what's gonna be the limiting factor is most likely gonna be the roof of your vehicle. So what I'd recommend doing is just double checking that in your owner's manual and then checking this and finding out what's gonna be the lowest rate of component, so you can haul safely. Now in my opinion, I think these are gonna be a great option. Probably gonna be my top pick, because again they are gonna look really nice on top of your roof, that seamless design with how it grabs onto those gutters, and just the overall design of it, it's very sleek and I think it's gonna pair nicely with the design of your canyon. Now if you're curious about what this installation process is gonna look like, just stay tuned, we'll walk you through it. To begin the installation, I like to lay out everything. And the way I'm doing it today is by keeping everything to the relative sides. So my front crossbar, I'm gonna have all the stuff that put it in place together, and then same thing for the rear side. Reason why I'm doing that is, 'cause the only difference between these two are gonna be the fit kits and I don't wanna get them mixed up. But let's go over the parts. So, we are gonna have two of these crossbars, we're gonna have four of these towers along with their end caps. And then we're gonna have the fit kit for the front and the fit kit for the back. You're also gonna have an Allen Key with a torque builtin torque device, so you can properly nudge these into place. And what I recommend grabbing is gonna be a tape measure, so you can square everything off and some tape just to help you out a little bit. We're gonna start by getting our M1 measurement. So what that is, that's gonna be the distance from one of your tower to another tower on your crossbar. So let's start doing that now. We're gonna flip it over so the underside is facing up and then you'll have this open channel. You just come all the way to either side and remove this end cap by pulling up on that tab. Then the way you put this tower on here, you'll have this block. That block is gonna go into this channel. If you don't have enough room to put it on here, there's gonna be these two bolts here. If I pull a tab on the backside of it just like that, you'll have access to this one here, loosen that up some with your Allen key, and this will extend a little bit more so you can fit in on here. So for the first one, I'd like to make sure I have the hardware here, facing the inside of that crossbar, and just slide it into place. We're gonna roughly put it on there. The second one, same process. I've already loosened it up some. This time it's gonna be facing the opposite way where the hardware's facing out. And just make sure you put you in cap back on. So we wanna put this exactly where the M1 measurement is, and we're actually gonna have a ruler that correlates to that. So I'm just gonna line up the edge of the tower to the number specified in my instructions, and then I'm gonna repeat that on the other side. I will say sometimes when you put it on your roofs, that measurement will be a little bit off even if you get it exactly right. That's just the nature of the game sometimes with roofs. So just be prepared to adjust it if need be, but we'll talk through it if we do need to. Now we're gonna move over to our P1 setting. You can find that also in your instructions and that's gonna be located right here. That bolt that we had to move that tab outta the way, that's where that's gonna be located. And make sure you accurately put that in the right position. We just need to double check with our crossbar. Right over here in the center, you're gonna see that there's an arrow right here. You wanna make sure that arrow is facing away from you, 'cause that's gonna be important for changing new settings or knowing if it's in the right setting or not. So when you take a closer look here, the way I'm gonna adjust this is just by loosening this up a bit. And then if I wanted in the A, B, or C setting, 'cause A's gonna be furthest away, B'S gonna be in the center and C'S gonna be closest to you. Kind of referencing these lines right here, you just move to whatever point just by pushing or pulling on the tower. And just be sure the watch out if you are adjusting this, make sure you don't move it too much from these measurements we already have placed on the crossbar. And then we're just tighten it down and repeat that on the other side. Let's move over to installing the basis of your fit kit. The way you're gonna do this is if you look underneath here, there's gonna be an arrow. You want that arrow facing away from the center of your crossbar. Once you figure that out, there's gonna be a groove here on there, that's gonna grab on to this metal bar on the tower. Push that into place and it'll click, (metal clicking) just like that. Repeat that on the other side, and now we can adjust our T1 setting. Now there's gonna be three settings to it. Right on here, the one furthest away from me, that's gonna be one. The one in the center is gonna be two and there's gonna be three closest to me. And then you can tighten up this bolt once you have in the correct setting for you. And it's gonna be the same for either side and for both bolts, you're tightening that down until you hear a click from the Allen key. (Allen key clicking) Just like that. We can get our M2 measurement. Before you do that, you can repeat the same process on the rear crossbar. The only difference is just gonna be a few different settings and measurements. And once you have that we can move over here. So when you get your crossbar, you wanna make sure it's in the right orientation. So, just make sure that this thicker part is facing forward in front of you. And we'll just walk over here and just kind of roughly place it on a roof. If you have a friend on hand that can help you out with this. But I'm just gonna set it right here, and then we can start adjusting for the M2 measurement. When this is in a roughly good spot for you, you're just gonna measure from the top of your windshield to the very front of this base pad here. That's gonna be the M2 measurement. And once it's in the right spot, just make sure you do that on the other side. So the way we can check if we have a good fit or not is this kind of cutout we have on the base lines up with this edge of our roof. You should almost see in the place. If you have a little bit of a gap that we have, that's fine, 'cause when you put your clamps on, it'll pull it down and kind of fill in that gap. Now let's say this is too far out or too far in, there's a big gap, then you just need to adjust your tower accordingly, either by pulling in or pushing out some. Before I cinch down that front crossbar, I just wanted to do that same process with the rear one. And if you're a little bit confused by the measurements, those measurements you're gonna be referencing in the instructions are gonna be your M3 measurement. That's gonna from one tower to another tower, your instead of your P1 and T1 measurements or settings, we're gonna have P2 and T2. They're gonna correlate the exact same as last time. And now we're gonna get our M4 measurement, which is gonna be the distance from the front of the front crossbar to the front of the rear crossbar. Now I'll show you what that looks like now. And all you have to do for this process is just grab that tape measure front of the front one, front of the rear one, need to make some adjustments, just push it back some, do the same thing on the other side until it's square. And let's say you have it up here and you do need to make some adjustments. You need to take this off your roof, you probably don't wanna measure this out again. So, what I recommend doing is just grabbing some masking tape, just grabbing a strip, and what I'll do is just mark out where this is sitting exactly, so I don't have to measure it out again. Now that everything's in the right location, we can tighten them down. So starting with the front one, I'm gonna open up this access door and that's gonna reveal my drive bolt right here. You're gonna make sure this flat side is facing up, because underneath it it's gonna have hooked it. And then I'm gonna grab my clamp or my hook that goes to this front side. Now let's say it's not enough room for me to grab it here. What I'm gonna do is loosen up that dry bolt some, so that sits a little bit lower down. That seems like a pretty good spot. Try it again. If it's not grabbing right away, what we can do is lift up on this, now kind of grab now, you might need to pull on it just a little bit. And there we have it. And then I'm just gonna repeat that on the other side. Hey, you're still having issues trying to get this on, what you can do is loosen up the swing bolt here at the top, 'cause that's gonna lift this up some, give you a little more room to work with to get it on there. But now that I got mine on both sides, what I like to do is start with either one, I'll tighten up my swing bolt, just until I have a little bit of tension behind there. Same thing with the drive bolt at the very bottom. And then I'm gonna repeat this on the other side, just going back and forth. So I'm evenly tightening it so doesn't pull too much from one side. Then once you get to the point where it's getting really tight, (metal clicking) you'll hear that click again, letting you know it's good to go. Then you'll just repeat this on the backside, give it a good old pull, make sure it's not gonna go anywhere. And if it feels pretty solid, just make sure you throw your end caps on and then you can take it out for a ride. But this is just a look at some of the features and the installation of the Yakima Roof Rack, on our 2025 GMC Canyon. I'm Matt. Thanks for watching.
Ratings & Reviews

Bought kayak racks. Took a while to put together, but they are very high quality. etrailer send a wrong part (digits on the part number were reversed), but it was very easy to get this corrected and I received the correct part in less than a week. I even spoke to someone on a Saturday afternoon about the mix up who was very pleasant! They have my vote.
The Yakima roof rack came in and was super easy to install. Appreciate the etrailer videos offering ways to install the racks.
Relatively easy to install on my VW Golf (etrailer videos are very helpful) and sooooo useful with my Yakima skybox. Not much road noise, so I can leave the rack on even when I am not using it.
These bars are outstanding. They were purchased for a Jeep grand cherokee '18. I had previously purchased from another brand, but the whistle noise was constant and very noticeable. These are completely quiet, I am glad I changed to the yakima bars. Installation was also much easier, and more "flush" mounting with the yakima brand. Glad to do business with etrailer!
the product was exceptional. I would recommend it to anyone, who has a vehicle with a naked roof. It is a solid as a factory installed rack. Josh went out of his way to get me a replacement torque screw driver because the first one from Yakima was working properly.
Great product but what is even better is etrailer’s service! Order was lost in the mail but Lauren stayed on top of it and made it right. Thank you for the great service!
The Yakima JetStream Crossbars minimize wind noise and provide full, yet sleek support to every roof top load demanded of it.
Super solid rack and the only one that fits the Jeep Cherokee without rails well and looks good too. Easy to install and worth the price
The rack system seems very good, but time will tell, of course. The installation is difficult and time consuming. I purchased the system needed from etrailer website with guaranteed to fit pieces. I would call myself a very experienced do-it-yourselfer. I followed directions slowly, carefully, and exactly, yet there were problems. The video for installation given for my exact order did not match the printed and actual assembly and installation directions. The baseclips that were guaranteed for my model vehicle were actually for a different model vehicle according to the enclosed sheet ... however they did work anyway but caused some "looking up" and some confusion during assembly. I was careful to assemble exactly to measurements given ... and once that is all done and tightened and "sealed up" you put them on the roof, only to find that they could have been spaced a bit wider for a perfect fit. They are fine enough and we'll see if they stay tight to the vehicle. If not will need to take it all apart and widen the spacing.
It is excellent that basically only one tool that is provided with the racks is needed. And also that each part must "click" when properly tightened. That adds reassurance and satisfaction while assembling.
There are so many models of vehicles and it is not easy to figure all this out. etrailer has a very helpful website, response, and videos to help ... but my review is to emphasize that the instructions are not perfect. One needs lots of patience, common sense, and perhaps re-assembly for a perfect outcome.
Well you asked for it so;
I ordered this as part of my roof rack for a 2021 Nissan rogue. The complete roof rack set was unavailable le as one bracket was on back order and said would ship in under a month so I ordered everything else in the meantime. Little did I know it would take a over a year to get one stupid bracket and yes, I'm still waiting. I can't even return the items I bought because it's way past the 90 day policy even though they're brand new still in the box collecting dust. etrailer, this has been the worst experience I've had yet with you guys. Oh still waiting for my one bracket to complete my roof rack
robert s was terrific !!! excellent customer service !!! from assisting with a return, to recommending an alternative, to informing me about delivery status ...
the yakima jetstream crossbars with baseline towers were a bit more complicated to assemble and install than the brand i returned, but the wind noise and whistling are dramatically less ...
the next step is to select a cargo carrier ... it goes without saying that i will consult robert again ... thanks so much robert, and safe and happy travels to all
Great UX for finding the options matching my car, and the baseline towers work great. Simple straightforward site, will plan to use them again when needed.
For those also buying crossbars for cars without roof rails, recommend taking a silver sharpie and marking the placement of the crossbars on the weather seal at the top of the door openings. Makes putting them back on way less of a hassle if you don’t want them on 24/7.
Very happy with our purchase. I love how easily you can remove the entire rack easily. Too bad the locking mechanism comes separately but we are still happy with what we received.
Amazing quality easy set up fast shipping buy the locks the 4 pack With this fast shipping super impressed
Really easy to install & work as specified. So happy with the customer support/service at etrailer.
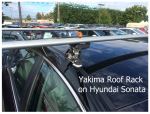
Hyundai Sonata - glass pano roof. These items have been on for about 1-year. So happy with the set up. I’ve take a road bike and a mountain bike on 500+ mile trips. The mounts do an excellent job.
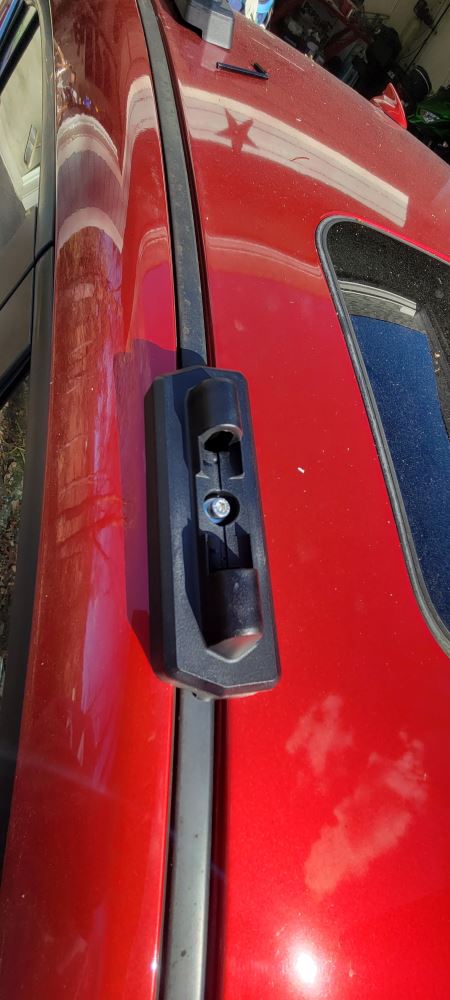
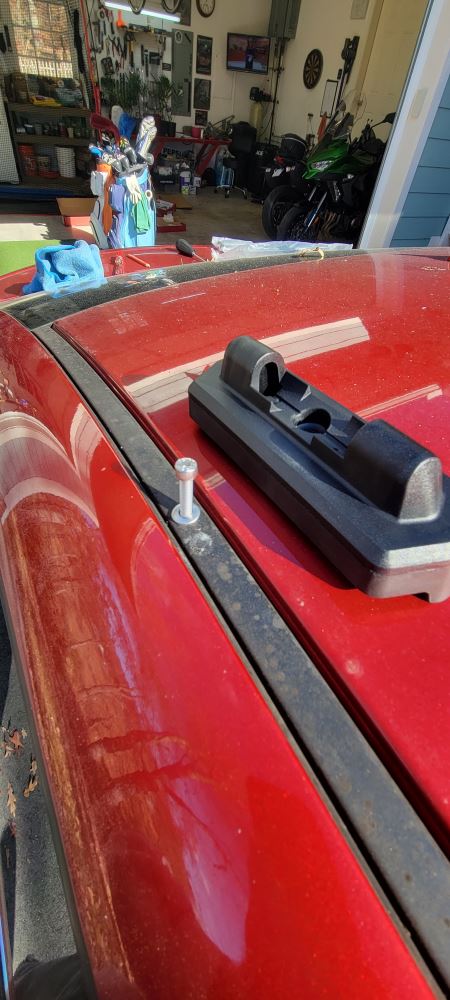
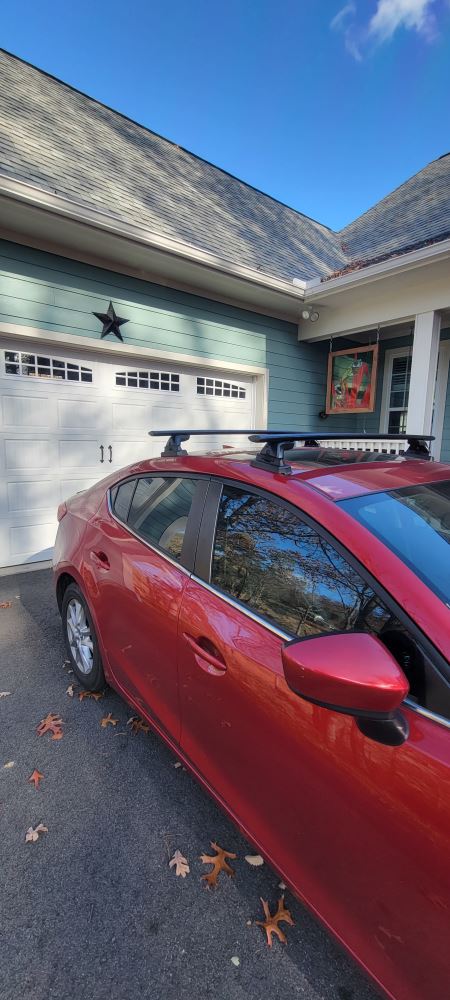
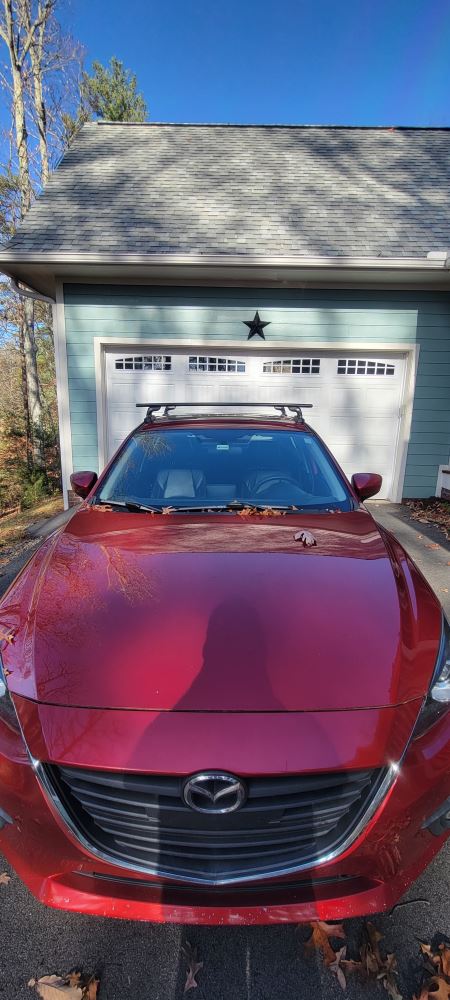
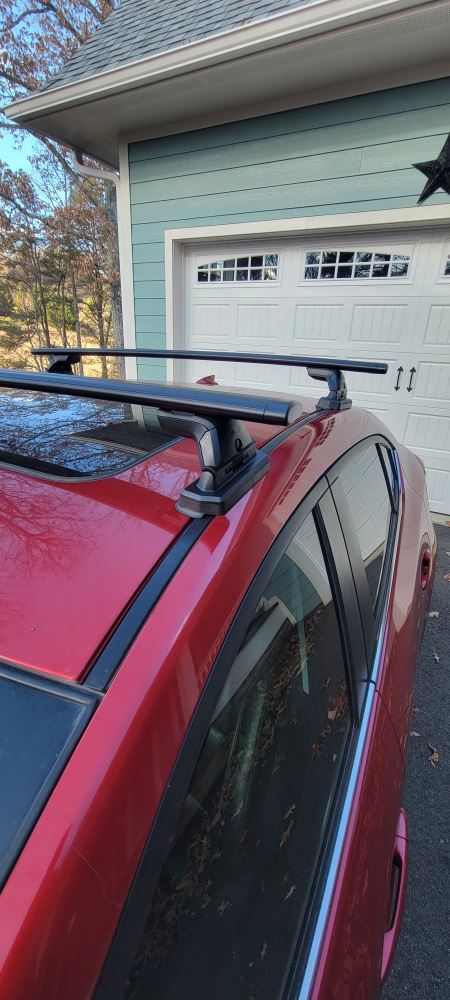
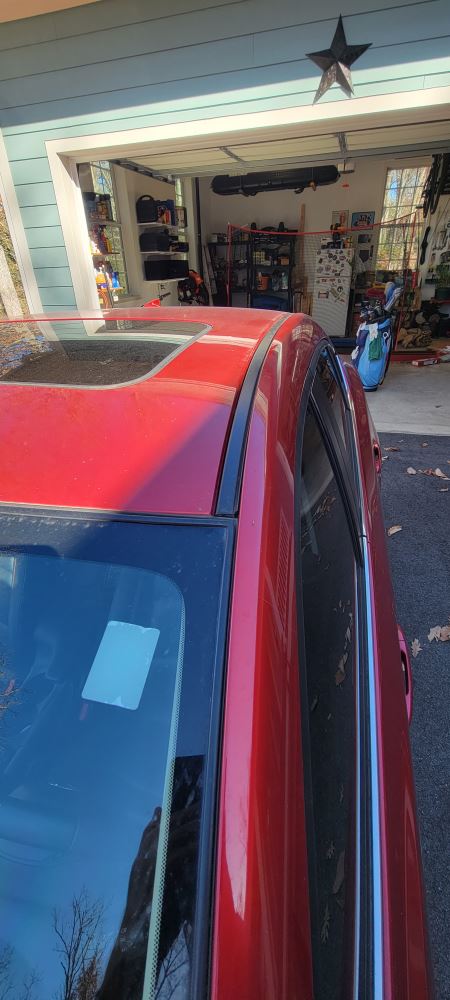
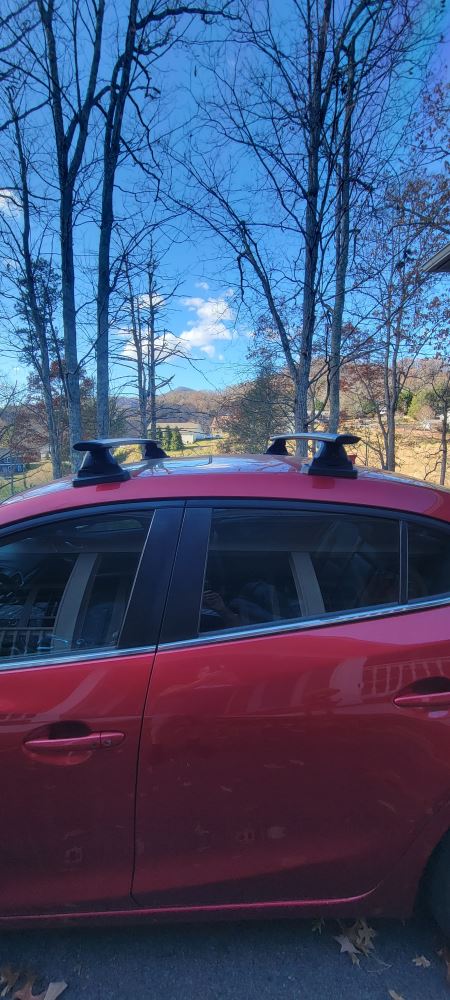
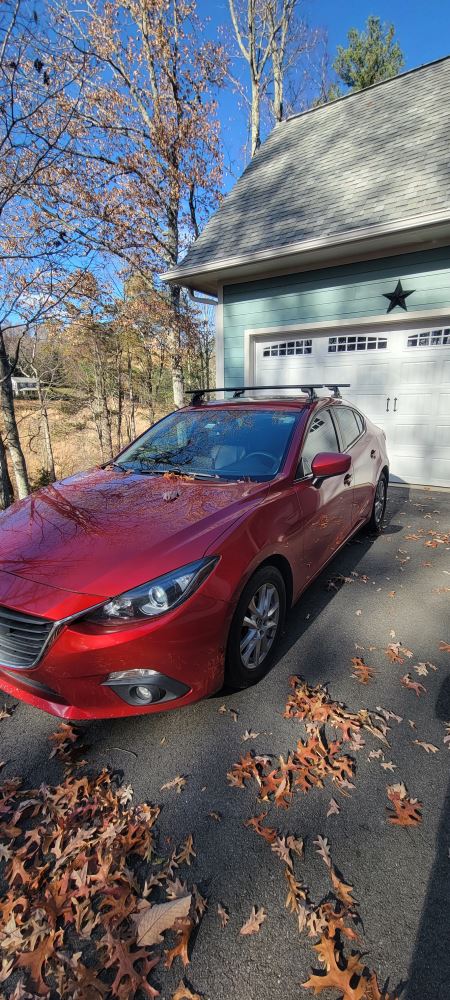
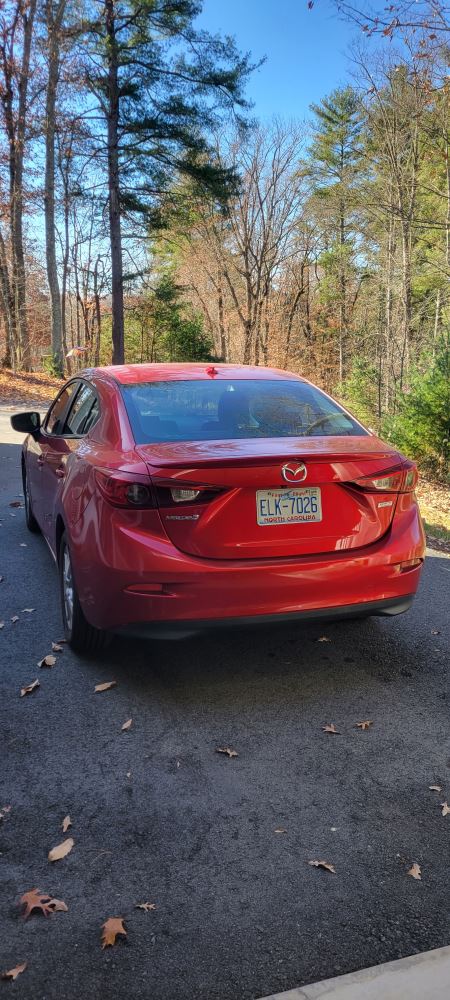
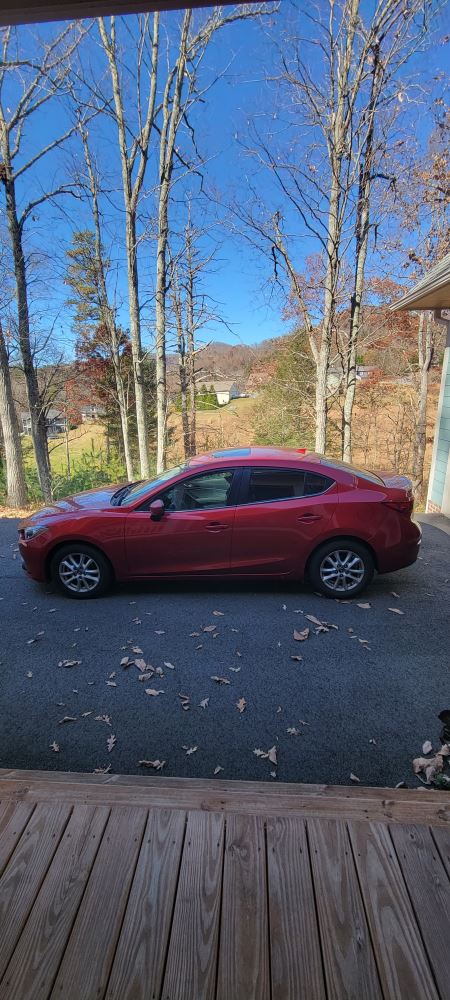
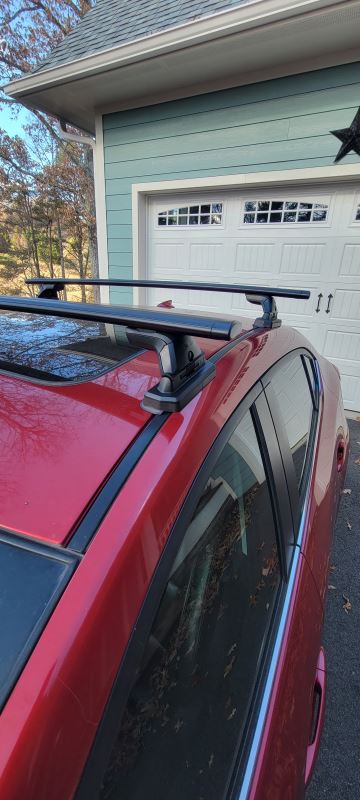
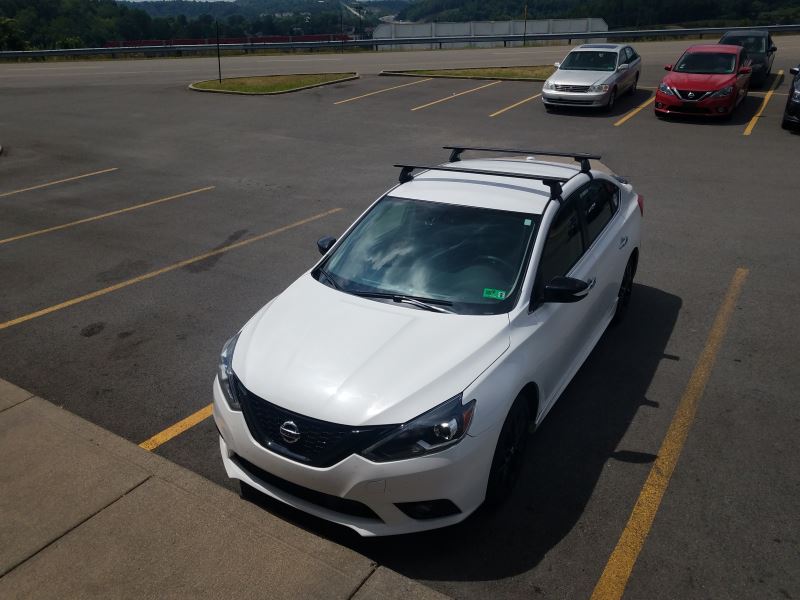
For a 2015 Mazda 3, 4 door sedan.
I used the 50" jetstream bars with the skyline towers and the #22 Landing Pads.
Went together easy, great quality, very solid feeling! And, easy to remove and install when needed.
Super happy with my purchase from e trailers purchased yakima roof rack. Knowledgeable sales rep.Help me through the process on purchasing my roof rack Recommended to anyone quality parts
Lightweight and actually quite quiet with no attachments on them. With my bike racks there is a fair amount of noise but it doesn't come from just these. Mine is on a 2011 BMW 335.
The installation was super easy, and despite a long time stuck in shipping the delivery itself was extremely fast, and the package arrived in spotless condition. The manuals were very easy to follow, and the end result is absolutely amazing. They provided a nice, flush finish and hold the racks down tight.
Great product haven’t had any issues with it. Would highly recommend that anyone that’s looking for a roof rack system and a great seller at etrailer
The installation was super easy, and despite a long time stuck in shipping the delivery itself was extremely fast, and the package arrived in spotless condition. The manuals were very easy to follow, and the end result is absolutely amazing. I love that there's a rubber piece in the top rail that doesn't need to be cut, which makes it a very flush and smooth fit. I also love the modularity and the weight that it can handle, especially for the stuff i plan on carrying.
The yakima jetstream crossbar looks beautiful. Quality is great. Took my vehicle for a test drive, and i didnt hear anything loose or broken from the bars. Very satisfied with the product and the instructions were great. It was my first time installing a roof rack too.
I waited several weeks for roof rack to arrive after ordering online. I am accustomed to Thule racks, but could not find any towers/bases to fit the 2019 Santa Fe. Once here, the Yakima rack mounted with ease and I look forward to hauling kayaks or basket on the roof.
Thank you etrailer.
The only problem I had, was when I watched the video showing how to install the rack, I did not realize that the actual installation process was a lot more complex. For example, the woman who was in the video only showed the installation one rack (I believe itg was the back rack and she gave the width measurement for that one. The front rack was already on the car and the woman neglected to say, "check your manual. The width of the front rack (may be) different than the back. She also did not explain carefully that there were three different screws that needed to be adjusted for a proper fit so the towers were properly adjusted for yoiur specific car. (My car is a 2018 Chevy Volt.) (I also bought Yakima kayak cradles from you guys, which were easy to install.)
However, I blame myself for not reading the manual carefully, so when I installed the racks, they did not fit right and one of them actually fell off while I was driving. (Luckily there were kayaks on and no one was hurt. The two towers were damaged but luckily the rack and the kayak cradles were fine. I called etrailers and was told I had to contact Yakima, which I did. I explained to the Yakima customer service rep that I was at fault for trusting the video and not reading the manual carefully and after asking me to send him photos of the damaged towers he sent me two new towers for free, as well as another torque wrench, so I could work with a second person.
This time I read the manual carefully and watched the Yakima video many times during the a week before I felt confident enough to try installing the racks again.
This time they fit perfectly. I love both the rack and the kayak cradles. I use them to transport my two kayaks down to the Hudson River near my house and have also used them to carry the kayaks to a family camping site 50 miles away, confident they are safe and secure.
But please, review the video you put out for the installation of the racks onto a 2017 Chevy Volt, and either correct the shortcomings by doing it over, with an explanation about the adjustment of the widths, and also reading the manual and finding the correct positions for the adjustment screws. (Or delete it and refer your customers to the Yakima installation video. Though it’s more generic than yours, at least the tell the customer to refer to the manual.
Do you have a question about this Roof Rack?
Info for this part was:
At etrailer we provide the best information available about the products we sell. We take the quality of our information seriously so that you can get the right part the first time. Let us know if anything is missing or if you have any questions.




































Thank you! Your comment has been submitted successfully. You should be able to view your question/comment here within a few days.
Error submitting comment. Please try again momentarily.