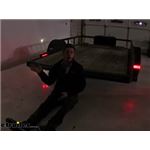
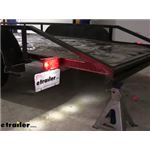
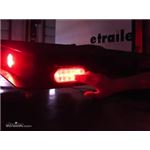
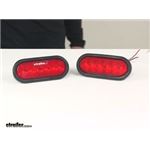
Step up to LED light trailer lights for crisp, bright output and compact shapes that avoid snags. Installs are straightforward, and on bolted trailers you can run dedicated grounds for reliable power. For the best fit, check connector style like 3-pole triangular or 4-way wiring, housing needs such as submersible for boat trailers, and voltage compatibility when towing with 12-volt or 24-volt vehicles.
LED trailer lights are described as bright with a crisp color temperature, and some add a reverse light. Choose the brightness and color look you prefer. Higher mounting can improve rear visibility behind bikes or cargo. Confirm the light supports the marker, brake, turn, and license functions you need.
Measure and match dimensions and mounting pattern. Compare length, height, depth, and hole spacing to your existing light, especially with unique contours. If the original is discontinued, confirm a similar size will fit the area. Avoid nyloc nuts in plastic tracks to prevent carriage bolts from spinning.
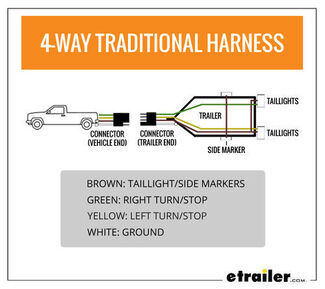
Installing LED lights is generally straightforward. Check your connector style—triangular 3-pole, 4-way, or hardwire—and match wiring colors. If the chassis ground is unreliable, run a dedicated ground to each light. Dry-fit the light before tightening hardware to keep alignment clean.
Pick LED lights with sonically sealed, waterproof housings for dunking. Verify the listing states submersible or waterproof. If you need a license plate light on the driver's side, make sure it's included. A small, contoured light helps reduce snagging around the plate area.
Some LED trailer lights work on both 12-volt and 24-volt systems. Check the voltage range in the specs before wiring. Test all functions after install. If your trailer is bolted together, skip frame grounding and run dedicated grounds from the harness to each light.


 Filters