
Thule SquareBar Evo Roof Rack for Flush Rails - Steel - Black - Qty 2


To see if this custom-fit item will work for you please tell us what vehicle you'll use it with.


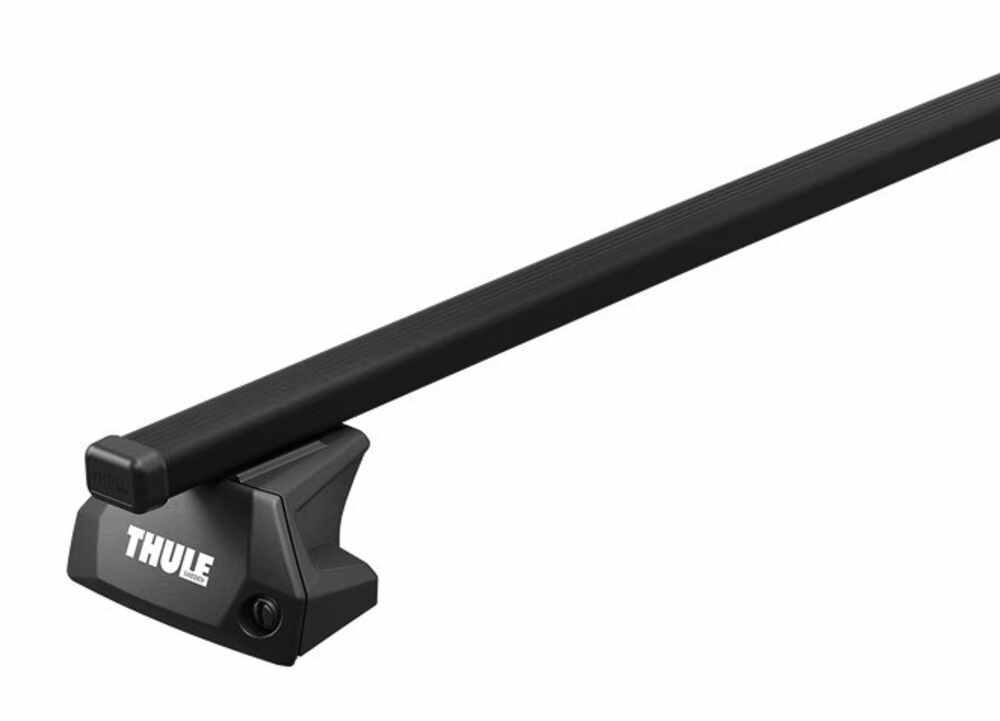


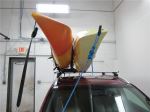
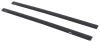
When you’re hauling kayaks, canoes, or camping gear, you want crossbars that won’t flex or let you down. These Thule SquareBar Evo crossbars are built from galvanized steel for serious strength. The kit handles up to 165 lbs while maintaining solid support for everything from paddleboards to cargo boxes. The polymer coating adds grip so your gear stays put and helps guard against corrosion, even after years of use.
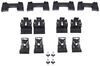
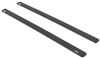
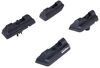
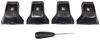
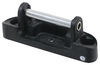
There’s no guessing game or mix-and-match here. The kit includes 2 SquareBars, 4 Evo Flush Rail feet, and a custom fit kit—everything needed for a clean, secure installation on flush rails. The system locks into place solidly, creating a stable base that’s ready for your next trip without extra parts or complicated adjustments.
These square crossbars make it easy to mount a variety of accessories and carriers that clamp around the bars. Load up your kayak carriers, cargo boxes, bike racks, or roof baskets—the square shape gives you wide compatibility across different gear setups so you can get the most out of one rack system.
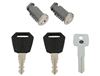
When you park at a trailhead or stop overnight on a road trip, you can add Thule’s One-Key System locks (sold separately) to deter theft. With matching locks on the rack and accessories, it’s simple to keep your setup secure while you’re away from your vehicle.
The black polymer-coated steel bars don’t just look good—they resist rust and wear from road grime and weather. Backed by Thule’s limited lifetime warranty, this setup is ready for years of weekend adventures and road trips without losing its strength or style.
 Alternate Instructions
Videos are provided as a guide only. Refer to manufacturer installation instructions and specs for complete information.
Hi everyone, I'm Evangeline right here at etrailer. If you're looking for an aftermarket roof rack for your 2024 Subaru Outback, well today we have our Thule System. This is gonna be very unique in that it secures to the stowaway bars on your Outback, so we'll be taking a look at that and how it fits right here. You do not need to remove your factory bars here. You just need to make sure that they are in the secure position on your roof because the aftermarket bars will secure around your factory bars. You see how these clamps and this rubber pad is custom fit to get that nice secure fit.
We have the Thule SquareBar Evo crossbars here and this kit has a 47 inch long bars. So this makes for more low profile look if you don't want the bulkier aero bars. Now, something a lot of people think about the SquareBars is that you have a higher weight capacity, but in reality, when you look at the whole kit together, the lowest number rating on this whole kit (Evangeline taps) is actually the towers, which is 165. So double check your roof weight capacity and make sure you don't exceed that. If ever you see a lower number, always go with the lower number.
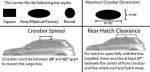
You get a little bit of overhang, about two inches, (tape measure snaps) for your bars. Overhang is helpful to make it easier to reach up to your bars. And if you want to mount things around the end, you may or may not be able to. Two inches, maybe three inches in the back, isn't that much. For your crossbar spread, you are limited to how far onto your factory bars this can secure.
(tape measure scrapes) So if you measure from the center of one bar to the center of the other, I have it at 22 (tape measure snaps) and a half inches. So that's something on the much shorter side compared to what a lot of different accessories require. So just double check your minimum required crossbar spread of your roof box, bike rack, whatever you might be carrying, to double check if 22 and a half inches is enough. This will sit much higher up compared to your factory rack. So for the first measurement, I like to measure from top of the roof to the bottom of the bar and I see maybe five and a quarter inches.
(tape measure cracks) It really does depend where on the curve you measure. That's a lot of space. So if you had things that had large clamps that go around or you we inchesre carrying skis with tall bindings, you definitely have the space now for that. The next measurement for height is where does your cargo sit now on your roof So top of the roof to the top of the crossbar, I see about six and a quarter, maybe six and a half inches. So that's going to be good if you have cargo that has a lot of like straps and things like that that sits out, less likely to scratch up your roof. But now you also have to consider if you are carrying taller things like kayaks or roof boxes, double check that extra extra height before you go through your garage door. I actually used this roof rack system on my own Outback and one of my favorite things was that the location of the sun roof is further forward, compared to the location of the bars, which means if you open up your sunroof, you're not gonna have the bars in the way disrupting that airflow. Now, if you have something on top of the bars that may go a little bit more forward and definitely think about that before opening up your sunroof. When you are looking at aftermarket crossbars, you do have some options. So let's talk about that. We have a Thule system, which you can use with different types of crossbars, depending on what you need or want. Another option is gonna be the Yakima Roof Rack System and the main difference there is that your Yakima system requires removing your factory stowaway bars (Evangeline taps) because it secures into those slots. Compare that with our Thule system here that just goes around your factory bars. The benefits each system provides is about the same. Yakima might be a little further apart, but it does require a little bit more work and it has a very similar weight capacity. So with that in mind, it's more of what kind of installation do you prefer Do you need more crossbar spread And what kind of look are you going for So hopefully just seeing how this looks and fits on the Subaru is helpful for you for making that decision. And if you're curious about that installation process to see if that super quick and easy process is worth it, stick around. Getting your roof rack installed is pretty simple, especially once you know exactly what pieces go where. So the first thing is that on the Subaru, this is installed on your factory bars while they are in the closed position. So see how our factory bars go lengthwise of our Subaru, and that's the position we're going to start in. Now we have our SquareBars here today and the thing with the SquareBars is that compared to the WingBar Evos, these are very straightforward. Now we do have the end caps stored inside the SquareBars, so go ahead and take those out. And then we're going to attach our towers by just sliding them into those ends. We'll then put the end caps back on, just to hold the tower in place in the crossbar. And what we're gonna do is we're going to set up our tower for our vehicle. So taking this end cap off, we're also going to look at the tower and decide is this going to be the passenger side or is this going to be the driver's side Because that will determine which of the pieces we put together. You're gonna have a different set of parts depending on if you're installing the passenger or the driver's side. So for the passenger side we have clip A, (part taps) piece B, and then clip C. (part taps) Now on these parts you also have different numbers associating them with passenger or driver. So for passenger side it's gonna be 76, it's gonna be 127, and then it's going to be 74. Now these are gonna be pretty faint, but you will see that there may be an A on one side (part clatters) and then there'll be a number stamped on the other side. To attach them, get your tower and you're first going to start with clip A. That slides right in there and it is secured with the piece B and that pushes onto the tower. And then you get the other clamp and that's gonna be the C piece, and that goes over your bolt and then you secure them all together with one of these nuts. The same process goes for it in your driver's side, but you will have different numbers. So just always double check that before you combine them all together. Now get this onto your roof and we're just gonna focus on getting it into the general area of where it needs to go. Once you're up here, you can now adjust for crossbar length, measuring on each side. You can see that this is definitely off-centered. And then we can also fine tune where our tower sits. The furthest forward we can get our crossbar will be limited by our plastic panel on the side. So this is as far forward as we can get our one tower, but this is also a good time to just double check that all the clamps fit nicely around the crossbar. On the other side you can see that the crossbar sits much shorter over here and that's just part of the whole stowable crossbar works. So we're going to line up this tower with the other one, making sure it's parallel. Another thing you can do here is measure from one bar to the other to make sure you have an equal amount of distance on each side and you're not skewed one way to the other. So when this looks good and you've also measured for your overhang, go ahead, tighten down. Then here at the end of your towers, you will tighten that down with the Allen key included with your kit. It is actually a torque tool, so once you get to the proper tension, the torque tool will click (tool clicks) just like that. And what I like to do is even after all four towers have been tightened down, I just go through and check them again, making sure they click before I continue. Included with your kit are these plastic lock cores. You can switch them out for your Thule One-Key System if you buy the lock core separately. I just use the plastic lock cores. You'll need a screwdriver in order to lock and unlock them. So these lock cores just (core clicks) kind of pop right in, just like that. Always double check if they're fully seated before you put them on your tower. There we go, that looks good. And now we can fit this into place. Since we're in the unlocked position, you can just (core clicks) kinda clip that onto the tower, turn the lock core, (Evangeline taps) and now that's on there. Do this on all the towers. And that's how you put together your roof rack on your Subaru Outback. This is a very unique design where it secures around your factory stowable bars, but now you have some taller bars that give a little bit more clearance, depending on what you need to carry, as well as a little bit more crossbar length. Whether you're using this with SquareBars or WingBar Evos, the process will be very, very similar. Hopefully this video helped you out with seeing how it looks, how it fits, and how it installs. You saw the Thule SquareBar Roof Rack fit on the 2024 Subaru Outback Wagon.
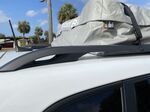
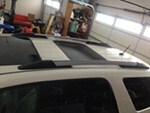
Info for this part was:
At etrailer we provide the best information available about the products we sell. We take the quality of our information seriously so that you can get the right part the first time.


















Thank you! Your comment has been submitted successfully. You should be able to view your question/comment here within a few days.
Error submitting comment. Please try again momentarily.