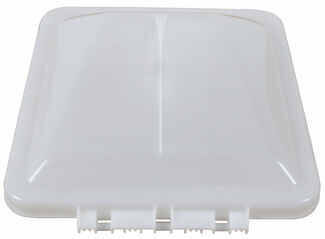
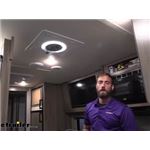
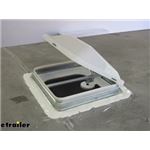
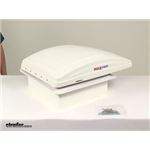
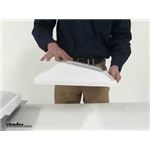
Tackle heat and humidity with RV vents that add a 12V fan to move air through your rig. The white lid is an option, and some covers are opaque and let in zero light, which matters if you want a darker interior when closed. For installs, 12-volt DC power is standard, and you can pick wall-control or rocker-switch setups; on curved roofs a proper base or adapter may be needed and isn't included.
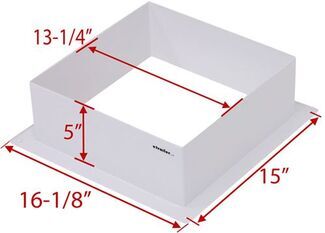
Use a proper spacer or base to transition from the roof's curvature to the flat fan flange. These bases typically are not included with the fan. After install, test for leaks, then apply a bead of self leveling sealer over the base, screws, and sides to help seal everything up.
Yes, if the fan has rain shielding. That design helps prevent rain entry so you can ventilate and reduce humidity even when parked. Verify that the model allows operation with the lid open in wet weather, and look for features that keep rain out if you forget to close it.
Power connects at the fan on a 12-volt DC supply. Some wall pads use an RJ-11 communication cable, so plan a route for that cable from the fan to the switch. You may also need a matching wall control, a ceiling garnish, and an installation kit with screws, tape, and sealant.
Noise varies by setup. Some run very quiet, while others may be a bit too loud for sleeping. Run lower speeds at night and use features like a thermostat to shut down when cooler. If sound is a concern, compare airflow needs with noise at the speeds you'll actually use.
Not necessarily. Some white covers are opaque and let in zero light. If you want daylight with the vent closed, check the lid's light transmission before you buy. The opaque material may be chosen to resist getting brittle, but it won't brighten the space.


 Filters