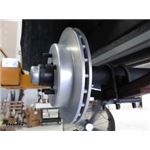
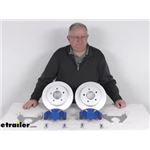
Built for saltwater launches, marine grade rotor trailer brakes rinse clean and hold up well at the ramp. They're a noticeable upgrade from drum brakes and install much like car brakes. If you're converting, some setups pair with idler hubs, so confirm hub style and lug length before you dive in.
Rinse with fresh water after use to reduce corrosion. Some use coatings to help parts last longer. If caliper bolts back out, remove any weak threadlocker and apply a stronger grade to help keep them tight. Inspect pads and hardware periodically so you can replace wear items before they cause damage.
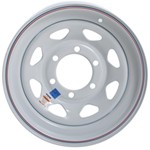
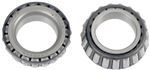
Match the kit to your axle rating, like 3,500 lb or 7,000 lb. If using slip-on rotors, confirm your idler hub's bolt pattern, such as 5 on 4-1/2 or 8 on 6-1/2. Verify bearing numbers if unsure. Some setups call for wheels that are 14" or larger, so check wheel size requirements for your kit.
They're well-suited for saltwater. Stainless steel discs are far superior to rusted drums and are much easier to rinse clean, with some staying looking almost new after a full year. A quick fresh water rinse when you get home helps. Some add protective coatings like zinc or rust-resistant paint to extend life.
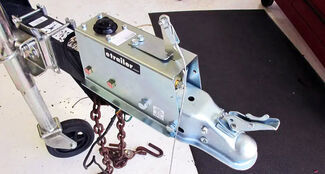
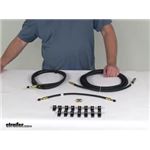
You'll need the rotor brake kit plus an electric over hydraulic actuator and brake lines for disc setups. Slip-on rotors require compatible idler hubs. Confirm your axle rating and hub style so the rotors and calipers match. Electric over hydraulic disc brakes provide strong performance compared to electric drum brakes.
Plan for idler hubs since slip-on rotors work with hubs, not drums. Verify your hub's lug length; an upgrade may be needed if lugs aren't long enough. Check what's included—some kits don't include mounting hardware, so bolts, nuts, and washers may need to be sourced. Installation is similar to car brakes.


 Filters