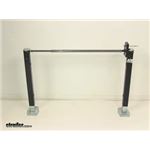
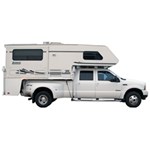
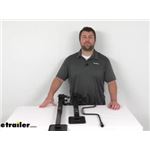
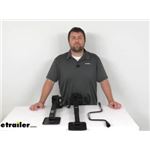
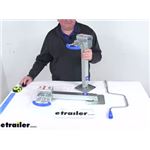
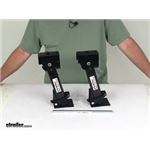
Settle your rig with stabilizer jacks that cut shake and sway on trailers, truck campers, and utility builds. These are for stabilizing, not lifting or leveling, so they're ideal once you're close to level. Pick bolt-on or weld-on installs and upgrade from older scissor styles. Crank by hand, and some accept a drill for quicker extension when you want to speed things up.
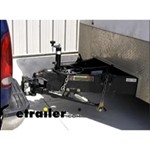
Stabilizer jacks are for stabilizing, not lifting or leveling. Deploy them after you've leveled the trailer to reduce movement and vibration. Positioning a stabilizer near vibration sources can noticeably cut rattle. Avoid trying to raise the trailer with them.
Both can work well—choose based on your frame and brackets. Some include a weld-on bracket but can also bolt into an existing bracket; confirm hole spacing and bracket condition. If welding, a skilled welder can place them at the rear for support when loading. Verify ground clearance and full retraction.
Yes, stabilizer jacks can be lowered independently to match uneven ground. They are not leveling jacks, so don't use them to overcome unlevel terrain or to level an RV. Lower each leg to solid contact, chock the wheels, and use blocks under the feet if needed to reduce travel and improve footing.
Use a drill with the included driver socket when provided. Some take more turns to extend, and a powered drill speeds it up. A standard 4 way tire iron also works and doesn't rely on battery power. Stop when the feet make firm contact—just snug to stabilize, not to lift.
Some 5th wheel stabilizer kits require 58" or more between the front landing gear legs, while other kits are designed for travel trailers. Measure the distance between the front legs before choosing. Check that your brackets and frame allow proper mounting and clearance.


 Filters
 Camper Jacks Parts or Accessories