$603.31 - $968.95
$386.22 - $995.83

$386.22 - $995.83
$386.22 - $1,019.03
$390.71 - $1,019.03
$349.92 - $1,359.00

$379.89 - $1,359.00

$237.12 - $1,577.11
$379.89 - $1,359.00

$364.97 - $1,359.00
$364.97 - $1,359.00
$364.97 - $1,359.00

$440.59 - $1,359.00
$702.79 - $1,359.00
$702.79 - $2,055.02
$859.09 - $2,055.02
$859.09 - $2,055.02
$859.09 - $2,055.02

$2,055.02 - $2,055.02

$1,260.00 - $2,055.02
$2,055.02 - $2,055.02
$2,055.02 - $2,055.02
$2,055.02 - $2,055.02
Filter Results
200 lbs
$603.31 - $968.95
300 lbs
$386.22 - $995.83
400 lbs
$386.22 - $995.83
500 lbs
$386.22 - $1,019.03
600 lbs
$390.71 - $1,019.03
700 lbs
$349.92 - $1,359.00
800 lbs
$379.89 - $1,359.00
900 lbs
$237.12 - $1,577.11
1000 lbs
$379.89 - $1,359.00
1100 lbs
$364.97 - $1,359.00
1200 lbs
$364.97 - $1,359.00
1300 lbs
$364.97 - $1,359.00
1400 lbs
$440.59 - $1,359.00
1500 lbs
$702.79 - $1,359.00
1600 lbs
$702.79 - $2,055.02
1700 lbs
$859.09 - $2,055.02
1800 lbs
$859.09 - $2,055.02
1900 lbs
$859.09 - $2,055.02
2000 lbs
$2,055.02 - $2,055.02
2100 lbs
$1,260.00 - $2,055.02
2200 lbs
$2,055.02 - $2,055.02
2300 lbs
$2,055.02 - $2,055.02
2400 lbs
$2,055.02 - $2,055.02
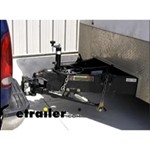
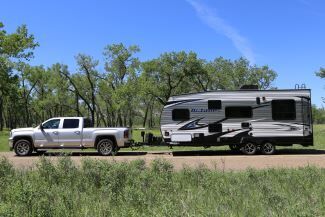
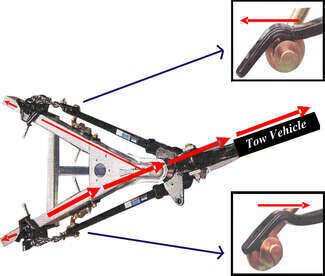
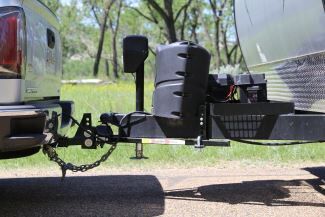
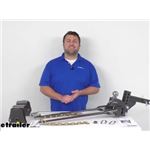
 Weight Distribution Hitch Parts or Accessories
 Filters