


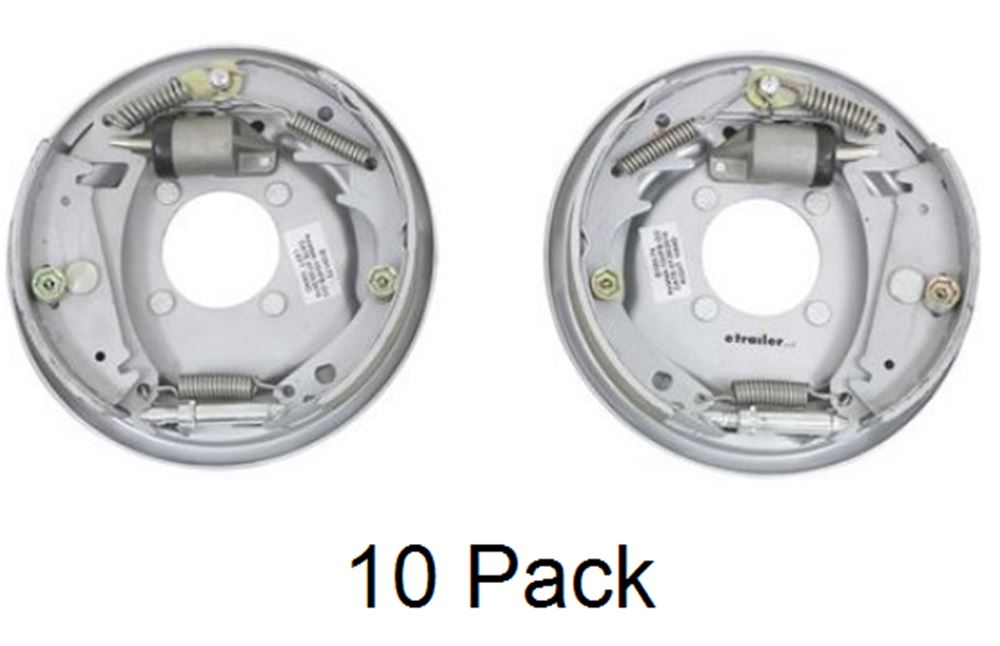
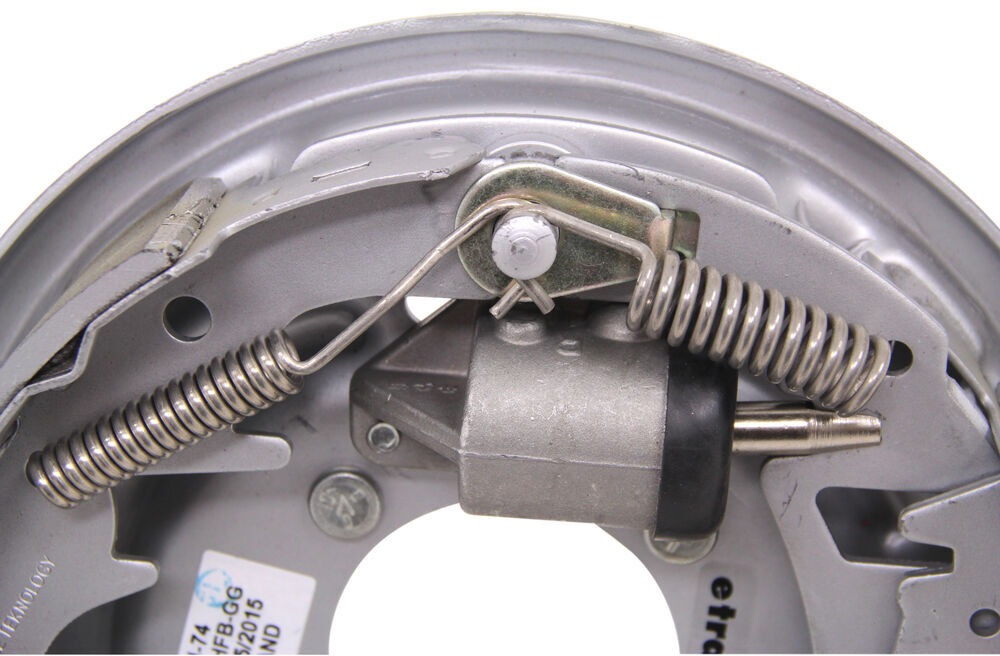
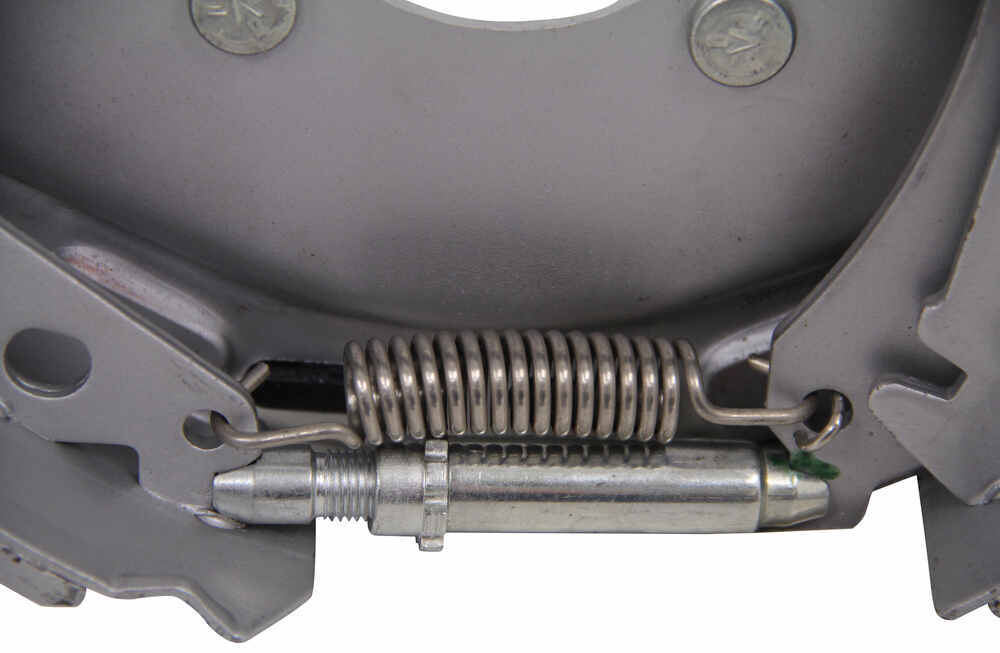
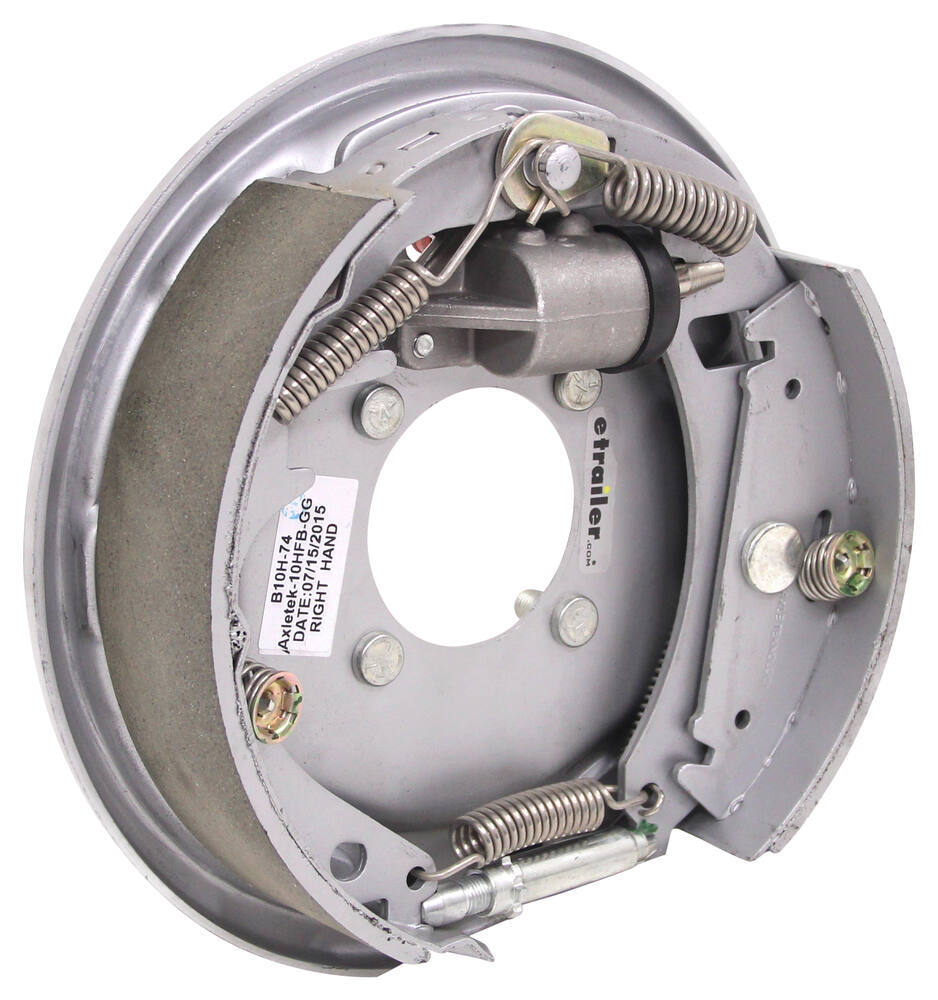
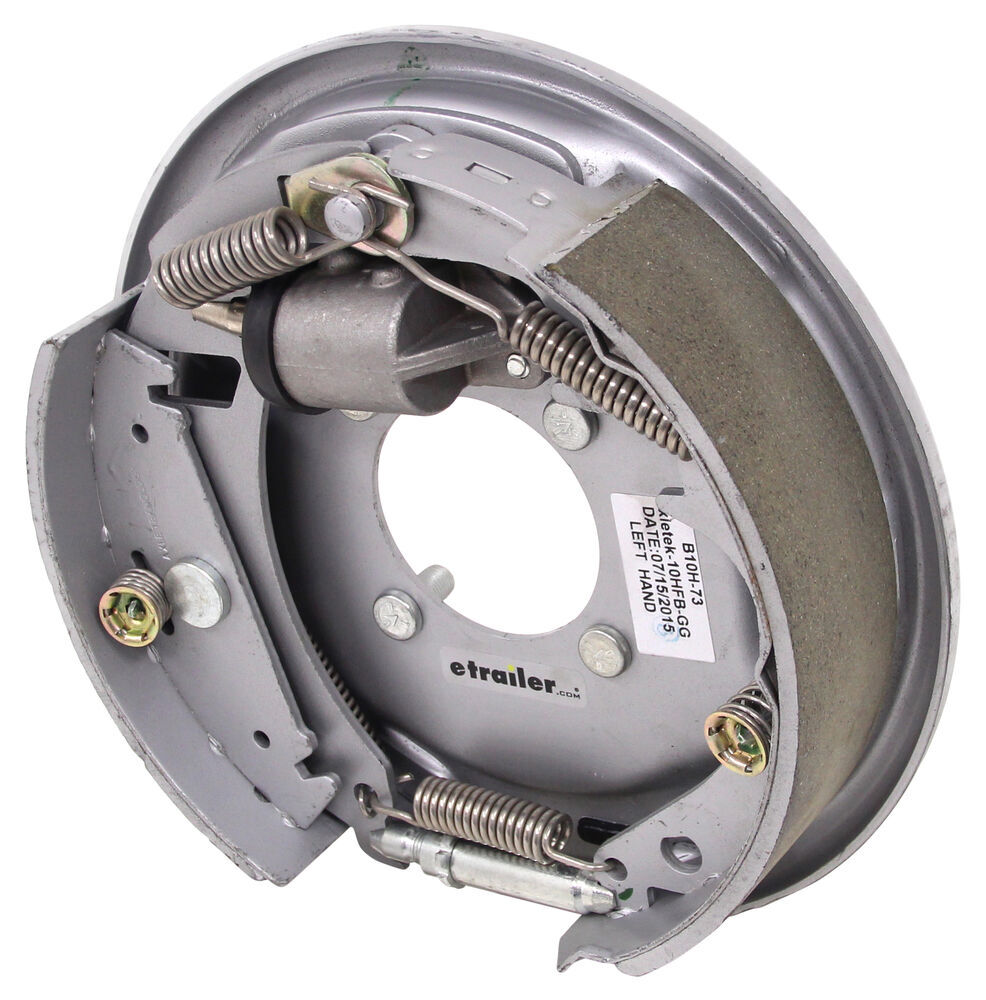
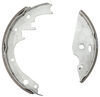
When worn or corroded brakes make towing unpredictable, these marine-grade 10" x 2-1/4" hydraulic drum brake assemblies restore smooth, steady stopping. The Dacromet-coated backing plates fight rust, even in saltwater or snowy conditions, while stainless steel springs and aluminum hydraulic cylinders stand up to repeated exposure. They’re built for long life on trailers that see real weather and water.
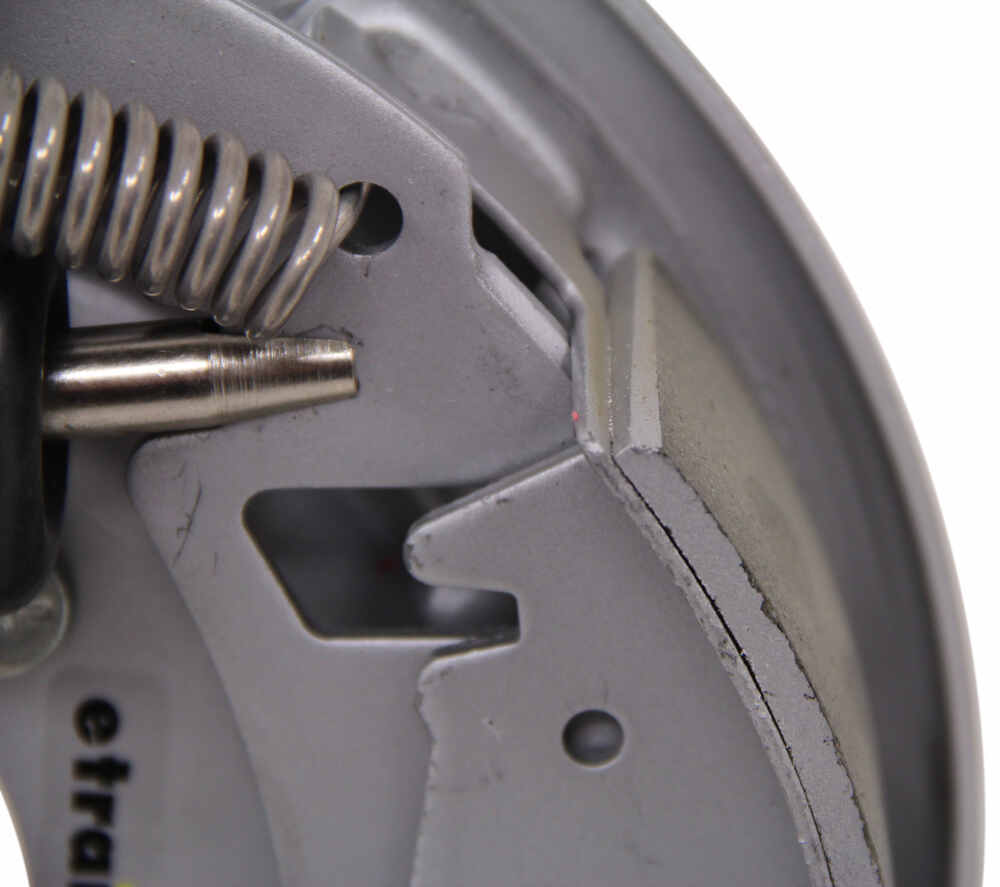
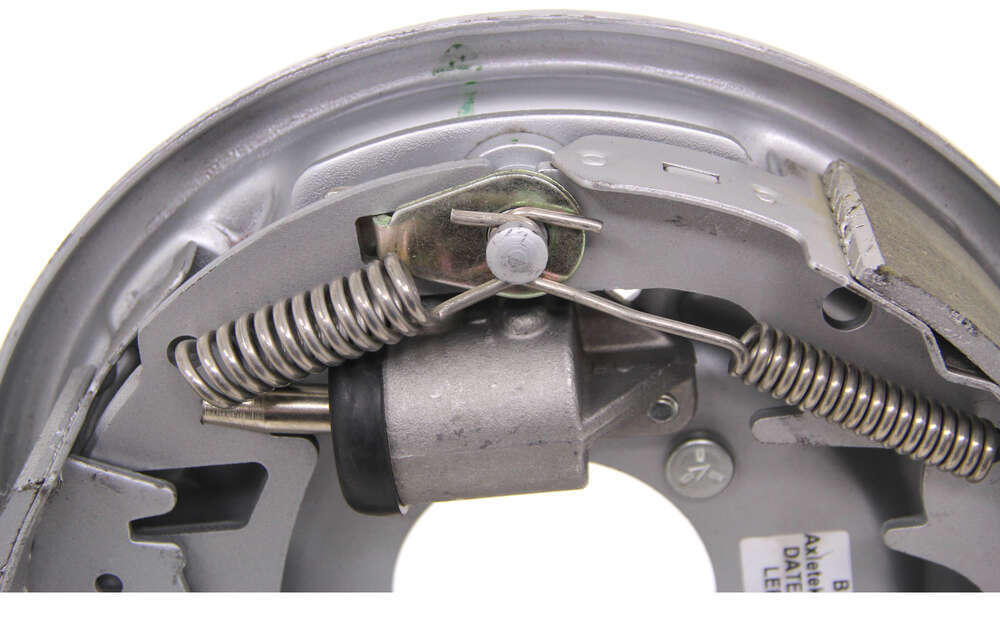
Backing down a ramp or into tight spaces shouldn’t mean dragging brakes. These free-backing hydraulic assemblies use a fall-away shoe that disengages when the trailer moves in reverse, so you can back up easily even if your surge actuator is activated. You’ll still get full braking power in forward motion and just enough friction for control when reversing.
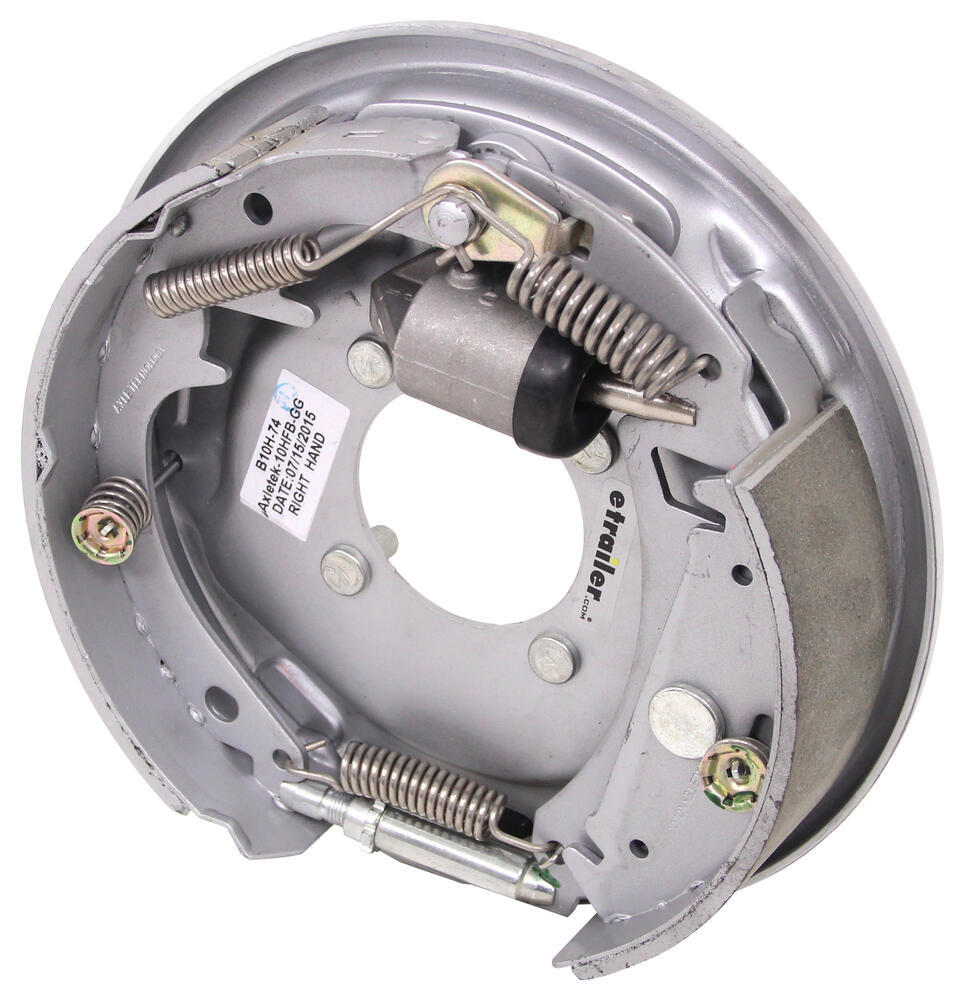
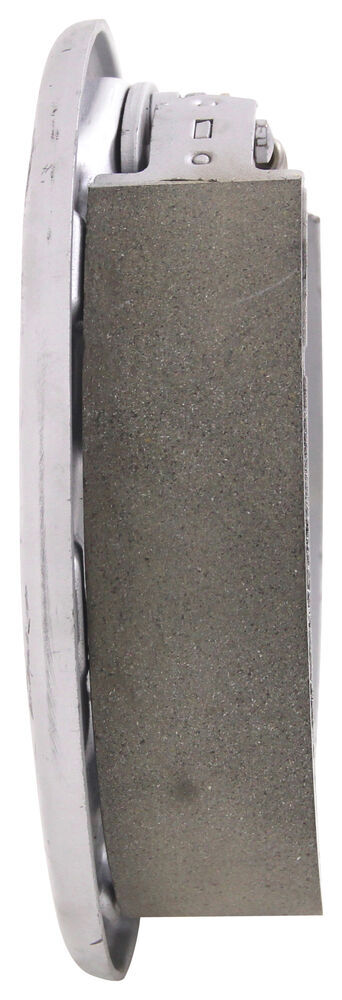
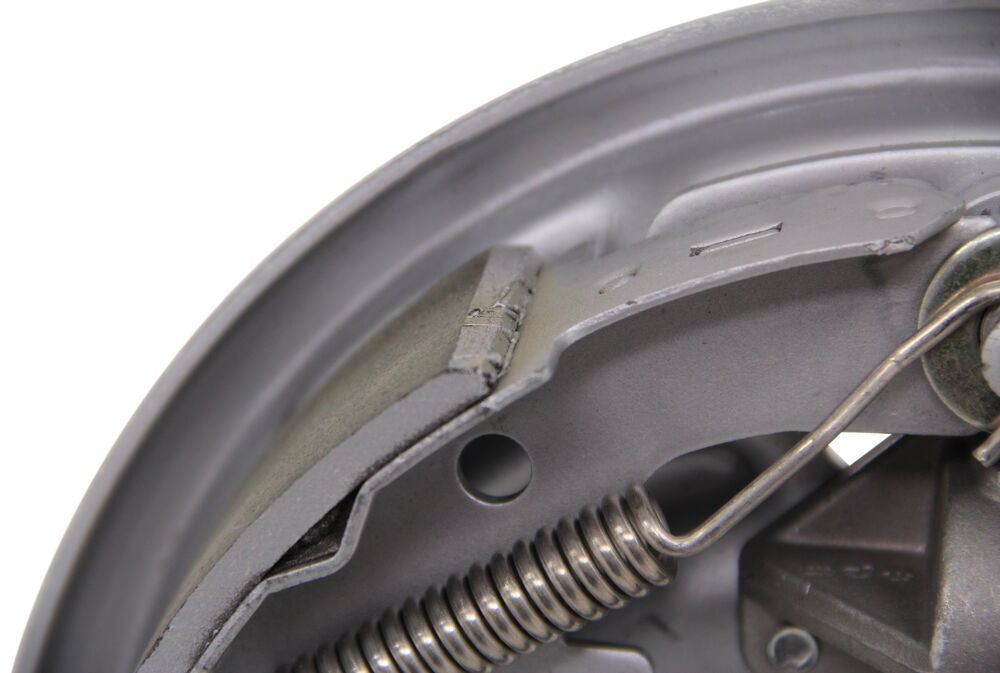
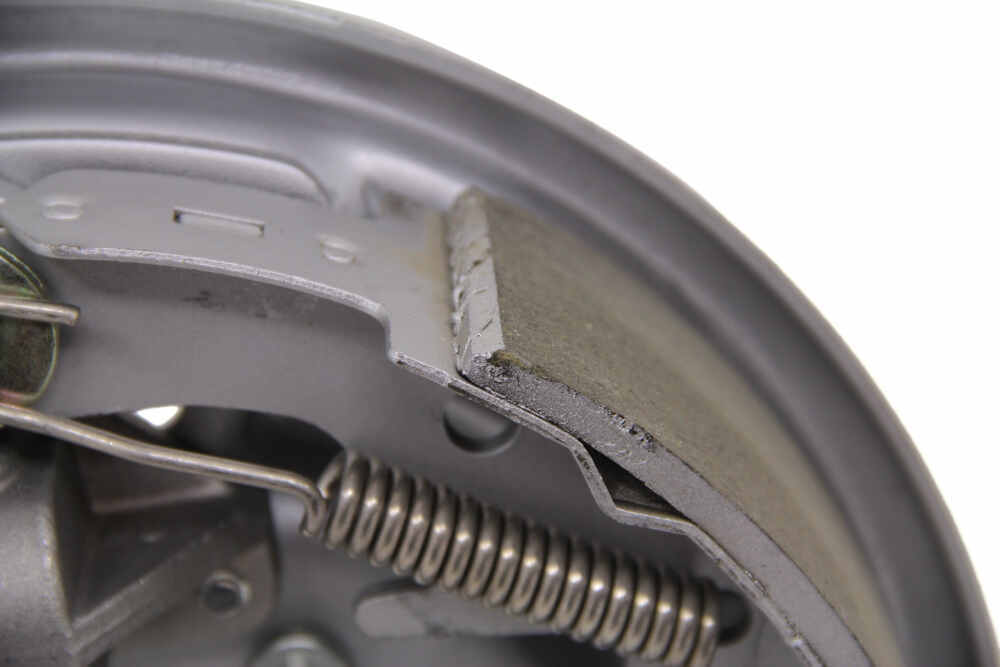
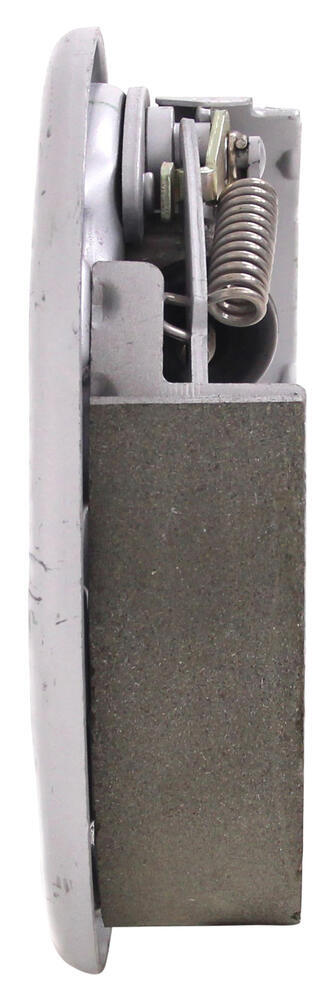
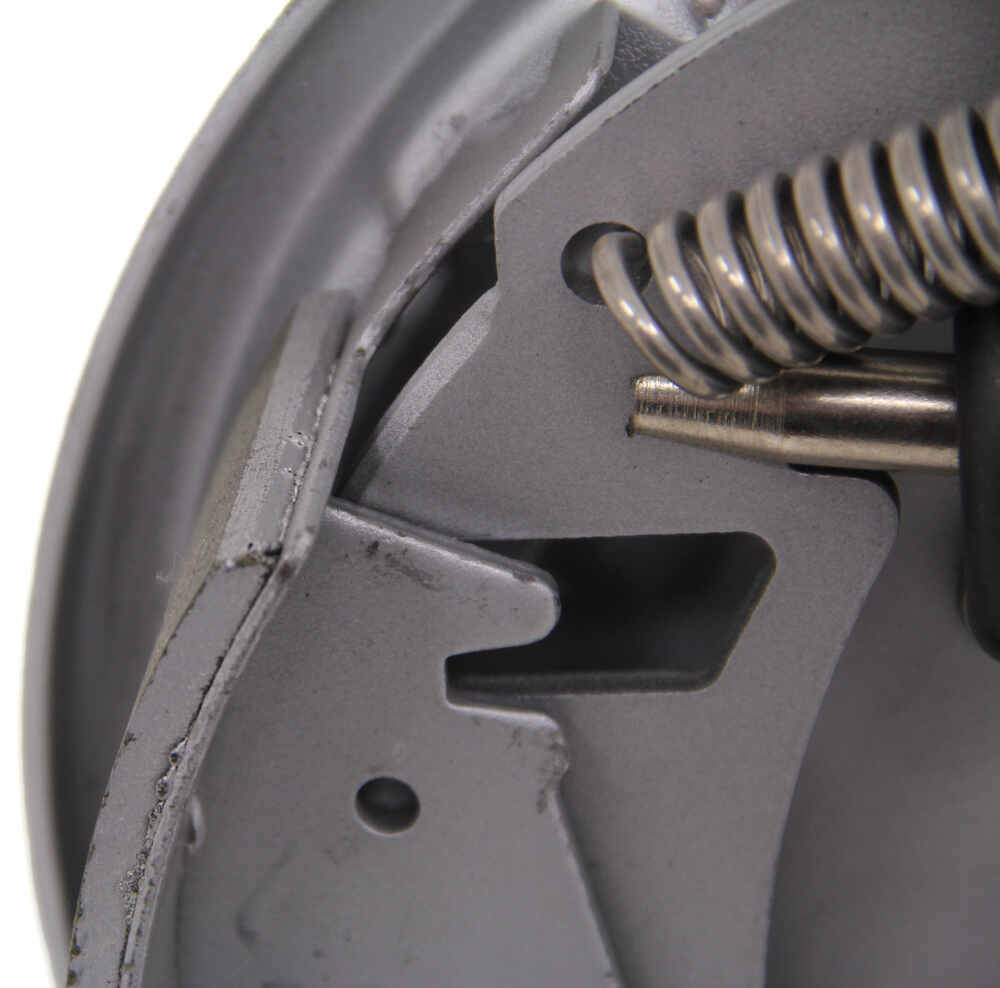
Each shoe is lined with fully bonded, automotive-grade friction material that’s molded for perfect fit and consistent braking torque. The tapered edges and circular grind help prevent cracking or crumbling that can lead to lockup, while SAE-N certification ensures the pads meet U.S. and Canadian environmental standards. It’s a tough, long-lasting lining that delivers dependable braking season after season.
Each package includes ten left-hand and ten right-hand brake assemblies with mounting bolts—ideal for outfitting multiple trailers. They bolt directly to standard 4-bolt mounting flanges and fit most hub-and-drum setups, including Dexter, Lippert (LCI), and AL-KO. Designed for 13", 14", and 15" wheels on 3,500-lb axles, these brakes are certified by QAI and CSA for safety you can trust on every tow.
Videos are provided as a guide only. Refer to manufacturer installation instructions and specs for complete information.
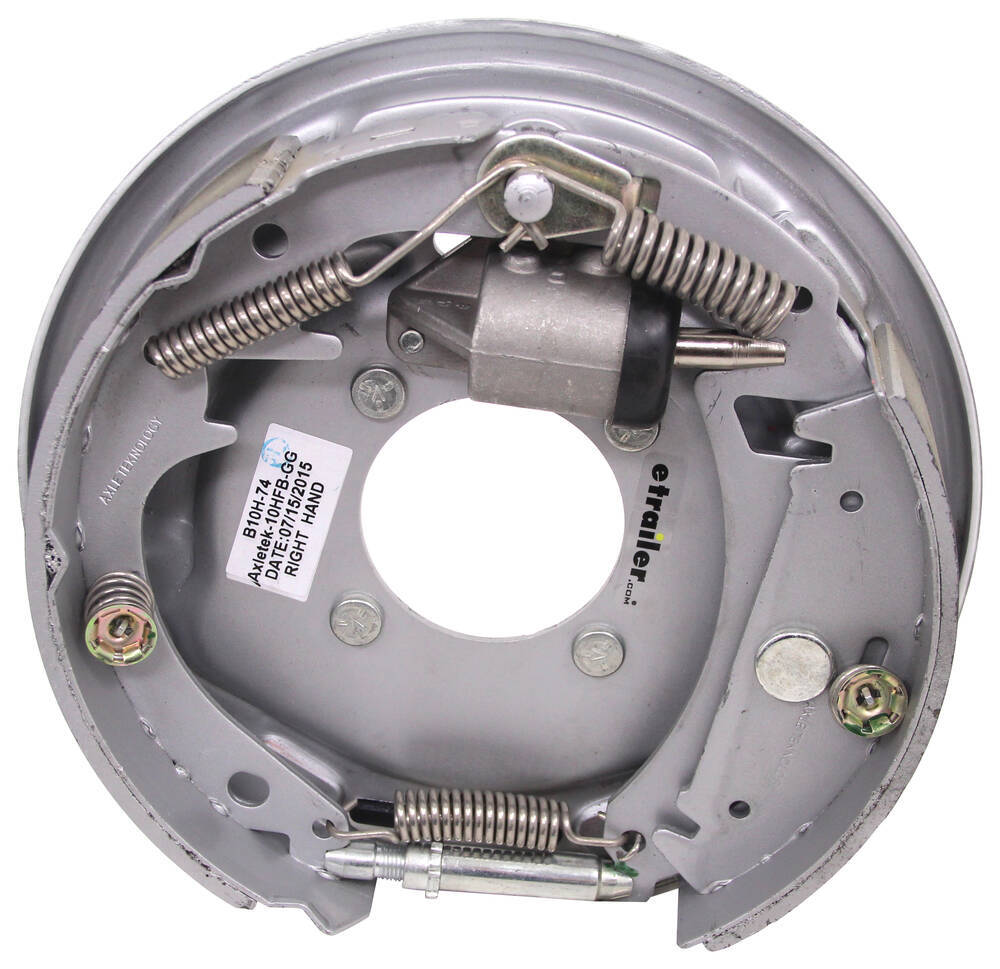
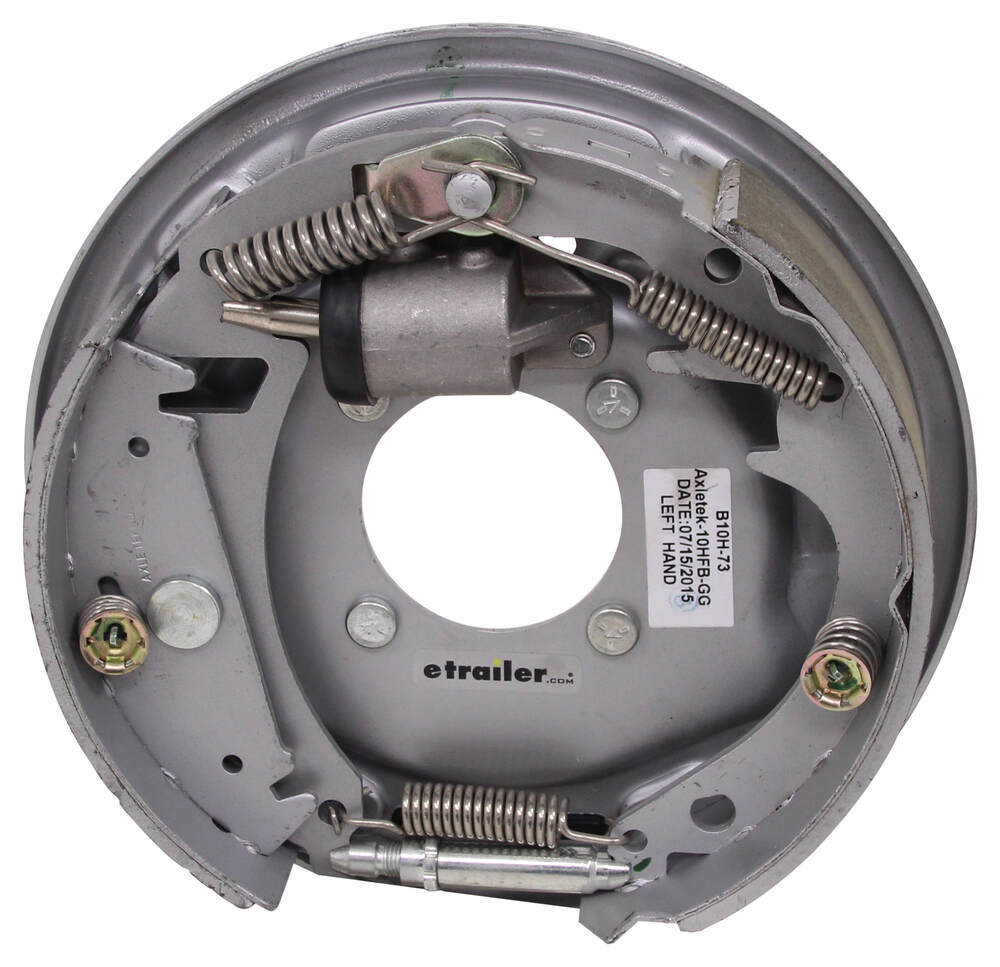
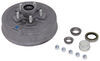
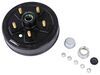
This is what our brake assembly is going to look like, when it's installed. These are going to be great for your marine applications, like we have here. They're going to have a decrement finish on them, which is going to be a lot more durable than just your powder-coated finish. It's really going to hold up well against rust and corrosion. Our cylinder here, this is going to have an aluminum finish. So again, being aluminum finish, it's really going to hold up against rust and corrosion.
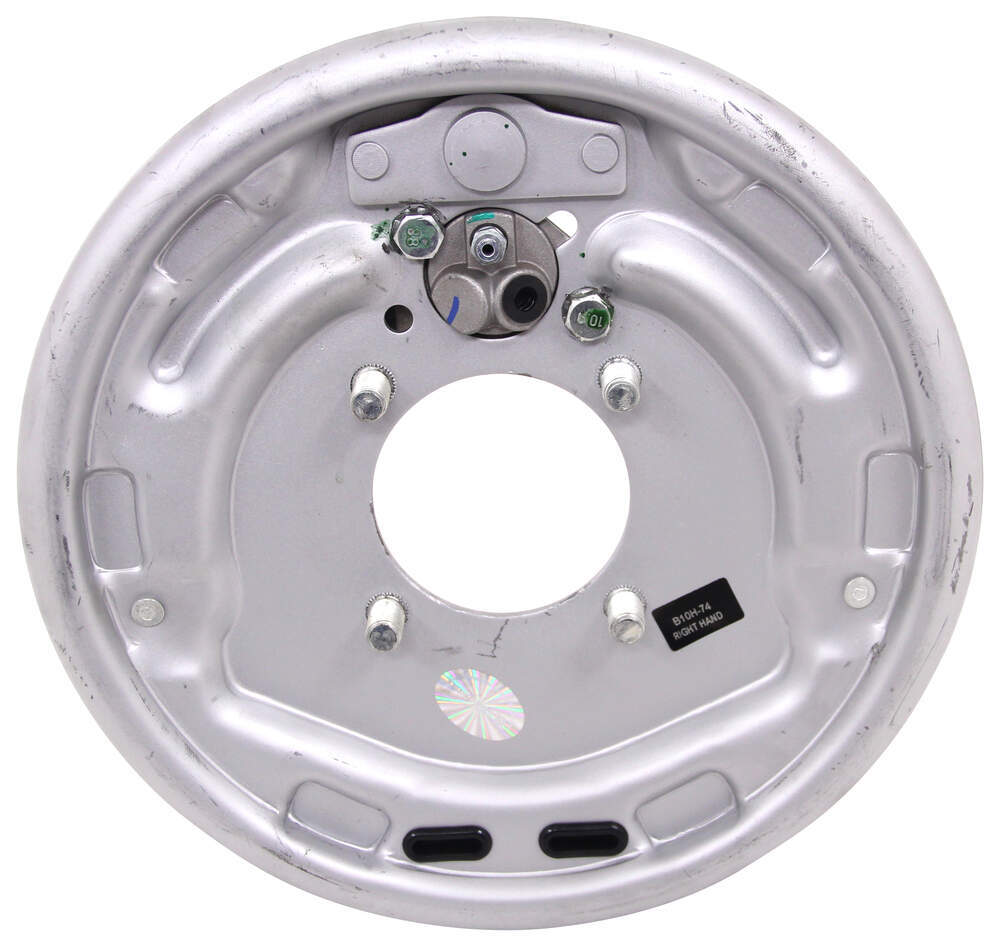
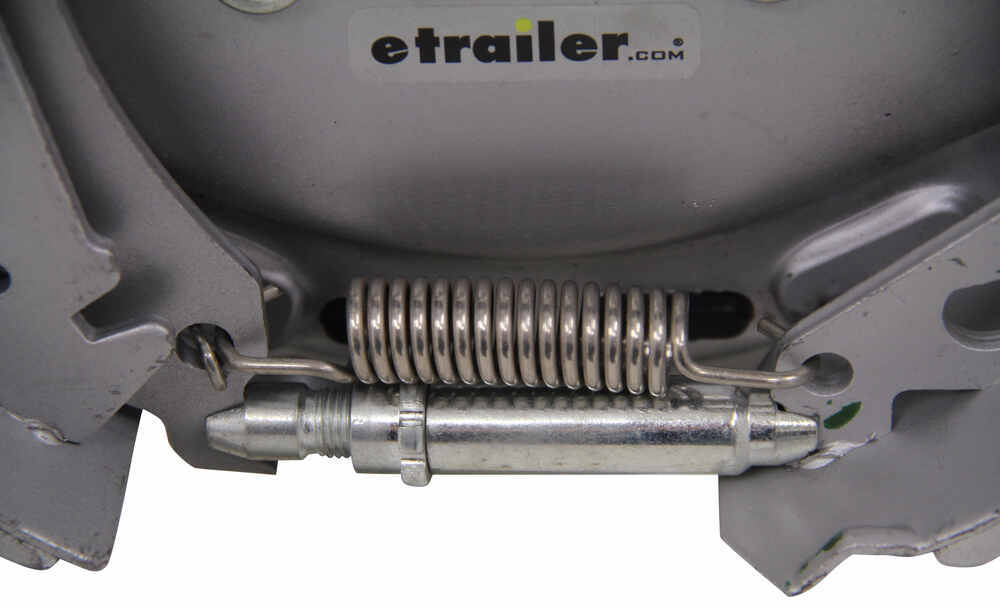
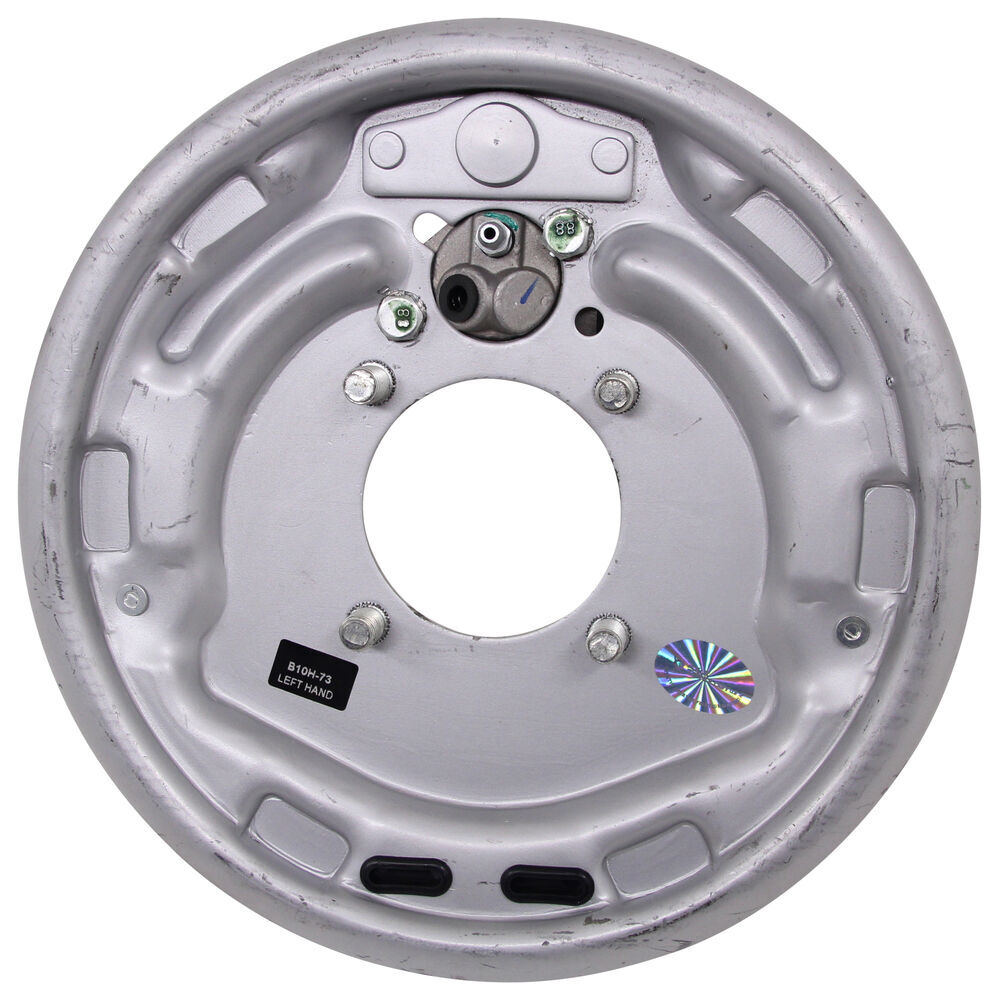
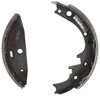
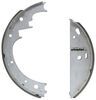
All of our springs are going to be stainless steel. Our pads are going to be fully bonded, instead of riveted. And the nice thing about that is, is less chance of them breaking apart, like the riveted ones.Down here on the bottom, this is going to be an adjustment screw. And you're going to have two plugs on the backside here. You pop one of those out and you're going to spin this to adjust your brakes.
Another great thing about these, is these have no lockout. So, a lot of times on boat trailers with electric brakes, when you're in reverse, the brakes will lock up. So, you'd have to unhook the trailer, or unhook the wiring from the back of your vehicle. With these, these do not have the reverse lockout, so you can move your trailer either direction. And these are going to be designed for hydraulic brakes, not electric brakes.
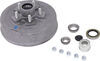
These are going to come as a set. They are going to have a right-hand and a left-hand. Installation process is pretty straightforward. Now, that we've gone over some of the features, let's go ahead and walk through, how to get them installed.Start your installation on installing your new brakes. First, you need to remove your tire.
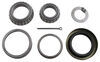
On the back side, if you have hydraulic line set up, you need to remove that line. Bearing Buddy, if you have them on your trailer and you didn't put them on, how you take them off, you just take a hammer to, just like a cap and you're just going to kind of work around, until it pops loose. There is going to be grease inside there. We're going to wipe this out. Take a pair of needle-nose, we're going to take this cotter pin out, right here. Take this cap off, remove the nut. There's a ring right here and then your bearings. What want to try not to do, if you're not replacing your bearings, is try not to let them fall on the ground. Kind of slide our hub out, like that. Pop that retaining ring off. Pull your bearing out. Slide your hub off. And we need to remove this. Four nuts here, 5/8 socket. Remove your old one.We're going to install the new one. And we'll make sure that this is at the top, your adjustments at the bottom. We're going to use the same nuts and flat washers, or lock washers. Only, they're going to be installed in the backside. Keep in mind your brakes do have a right-hand and a left-hand and there should be a sticker, like this on it. Right side is going to be passenger side, left side is going to be driver. And then we'll tighten those down. Once you get those tight, there's going to be a little black cap on the backside, pull the cap off. We can go ahead and screw in our hard line to the back of our brakes. I'm going to try not to bend these too much, because they can break. So, these can be kind of a pain, both to deal with, to get them lined up correctly. You want to try not to cross thread those, while you're putting that in. Once you get your line put in place, put that back on and then you're just going to re-install everything, in reverse order.One thing to keep in mind, if you're replacing your bearings, you want to repack the bearings, before you put them in. If you're not repacking the bearings, your bearings are a good, you can go ahead and re-install them, because the Bearing Buddy's that we took off to begin with, those are going to allow us to pump grease inside of that. When you re-install this nut, we don't want to use a socket to put it on. All we want to do is, we want to take the play out of the drum. So, we're just going to hand tighten it on there, just like that. Once you get that on, put your cap on and then re-install your counter pin. And if you're using Bearing Buddy, just hammer it right back into place.Once you get your Bearing Buddy put back in place, go ahead and re-install your wheel. What do you want to do, is spin it. And you want your brake pads to actually stop the wheel. So, you may need to make some adjustments. The reason we want them to stop our wheel, is because we want the brake pad to wear evenly. If you go listen to it. Kind of hear it going in and out. That means only a part of the brake pad is touching.We'll pop the cap out. Once you get your cap off, make sure you hold on to it, so you can put that back in. This is actually a tool for this. You can find these at your local auto parts store. We're just going to spin that adjustment wheel. It's got little teeth on it. We'll spin it, till we get it to sit where we want. You can kind of hear how the whole pad is grabbing it.Once you have your brakes installed and you've added new fluid, it's a good idea to bleed your brakes, to get any of those air pockets that may be stuck in your lines. Once you get one side adjusted, you get your trailer back on the ground. Don't forget to torque your lug nuts down to the specifications. Once you get one side completely done, repeat the process on the other.That's going to do it for a look at and installation on etrailer's Hydraulic Drum Brake Kit.
Ratings & Reviews

Great on phone help….. OK was very impressed that the 2 ladies I talked with on 2 different calls really knew their STUFF. Very impressed and ordered on Sat. del. on Wed. with tracking sent to me. Will be back when I break these in with new salt water.
Function, Fit and finish are all absolutely perfect. I just got everything reinstalled to include hubs, actuator and brake lines.
These hubs were just what I expected, perfect fit easy to install, easy to adjust, quality built product. Looking forward to many years of service.
My new brakes look and fit great. This made the replacement on my Heritage boat trailer very easy. The quality looks great and should last me a long time.
Thanks etrailer for your help!
The loaded marine grade backing plates made my job super easy. The fit was perfect and went smooth. I would like to see new nuts supplied with the studded backing plate. My order was processed fast and I received it quickly. Packaging was great.
Fit perfect
Excellent product that replaced 25 year old brakes on a boat trailer at a fraction of the price that local dealers wanted for them. I found all of the parts I needed by searching the site and everything installed very easily.
One wheel cylinder had defective threading for brake line. Leaked terribly and made a mess of my driveway. I had to purchase another wheel cylinder locally. Brakes seized up at end of 600 mile tow and overheated. Luckily just barely made it to my destination.
Perfect match got here right on time and I really appreciate the information available on your site as well as the offer of assistance if needed.
Fantastic way to repair brakes on trailer. Actually less cost than buying individual parts to complete the job. Both sides completed in under 2 hours. Will be sure to tell everyone i know that has trailers to used this site for all of their needs. This is the 2nd trailer we have done brakes on,
Extremely happy i found this site.
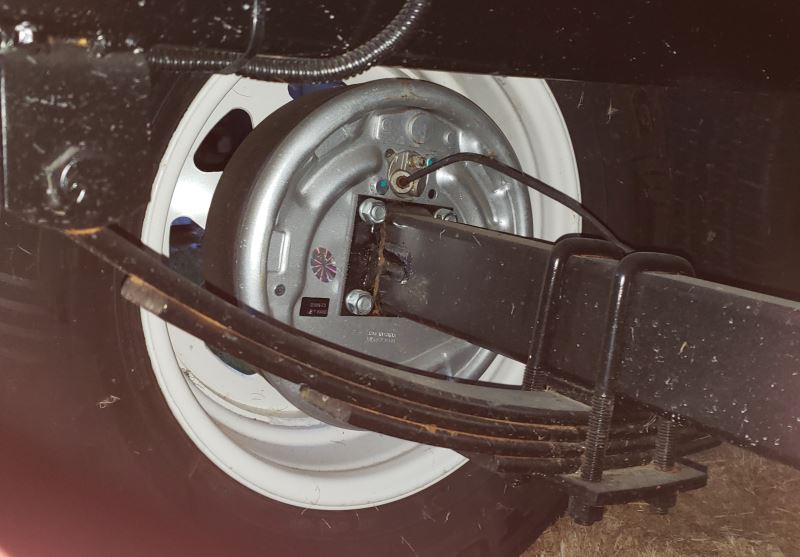
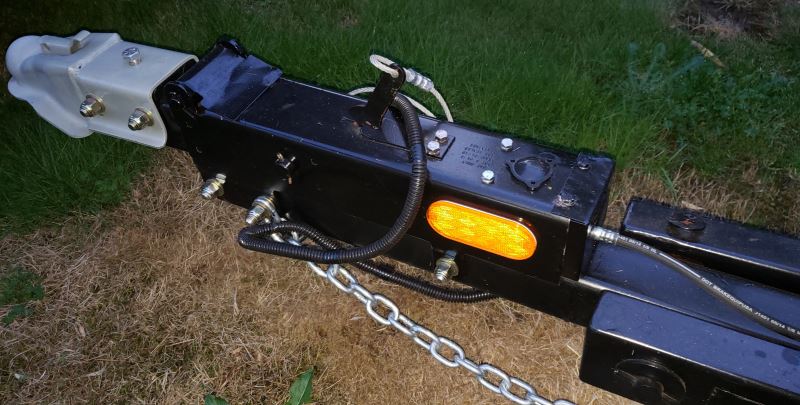
Here is some pictures of the before and after pictures of my boat trailer brake restoration. I contacted your customer service and told them what I wanted to do and they sent me all the parts that I needed. Everything went very smooth and all parts fit perfect. Thank you so much for your help and expert advice. Thanks again
After the old backing plate was removed from my 20 year old boat trailer, the installation of the new backing plate and break assemble took less then one hour . The drum with the bearings installed slid right on .
Appreciate the wide selection of available parts, the overall pricing, and the timely delivery of my orders.
products were great, ordered 6 backing plate sets 1 Right And 1 left per set
received 12 lefts no rights returns and replacement rights were easy. The-
Snafu cost me 3 days of time for completion of projects.
This review is for the Hydraulic Brake Kit - Uni-Servo - Free Backing - Dacromet - 10" - Left/Right Hand - 3,500 lbs - AKFBBRK-35-D. This worked perfectly on my 2008 Bear pontoon trailer with Axis branded 3,500 lb tandem axles and hydraulic surge brakes on one axle. It all went together smoothly without issue and after repacking the bearings and bleeding the system, the brakes now work again. A special thanks to Jameson for your time and recommendation on this kit, it was spot on!
Purchase these units as part of my trailer overhaul. These bolt on in the original holes without a problem, very easy to install, added new kodiak brake lines and new drums, very pleased thus far with the product. like it's all one easy set up. I was going to buy new brakes and associate parts but after seeing these and the price I chose this route after than busting my knuckles trying to mess with springs and stuff. highly recommend
I restored an old concrete buggy that I purchased surplus from a rental company. It was in pretty bad shape. I got it sand blasted. I painted it with Rustoleum. I installed new brake parts, master cylinder, and wheel bearing kits. Pretty big project but it came out great! Now I have a great little dual-axle dump trailer designed to carry a cubic yard of ready mix. Works great for short loads of concrete and for drain rock and landscape materials too.
I had to use JB Weld to get a good seal on the new plastic master cylinder cylinder-to-brake-hose connection, which was a pain because it leaked and required multiple attempts to fix. Plastic threads on the plastic master cylinder didn't seal with teflon tape. They are easy to over torque/strip! Maybe I did that initially, but JB Weld fixed the problem.
etrailer brake assemblies were easy to install and of very good quality. Fast shipping. Thanks!
Almost exact match for my year 2000 9000 lb boat trailer.
The packaging was substandard for the weight, also not including nuts for the mounting studs was disappointing. When you buy a kit it should include hardware.
The brake shoes where to wide and rubbed on the brake drums. The lining wasn't an issue, just the metal shoe.
Very helpful staff. I did all 4 breaks and bearings complete. Glad I checked things out, seals were gone and one wheel had bearings that failed and I was lucky I made it home. Also put on new brake lines and master cylinder, all good now. Tnks
I like the drop on coupler.... No manual was provided, but I was able to Download it.
Needed to make longer safety chains with the actuator, and use longer mounting bolts since the body is a bit wider. Bleeding the system was a cinch, using the Emergency Lever.
The backing plates came with studs installed, but no nuts. (Claim is made that this is mentioned in the Description, but I could not find it)
The studs are 7/16-20 UNF but the old nuts were 7/16-14 UNC. Wound up driving the studs out and using the old bolts and nuts.
Parts fit as they should. Quick shipping, reasonable prices. Help was available when I needed more info on stud spacing before I placed the order
After a year the trailer parts I purchased are still working great. I love the ability to back up the boat trailer without having to pin the actuator.
No nuts provided with the drum kit? The ones form original trailer do not fit this thread. Why would you not provide $1.00 worth of nuts for a $139.00 part??? by the way. Can you please tell me what size and thread of nuts so I can take another trip to Lowe's?
Info for this part was:
At etrailer we provide the best information available about the products we sell. We take the quality of our information seriously so that you can get the right part the first time. Let us know if anything is missing or if you have any questions.















Thank you! Your comment has been submitted successfully. You should be able to view your question/comment here within a few days.
Error submitting comment. Please try again momentarily.