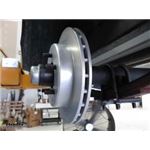
Disc rotor trailer brakes bring strong, consistent stopping without constant adjustment. Look for slip-on rotor options that work with idler hubs, and be sure your hub uses 1/2 inch studs for a proper fit. Stainless components and corrosion-resistant finishes are available for long-term use, even around saltwater.
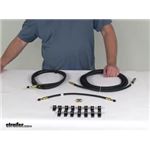
Installation is generally straightforward. Confirm whether the rotor kit includes hardware; if not, source bolts, nuts, and washers before starting. Some line kits use plastic clamps—rubber-lined clamps are a preferred upgrade for some. The main brake line to the first axle can be quite long; coil neatly or plan a custom-length line.
Yes, they don't need constant adjustment and can improve confidence in braking. For long-term durability, look for corrosion-resistant options like stainless components or protective finishes. In salt water use, coated rotor kits have held up well; adding extra protective coating is another route some take.
Match the kit to your axle rating and hub bolt pattern, since many rotor setups are slip-on and need compatible idler hubs. Verify bearing part numbers stamped on your bearings to confirm hub compatibility. If your hubs are 8 on 6-1/2 or a 3,500 lb setup, choose rotors that match those specs and 1/2 inch studs.
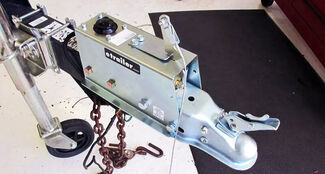
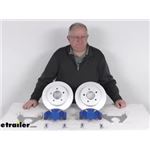
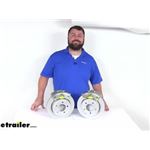
They typically include rotors, calipers, caliper brackets, and brake pads. Slip-on rotors pair with idler hubs, so plan hubs if you're converting from drums. For a full conversion you'll also need an actuator and brake lines. Some kits don't include mounting hardware like bolts, nuts, and washers—check the contents so you're not short on install day.


 Filters