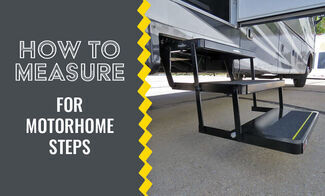
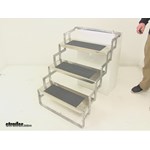
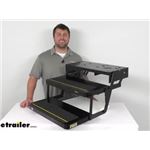
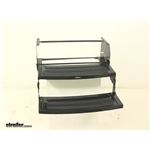
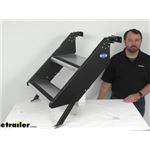
Dial in a comfortable climb with a 7 inch drop/rise matched to a 24 inch wide step for solid, sure footing. Measure your mounting bracket spacing to confirm fit, and plan for simple spacers or outriggers if your frame tabs don't line up.
24" wide refers to the tread; check your bracket spacing and bolt pattern against the step. If your welded brackets don't match, bolt-on outriggers can provide the needed mounting hole locations. When the frame brackets are slightly wider, 3/8" spacers on each side with longer 3/8" hardware can secure a solid fit. Be ready to enlarge mounting holes if patterns are just off.
Yes, a 7" drop lowers the first step about 7", which eases the climb into the RV. Measure from your step mount to the ground at typical campsites and confirm the lowered step won't almost touch the ground. If the gap to the unit still feels off, consider a different rise or step count. For low-slung rigs, verify it tucks up high enough for driving clearance.
Install can be straightforward, but some setups need drilling or slotting to line up holes. Old bolts can break during removal, so have replacements ready. If a universal fit doesn't line up, use outriggers or spacers to square it up. After mounting, check that each step is level; if a bottom step tilts upward, loosen, square the brackets, and retighten to reduce it.
Often, but check folded depth and the front profile against anything under the door. A rounded front can stick out a bit and may nick a stabilizer crank with each turn. Cycle the stabilizer with the step folded to confirm clearance. If ground clearance is tight when deployed, consider site height or a different rise to keep the first step from nearly touching the ground.


 Motorhome
 Towable Camper
 Filters