


To see if this custom-fit item will work for you please tell us what vehicle you'll use it with.


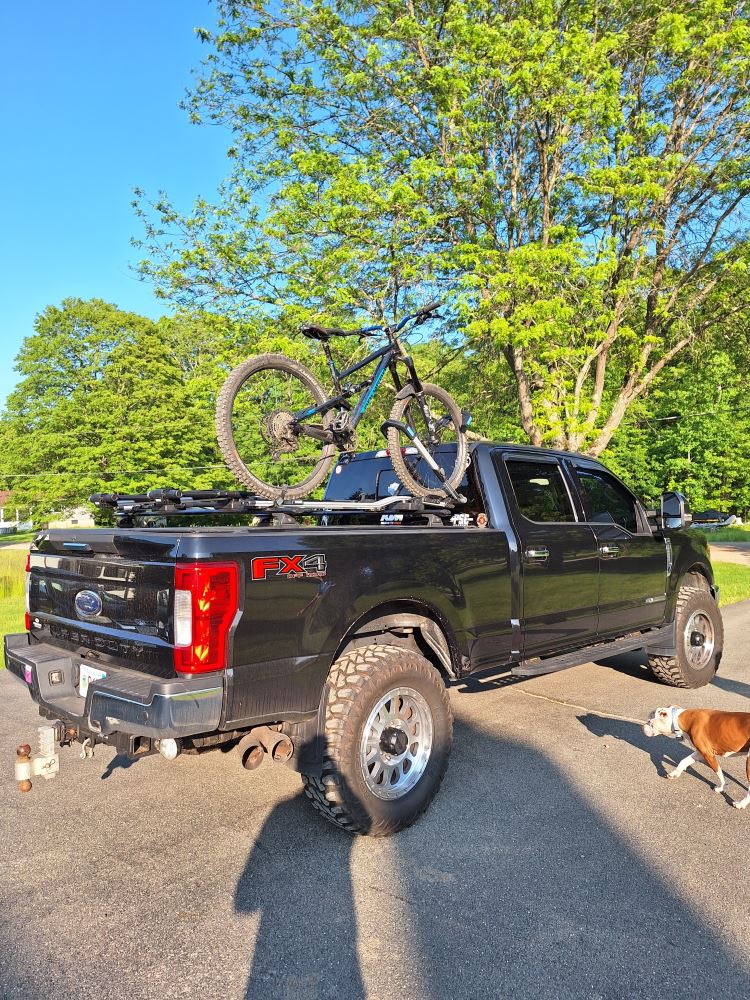
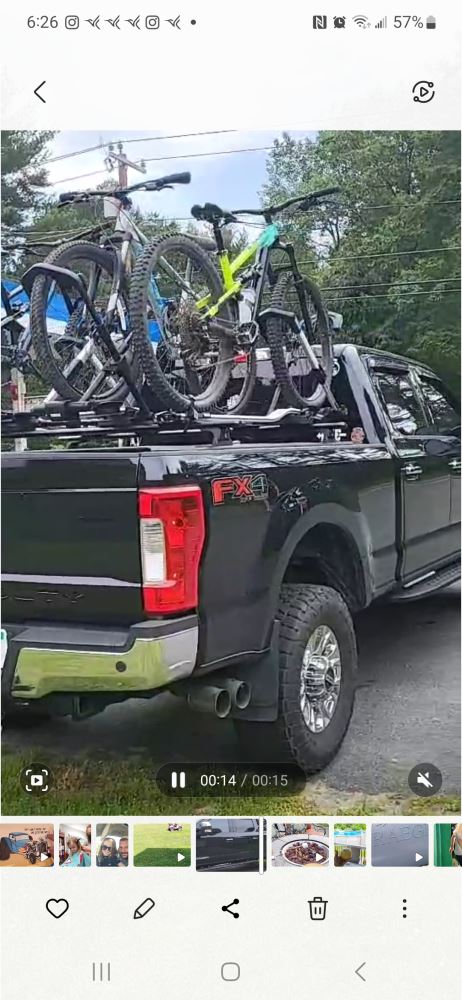
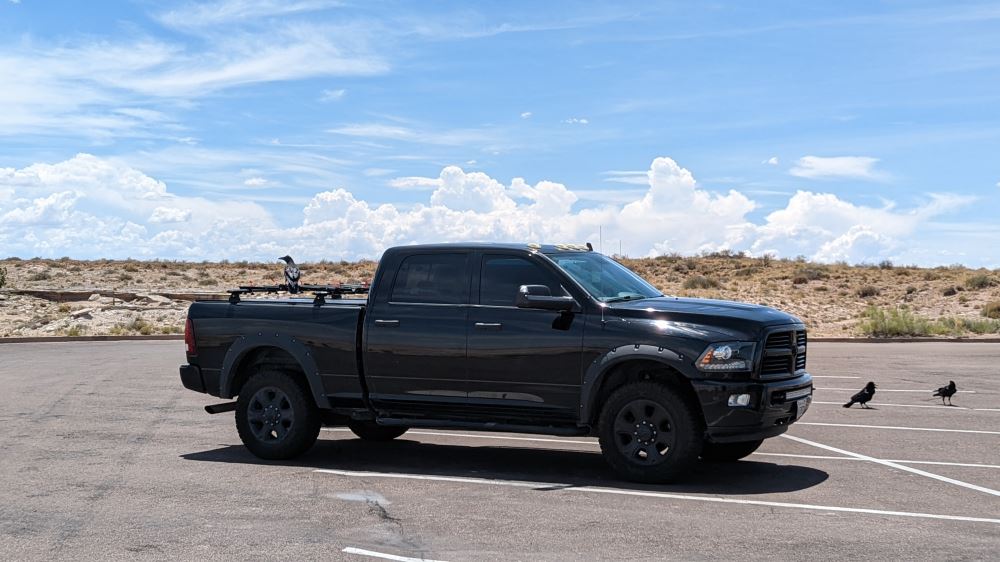
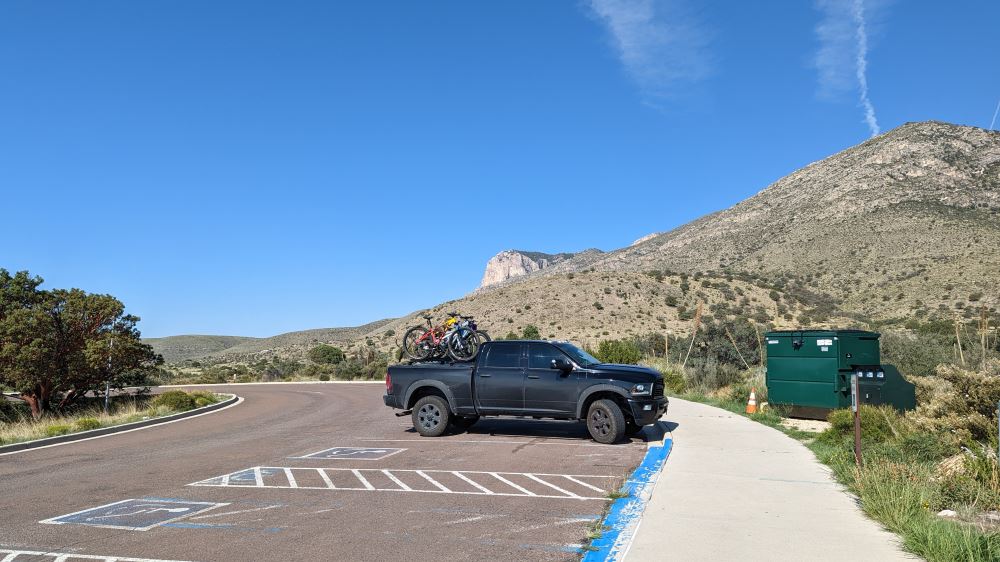


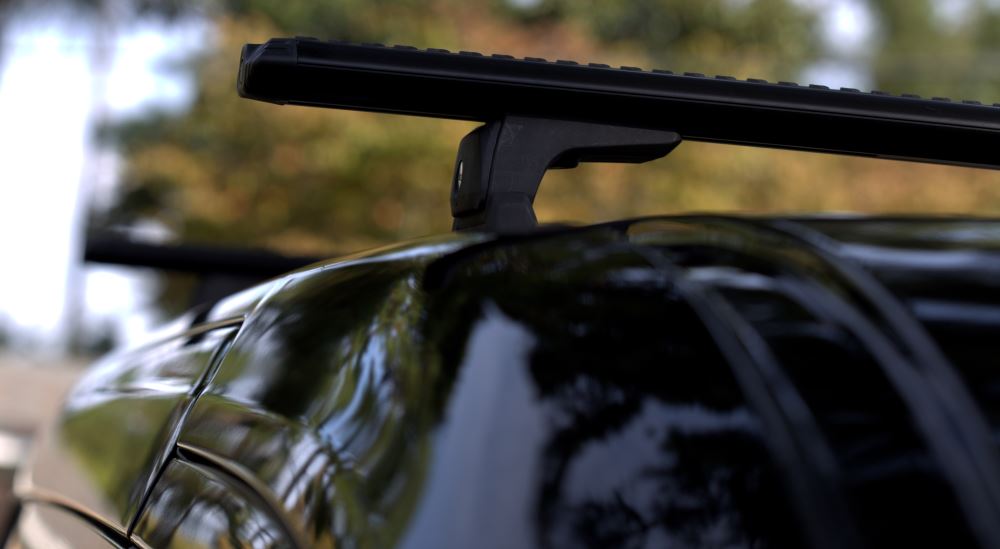
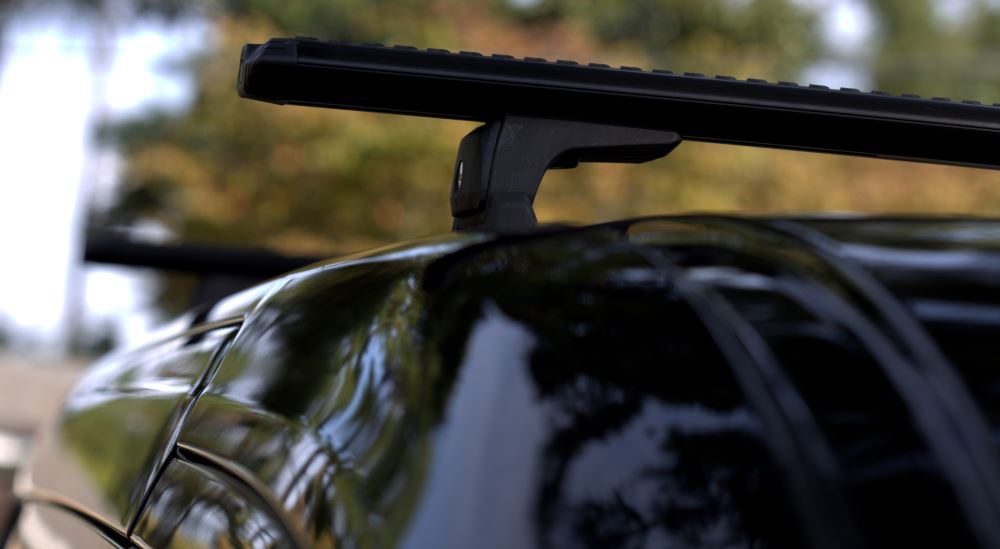
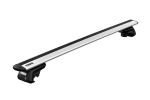
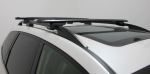
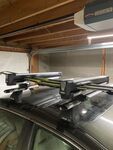
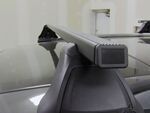
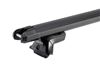
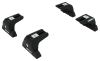
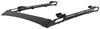
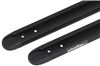
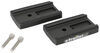
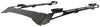
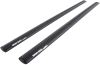
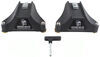
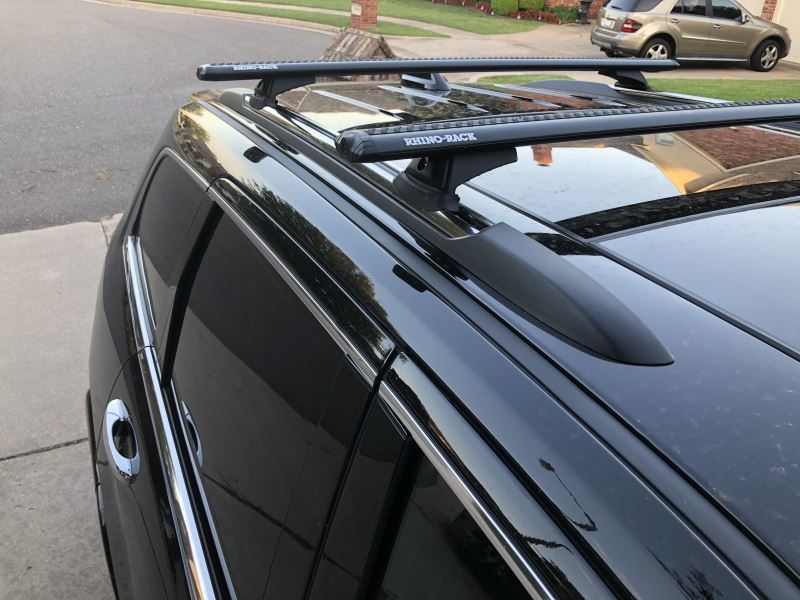
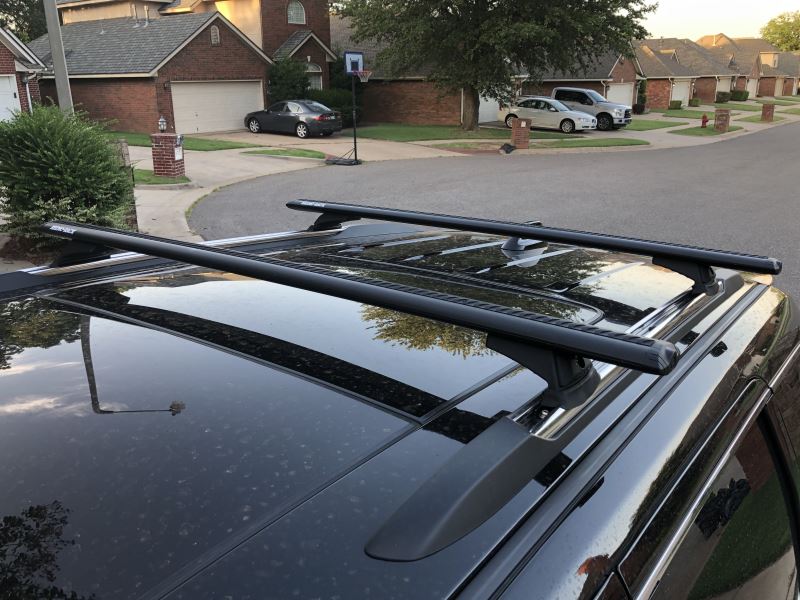
These 49" long aluminum crossbars give you the space and strength to bring your gear along for every trip. The setup includes 2 Vortex crossbars, 4 Quick Mount legs, 2 Quick Mount spacers, and 2 RT tracks for a complete system. With a weight capacity of 165 lbs, the sturdy build handles heavy gear with ease while staying light on your roof.
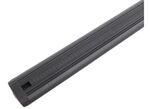
Nobody wants to listen to wind noise on the highway. The aero-style shape of these bars helps air flow smoothly over the top, and the rubberized Vortex strips in the top channels cut down on drag and whistling. The result is a calmer ride—even when carrying large cargo boxes or kayaks.
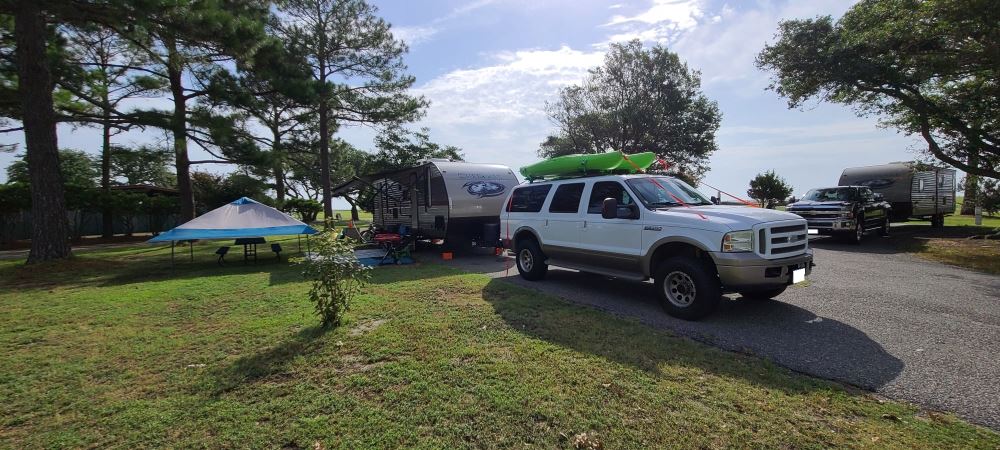
Whether you’re heading out with a paddleboard, skis, bikes, or a cargo box, these crossbars keep your setup simple. They work with accessories that mount in the top channels or clamp around the bars, giving you flexibility with nearly any outdoor gear.
Integrated plastic locks in the crossbars deter theft of channel-mount accessories, so your setup stays put when you leave it unattended. For extra security, you can upgrade to all-metal locks (RRVA-LEC4 – sold separately). Lockable cover plates on the legs keep the entire rack secured to your roof.
These black aluminum bars are built for years of hauling and adventure. The crossbars come with a limited lifetime warranty, while the legs, spacers, and tracks each include a 5-year limited warranty. It’s a setup designed to stay strong through countless trips on and off the road.
 Alternate Instructions
Videos are provided as a guide only. Refer to manufacturer installation instructions and specs for complete information.
Hi, everyone, Jesse here with etrailer here. Today we'll be taking a look at and I'll show you how to install the Rhino-Rack Vortex roof rack for tracks on our 2018 Honda Odyssey. Minivans are pretty spacious, but they're almost always full of people. If you've got a big family, all the seats are gonna be full, so it's always nice to add some extra storage space onto the roof of the vehicle. And adding a crossbar system like this will allow you to do that. With this, you can throw on a cargo box or a bike rack or kayak carrier, whatever you need to get that extra storage space.
The kit will come with the Vortex crossbars that a lot of people know and love. They have an aerodynamic shape to 'em, and the Vortex strip here, which is gonna cut down on wind noise. The unique part about this kit is it comes with this track system, which actually has to be mounted to the roof of your Odyssey. So it's a little bit of extra work for the installation as opposed to other systems that would maybe clamped around the door. Since this is a minivan and we have a sliding rear door here, we're just not able to do that.
But with that extra difficulty and installation, you get a lot of adjustability. You're not just stuck in a fixed position. You can adjust these crossbars to be anywhere as far as you can see this track. We have two end caps here. They'll come with two separate keys.
This top crossbar end cap, you would really only need to remove this if you had a track-mounted accessory. You'd simply use this plastic key, turn it counter clockwise, pop it out. Then you could figure out where you wanted your track-mounted accessory to be located. Cut the strip and reinstall everything. Pop that cap back in and lock it.
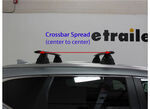
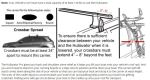
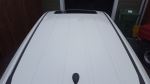
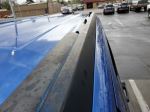
This is pretty secure. I don't think you would really need to worry about the security of this. But just in case you we inchesre worried, we do sell a locking version of this that would have a key similar to the other end cap here. In this end cap, you just use the key. It works just like any other key. Insert it, turn it, and we pull it out. Behind that cover, you'll see two red tabs here. These are what lock the crossbar into the foot here. Just simply pinch these together, and it will pop out. So you could do this if you wanted to just completely remove the bar, maybe you're planning on going through a car wash or something. You could remove the bar and install this plastic pin cap there. Or if you we inchesre looking to adjust where your crossbars are for your spread, you could pop that out. Loosen these two bolts with the included security Allen key, get your adjustments, tighten it down. And then to reinstall it, you just simply pinch these together, drop it down. Ours is a pretty tight fit, so let's give it a tap, and it'll walk into place and we can reinstall our end cap. The crossbars themselves are 49 inches long. As you can see, it matches our roof pretty nicely, and there's not a ton of overhang on our feet. And for a measurement from the roof to the bottom of our crossbar is at about three inches. That's plenty of room to get any of your accessories installed with the clamps underneath. And we don't have a sunroof, but if you do have a sunroof, that should be plenty of room to clear or get it wide open or even pop it up. And as for weight capacity, the roof rack itself and the track system will have weight capacities, but we always recommend to double-check your vehicle's roof capacity ratings and go off the lowest rated number. As for the installation, I wouldn't say it's too terribly difficult, but it does involve using a pneumatic air riveter to get the track system installed. And also a pretty scary step in the process is drilling holes into the roof of your vehicle. So I understand if it's not something that you're comfortable with or maybe you just don't have that special tool, feel free to check out our dealer locator to find somebody local to you that can assist you with the process. If you have installed this yourself and you wanna share some tips or tricks with us, or maybe you just wanna show off what you're using your roof rack for, please feel free to leave a review or a comment. But otherwise, we'll get to the installation process and I'll walk you through it all. So we'll start off by cleaning the work area just with a soapy rag. And then what we'll wanna do is tape off everything. That way while we're working up here, we're not scratching anything. So I'll just run a few strips of painters tape, basically from almost the windshield all the way back. (painter's tape screeching) In the instructions, It'll say that you want your tracks as far spread out as possible, meaning that you wanna mount it as far outside as possible. So you can kind of see there's a little bit of a drop off. So where I'm gonna line everything up will be just before that drop off. That way everything's sitting that level, it's not dropping down, but we're also as far outside as we can get. And I've already set up the driver's side, but this will be essentially the same process, so I kind of mocked it up. What you wanna do is just make sure you're not interfering anything. So you have an antenna or a sunroof, just make sure you're not gonna interfere with them once you get your crossbars on. But we don't have the sunroof. Our roof is pretty clean. So what I did was I measured 19 inches back from the windshield here and that will be my mark for the front. So, I'll just mark off the edge here. Then I'll do the same thing in the back. Just get a mark on that too. Now, I've placed our track on our roof here, and I actually taped down the back just 'cause our roof's curved and this is straight. So once to kind of wobble back and forth, it's not gonna hold it perfectly still, but it's gonna help me out while I mark out where we're gonna be drilling. So what we'll do is I wind up with my mark on the front side and the backside. And then through each hole on the top of our track, I'll just put a mark using a paint marker, and that'll tell me where I need to drill. Before we take the track off, I just like to go over at least once, make sure everything's lining up correctly, and also making sure that I actually made a mark in the tape. But once you've double-checked it, we can take this track off the roof. (painter's tape screeching) We're ready to drill. At this point, I've probably checked over everything like four times. It's kind of nerve-racking drilling a hole in your roof, but we're ready to get to that point. It's a five millimeter drill bit. Then I also have some strong tape just to stop me from going too far. In the instructions, it says to use a drill stopper or something like that, but tape should be fine. Just keep double-checking it, make sure it's not getting pushed back. But we'll just go down the line and get each one of our holes drilled out. (drill whirring) (drill whirring) (drill whirring) (drill whirring) I'll use a vacuum to pick up all this metal swarf that we left behind just to keep it from getting in our skin or scratching the clear coat on the paint. (vacuum cleaner whirring) With all that cleaned up, we'll just peel our tape off. (painter's tape screeching) Now since we exposed bare metal, the instructions will tell you to get some kind of fancy paint and use a Q-tip, but my paint marker's almost the perfect size, so I'll just make sure we get that all around there, covering up all the bare metal. And it really doesn't matter what color you use because we'll be covering all these holes anyways. I've waited for that paint to dry, so now we can install our little beautiful tape pads. What we wanna do is just line up the hole with the hole that we drilled as close as we can. It doesn't really have to be perfect. Then we'll peel off the back. Before we rivet our track into place, we'll need to install our end caps. They just slide into the outside on both sides. Then flip it over and you'll wanna peel off the backing paper on these little pads here. When we drive these rivets into place, the kit does include one spacer to slip over the top. But I'm assuming it just depends on your rivet going, I was finding that with that one spacer, it was still making contact to you and kind of scratching our paint. So I just grabbed the nut that's about the same size and that's gonna keep our rivet going from making contact with our track when I installed the rivets. So we'll start with our first hole, get everything lined up, push your rivet down, and we'll pop our spacers on top. And I'm just gonna work my way down the line, one rivet at a time. It may take some adjusting to get everything line up. And one thing I recommend is push down pretty firm on it, make sure it's sitting flush. And then you'll want to kind of give it a tap just to make sure that it's seated right and then we'll drive that in. (riveter clacking) (riveter clacking) Now we're ready to install our crossbars. I already have the rear set up. It's gonna be essentially the same process. On the front one, there's just one extra step. If you want your crossbars to be more even as our roof's a little bit lower in the front, there's an additional spacer that I'll show you how to install. But we got the back set up so we can get our crossbar spread, which is really up to you, just depending on what you're planning on using your roof rack for. We always go with middle ground of 30 inches, so that's where I'll get ours set up. So we have these blocks here. They have threads in the middle. We need two of those for each side. It just simply slides in from the front. We'll get those slid about to where I need them in order to install our foot here. I'll just get those lined up. We're gonna use the outside holes with our setup. Once you get those lined up, we'll take a bolt, a split washer, and a flat washer, and we'll get that threaded out out. Now, we will take our included Allen wrench, which is a little bit different than the Allen wrenches you probably have at home. There is security style, so they will have holes in it, but they work the same way. And we'll get those tightened up. I just wanna get these tightened up until that split washer is flattened out, and that's what's gonna lock our bolts into place. Once we have those tightened down, we'll use our rubber stopper to fill the extra hole, and then we'll repeat that process on the other side. Now for our legs, we'll put our key in, unlock it, pull this out. That'll give us access to our bolt on the bottom here. And the hardware does come preassembled, so when you're doing the rear, you'll just have to loosen this up. But since we're adding the spacers on, we'll actually take this all the way off 'cause our kit comes with some longer bolts. Get that off, set that aside, and we'll just swap our washers over to the longer bolt, split washer, then flat washer. Then with our spacer, we'll just line up the logo there, go there, insert bolt back through the bottom, and we'll just barely thread this on here. It'll make it easier to get installed on our crossbar. So we have our crossbar upside down, and we'll just slide it in with this part facing the outside. Then right now, we're not gonna tighten down all the way. I'm just gonna tighten it down enough so that when I pick it up, this foot or leg won't move around, but loose enough to where I can move it manually to get our adjustments done. (Allen key clacking) (Allen key clacking) So we brought our crossbar over to the roof and got our locks to engage, now we need to find our overhang measurement. So what I'll do is measure my overhang of both sides, adjust them till those are even, then we'll take it back to the work desk so that we can install a few more components. Before I take these back off, I'm actually going to tighten down our bolts. And since we have enough room between our roof and our crossbars, it's not too difficult to get them tightened. So just to make sure that nothing moves while I'm taking 'em off, I'll tighten both sides down and we'll get to work on. On our bottom side, we'll need to fill this gap here. So our kit comes with these strips with measurements on them. That's just to make it reinstalling a little easier. They simply just push into place. I like to push it into place, kinda eyeball where I need to cut. And with a pair of scissors, I'll make that cut and you can get that jammed into place. We have to cut just a little more. (scissors clacking) (scissors snapping) (scissors clacking) We'll get that into place. And then I'll cut out another piece for our outside just using the scrap that we have. (scissors snapping) Now with the top side, we'll install our Vortex strips essentially the same way. They're just a little bit tougher to get installed, but we'll just go one strip at a time. And then eventually we'll get to the end and we'll have to cut a little bit out of another strip. (scissors clacking) Now we can reinstall our end caps and lock 'em into place. Now we got the crossbar at the car. First, we'll get our locks pulled in and pushed in, and we can get it engaged with our foot here. (locks popping) Now we just need to get our end caps in place and locked, and give everything a good shake test. But otherwise, that's gonna do it for our look at and installation of the Rhino-Rack's Vortex roof rack kit for tracks on our 2018 Honda Odyssey.
Ratings & Reviews

The quality is very good. Ordering was easy and installation using the video made the process so simple. Glad I order them from here instead of somewhere else.
Works great like the quick disconnect for taking off cross bars
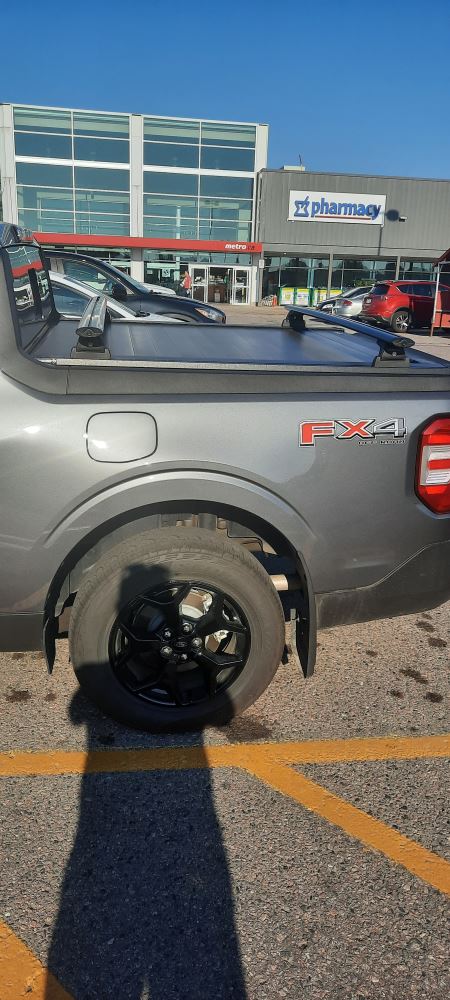
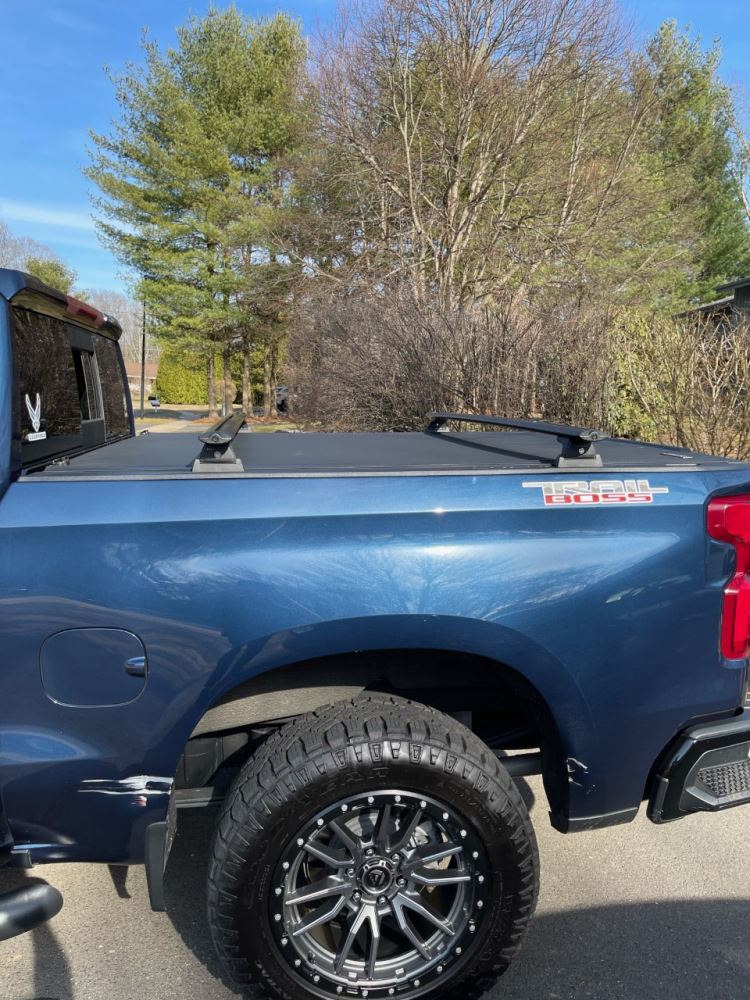
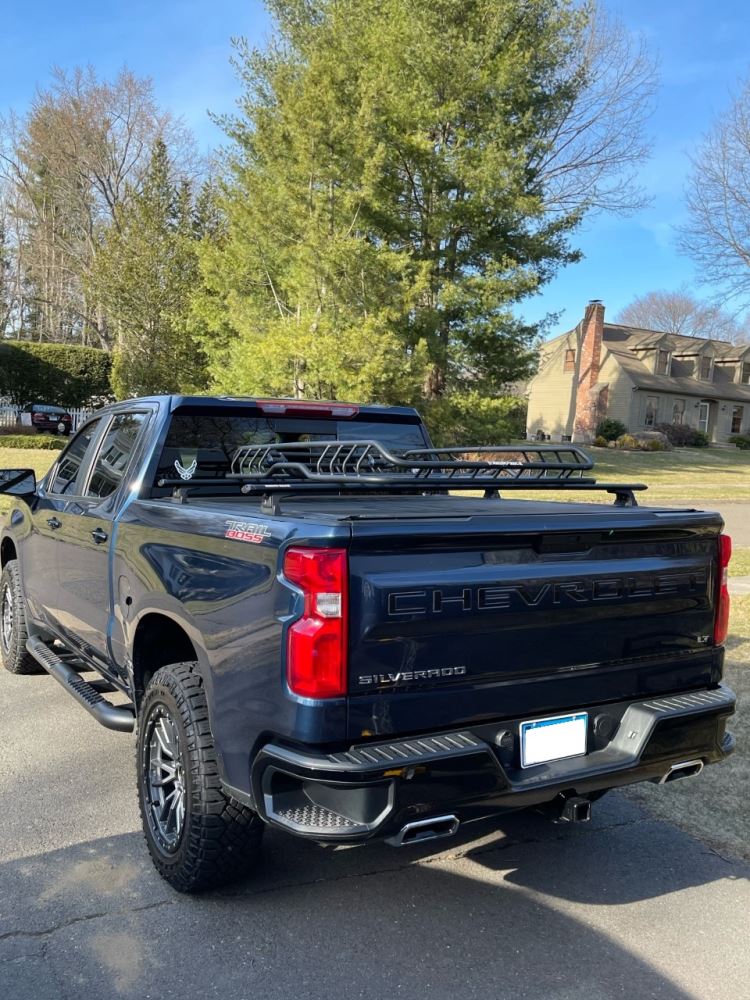
Very fast shipping, and exactly what I needed for our truck rail system with tonneau cover.
Delivery was a little slower then I would have liked, but otherwise it was perfect. Great customer service when I called to ask about them. Make sure you read the instructions when you install (I didn't and wasted an hour fooling around with the wrong parts) other then that, the install was smooth as silk.
The bars look and feel great. They have such a tough presence while still being aerodynamic. I love the look of the rubber grip strip on top and I like how the rubber strip on the bottom ends have graduations so you can easily match the overhang with the other side. They feel incredible strong, no bend in the them at all. If the platforms were a bit more robust this thing would outshine all the competition. However, it competes with every other system at a much lower price point so that gets 5 stars in my book.
I spent a week reading reviews and forums to find the right one for my 2019 Jeep Cherokee that I just bought a few weeks ago. I just have to overthink everything but it paid off. I just received them this morning and installed them myself! First time for everything! It was really easy. The only part that was frustrating was the very first part... sliding the rubber pieces into the crossbars. They would not slide very well so I ended up using a bit of oil to make them slide better. Other than that, installation was easy and quick. I LOVE the looks of them. Very gorgeous!!! Thank you so much!! Very happy with the end result!!
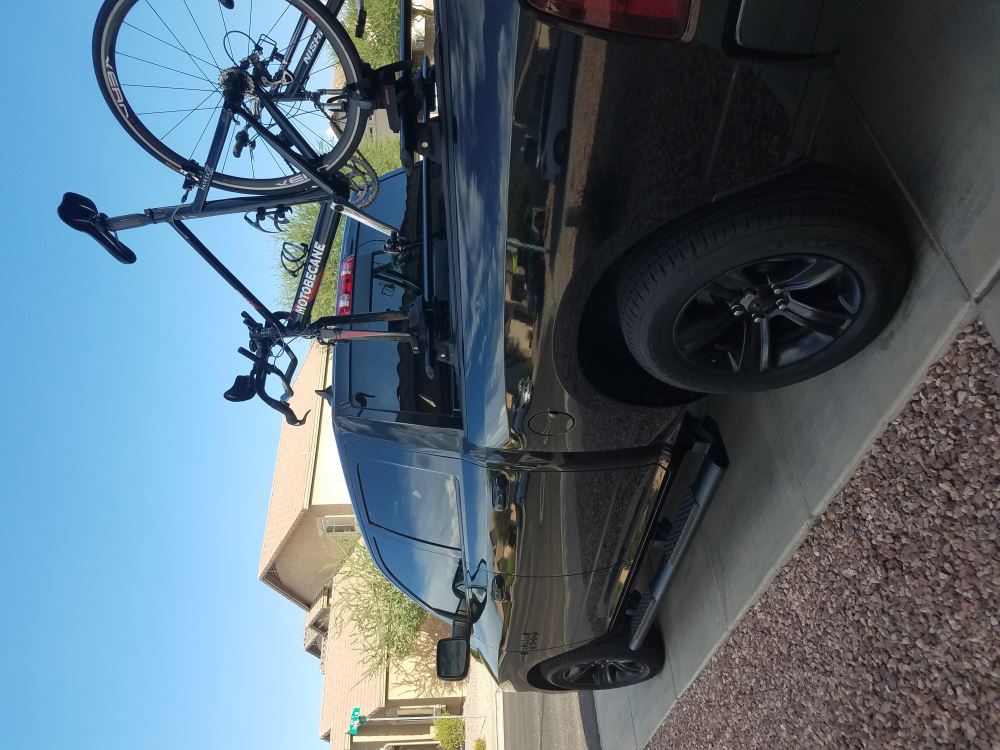
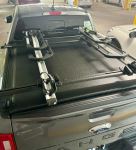
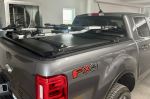
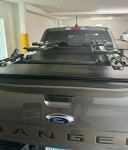
My Thule UpRide Roof bike rack mounted perfect in the T-Slots! Mounts easily and no issues in the Truxedo T-Slot rails on my Ford Ranger.
Mounts perfect in Truxedo T-Slot rails.
Easy to read instructions, easy to install. Watched the install video a few times just to be sure! They do whistle a bit at highway speeds, but certainly not unbearable. In fact, I was surprised as to how quiet they are. It's to be expected, especially when paired with kayak j-racks. So happy with this purchase and I would definitely recommend them!
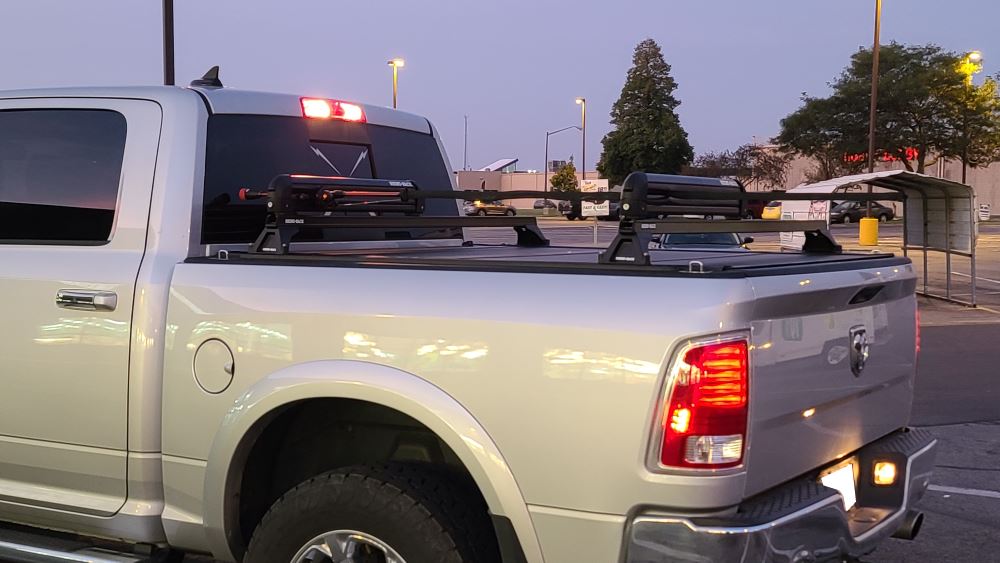
my rhino crossbars and a rhino basket purchased else where months ago. With dogs traveling in the backseat and limiting my cargo space with a locking retrax bed cover I needed a little bit more room for those extra things I couldn’t live without in my travels. Paula S was the bomb and assisted me with the perfect size setup. Super fast shipping.
Received the roof rack on the date promised, it was well packaged and all parts required were included. Everything fit together very well and the instructions were easy to follow. The rack looks good on the car. Once the rack is installed and the included decals in place it only takes a few minutes to remove it and reinstall. This is important for me because we will only use the racks to transport our kayaks the rest of the time they will be removed and stored.
There are two small items that can be improved. First the legs are different lengths yet nowhere in the instructions does it tell you where each size goes. Second I own 10 tape measure and not one of them is in meters and I do not care how good your eyesight is you are not going to be able to measure to 53/64". If the measurements are critical you should ensure customers in the US have measurements they can use or include a MM tape measure.
Overall this is a very good product that I would purchase again and recommend to friends.
Incredible product super reliable , over a year of having it not a single issue , ima super hardcore fisherman , and also use the bed of my truck for various activities I can’t believe how easy this is too completely disassemble and put back together , this is a thief deterrent. Use it on a F 150 2022 truck with retrax electric bed cover
Love these aero bars. Perfect for on my 2018 Grand Cherokee Trailhawk. Run fairly quiet and perform as expected. As always the customer service from etrailer was top notch.
Rhino-Rack installed on my 2022 Jeep Cherokee. There was wind noise (whistling) when all the rubber spacers were not installed, now it’s very quiet. I also installed the Yakima fishing rod//Ski holder. I wound up deviating from the directions and using the third lot, so the clamps would close on the bar. So far so good, without the fishing rod holder it’s low profile enough to get into garages, etc. Fast delivery on the products.
I ordered the complete Rhino-Rack with legs for my 2009 Subaru Forester. I watch a couple of videos prior to installation. Followed instructions and installation was completed without any issues. Product was delivered promptly and Natalie helped me with my order and she followed up to inform me of the status of my order. Thanks for the help and thanks for a product.
My Rhino-Rack Aero 2500 roof racks fit solidly on my 2007 Honda Civic EX. I was really impressed with the construction and strength of the rack system. Also the versatility of the 'legs' with a swivel pad allow them to fit any roof pitch perfectly. The clamps are so solid, nothing could knock these racks off. I added a paddleboard attachment and went surfing today. The black racks also look great with the black trim on my silver Honda. Great product at a much better price than Yakima or Thule.
My inital thought of these crossbars were that they were going to be too small. Two of the other big makers call for 53" min and 60" recommended. However after installing, 49" is a perfect fit for the Cayenne I feel. The rack is extremely quiet (make sure you use the channel rubber on top and bottom) The Cayenne is fairly quiet car inside and it was one of my big concerns but I only hear what sounds like a slight rush of air, no buzzing or whistling at all.
The downside to this rack is I think the black paint is too thin. Just laying it on the pavement while setting up caused scratches to appear. Silver would be the way to go if your getting these, or spray them plastic.
I bought this rack for my son who is a rower so he could take his single shell and oars to regattas using his new Chevy Cruz. First trip from Wyandotte, Michigan to Boston, Massachusetts and back was great. A learning curve to get in the right spot on roof but very sturdy & strong. He is looking forward to many regattas with this car and roof rack. Very Satisfied with etrailer and the rack itself and thank you for the quick shipping.
Easy to install. The pins on the legs clamp perfectly into the fixed points on the car's flush rails. This is a nice low profile set up. The top of the crossbar is about 4" above the roof glass and does not interfere with opening the sunroof. This is a very sturdy setup for our Thule Motion XT XL. etrailer shipped extremely fast. Very pleased with my purchase.
These crossbars were easy to install, are sturdy when installed and look great on my factory side rails when installed with the SX Series legs. The standard end caps are an all-plastic affair and use a little key to engage a cam lock. That plus the distance from the end of the crossbar to the nut that tightens the foot onto the rail keeps things relatively secure. Most people probably want to opt for proper locking end caps, though.
The rubber vortex strips look nice and give items something grippy to rest on. I haven't tried a load test yet but did drive around in moderate wind on the highway in multiple directions. Other than a slight whistle at 70 mph, you'd never know they were there. Overall, real happy with the product and looking forward to hauling some stuff around with them.
You have to order the cross bars and connector hardware separately. I also ordered the end cap locks.
I consider myself a pretty good DYI person and it took longer than I expected according to other reviews on here to get everything installed and overlapping the same on both sides.
Once installed the crossbars are very solid. I do get noticeable wind noise at say 70+MPH.
I installed these on a 2020 Jeep GC Overland and they look and function great! Was a bit concerned about the sun roof retraction with the bars, but there is plenty of clearance. No issue.
I for sure recommend the Rhino Rail crossbars. Etrailer is a great site to get the bars. Given the COVID issues and supply chain breakdowns retailers are facing, they still had everything I ordered to me in a very reasonable time frame.
Great sturdy rack. I put it together myself and have already started using it. I was concerned that it would cause leaks in the door the way it has to mount..but its Florida and its rainfall in the past few days and no leak! The weak link would be the end caps..two do not lock on and im concerned the will fly off at some point.
Purchase for a 2019 Jeep Grand Cherokee, black rails. Perfect fit.
Excellent product and construction. I also have used it for mounting a cargo carrier for vacation and they held the weight with contents with no issues.
etrailer.com's videos and additional customer support made the purchase of a Rhino Rack system from them for our 2010 Malibu a no brainer. The rack fit the car perfectly, and with the videos and clear instructions that came with the kit, I got it installed on the car with only one misstep. The instructions came the the measurements in centimeters and inches. I didn't have a metric tape measure, and ended up messing up converting fractions to decimal.
My Daughter is going to college 500 miles away and is moving into an unfurnished apartment and needed to pick up some small furniture that wouldn't fit in her Malibu. She purchased several items from Facebook Marketplace and was able to transport a twin bed and mattress, a medium sized desk and some dining room chairs (in several trips) with no problems.
The only thing I can think of to improve the installation would be to have the Inches measurements in decimal or to include an inexpensive metric tape.
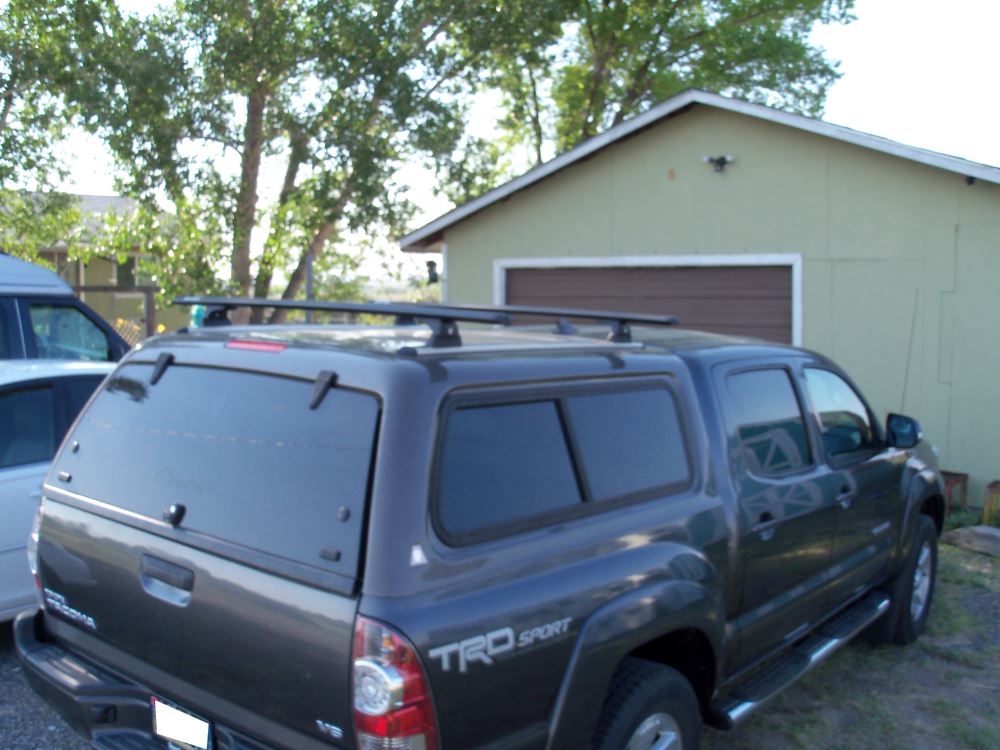
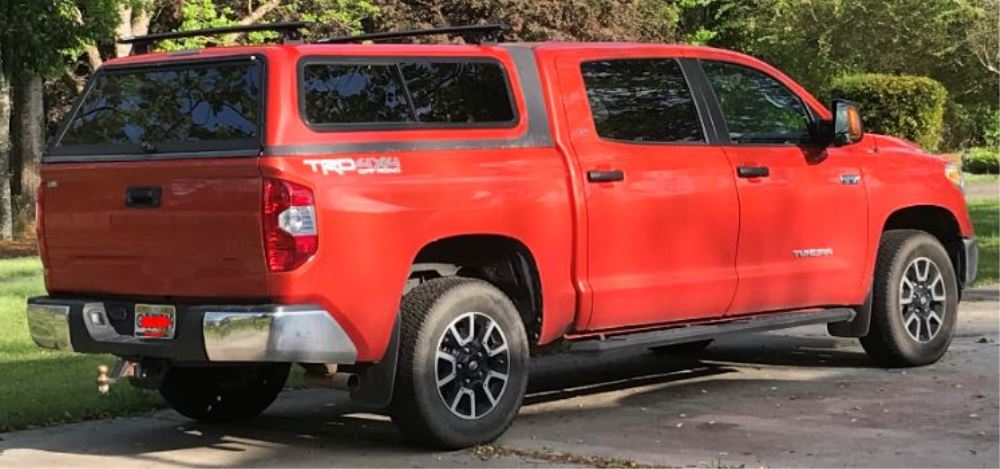
Great product! Works well with our Thule Tracker II rails installed on our truck cap. Solid system that is easy to install and remove.
Do you have a question about this Roof Rack?
Info for this part was:
At etrailer we provide the best information available about the products we sell. We take the quality of our information seriously so that you can get the right part the first time. Let us know if anything is missing or if you have any questions.



































Thank you! Your comment has been submitted successfully. You should be able to view your question/comment here within a few days.
Error submitting comment. Please try again momentarily.