
Yakima BaseLine Roof Rack for Naked Roofs - JetStream Crossbars - Aluminum - Black - Qty 2


To see if this custom-fit item will work for you please tell us what vehicle you'll use it with.


Thank you! Your comment has been submitted successfully. You should be able to view your question/comment here within a few days.
Error submitting comment. Please try again momentarily.


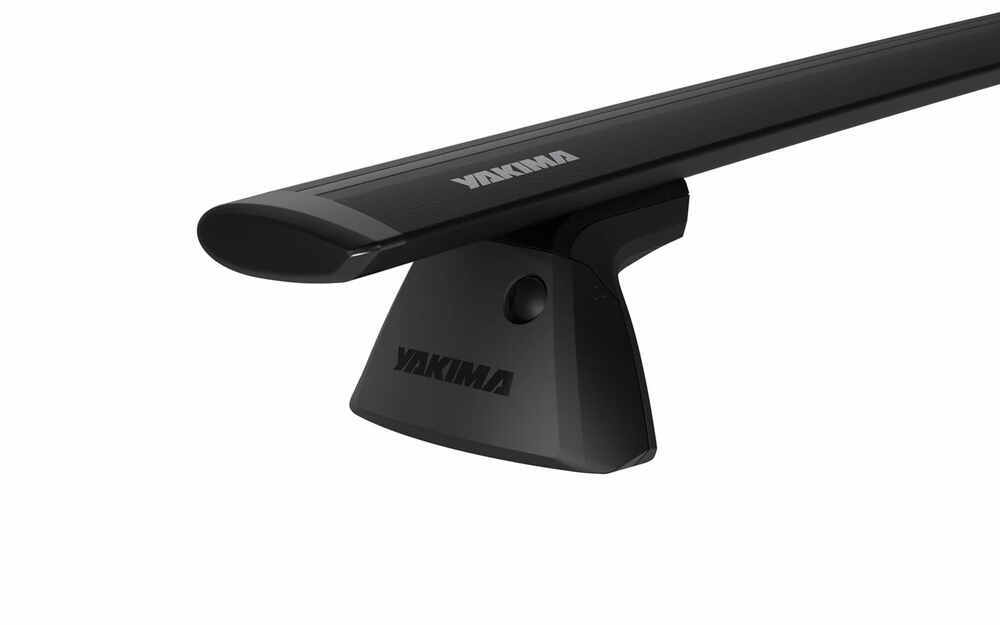


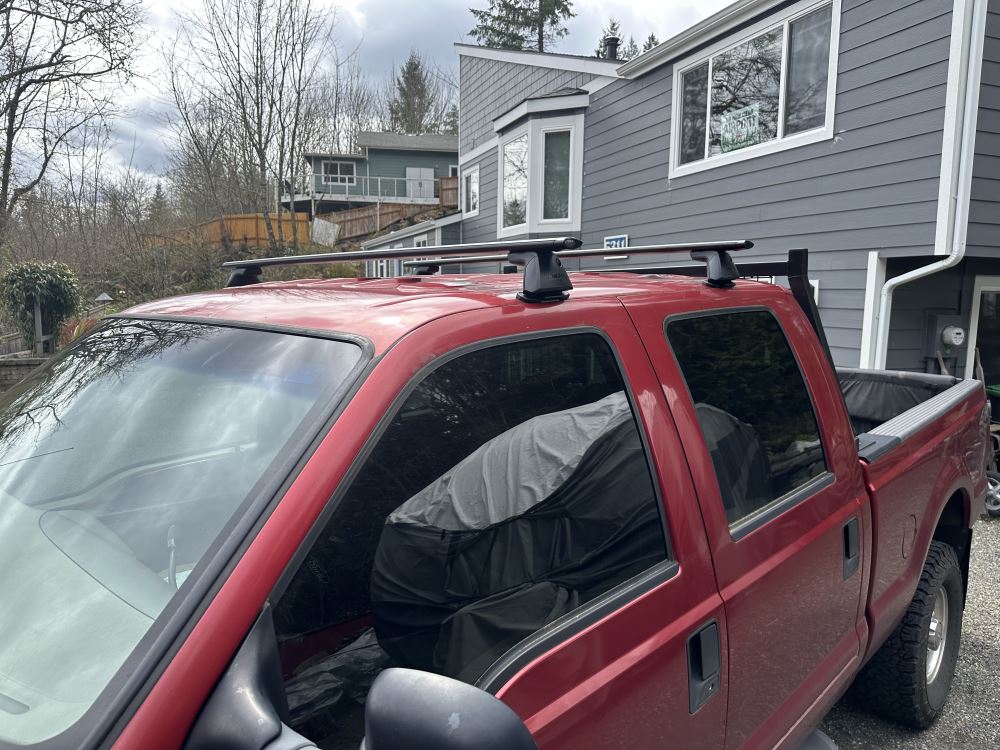
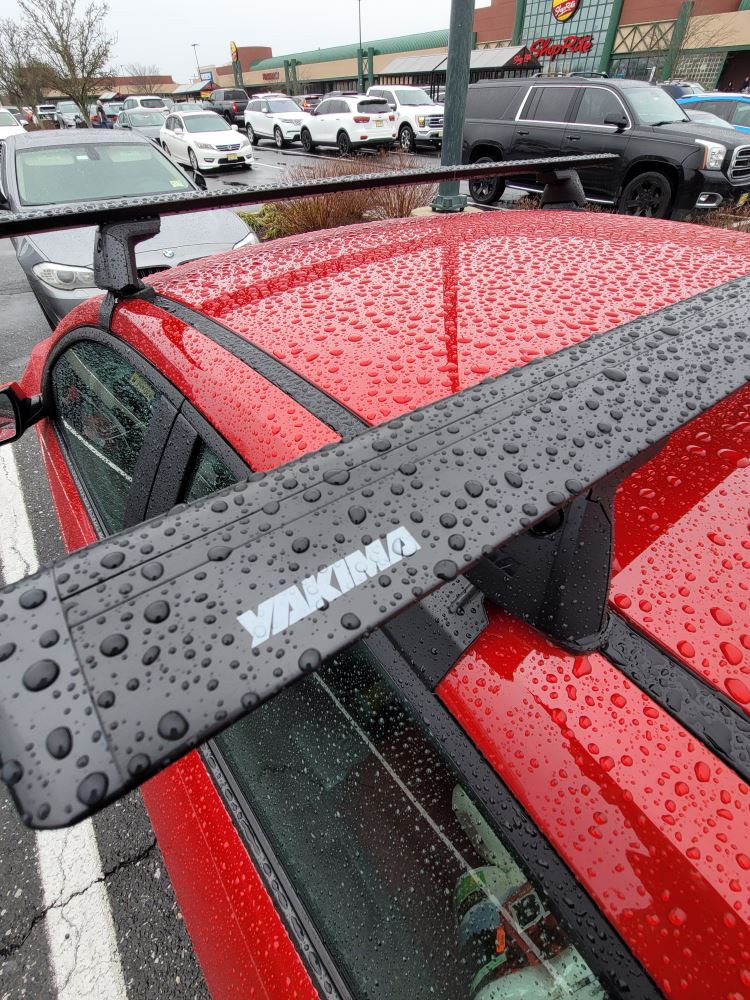
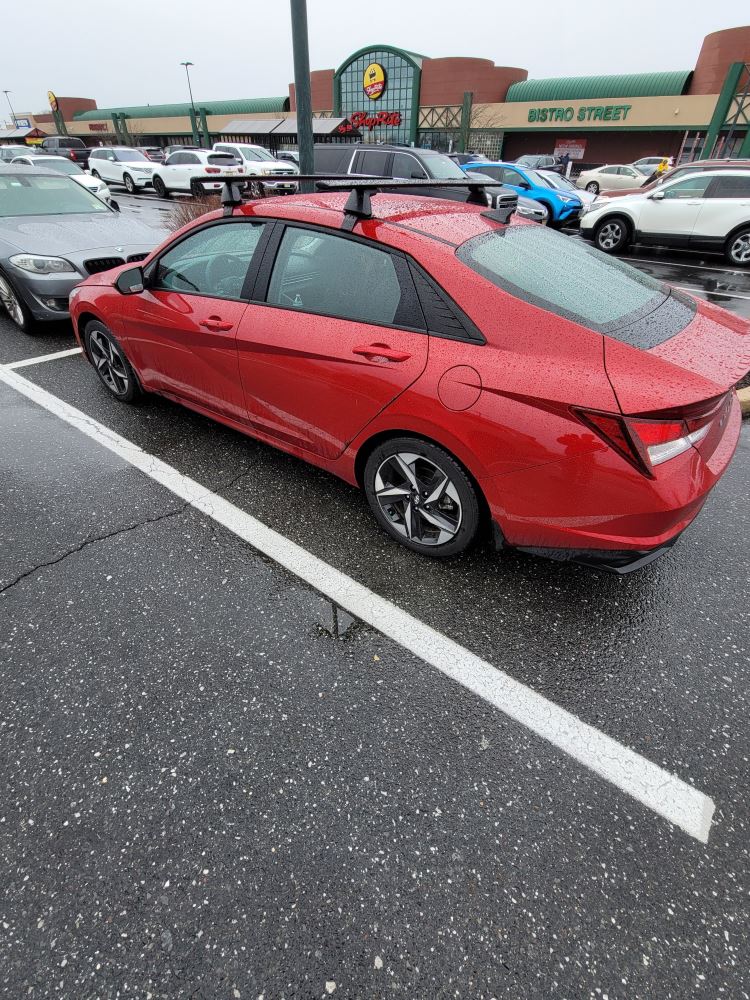
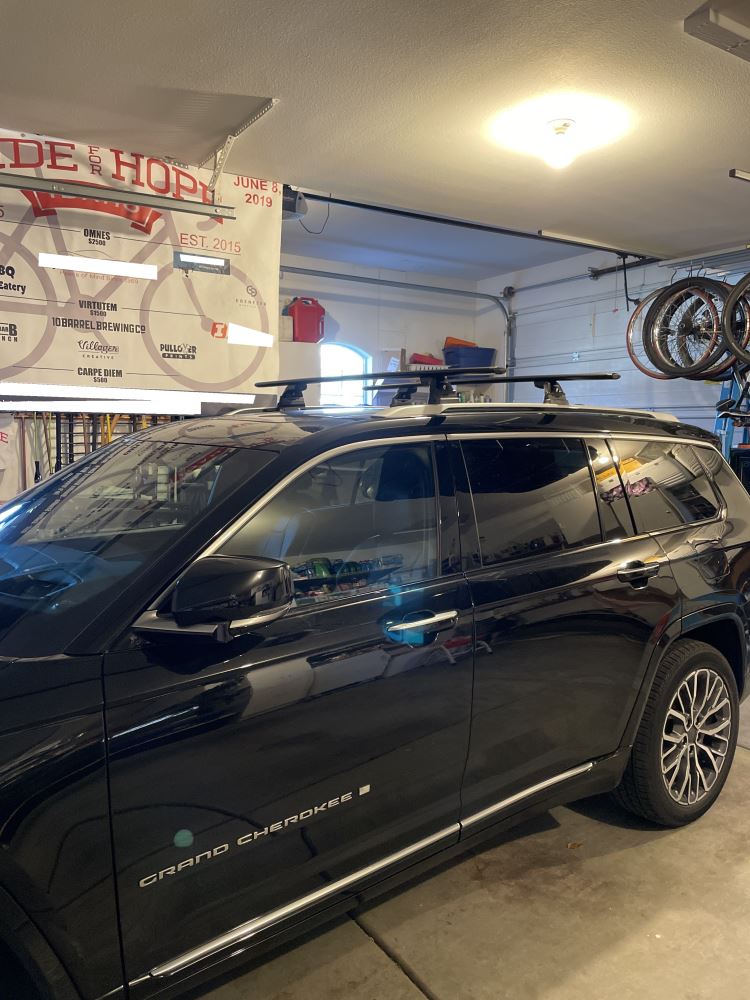
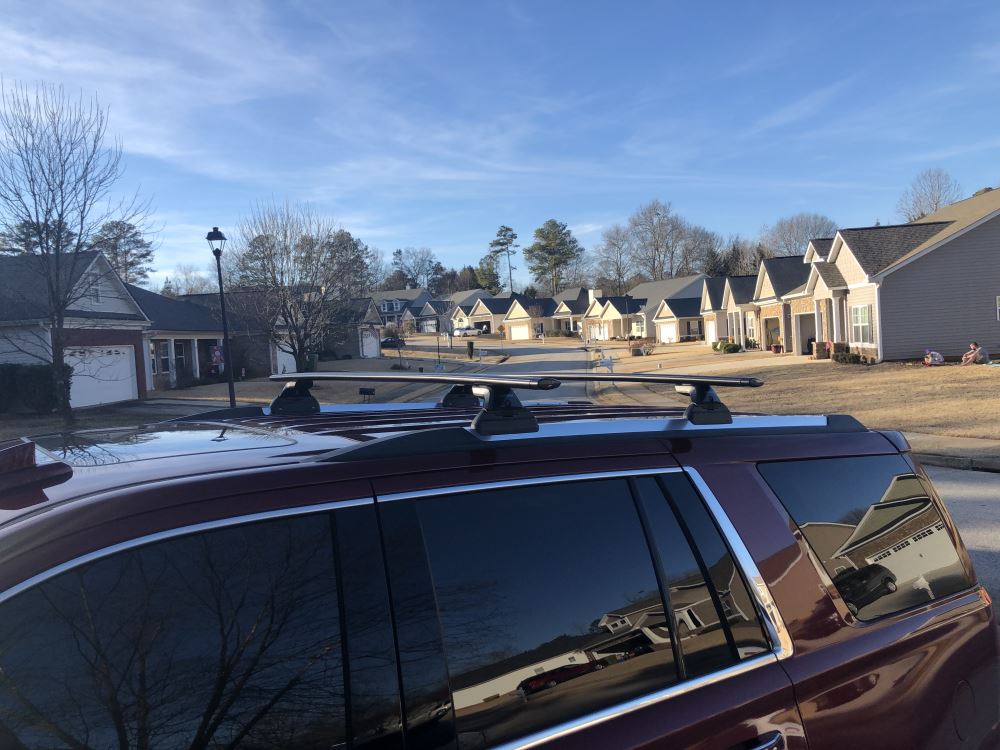
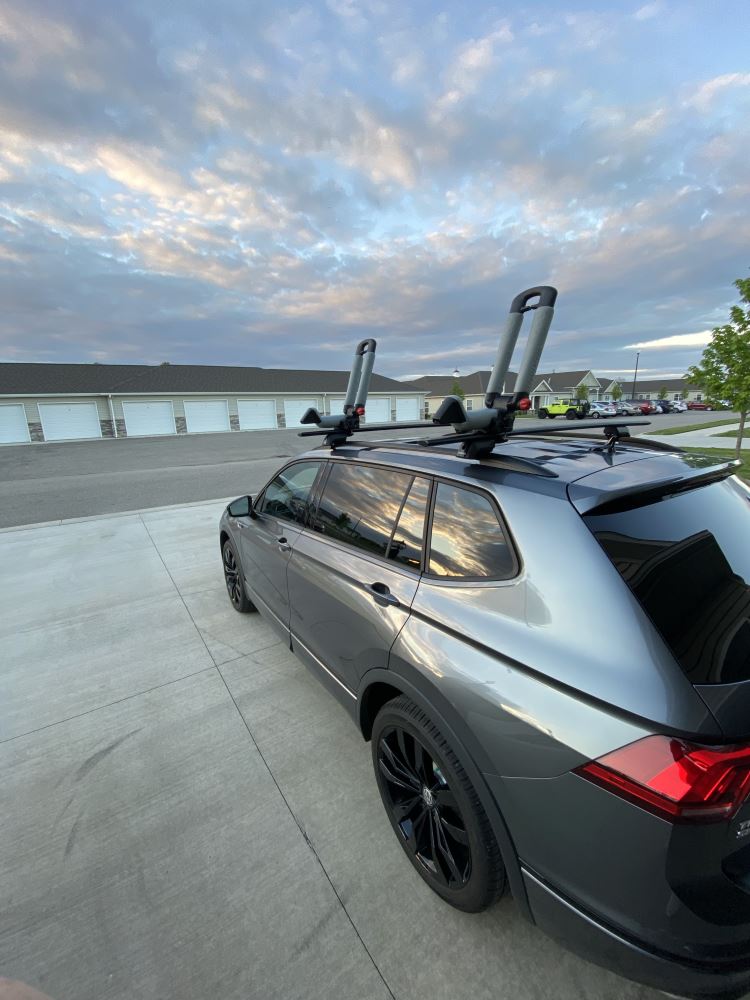
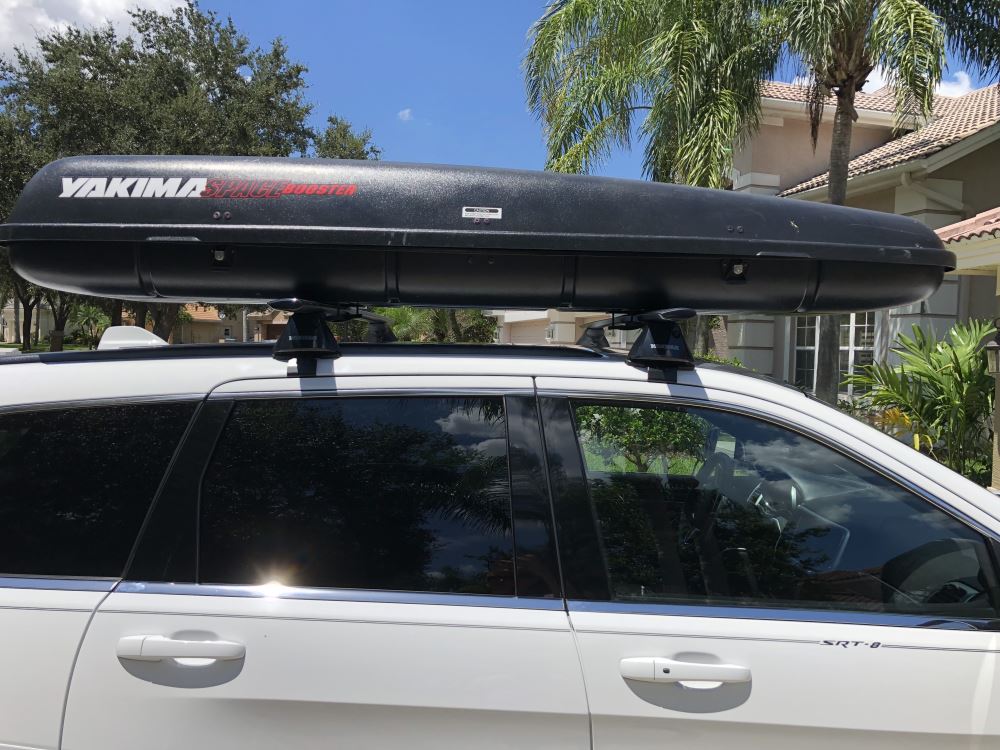
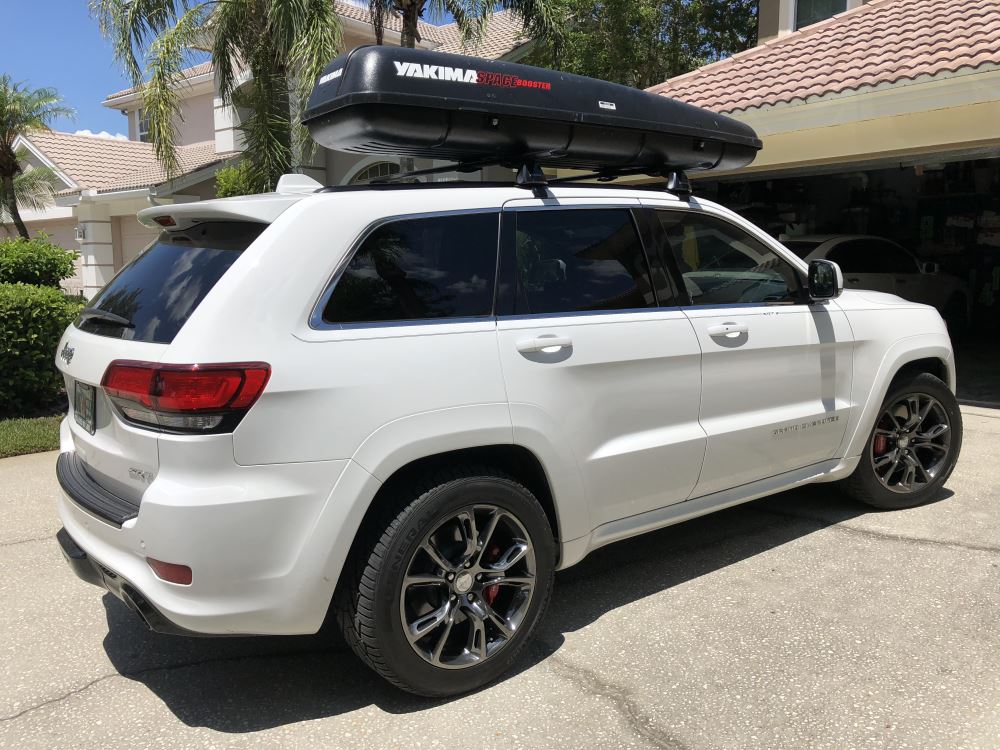
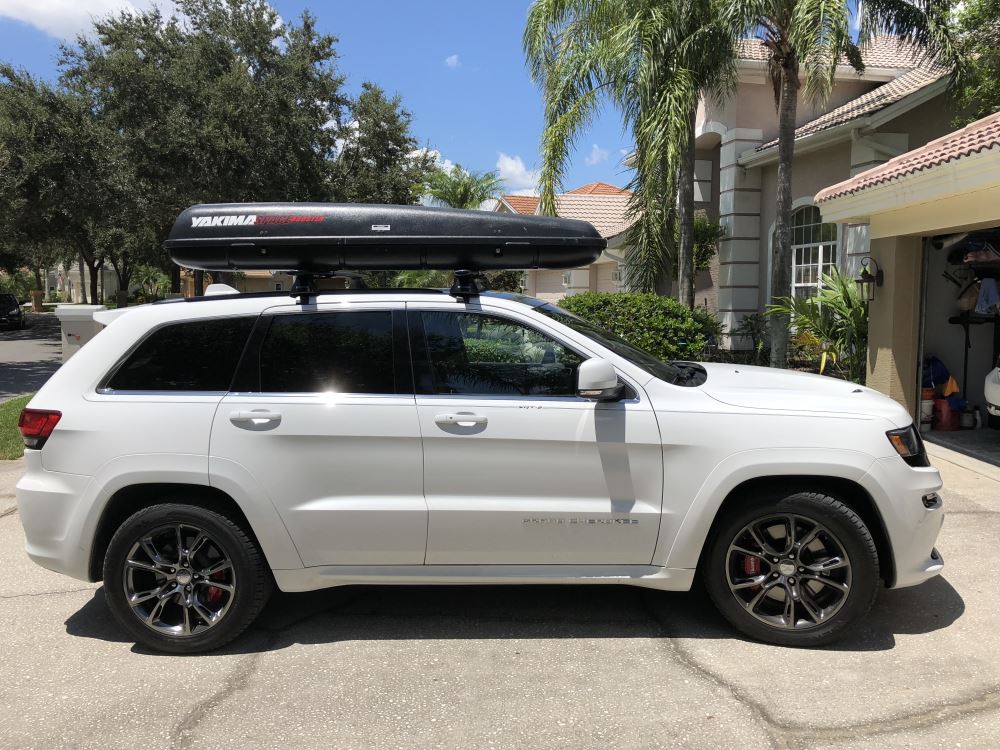
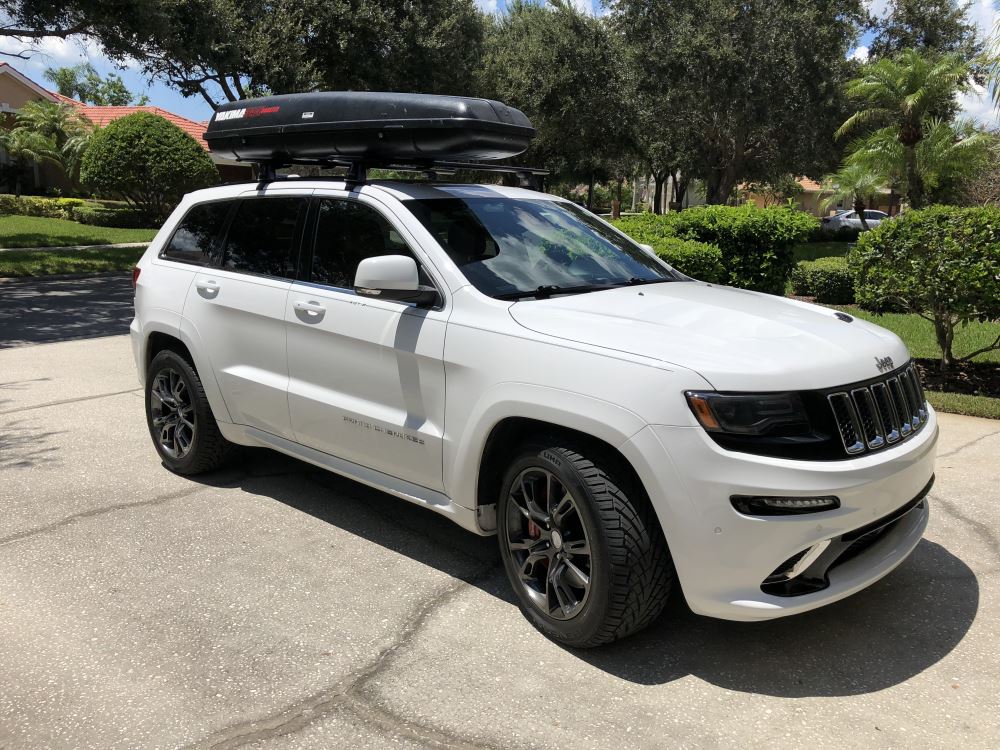
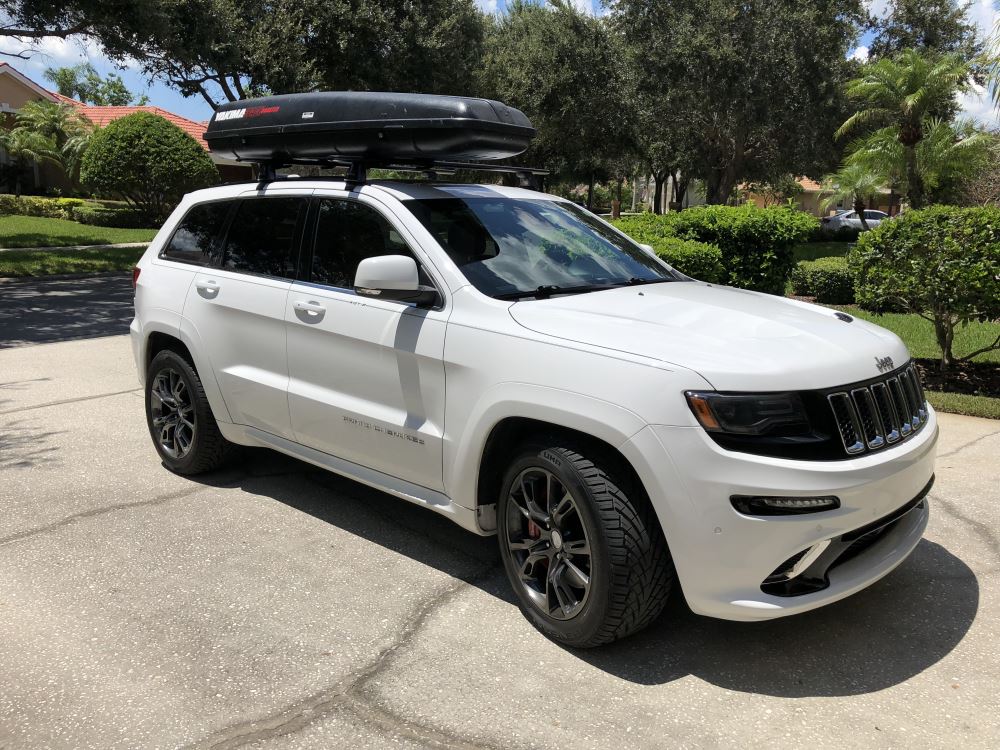
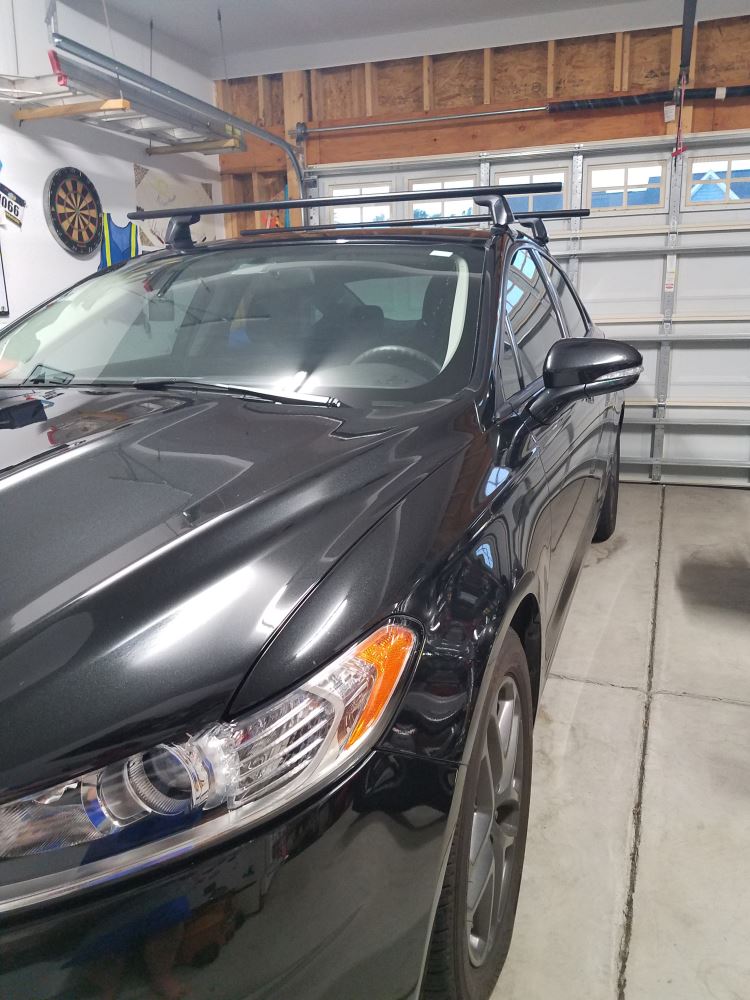


Roof racks can add wind noise that gets old fast on long drives. The JetStream crossbars on this setup have an aero-style shape that helps keep things quieter while you’re cruising. The rubber strips in the top channels press down around any mounted gear, cutting down on whistling and vibration. It’s not silent, but it’s a big step up from standard square bars and makes highway miles a lot more comfortable.
Some racks make you trim rubber inserts before adding your carriers or mounts. These bars skip that headache. The rubber strips in the top channels simply push down when you slide in your accessory hardware—nothing to cut or remove. When you’re done loading, the strips close back up around the mount, keeping things tight and protected from wind and weather.
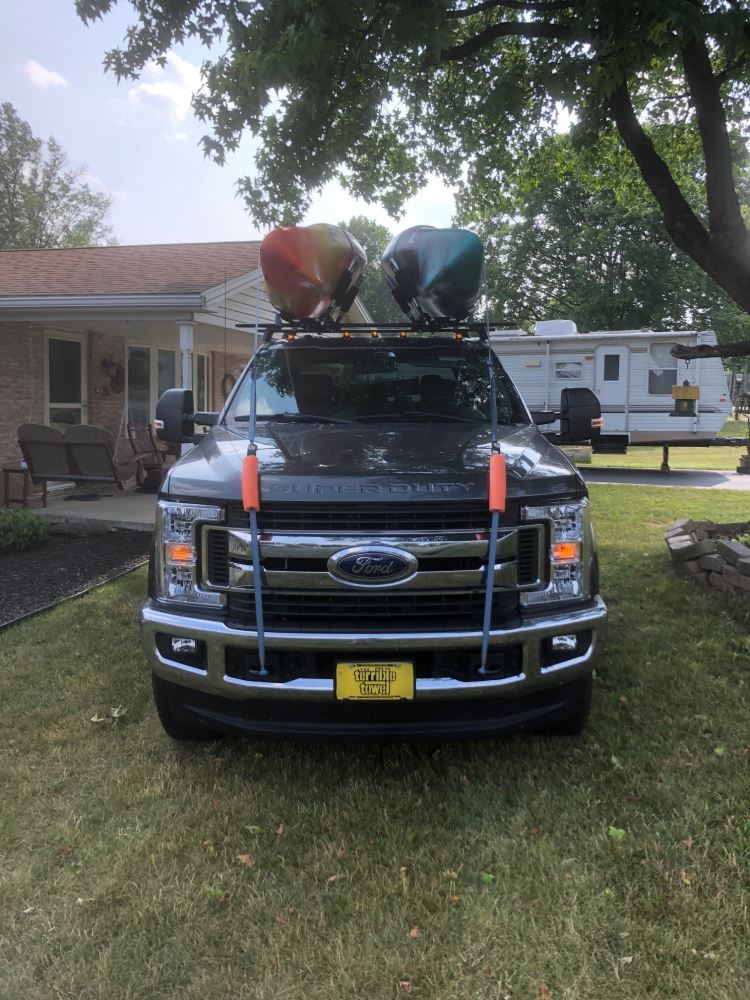
This roof rack is set up for flexibility so you can bring along whatever you need. It works with accessories that mount in the top channels or clamp around the bars, making it easy to switch between cargo boxes, kayaks, canoes, skis, or bikes. Whether it’s a family road trip or a weekend on the water, you’ve got options without needing a separate rack for every type of gear.
You want something that can handle real load without flexing or rusting out after one season. The aluminum construction gives these crossbars the strength to carry up to 165 lbs while keeping weight down. They’re finished in black for a clean look and backed by a limited lifetime warranty, so you can count on them for plenty of trips ahead.
When you park at a trailhead or stop overnight on the road, you can add some extra peace of mind by using Yakima Same Key System (SKS) lock cores. They install into the towers and let you lock everything down with one key. It’s a simple way to help deter theft of your rack setup when your vehicle’s out of sight.
 Alternate Instructions
Videos are provided as a guide only. Refer to manufacturer installation instructions and specs for complete information.
How's it going, Maverick owners This is Ed here with etrailer.com, and we're taking a look at the Yakima JetStream Crossbars for your 2025 Ford Maverick. Now this guy right here is gonna help you solve the issue of having limited cargo space because you have a smaller truck. This is gonna let you take advantage of all this negative space on top of your roof to get those bigger, bulkier items out on the road. So let's take a closer look and see what's special about it. On the Maverick with the OEM antenna, it does stick up quite a bit, so if you have, you know, a roof box or longer cargo basket, it may interfere with that. You might wanna look towards switching to an aftermarket antenna or just load accordingly.
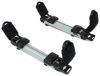
As far as the bars themselves, these guys are 60 inches, so it's gonna give you plenty of space to add most of your rooftop accessories. One thing you definitely want to keep in mind is that you stay within the capacity of the rooftop that's specified from Ford. These guys are aluminum boards, I mean, bars, and they're cut in a way that's designed to help minimize the wind drag, and when you do that it helps minimize wind noise, so that's actually gonna give you a more pleasurable ride. As far as the towers themselves, these guys right here are designed to hold up against the elements. These are similar plastics to the types that you're gonna have from Ford that are designed to deal with the hottest heats and the coldest temperatures.
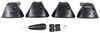
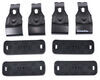
And as far as security, out the box you're gonna get this guy right here with this plastic knockout, but you can add a Yakima Same Key System Lock Core, and that'll allow you to use the same lock and key for all your Yakima products, so if you have a Yakima bike carrier or a SkyBox, you can just have that one single key and avoid that janitor key loop. As far as the fit, you can tell this is a custom kit from how it fits along the ridge of the gutter here. This guy's gonna hook underneath the door jamb. However, it is padded so it shouldn't damage your vehicle in any way. Now as far as the installation, it is super easy, and it's one of those installations that you may, if you had time, might want to involve one of your younger kids to hand you the wrench or the tape measure to make the process go a little bit better and create some memories.
Speaking of creating memories, we would love for you to share those memories with us. Show us how you set up your Maverick. Also, leave reviews and comments because, you know, we're all very enthusiastic about all the things outdoors and towing, and we just love that community vibe when we're just sharing and seeing how you're using our gear out here. As far as your setup, it's super easy. Only thing that you're gonna need that's not included is a tape measure, and I'll show you how to get it set up.
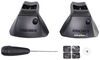
We're gonna start our installation on our crossbar by removing the end cap just to give us access to this channel, and now we'll get our tower together. So as far as the setting, this guy's gonna have a B and 2 for the toe and pitch setting, and that's gonna be in the center of both. So once you have both of these guys positioned right here where it's in the center, you're gonna fasten down right here, (tool clicking) and now we're gonna be able to install onto our track. We're just gonna align and slide this guy right on, and we're gonna use the measurement that's recommended from Yakima. Now we're gonna fasten our bolt here since we're in position, and we're gonna twist (tool clicking) until we hear our tool click. From here we're gonna take our foot making sure this curved part is pointing towards the outside because that's where our hook is gonna go. We're just gonna snap it right on. From here we're gonna head up to the roof. All right, we're gonna get this guy in position on both sides being cautious of our paint, and now we're gonna use our tape measure again to make sure we have the correct spacing for the Maverick. All right, now I'm gonna go to both sides and make sure that we're even. Now that we have our spacing set, we're gonna insert our clamp underneath and allow this bracket right here that has a hook to grab the top of it. From here we're secured in, and now we just need to torque it down to spec. The Yakima Torque Tool is going to click once you get to the necessary torque tightness. However, we're gonna go back and forth a little bit before we completely tighten it down because it has a tendency to pull from one side to the other. (tool clicking) Now we got this guy torqued down, we're gonna put our cap on the end. There's two little hooks on the bottom of the cap, and there it's gonna hook right in here (auto part snapping) and then snap at the top, and then we're able to put our end cap on our crossbar. Now we're ready to roll. And just like that you've increased your cargo area for your 2025 Ford Maverick. Using the Yakima JetStream Crossbars, they're gonna help you take advantage of this negative space on top of your vehicle. Have a great day.
Customer Satisfaction Score:
94% were satisfied with this product
6% of customers were not satisfied
Ratings & Reviews




Brooke M.
2/26/2025
Thanks, Eric! Glad the crossbars have been working well for you :)
Do you have a question about this Roof Rack?
Info for this part was:
At etrailer we provide the best information available about the products we sell. We take the quality of our information seriously so that you can get the right part the first time. Let us know if anything is missing or if you have any questions.
















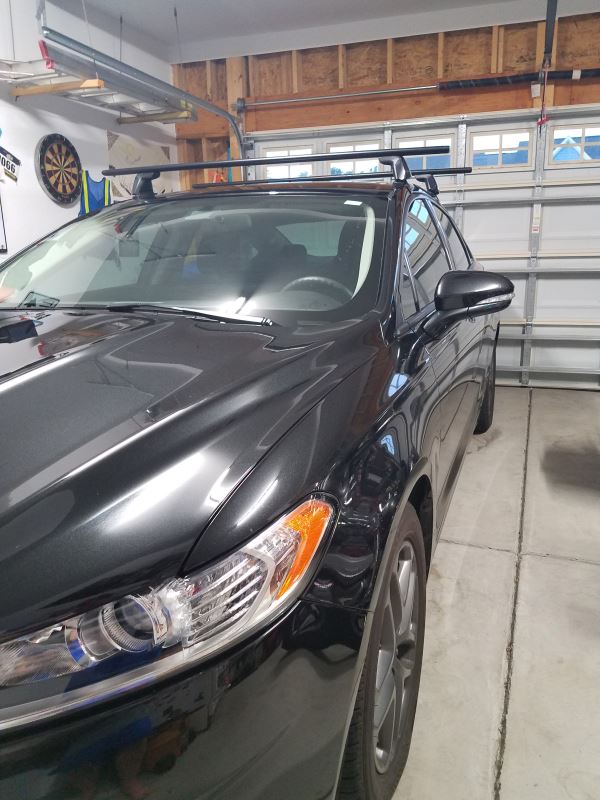


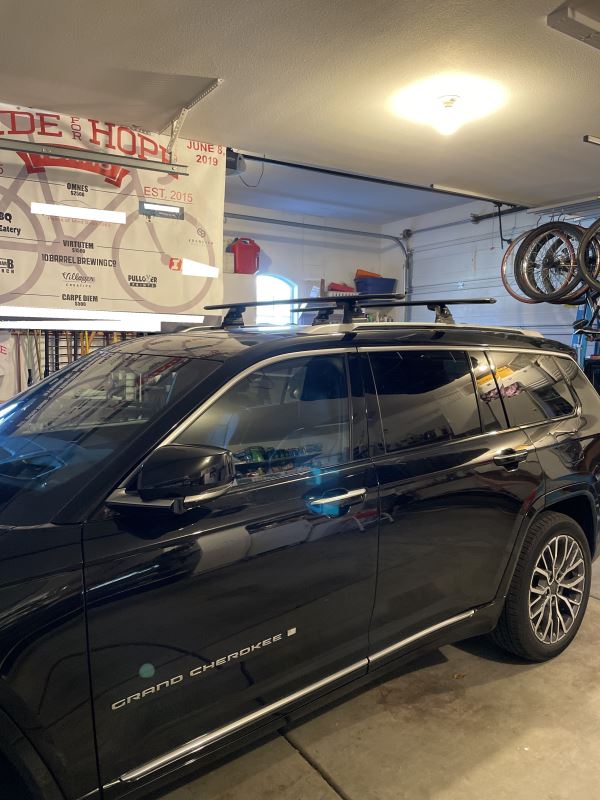










Victoria H.
11/29/2024
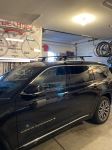
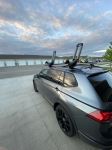
That's awesome Steve! Thanks for the photo; what a fun looking set up you have there.