
Curt Spectrum Brake Controller w/ Custom Harness - Dash Mounted Knob - Up to 4 Axles - Proportional


To see if this custom-fit item will work for you please tell us what vehicle you'll use it with.


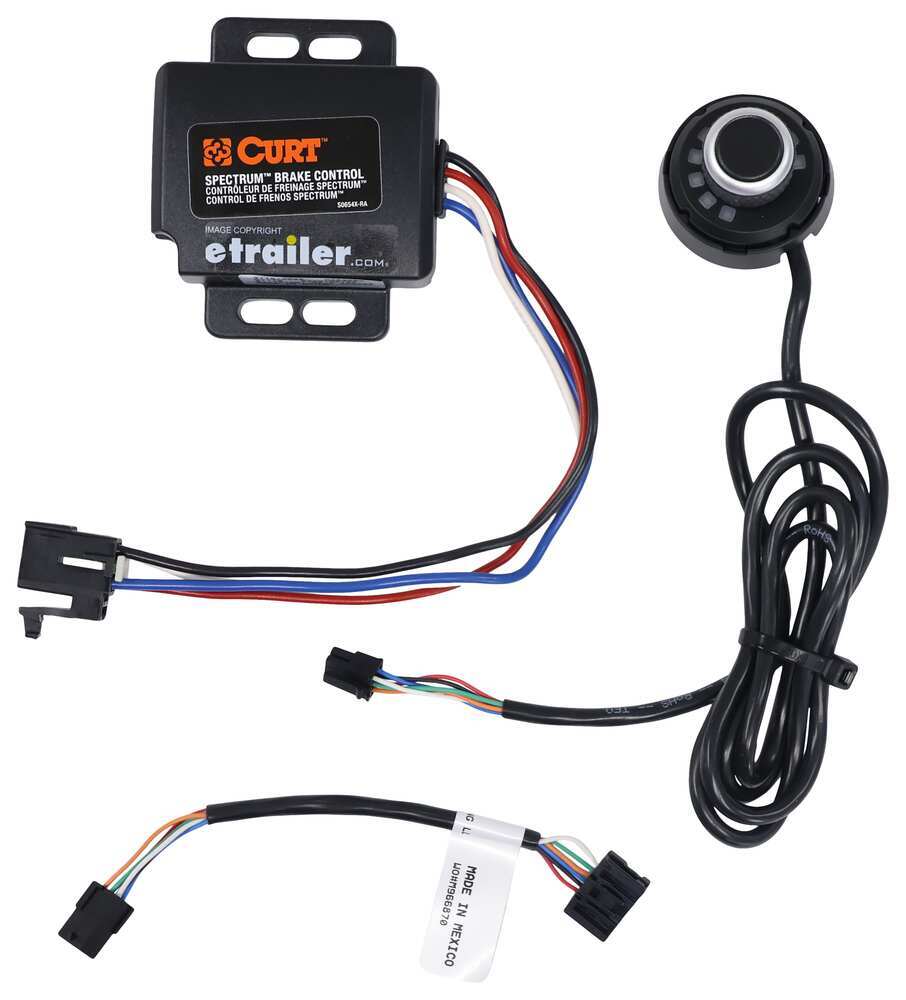
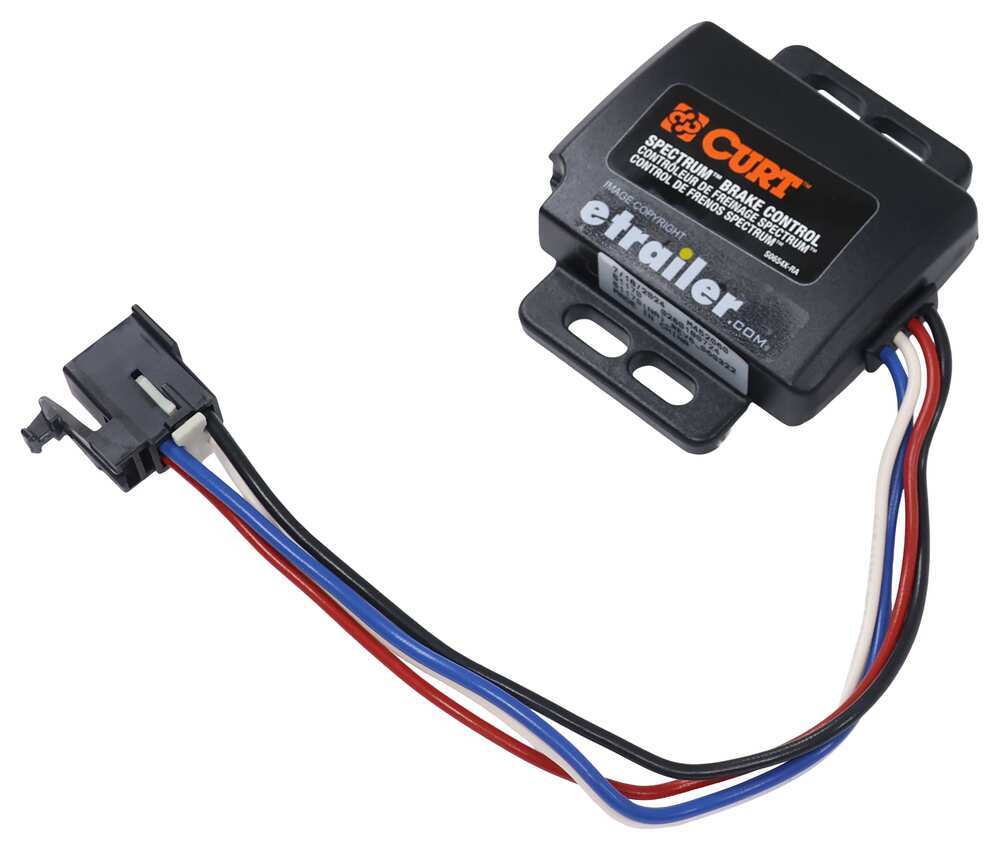
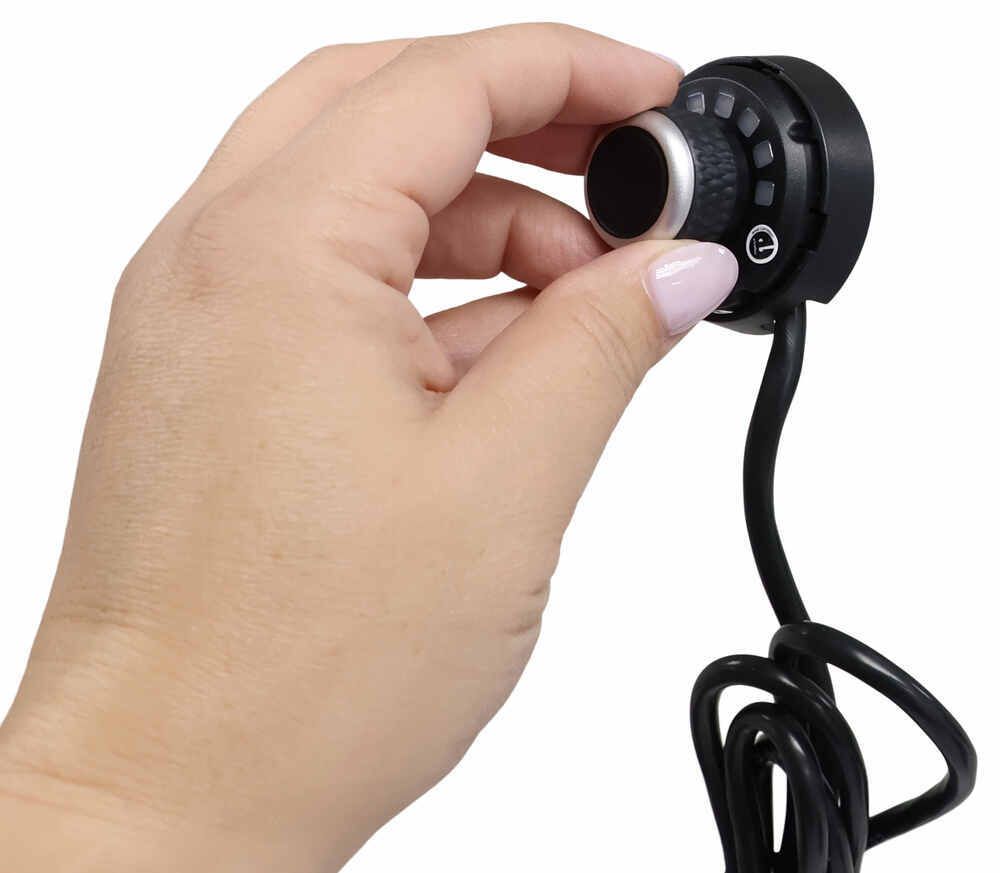
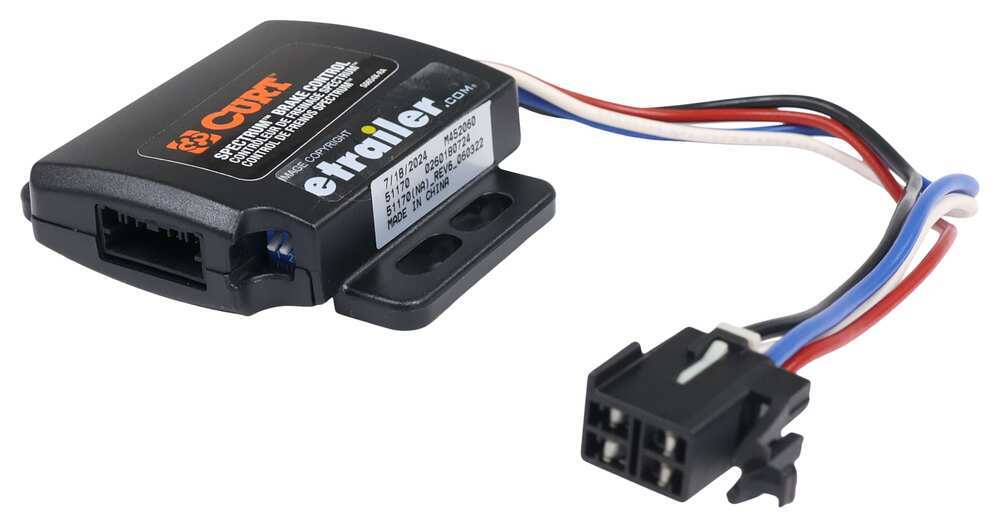
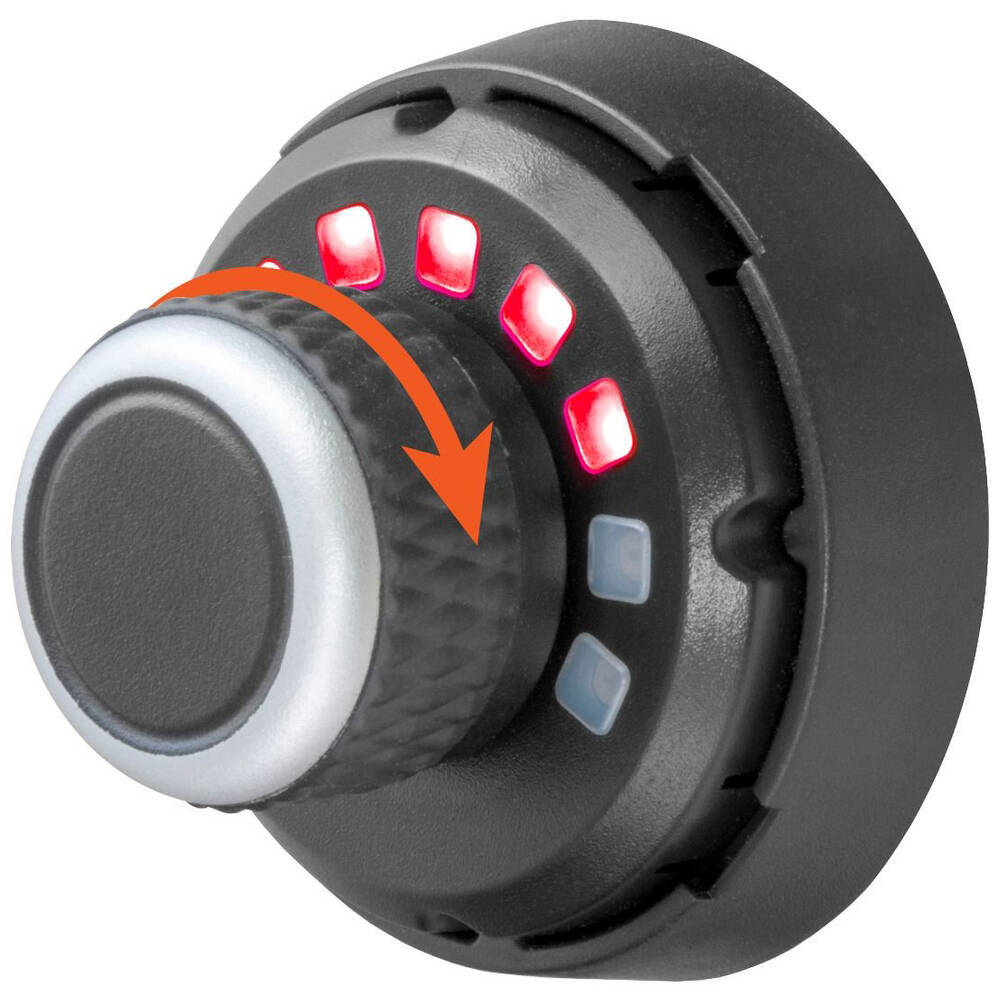
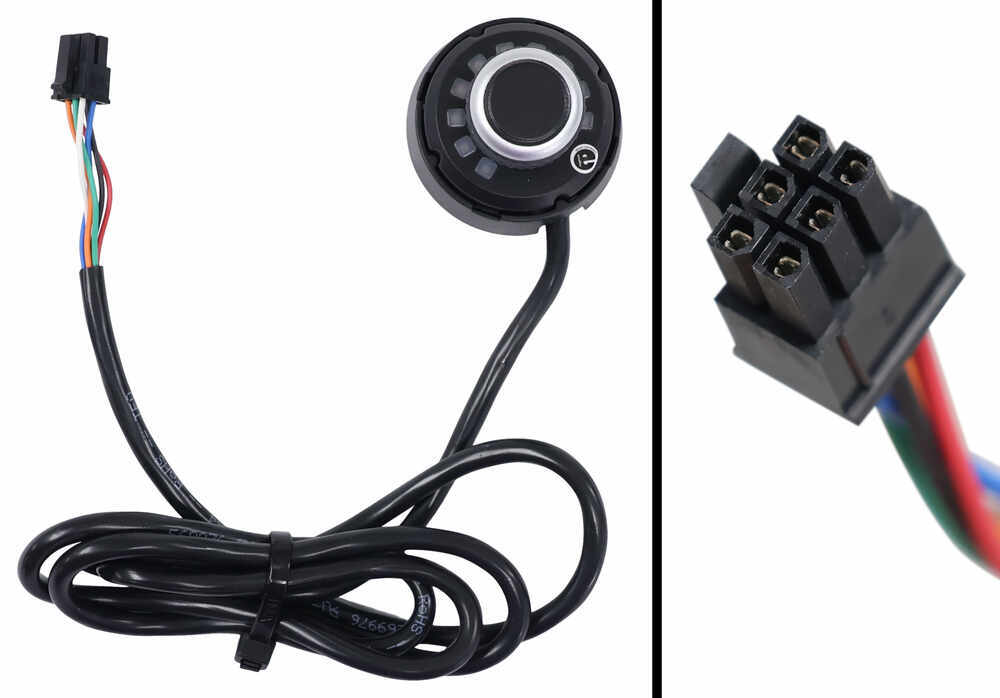
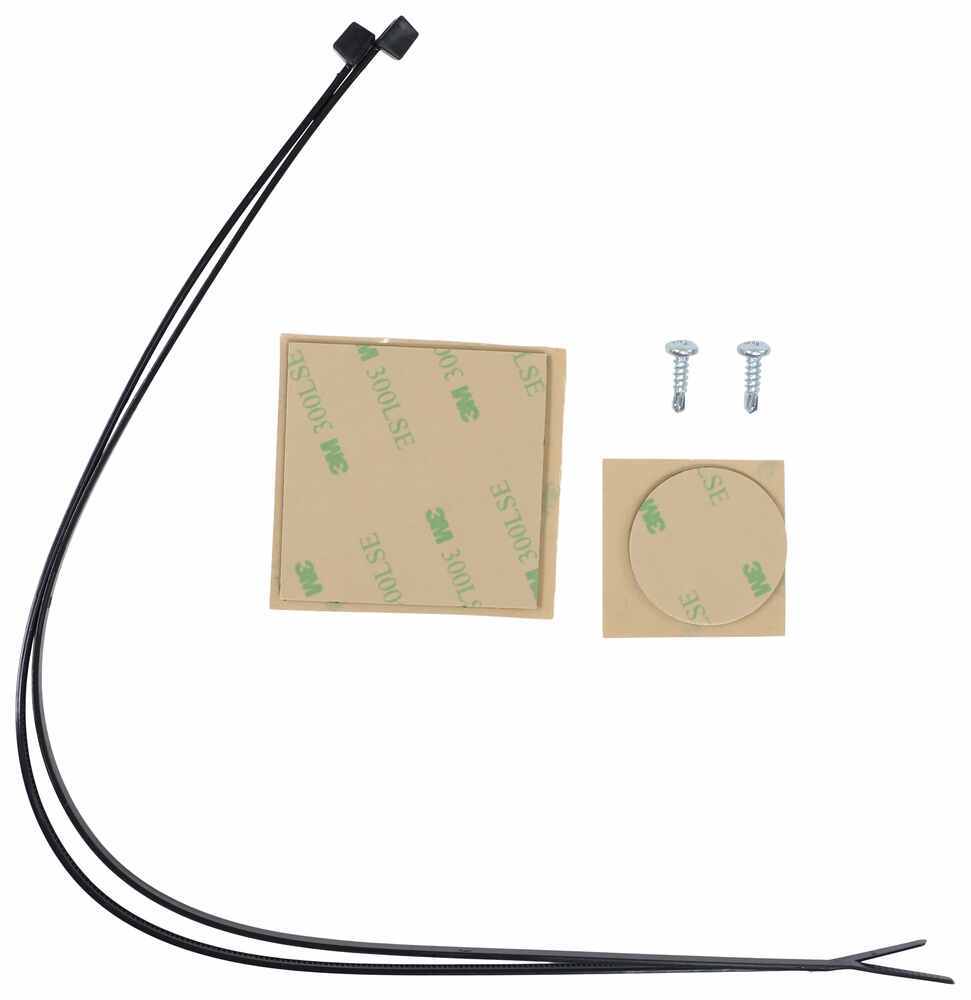
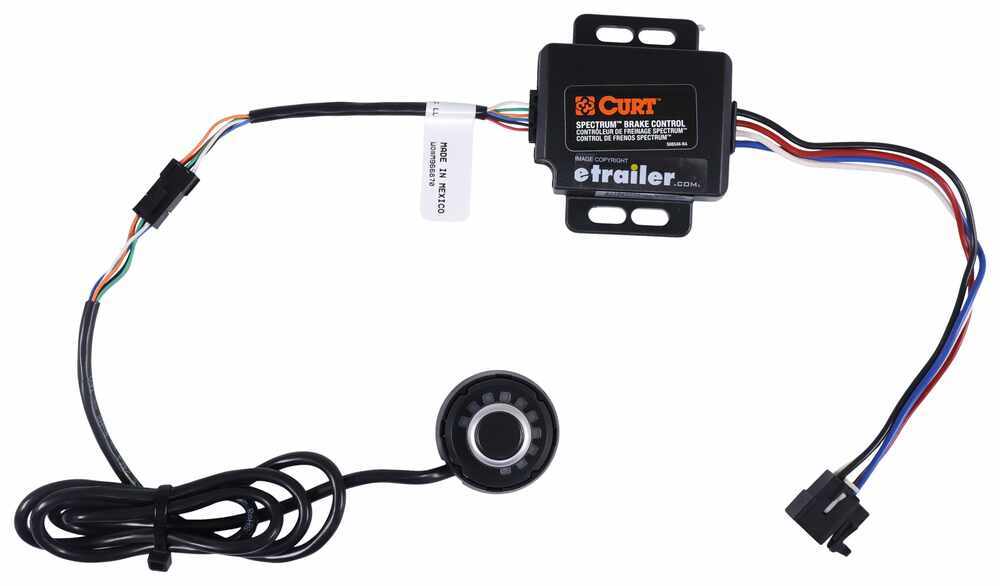
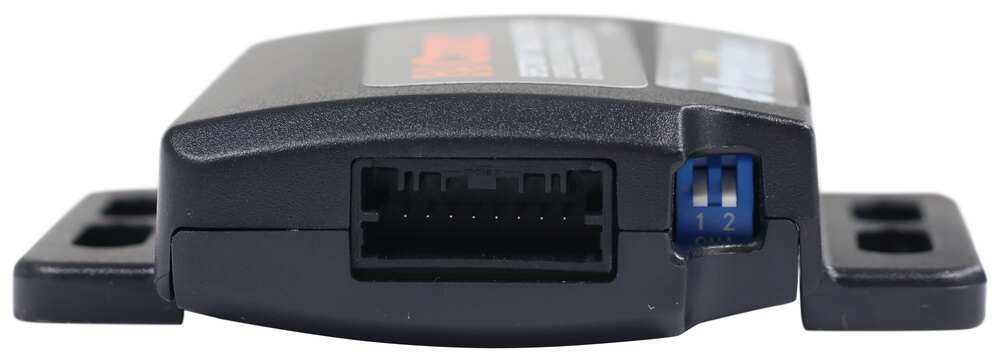
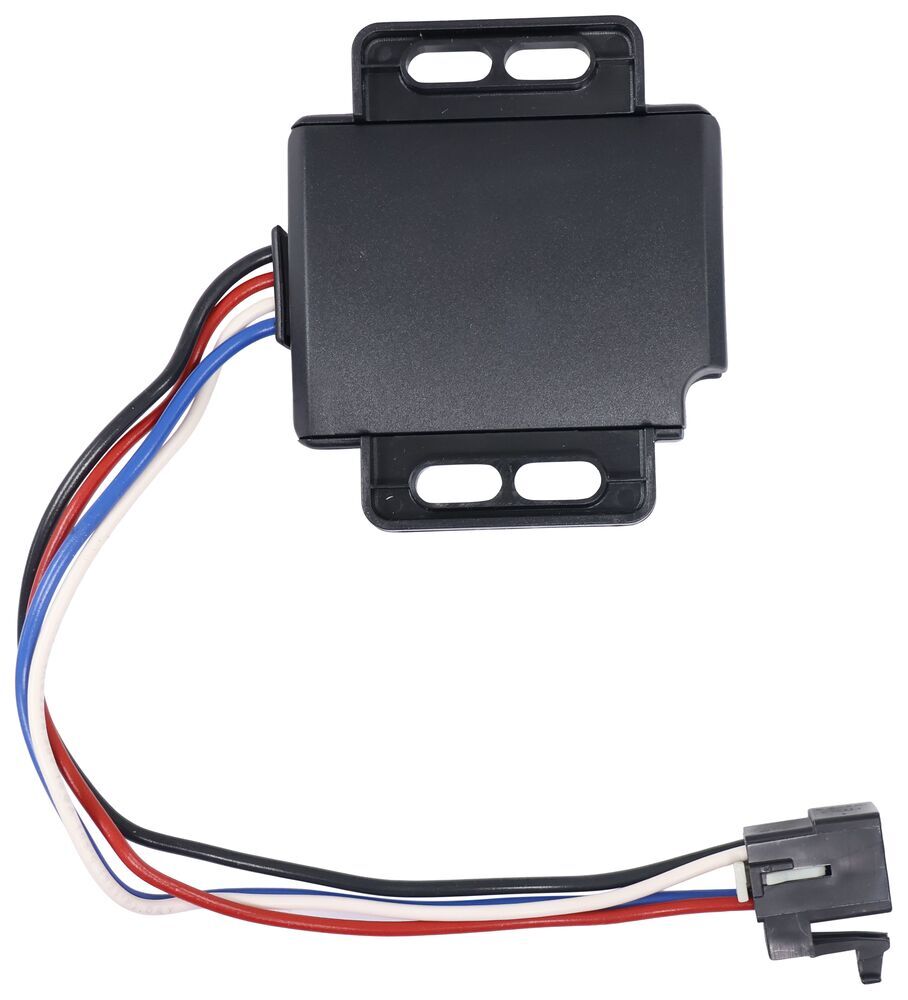
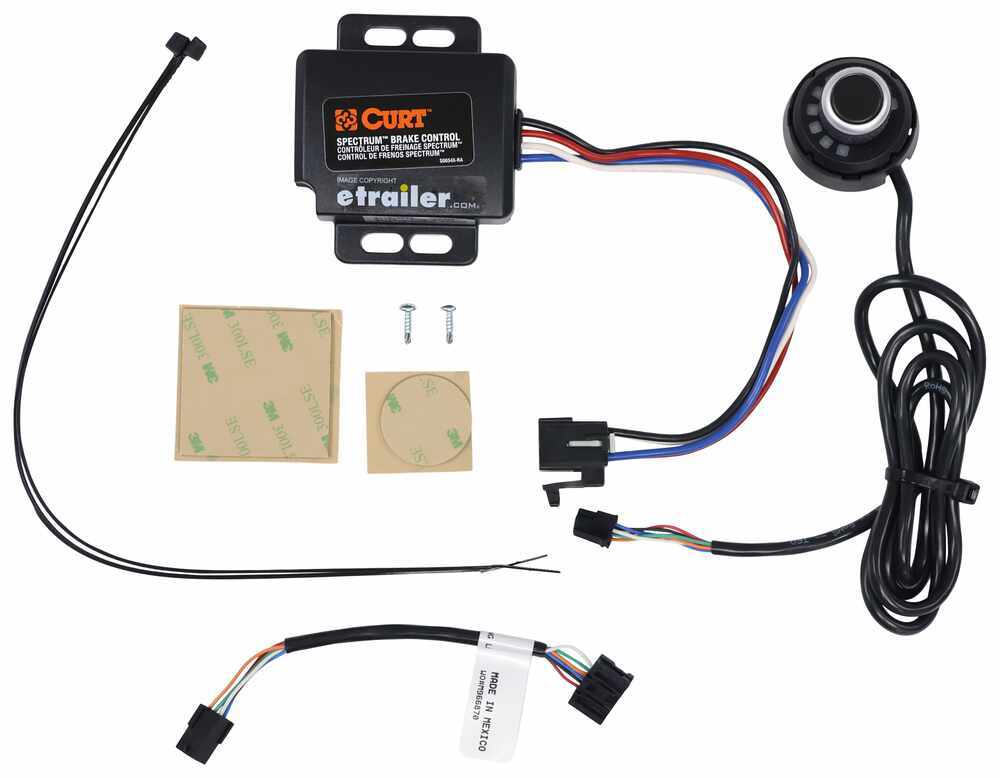
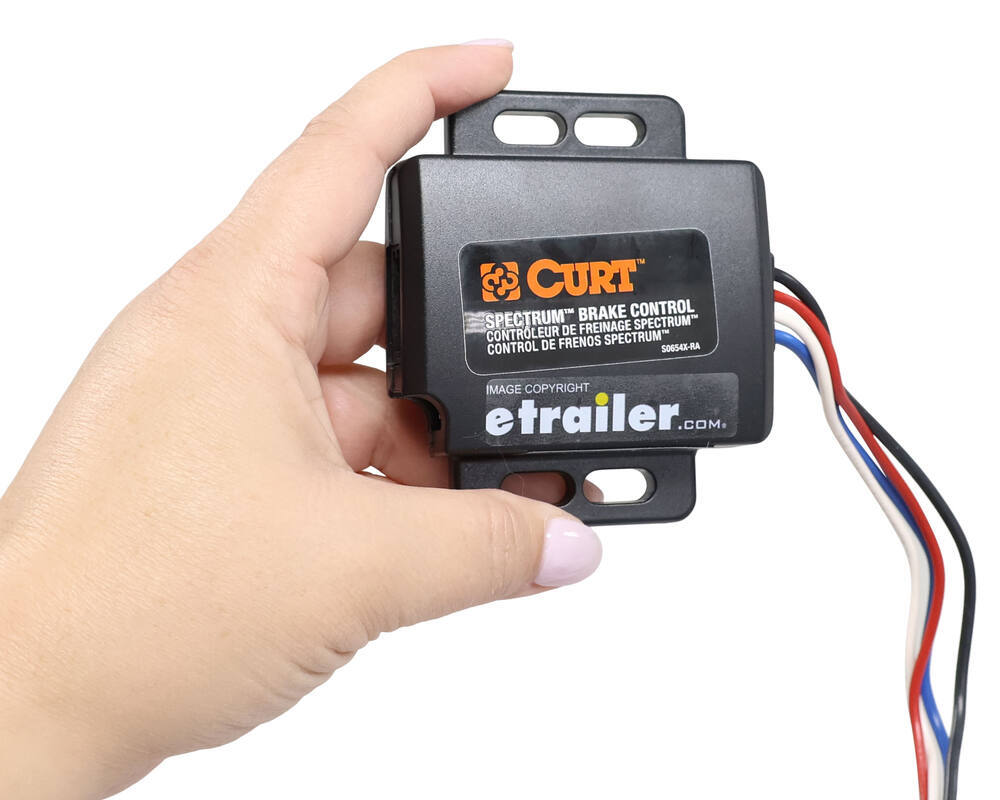
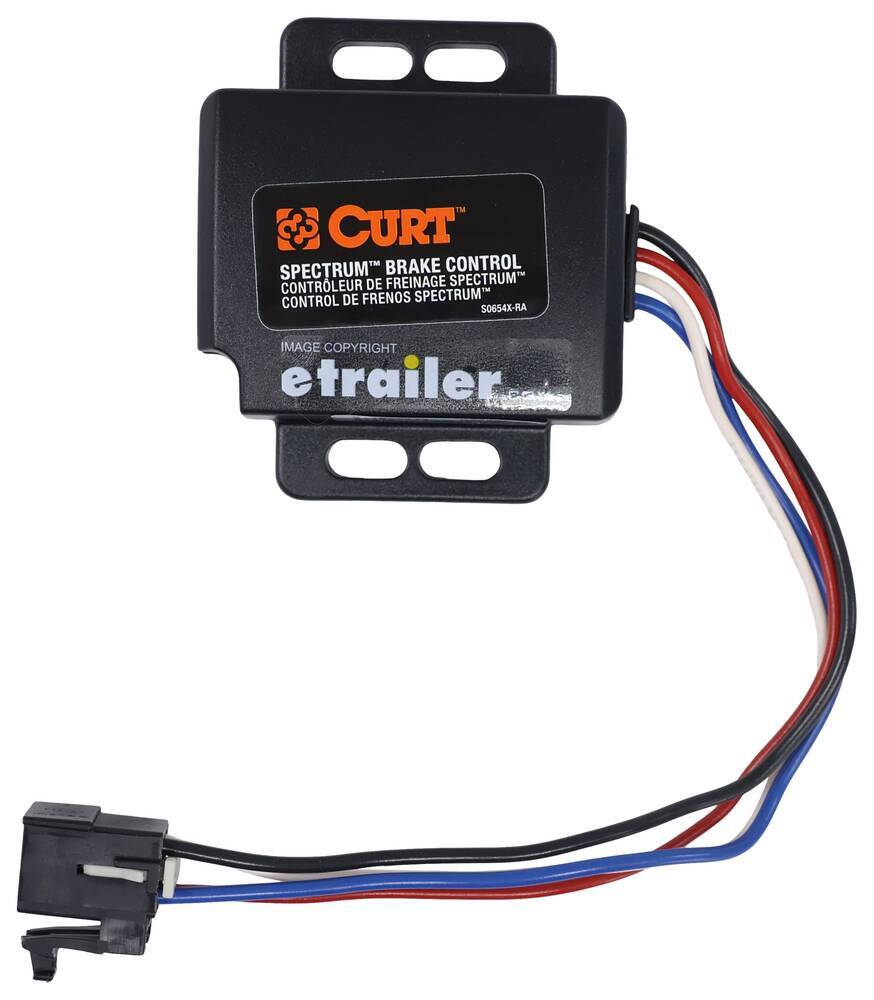
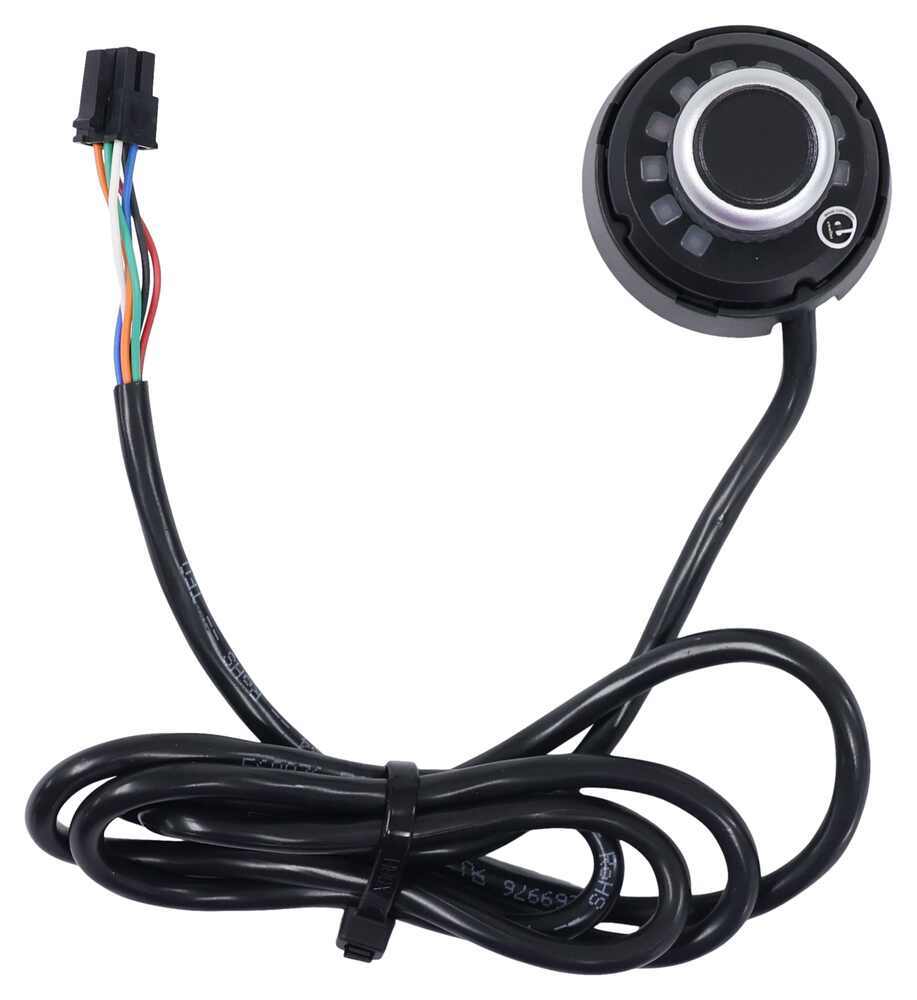
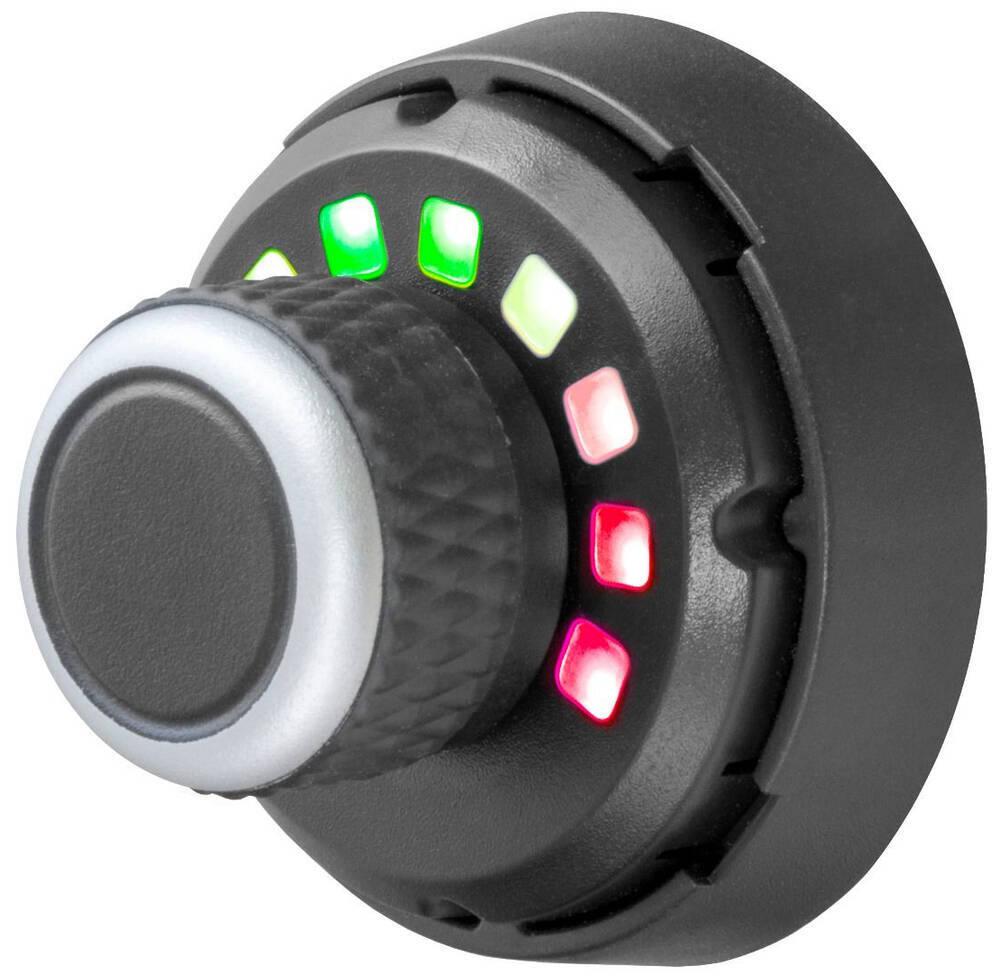
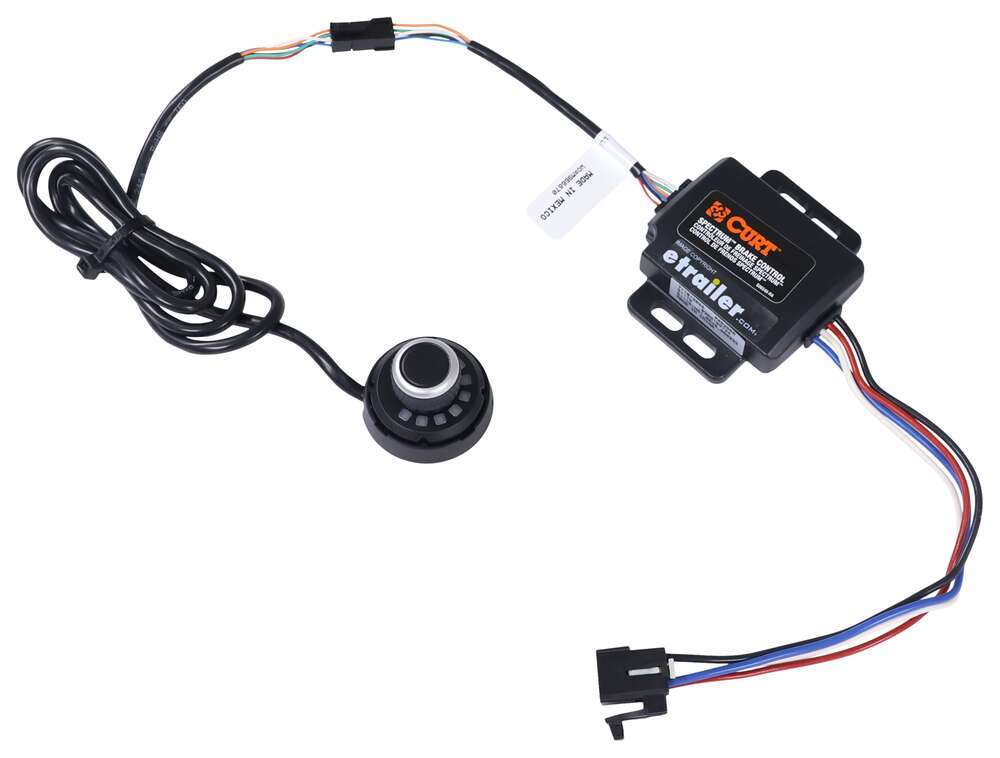

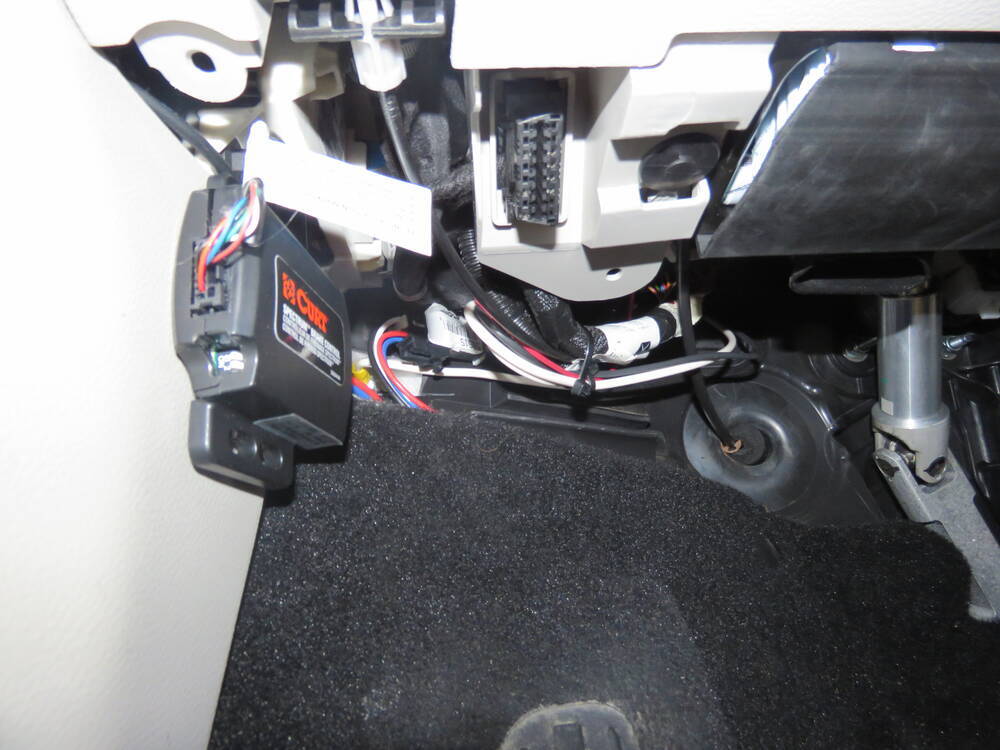

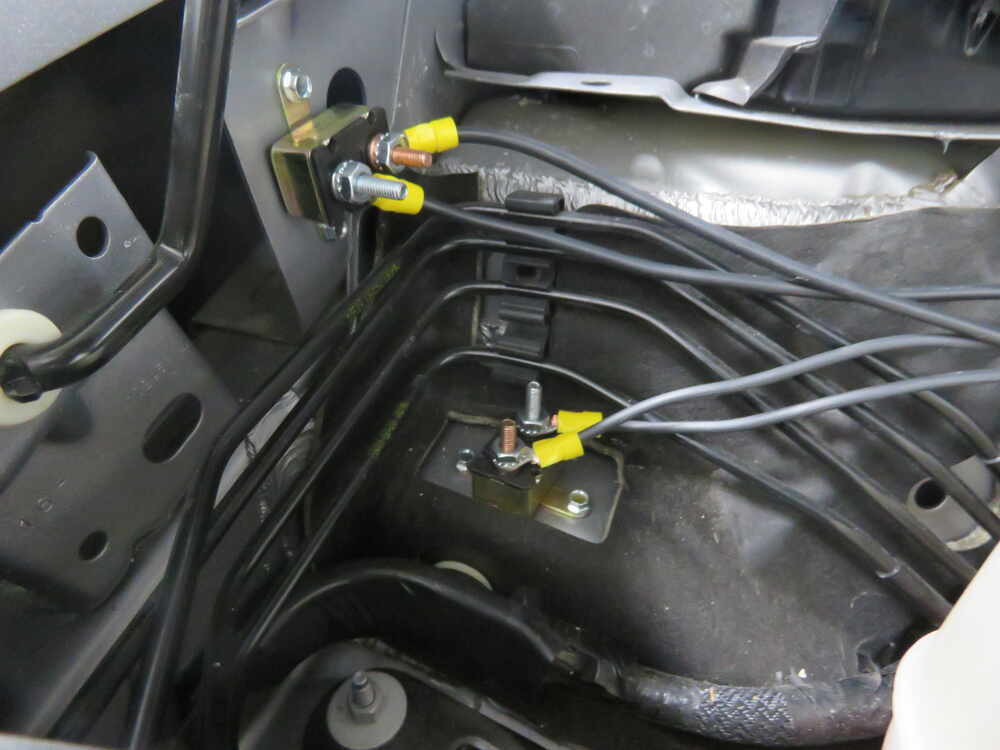


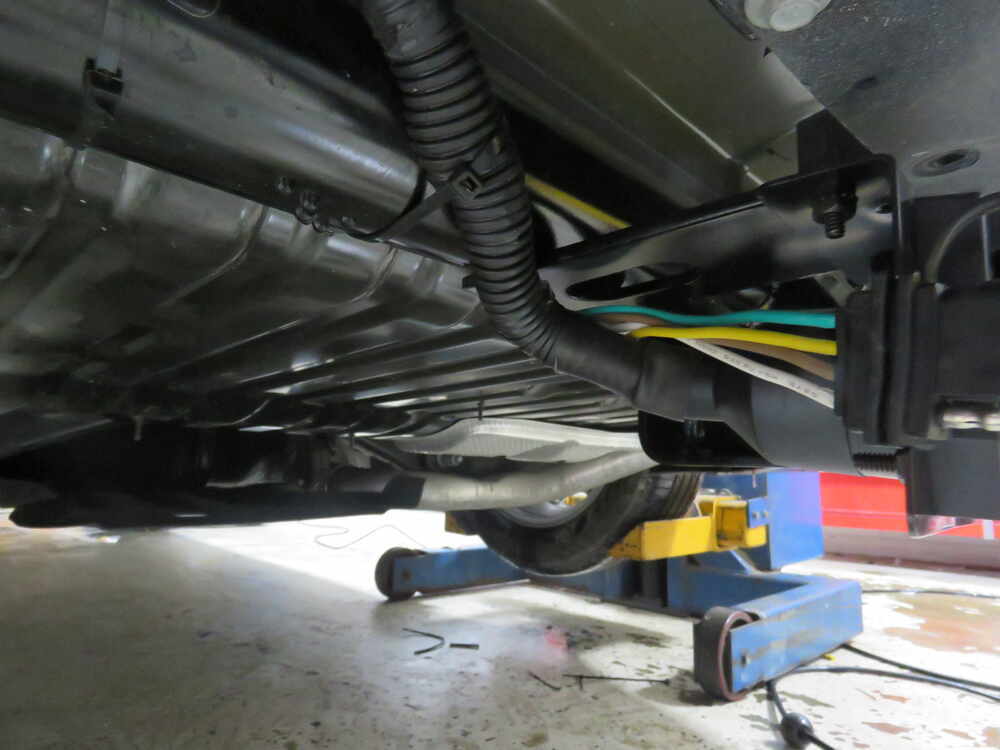
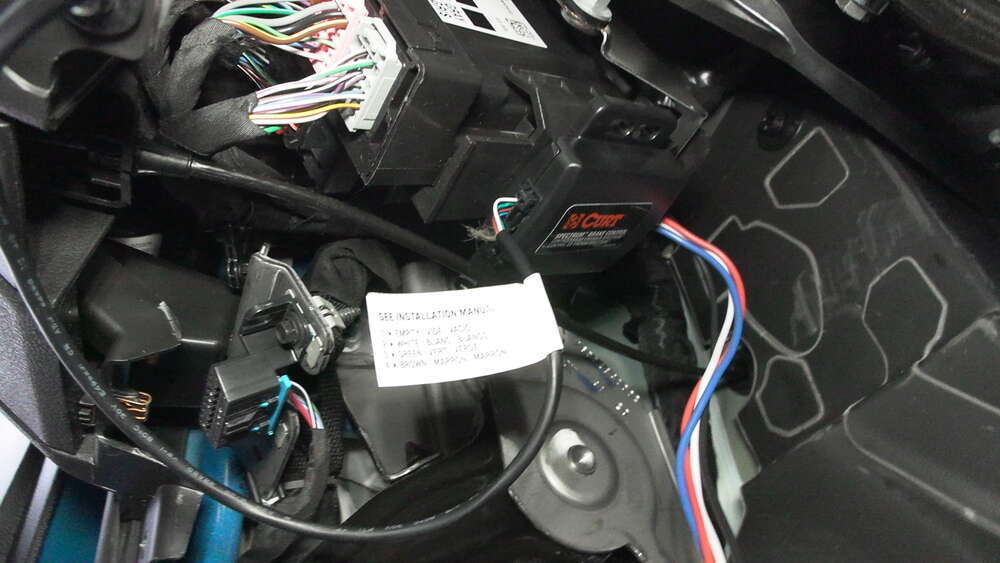

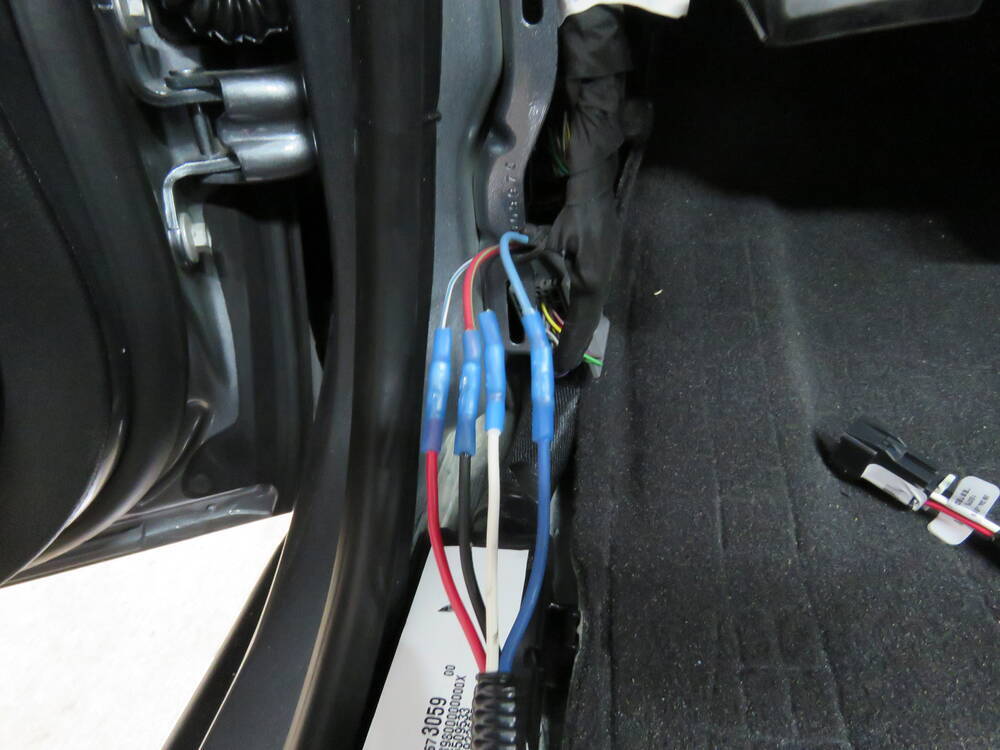
Most brake controllers stick out and take up knee room, but this one hides the main module behind the dash. Only the control knob shows, sitting flush against the dash with a clean, factory-style look. At just 1-3/4" in diameter and extending only 1-1/2", it’s easy to reach without being in the way. You can mount it with a screw or an adhesive pad—no drilling required. The 4' cable connects to a compact 3" x 3-1/2" x 7/8" control box that can be tucked anywhere behind trim.
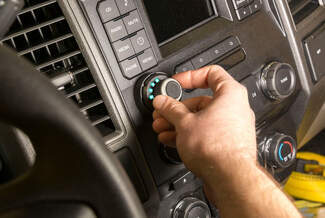
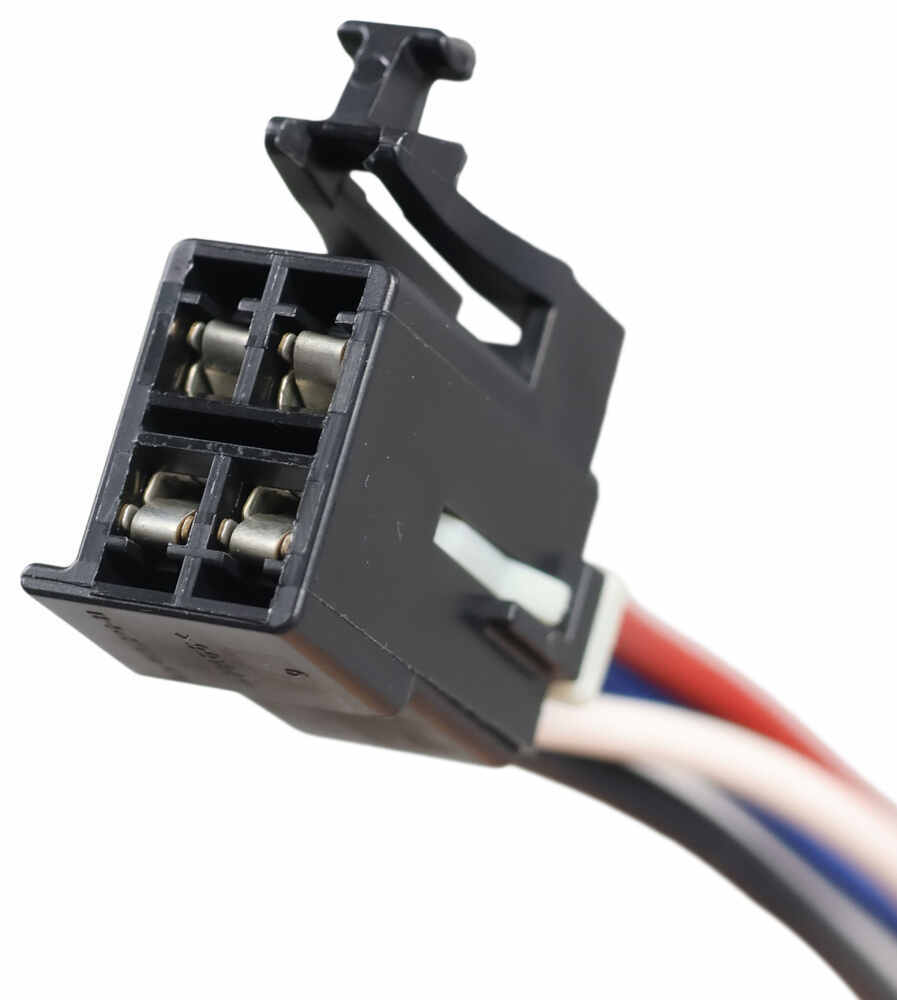
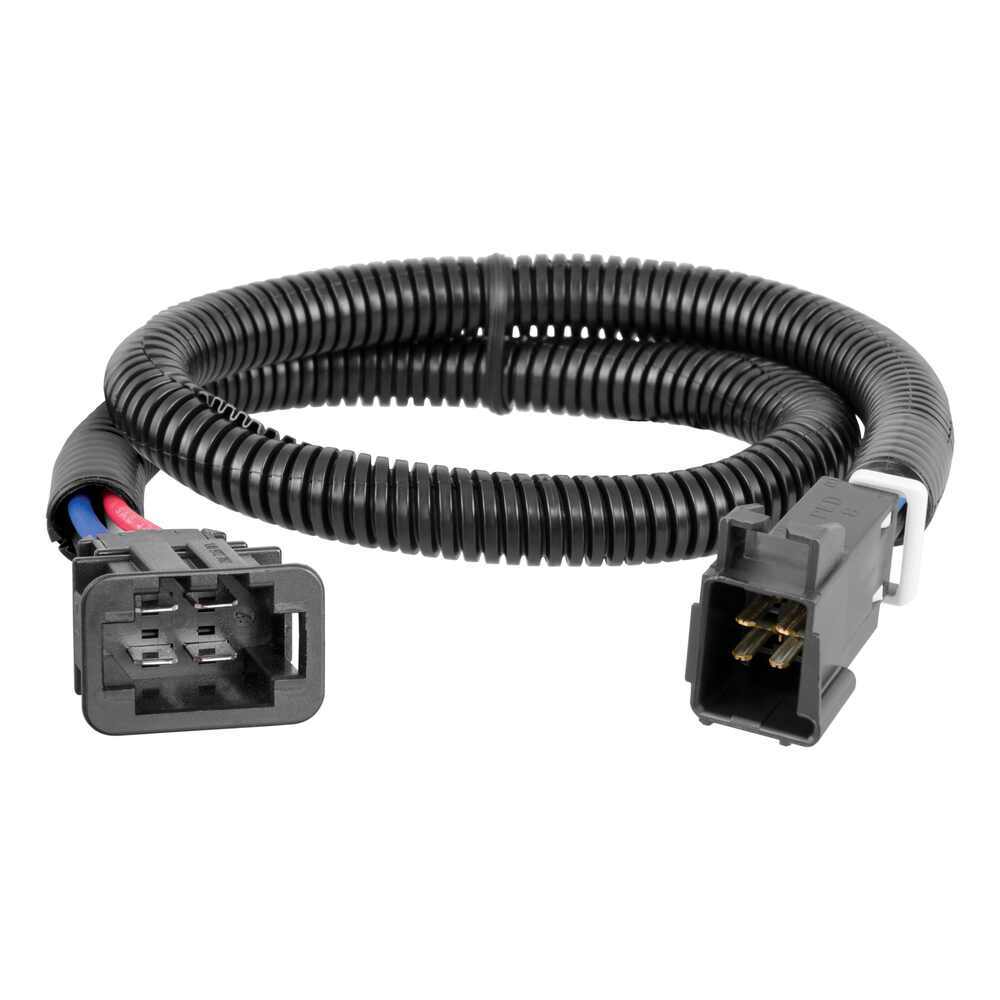
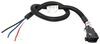
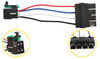
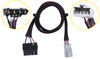
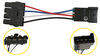
Installing a brake controller usually means splicing wires, but this setup skips all that. The included custom harness plugs directly into the factory port under the dash, then into the control module. No wire cutting, no guesswork. Once connected, the 3-axis accelerometer automatically senses direction and orientation so it’s ready to go right away.
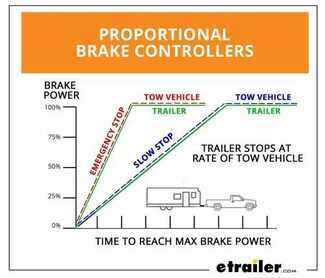
The Spectrum matches your trailer brakes to how you press your pedal. A built-in 3-axis accelerometer measures deceleration and applies proportional power so both tow vehicle and trailer slow down together. It works with electric trailer brakes on setups with 1 to 4 axles (8 brake assemblies). The result is even braking, less push-pull, and reduced wear on tires and pads.
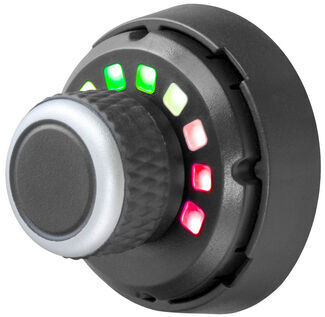
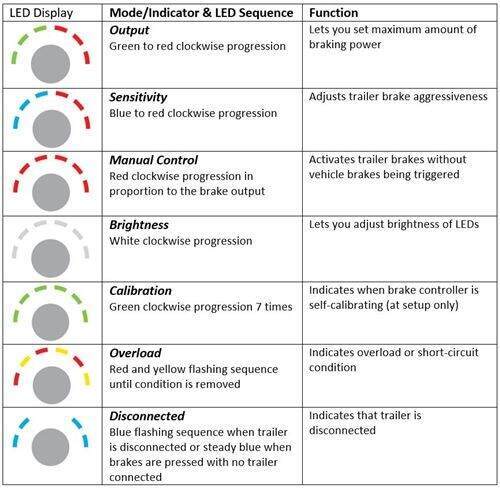
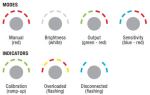
Everything runs through one simple knob—turn to adjust braking output or sensitivity, press to activate manual override. Bright LED indicators use colors and patterns to show modes, diagnostics, and active braking at a glance. You can fine-tune output for heavier trailers or boost sensitivity when road conditions change, all without taking your eyes off what’s ahead.
Cab space is tight in newer vehicles, but this controller fits right in. The low-profile knob mounts in an open switch panel or console spot without interfering with airbags or knees. Since the main unit mounts out of sight and can sit at any angle, you get a clean install that looks built-in while keeping everything easy to reach when towing heavy loads or driving through hilly terrain.

Videos are provided as a guide only. Refer to manufacturer installation instructions and specs for complete information.
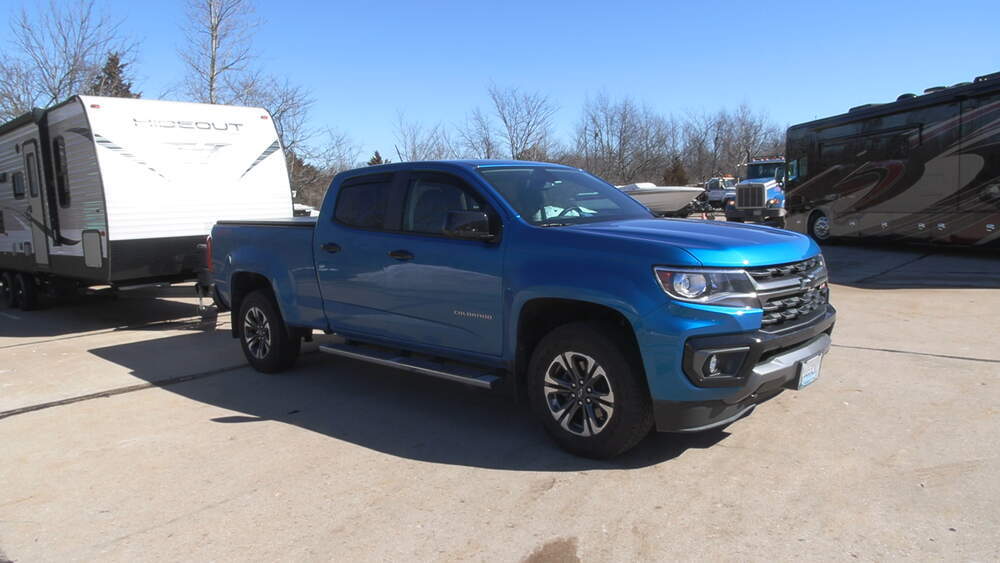
Ryan: How's it going Ryan here at etrailer.com. Today on our 2020 Chevrolet Colorado, we're going to be taking a look at and showing you how to install the Curt Spectrum Trailer Brake Controller. The main thing that really separates this brake controller from many of the traditional style brake controllers like this is a couple of things. One, it's going to be really small and two, you're going to be able to pretty much mount this anywhere that you want and on a lot of today's newer modern vehicles, that dash space is really limited and can be really challenging to find a good spot to mount a brake controller like this that's out of the way, but yet still easy to use.There are other brake controllers that are similar in the design of this one and most of our customers specifically compare this one to the Redarc. I personally like this one a little bit better than the Redarc and that's because behind our knob here, there's going to be nothing behind it as compared to the Redarc, behind the knob, there's going to be a connector that comes out quite a ways. So, you're still somewhat limited on where you can mount that Redarc because you're going to have to have room behind the panel for that connector to fit.
And if you choose not to, this one doesn't require any drilling or anything like that. In our case, where we mounted it, we did drill one small hole to run our wire through. But if we chose to mount this a little further down or if you want to see a wire coming, all you'd have to do is stick this to the dash.Another thing that makes this really easy to use is the fact that it has automatic leveling, so what that means as soon as you plug into a trailer, this is going to automatically calibrate. You're not going to have to scroll through settings or go through the menu and select which trailer that you want. It's just going to do it for you.
The brake controller is going to work with trailers for up to one to four axles and it's also going to be proportional. What proportional means is the trailer brakes are going to apply at the same rate as how hard you apply the brakes inside the truck. That's just going to provide us with a smooth and predictable stop.The knob is going to have multiple modes as well as indicators that'll let us make some changes and let us know what's going on. For example, whenever you hook up to your trailer, it'll flash green letting us know that the connection has been made. Once it's done flashing green, that also lets us know that it's been calibrated.
Then whenever we disconnect from our trailer, it'll flash blue letting us know that we're unplugged. We're also going to have a few different settings. If we turn our knob, you'll see the LEDs go green to orange to red, and that's going to be the output control. And what that does is determine the maximum amount of power that's going to be available to the trailer brakes whenever we're braking. If you push the button down and hold it, that's going to be the manual override.
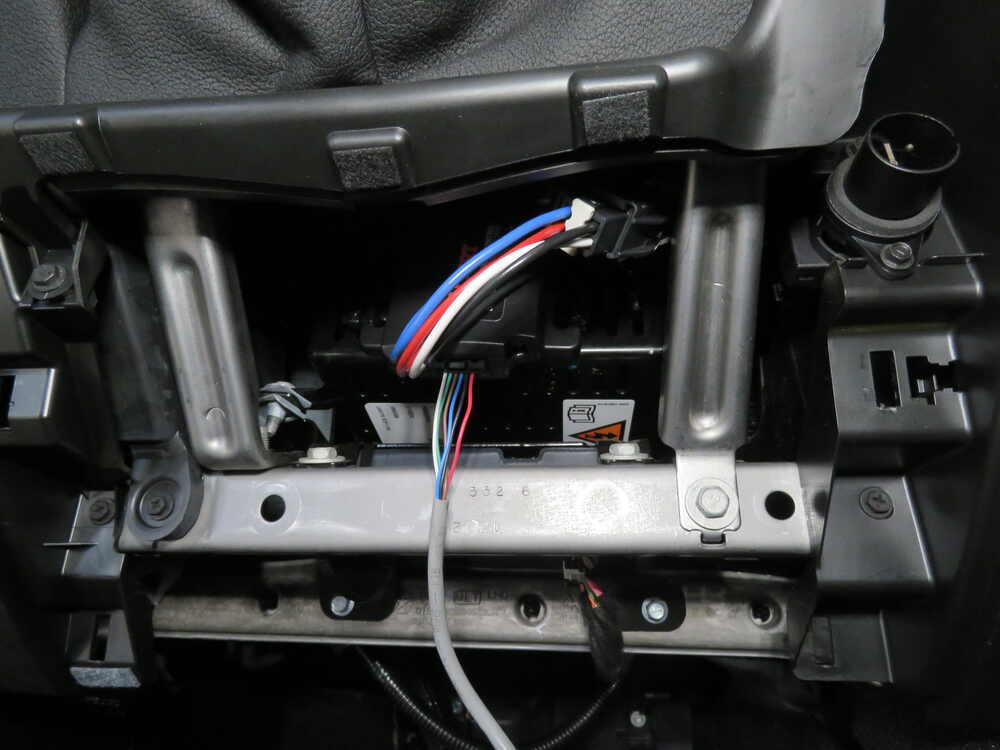
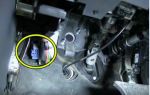
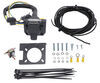
So, if you want to apply the trailer brakes manually, say in the event of a sway situation, you'd simply hold that down.That can be adjusted by holding it down and turning the knob and that'll control how hard the brakes will be applied. If you push the button again, we will get some blue lights that turn to purple and then red. That's going to be able to control the sensitivity and that's going to adjust how aggressive the trailer brakes are applied. If you push it again, it'll then be white. What that's going to do is to allow you to adjust the brightness. Here it's on full power, you'd probably use this setting whenever it's sunny outside that way you can see a little bit better, and then at nighttime you could always turn it down if that light's bothering you.So overall, a really simple, easy-to-use brake controller. It allows us just to hook up to our trailer and more or less be ready to hit the road since it automatically adjusts, but it's still going to give you that capability to fine tune it a little bit if you want to. And since it is so compact, it's going to help keep that nice, clean, factory look inside of our truck. We're not going to have to worry about the traditional style one that's big and bulky, taking up space, banging our knee on it. As far as the installation goes, it's just going to be a handful of wires that we have to hook up and it's really straightforward. You should have no problem doing it at home in the driveway or even your garage. Speaking of which, let's go ahead and put this on together now.Let's begin our installation. We're going to need to first locate our factory brake controller wiring. We're over here on the driver's side, in the front seat, and the brake controller wiring should be right here in this location, underneath this little threshold. We'll go ahead and pop that off and to do that what you can do is grab the end of it here and just pull it up. Just work it up and it'll pop off and we can just set it off to the side. If we follow some wiring up right here. With that panel out of the way, now we can see our factory brake controller wires. They're going to be just right here by our emergency brake pedal. There's going to be four of them. They're going to have some heat shrink on the end. They're also going to be taped to this thicker wiring harness. What I'm going to do is just cut that tape off.We're able to pull the wires further out to give us a little more room to work. Something I do just want to point out, if your truck doesn't have these factory brake controller wires, you are going to need to pick up an ETBC7 to get your install completed. However, chances are pretty good yours will have these as most of them on the road, at least in my experience, do. I went ahead and tested our wires here to make sure we know how each one functions. The black wire, that's going to be the ground. The red wire, it's going to have a little green stripe on it, that's actually going to be our 12 volt power. The blue wire, that's going to be the output, the brake controller. And then the white wire that has a thin blue stripe on it, that's going to be our brake signal. Now what we can do is cut this heat shrink off and get these prepared, that way we're able to hook up our adapter. I'm just going to trim off that heat shrink with a pair of snips.Then we can come back with a pair of wire strippers to strip off some of this insulation to expose the wiring underneath. Now what I'm going to do is take some heat shrink butt connectors, which you can find here at etrailer.com, and I'm going to crimp one of these on each end of our wire here. Twist them, slide that butt connector on, and crimp it down. I'm going to repeat that same process for the three remaining wires. Now what we're going to do is take our wiring adapter for Curt brake controllers and get these wires hooked up to the factory ones. You might think, naturally, that you would just hook these up color for color, but that's actually not the case. So, we'll run through which color goes to which wire right now.We will start with the blue one from our Curt adapter. That's going to go to the factory blue one, so those will actually match up. We'll grab the white one from our Curt adapter and that's going to connect to the factory black wire, so those two will go together. Then grab the black wire from our Curt connector and that's going to get connected to the factory red wire. And then we'll grab the red wire from our Curt adapter and that's going to get connected to the factory white and blue wire. These are going to get connected the same way that we put these butt connectors on. We'll just slide the wire in and crimp it down. I'll do that same thing to get our remaining wires all hooked up. Here's what our wiring is going to look like once we have it connected. Since I used heat shrink butt connectors, what I'm going to do is come in with a heat gun and shrink those ends.At this point, we need to figure out where we want to mount our knob. You want this out of the way, yet easy to see and easy to get to. A spot that I think is good is right here to the right of the steering wheel, on this panel. I'm thinking somewhere in this location. We are going to have to drill a small hole, that way we're able to run our wire through the dash and get it all connected. But before I just start drilling, it's a good idea to see what's behind this panel that way we don't accidentally drill into something of importance, so I'm going to lower this panel down to check that and on the bottom edge there's going to be two 7mm screws that's holding it in place. Once you have the screws out, what you can do is grab that panel and work it out.With it pulled back, there's nothing on the backside of the panel and there's really nothing in the way here that we have to worry about. There's also going to be a gap here that I think would work pretty good to run our wires through. I went ahead and marked the spot where we need to drill out a small hole, so I'm using a bit just a little bit bigger than the wire, that way we won't have any problem getting it pushed through. Once our hole is drilled, since we're using the adhesive to connect our knob to the dash, it's a good idea to really make sure this is nice and clean, that way it'll stick really well. I'm just going to use a little bit of rubbing alcohol to get that area really clean and nice and dry. Now we can take the wires here at the end of our control knob, we're going to feed those through the hole that we drilled.What I'm going to do before we actually mount our knob, is run these wires down by our brake controller adapter harness, down along through the dash here, and I'll do that and show you the path that I took to get there. Here's how I ran the wire. It comes out of the back of the knob and through this little opening here behind our panel and if you push it through there, that'll actually allow it to start to drop down here underneath the dashboard. Here's where our wiring comes down underneath the dash and I ran it along, ending right here where it'll be nice and easy to get everything hooked up. For the time being, we're not going to worry about completely securing our knob just yet, what we're going to focus on doing now is hooking up these wire ends to our plug connector. The way you're going to do this is take the wire and simply push them into those corresponding slots to get them all hooked up.The one that we're going to do first is this white wire and that's going to go into slot two, so more or less we're not going to be using the very end slots on each side. We'll take the white wire and push it all the way in and then just lightly pull back on it to make sure it's completely seated. There's going to be a little bit of movement, but that's not really a big deal. The next one after the white wire will be the green wire. Again, these are all going to work the same way. They are a little small, so you have to finesse it a little bit, get that plugged in. Now moving on from the green wire in that same direction that we're going, we're then going to plug in the brown wire. After that, the blue wire. Following that, will be the black wire and after the black one we'll plug in that red wire.This is what the wires are going to look like once they're all plugged into our connector and once we have them all plugged in, we can just flip it over and take this cap and close it down like that. Now we're going to grab our main module here and get this plugged in, that way we can figure out a spot to mount it. One end of it will simply plug into our wiring adapter. The other end we'll plug in our wiring that comes from our knob. At this point, you can look underneath the dash or somewhere out of the way that we're able to secure our module box. Here's where I mounted our module box and I did that using the included two-sided tape as well as a zip tie. From there, I just took all of our extra wiring that we had and tucked it off to the side and secured it to help clean up our install look. At this point, we can go ahead and resecure our dash panel and then we can go ahead and put back in place our threshold here.The weather stripping is supposed to go over the threshold, so you might have to work it up with your fingers. At this point, we can secure our knob to the dashboard, so we'll take the included two-sided sticky tape, pull one side back, put it in the center there, make sure it's pushed down, peel that other side off, and simply we'll just line it up how we want it, nice and straight, then push down to get it stuck to the dashboard.With everything hooked up, it's a good idea to test it to make sure it's working properly. You could either just hook up to your trailer or use a tester box like we have here today. Once you do plug it into your trailer, what you should see is some green lights that ramp up, and that'll indicate to us that the brake controller is calibrating itself to your trailer. Just to verify that this is sending a brake signal back to our trailer, what I'll do is manually override it and apply the brakes. To do that, we'll simply just push down and hold the center button. You can see it lighting up. We now have power to our brakes. That'll finish up our look at and our installation of the Curt Spectrum Trailer Brake Controller on our 2020 Chevrolet Colorado.
Customer Satisfaction Score:
93% were satisfied with this product
7% of customers were not satisfied
Ratings & Reviews

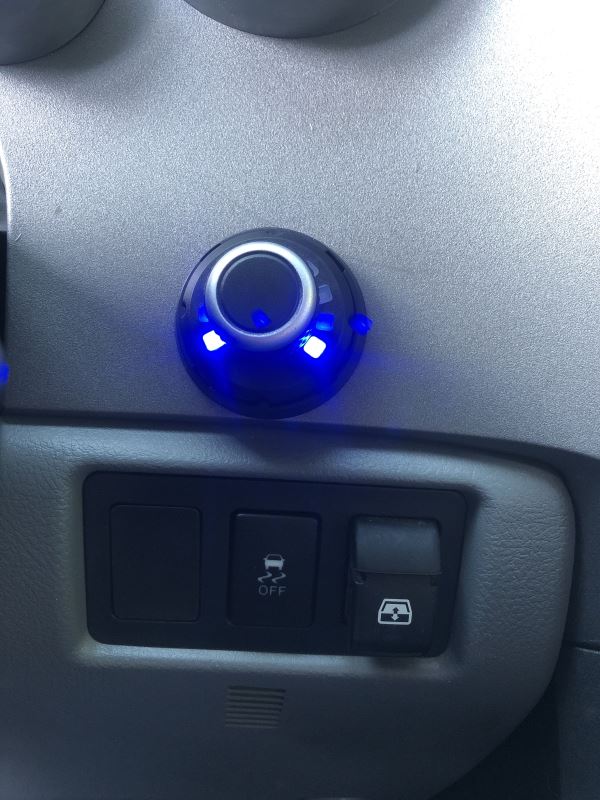
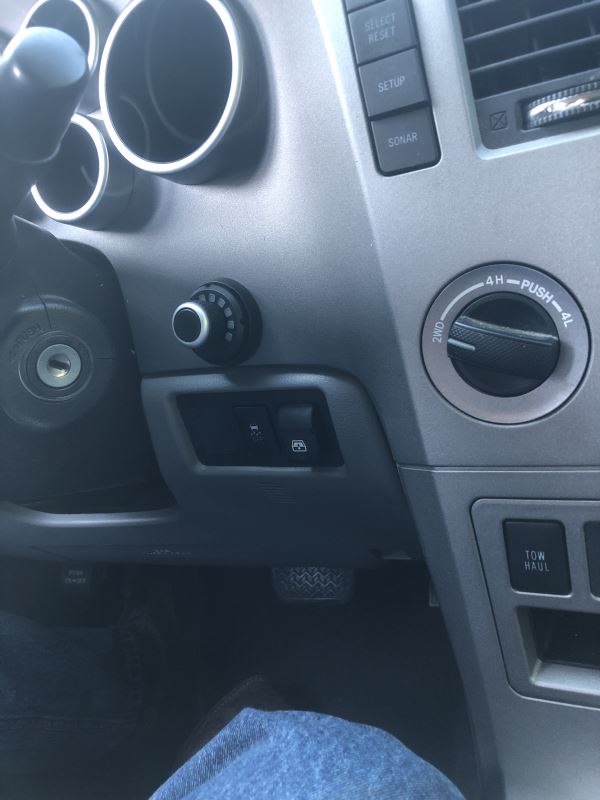
Nice little unit. Really like the fact you only have the control knob showing. Was hoping it was small enough to fit in extra spot on Tundra next to the traction control button. Was a little large but found a great out of the way really factory looking spot for it. Have not had a chance to hook up trailer yet but as far as install goes it was super easy using the pigtail plug. True plug and play. Instructions were very easy to read and understand.
I installed this unit on my 2015 Chevy Colorado yesterday and all went pretty well thanks to a online install video. I have not hooked it up to a trailer yet so I can not give a review on how well it works. I would have given this five stars except I was forced to use the two sided tape mounting system after drilling an additional hole in my dash for the bolt on install. I discovered that there is not enough room for the wires behind the knob to snap into the bolt on mounting ring. Great service and fast delivery from etrailer; five stars for them all the way.
Works well, Only annoying thing is that without a trailer connected 2 led come on every time you hit the brake. Looks great on dash, kinda looks like OEM if you take the time to do a nice installation. Like the fact that the main module is hidden.
Was an easy install for my 2018 Grand Cherokee with the addition of the specific cable adapter.
I was able to secure the main unit under the dash on-top of the diagnostic port bracket and then run the wire for the dial up the drivers side of the dash so that it is concealed once the door is closed. The dial now sits on-top of the left side of the dash by the windshield pillar. I wanted to make this a temporary install incase I traded the truck in the near future.
I have not hooked up a trailer yet so can not give a review on how well it works.
Decided I wanted a high quality brake controller without the clunky box on the dash and this seemed like the best out there. Super easy install. I bought the extra cable for my Silverado and it all plugged in perfectly. I saw somebody complain about tiny connectors. Don't listen to them. This thing is excellent and the quality is clearly top tier. The set up was a breeze and on our first trip out I got it dialed in with no problems. Works better than my previous controller by far.
Purchased this controller for use on my 2017 Toyota Tundra. It looks great after the install. I took a couple of hours to get it in from box opening to completion (with frequent distractions from children) but the manual was great and installation went smoothly. To clarify the issue with the blue lights I’ve seen as a complaint. When you start the car, it goes through it’s calibration procedure. If no trailer is attached, it blinks the two blue LEDs for a bit saying no trailer is detected. If you touch the brake pedals those blinking lights turn off. While you’re driving no lights are on. Then, every time you push the brakes the two blue LEDs turn on while the brake pedal is depressed to say you’re braking and it doesn’t detect a trailer. Honestly, I’m glad for those lights because if my trailer was connected and I saw those lights while braking I’d know there was something wrong with the connection. I put my unit directly to the left of the steering wheel so I’ll only see the lights when I lean over and look yet it’s easily accessible while in the drivers seat. Everyone was telling me to grab a P2 or P3, I’m glad I didn’t listen. This is nicely out of the way, easily accessible, clean and simple, and very capable unit with all the necessary capabilities one needs in a brake controller.
Etrailer.com - Awesome! Excellent customer service. Have dealt with them many times, Knowledgeable, Friendly and Helpful, great products at competitive prices. Highly Recommend.
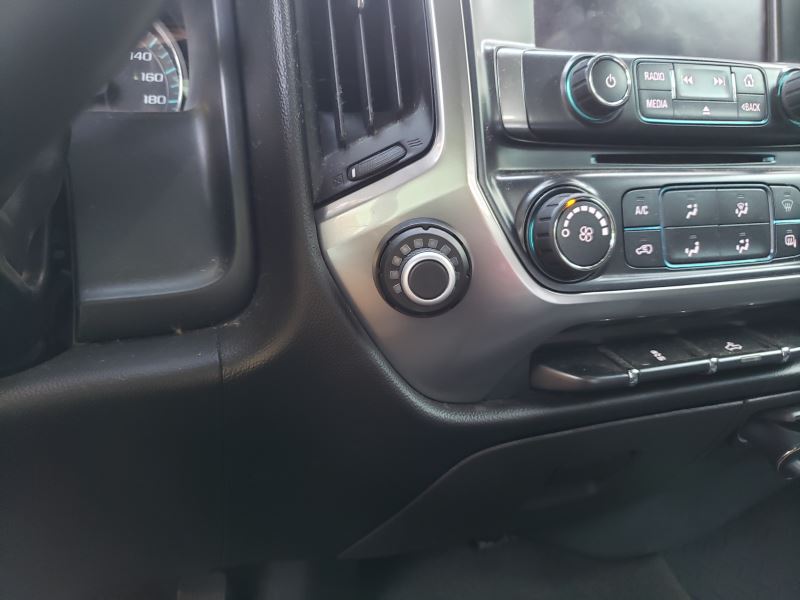
Curt Spectrum - Neat and clean, straight forward installation. Just make sure the wires to the plug connector are fully seated to the plug connector. Custom wire adapter makes installation plug and play. Picture is 2017 Silverado 1500.
The installation went very quickly and the end result was very satisfying. The location of the switch on the dashboard makes it hard to spot as an aftermarket add on. The whole installation took 1 hour start to finish. I can't wait to tow a trailer so that I can get the Cuurt Spectrum Brake Controller calibrated and dialed in. Thanks etrailer! Thank Curt!
Wife needed a trailer brake controller for her 2019 Suburban and chose this one over a similar Australian one as this looked more sturdy. Controls are simple and easy for the wife to use. Took more time to get the dash apart than it did to install. I also used Curt's vehicle specific pigtail to super-simplify the installation.
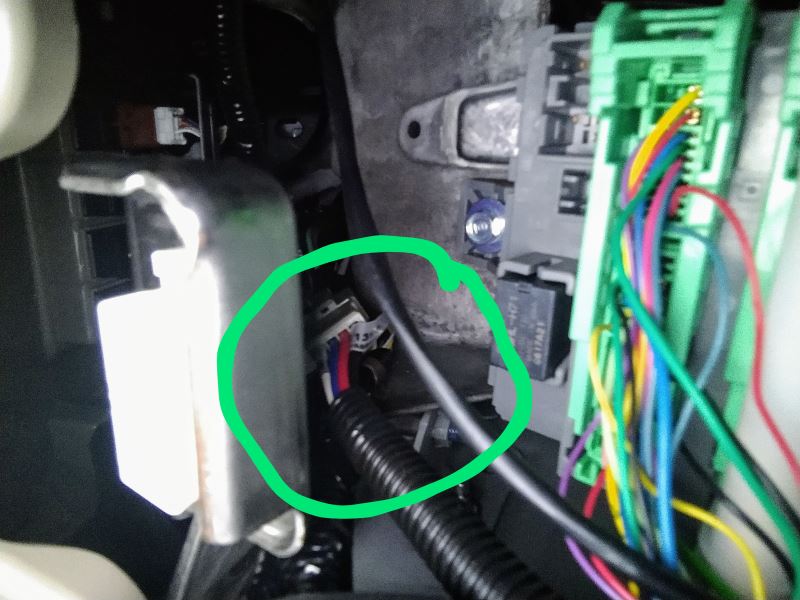
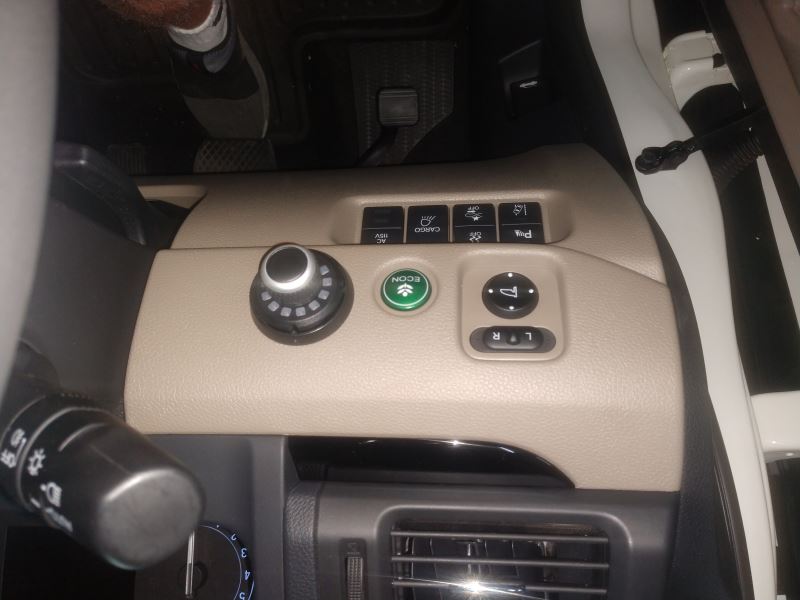
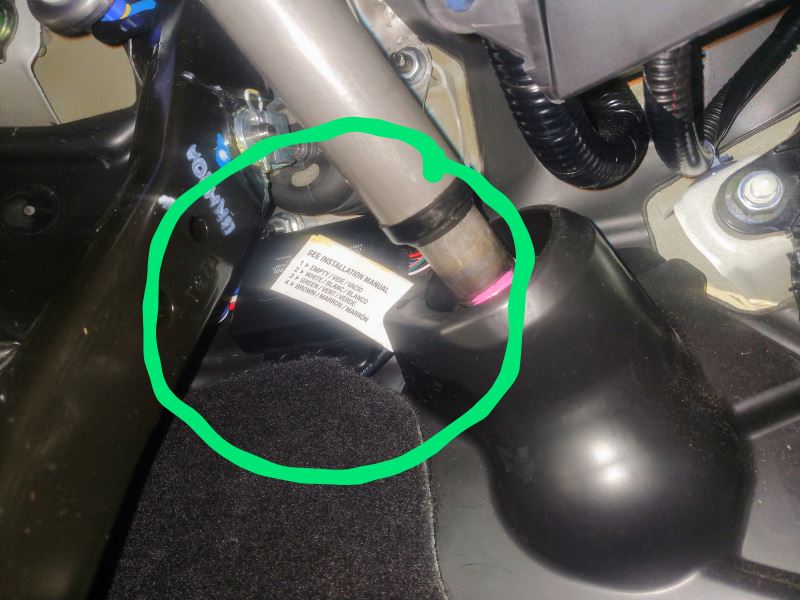
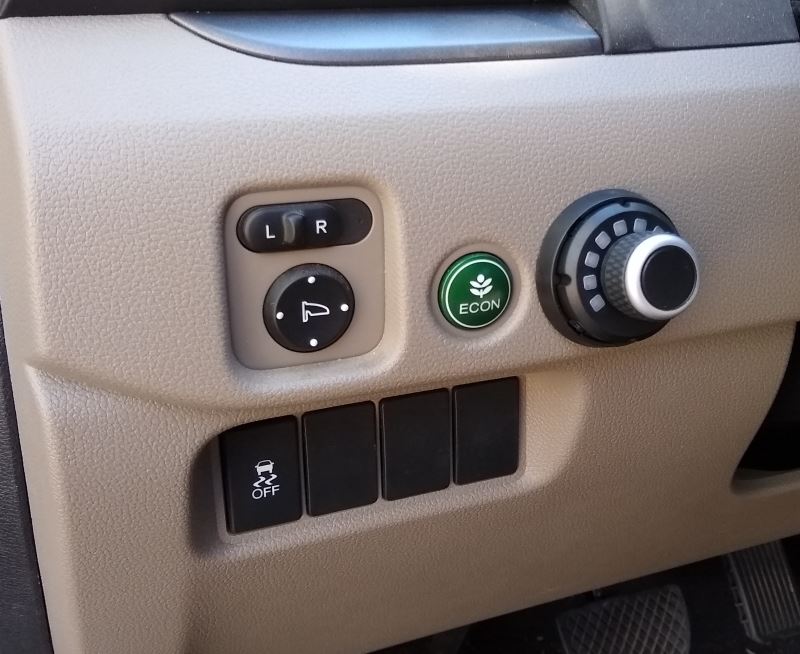
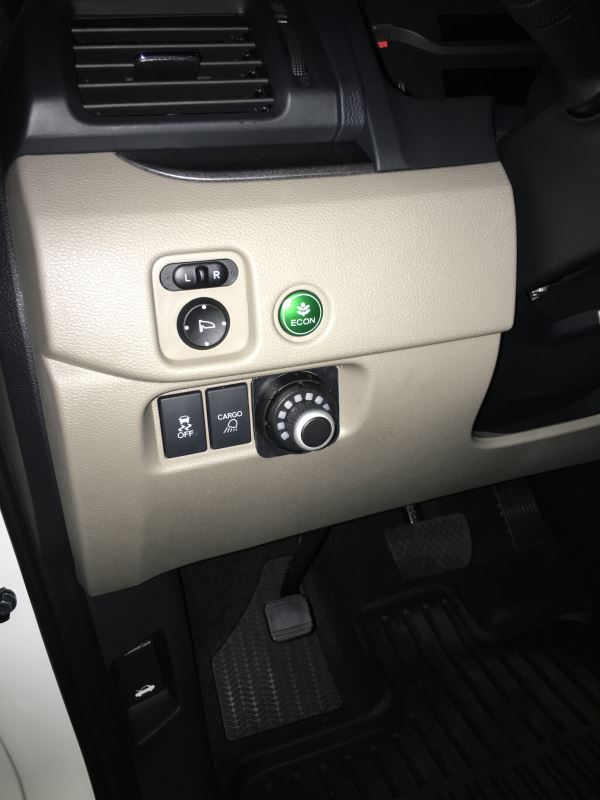
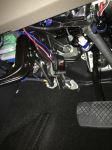
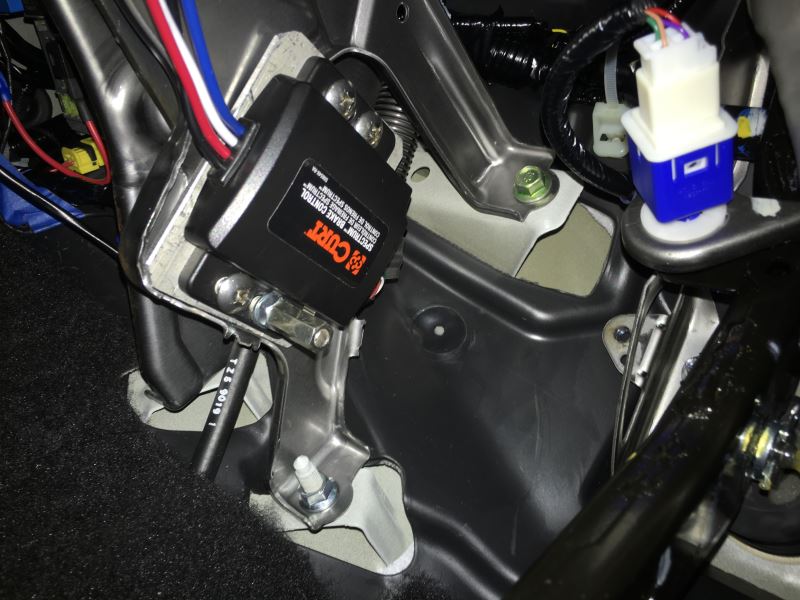
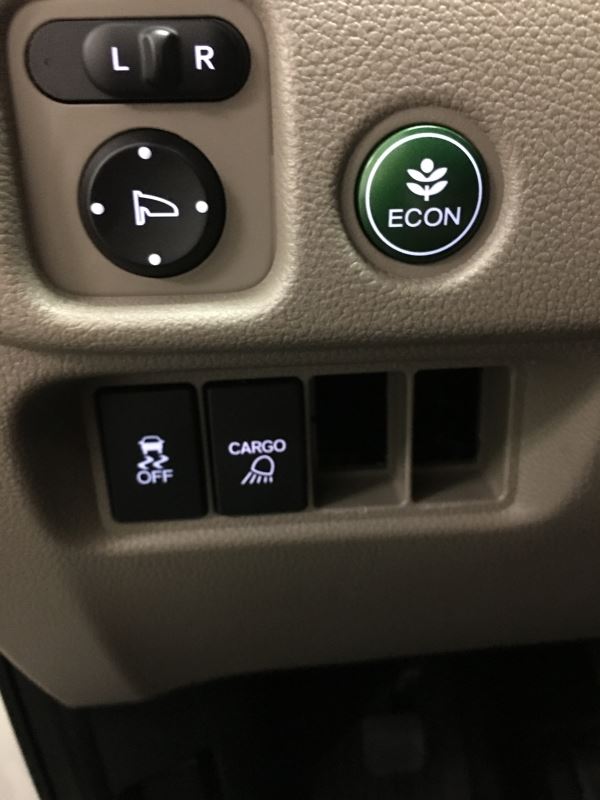
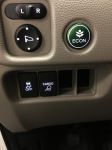
Honda Ridgeline 2019 Install
Plan to tow an RPOD 195 Travel Trailer as soon as I pick it up
Simple Installation
Didn't need to remove dash to install, as free space behind this location.
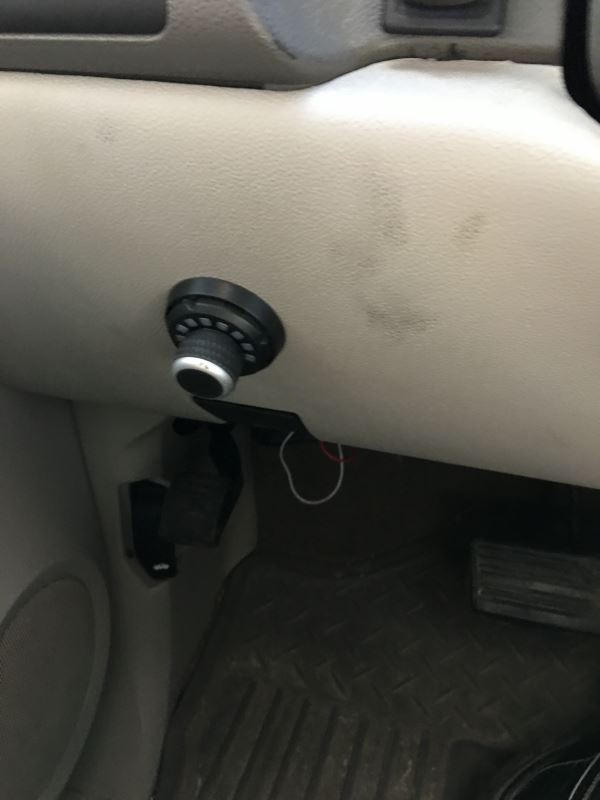
Knob on lower left of Dash.
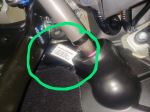
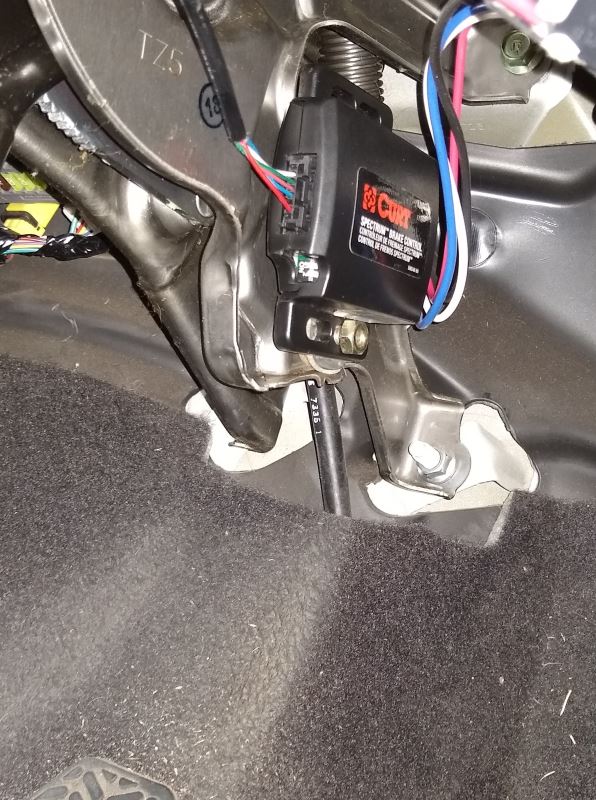
Module Tie Wrapped to the Parking Brake Bracket under the Dash.
Used the C51392 Wiring adapter to connect the Brake Controller to the Truck.
Pictures of Dash Install only.
Haven't functionally tested yet as I am waiting on Delivery of the Trailer.
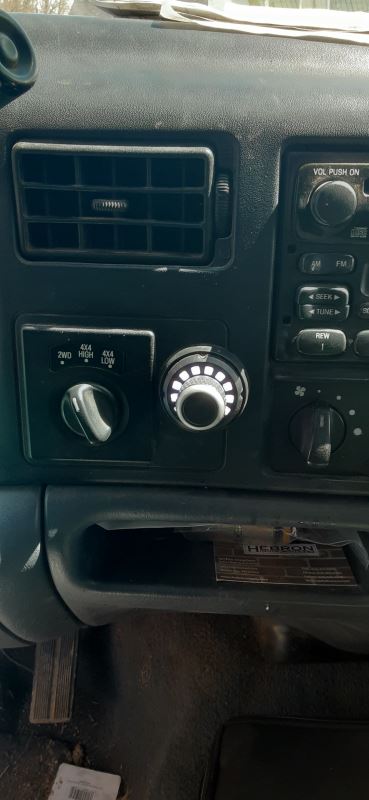
Everything installed great. The overall look of the knob if excellent. The direct plug in to the Ford OEM brake plug is excellent. Have not towed anything yet.
P.S.: The screw-in base with well nut - which is the more secure option (not the adhesive option) for the knob... the screw prevents the knob from seating perfectly square... the base bottoms out just slightly on the screw. It does click in, the screw is a very flat pan head... perhaps there is a flatter screw or the there is more space in the knob undercarriage, but another 1/16" of space probably gets it just right. If the seating gets weird (i.e in cold weather may shrink cause plastic to contract slightly and lose seating, I can always use a machine screw and nut washer to clean it up... plenty of space to access the fastener from mounting place. 2008 Ford Expedition.
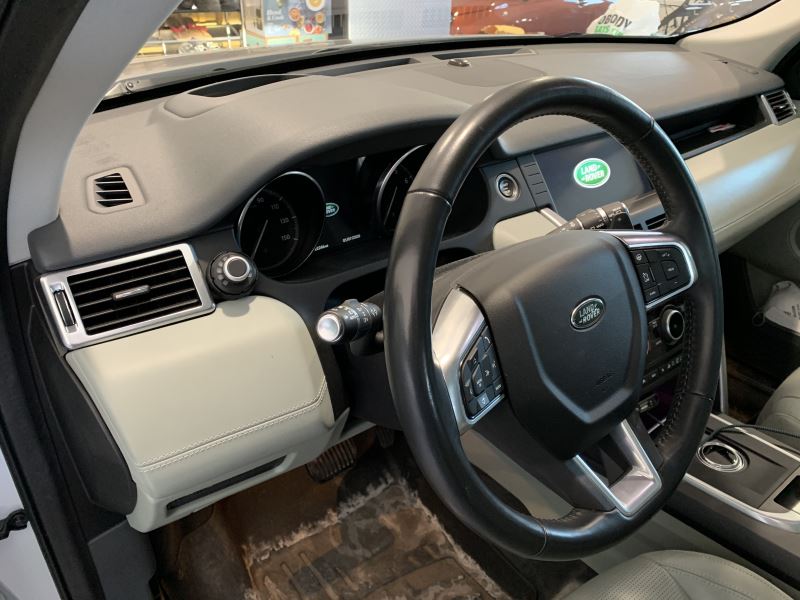
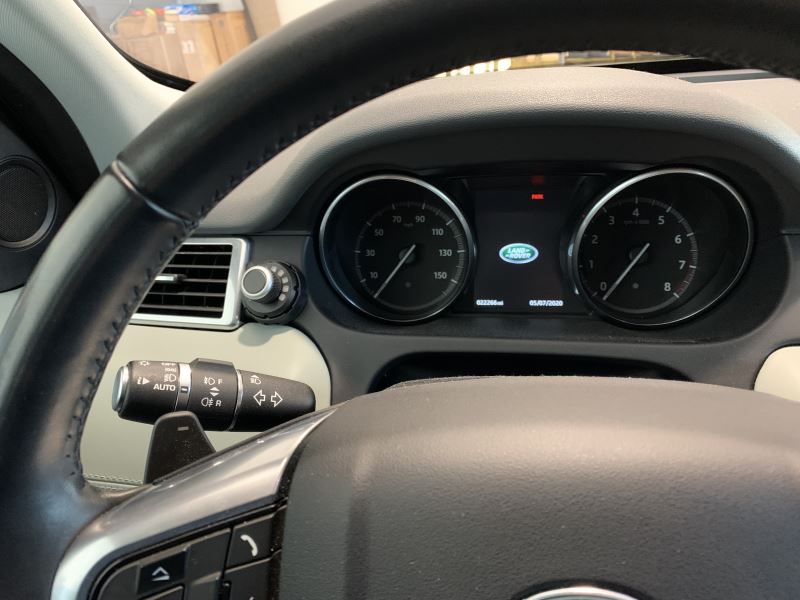
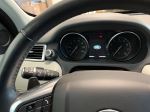
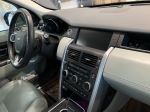
Great product. Easy install in under 45 minutes to integrate into factory OEM harness. 2017 Land Ro er Discovery Sport with factory trailer tow package will be plug and play with this controller, and Curt custom wiring Adapter C51322. The factory brake controller integration harness is directly behind the OBDII connector on the driver’s side. Everything else is in place. Note: your factory OEM tow connection MUST be dealer activated in your vehicle. Without that activation, the body controller will not pass power to the brake module.
There is ample space inside the dash on the left side, behind the left knee bolster to place the control module in a securable and protected location. This requires only 3 easy to remove panels, and 2 screws to reach. If oriented properly, the DIP switches are accessible in future by removing the dash side panel (zero tools required).
There are multiple locations for the control knob. The look and style of the control knob fits perfectly with the design of the interior. Love the ability to use a drill or no-drill installation method.
We haul our Forrest River travel trailer with this vehicle and previously used a time-based controller that “fought” with the vehicle’s integrated trailer stability control and anti-sway detection. This controller has solved this issue and gives complete control while integrating seamlessly with factory stability systems.
Even with the output or sensitivity at high levels, this system still works perfectly with the vehicle trailer stability control. This was a vast improvement over our old time-based controller.
Great function and fantastic look. For a non-OEM product, this truly does have an OEM look, function and ease of installation. Curt did a great job with this.
My only nit is that both Curt and etrailer do not recognize the factory connection adapter harness as an option on the Discovery Sport. TIP: If you select the Land Rover Evoque (shares the same platform as the Discovery Sport) the options become correct for your Discovery Sport as far as factory adapter harnesses.
Super fast delivery. Would be better if drop-ship items included an actual tracking number instead of only the user login web based tracking option. The web based tracking required logging in to monitor for delivery times. Some kind of automated text or email shipping updates for drop-ship items would make a great buying experience into a fantastic one.
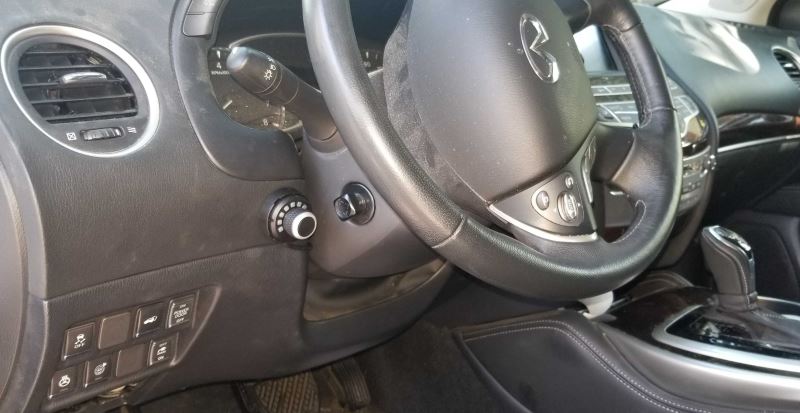
Worked well in my Infiniti 2017 QX60 but install was not that easy.
First unlike other etrailer products, I could not find an install video for my car. For other Infiniti owners out there, the brake controller connector is located along the wiring harness connected to the OBD connector. You cannot see it as it is lightly taped up, you just need to feel for it and pull it down. Secondly it is *capped*. The cap looks very much like the plug itself so don't be confused. Remove the cap and you can install. Make sure you get the right Curt adapter for your car.
Secondly the install requires the user to insert the crimped controller wires into a connector for control module. There are videos on how to do this however it did not go as easy as shown. Maybe I had a defective part, but there is clearly only one way to insert the wires but I had to insert with significant force to get them in all the way.
Once installed the unit worked fine with my 3,800lb RV trailer. A few nits: Occasionally the control knob will leave as one of its lights on after the car is turned off. Its happens occasionally and can be reset by pushing the brakes again but seems like a bug? Also the knob will *always* light up if you press the brakes even if you do not have a trailer attached. There is no way to turn this feature off and can be kinda annoying if you do not tow that much.
Overall, works as advertised and like how it can be tucked away, but wish the install was better explained for my vehicle and didn't bother if there was no trailer attached.
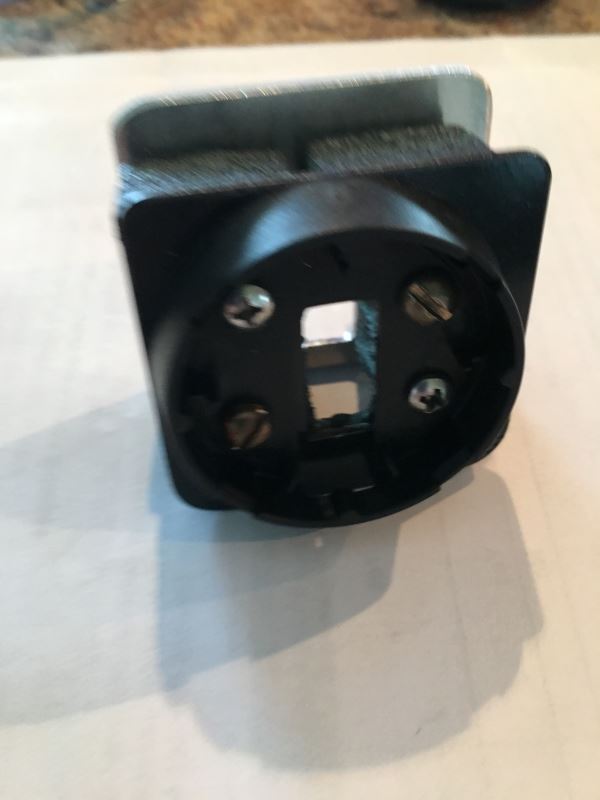
I chose this controller as the main module fits out of sight and does not have to be aligned or leveled. I attached it to the parking brake bracket on our Pilot. The LED rotary control knob fits nicely on the dash and after inserting the cable through a small hole in the dash, connecting the plug was simple with the pins that were attached to the cable. What was confusing was the instructions do not mention there are two base plates - one for adhesive mounting to the dash and the other for drill mounting (what I did). I tried to snap the rotary knob into the base plate I mounted, but it would not fit. I found out that the rotary knob actually comes with the adhesive mount already attached and you have to use a small screw driver to pry it off so you can use the other base plate. Luckily Curt has an installation video on their web site that showed removing the adhesive plate. I generally do not start taking apart precision gear without some hint of what should be done. Curt also has a custom cable that plugs into this unit and the port on my Pilot.
When I get our trailer I will be able to review the performance of this controller.
I really like the finished look of this controller after it is installed (see before and after pictures attached)! I also like being able to finely tune it to my need using the power output and sensitivity adjustments. I do have a minor issue with connecting a trailer to my 2020 Jeep Gladiator, though. If I connect the trailer while the engine is running, the electronic stability control and engine start/stop services on the truck disable themselves. Turning the ignition all the way off an on again resolves the issue, as does having the engine off when I connect the trailer. Aside from that minor inconvenience, this controller works admirably and I would buy it for other vehicles.
Installing was simple with the adapter for factory wiring. The most difficult part was identifying the location for the knob and taking the dash apart to install it properly. The finished appearance is clean and the only visible aspect of the entire system is the control knob.
With the sensitivity and power controls on mid-level, the trailer tires were skidding on quick stops. Tuning the settings to have less sensitivity and less power quickly corrected that issue. I am quite happy with this controller!
This controller is a really good concept but kind of challenging to get dialed in correctly for each load. When braking in a straight line it performs as expected but when braking while turning or on bumpy roads it often times surges the brakes making them lock up.
I have been using this product for 1 year and am now figuring out ways to work around the surges. Best way I've found is to keep the sensitivity on high and only adjust the power setting.
The 4 star rating on this product is for how small and sleek the adjustment knob is vs standard brake controllers installed In the dash it feels almost factory.
Install took about 5 -10 minutes
Overall I am happy with this purchace
it's just not quite as user friendly as I'd hoped.
I ordered the Curt Spectrum trailer brake controller after much research. I was looking for a brake controller with a clean looking install (I didn't want an underdash mount) for my 2020 Chevy Blazer. My Blazer had the tow package from the factory which made the install fairly easy. All the wiring for a brake controller is there behind the driver side kick panels. The Curt Spectrum once installed and adjusted works flawlessly. Just follow the enclosed instructions to adjust the Spectrum for the load you are hauling. I could not be any more pleased with the way this product works and highly recommend the Curt Spectrum brake for your auxiliary braking needs.
I bought this because I wanted a factory look. This was easy to install and looks great. You have to learn what the different colors and settings do but it’s not that difficult. Overall I am very happy with this brake controller.
The compact remote control knob feature is a good plus for this product. Installation was really easy with the interface harness on the second generation Tacoma. I haven't had a lot of towing time with it but can offer the following insight.
The control lights are easy to use and adjust. They appear to be dimmed with pulse width modulation so if your eyes are sensitive to it you might look at one before you buy. Hopefully they can go PWM-free at some point. The "white" color lamps appear as a mix of flashing red green and blue. Indicator lights are plenty bright in the daytime but the lowest dim setting is too bright. Perhaps this was done to minimize the PWM flashing at the dim setting. I had to locate the knob in the shadow of the steering wheel to keep the light out of my eyes at night.
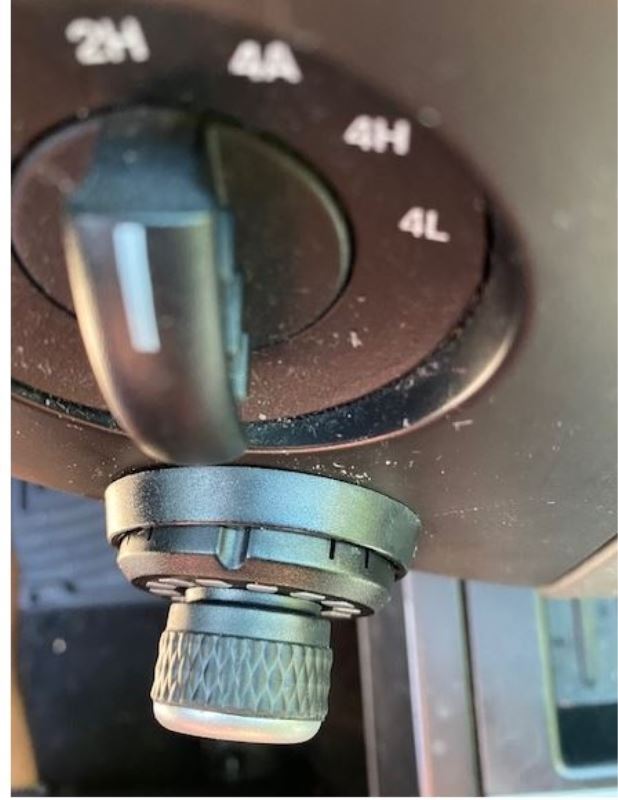
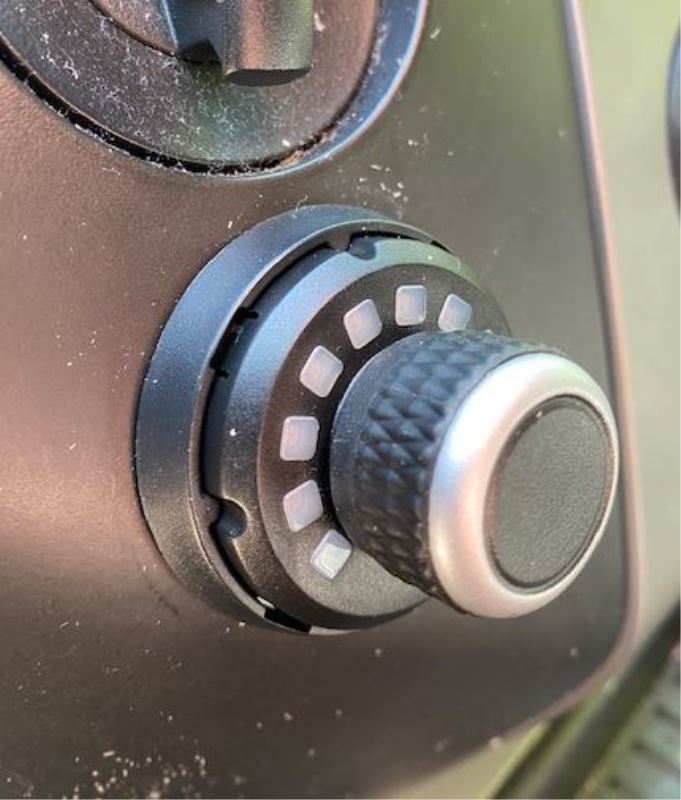
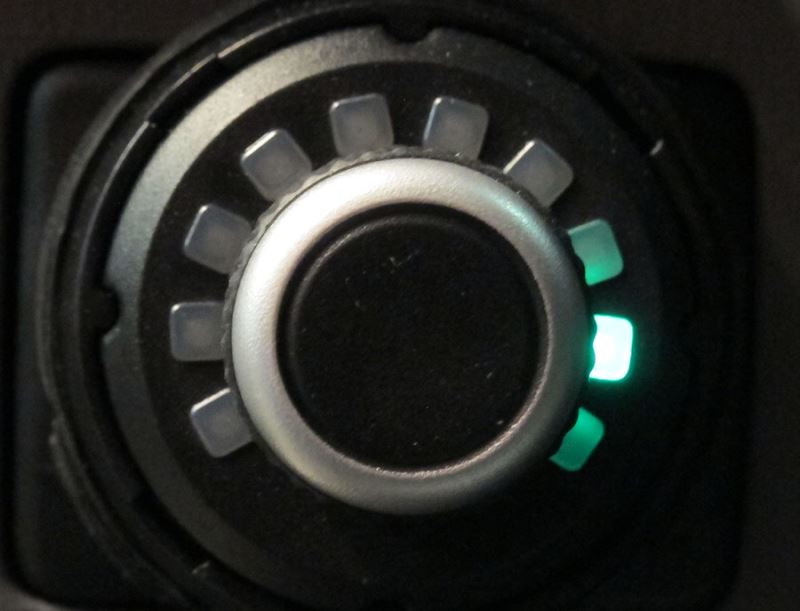
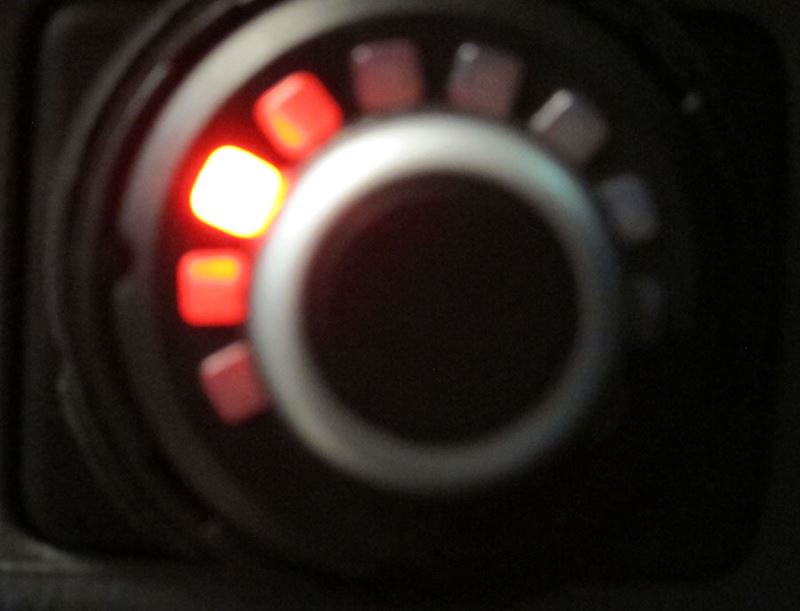
I've also noticed a single artifact light on many occasions after brake release (see pictures). So far the lamp color has been red, green, and blue however I have not yet seen a "white" one. One of these lights often come up in random positions on the dial. This lamp will continue to burn after I get out of the truck, and won't go out until I press the brake pedal again or push the knob. If I push the knob the output or sensitivity adjustment mode arc comes up briefly and it goes out after a bit (as it's supposed to). OEM brake control harness and grounding were sound with typical resistances around a milliohm or less.
This controller is a considerable parasitic draw on the battery even with the lamps out and the ignition switch off. This could be an issue particularly if an artifact light is not noticed and the truck sits for more than a week(which mine sometimes does). A depleted battery made me look into this with a Fluke ammeter. You might consider pulling the fuse if the truck will sit or hook up a trickle charger.
I tried to make contact with the manufacturer to see if they had any free convection requirements for air flow around the main module (air cooling at 100% duty cycle), and to understand what is going on with the controller and if there was something that could be done to fix the lights, perhaps a firmware update or something but never got any replies. The folks at etrailer maintained good communication and were excellent to work with but I don't feel the manufacturer is willing to support their product. This could be an excellent product if they can address these issues.
2019 Honda Ridgeline RTL AWD—
The Curt Spectrum C51170 controller and harness C51392 was exactly as I had read it would be! All connections hooked up as described and all connectors fit! The knob works as described but I have yet to hook up trailer to get response from the accelerometer! I’m sure the quality shown it will work fine! Only problem I had was access under the dash. Thanks Bill and etrailer! Pictures attached!
I knew I wanted to have something like this due to the look, function and size. The package was small. Installed pretty easily with minimal headaches. I just watched the videos online to see how others did it and how to steer away from making damaging mistakes. The booklet was also very helpful to make everything fit as it should while putting the steps in order.
As I pull a trailer 90% of the time, I wanted something to have the easy manipulation for the brakes yet have an aesthetically pleasing look. This does just that. Brakes on one setting. Adjustable on two other settings. Very quick.
Although I did have to play with the settings to make sure it wasn’t jerking me in my seat every time I pushed the brake pedal, after a day, smooth sailing.
I do recommend you seriously think about this brake controller. Ease of install and the application is perfect.
This is my 2nd purchase of Curt spectrum brake control. When installing the first device, I accidentally broke one of the 6 wires (wiring the plug connector to the led display knob). I tried to fix it but it didn't work for long. That's why I had to order a 2nd device. For the installation of the 2nd, I was very meticulous because the 6 wires are very fragile. I succeeded by taking my time and everything works very well. The Curt company would do well to manufacture this device more robustly. For looks, it's ok in my 2019 Honda Passport.
Ceci est mon 2e achat de Curt spectrum brake control. Lors de l'installation du premier appareil, j'ai par accident brisé un des 6 fils (wiring the plug connector to the led display knob). J'ai tenté de le réparer mais il n'a pas fonctionné longtemps. C'est pourquoi j'ai dû commander un 2e appareil. Pour la pose du 2e, j'ai été très minutieux car les 6 fils sont très fragiles. J'ai réussi en prenant mon temps et le tout fonctionne très bien. La compagnie Curt aurait intérêt à fabriquer cet appareil de façon plus robuste. Pour l'apparence ,c'est ok dans mon Honda Passport 2019.
After knocking my knee into my brake control for the last 20 years with the new GMC Savana I wanted something a little different. Technology has moved trailer brakes forward quite a bit and Etrailer has an immense amount of information!
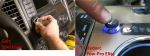
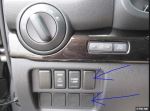
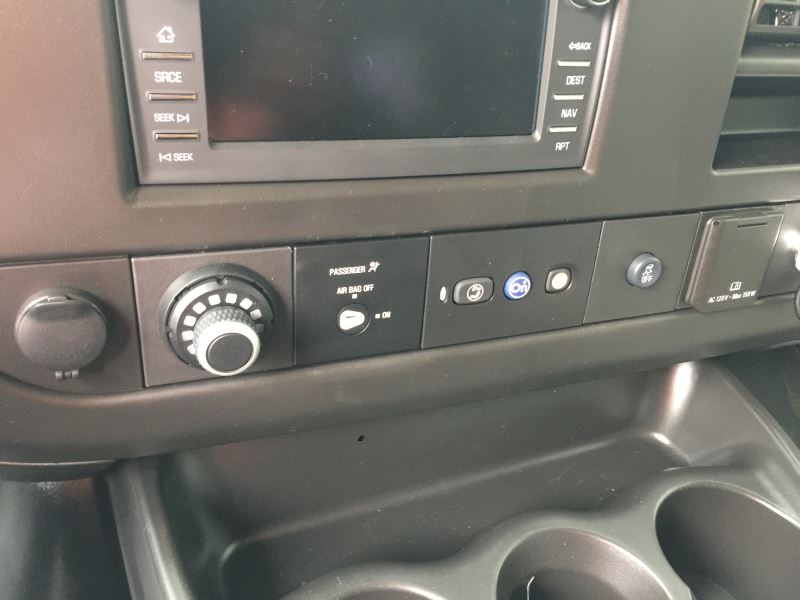
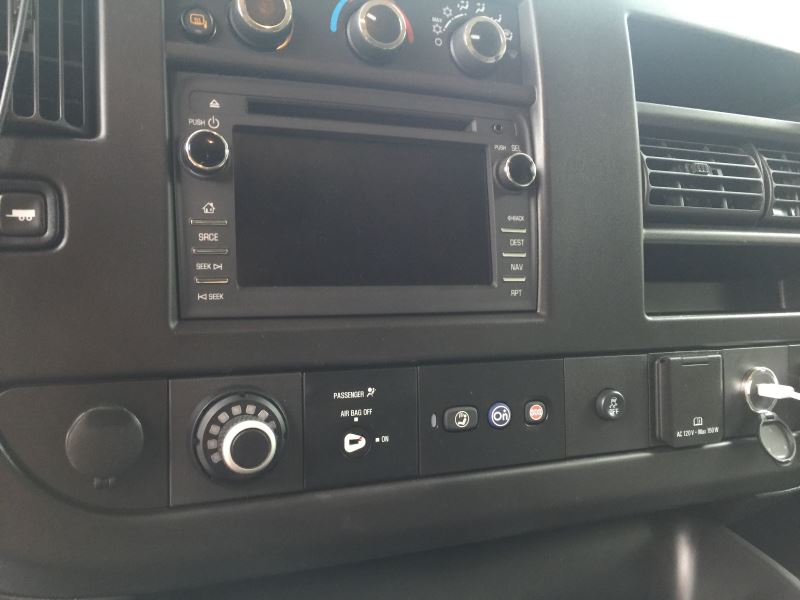
I original looked at the Tekonsha Prodigy RF Wireless Trailer Brake Controller but it would take up a valuable power outlet with the control unit but it's kind of trailer specific as the control mounts to the trailer you never know when you might have to tow another trailer and was leery of the control wandering around the console, Next up was the Redarc Tow-Pro Elite Trailer Brake Controller but did not like the control mounting options. Then ran across the Tuson DirecLink Lite Trailer Brake Controller crazy amounts of technology in this unit but again concerns over the remote so after lots of head scratching the Curt Spectrum seemed like the best choice. Easy install very small control box mounted easily with the included double stick tape under the dash. I moved my traction control button to the left where a blank filler was you have to cut a little piece of it off to get it into the hole as the are "keyed" to specific locations I guess but worked perfectly! I left enough slack in the connection so I can simply disconnect the harness if I am not towing for awhile as the blue indicator lights come on every time you hit the brake if its disconnected. Just installed it so I will send an update after our first trip with the new rig but I'm thinking it will work as described. Thanks again etrailer fast shipping great information!!!!
Fast shipping,excellent price. Videos for everything they sell,how to install, reviews, how to use. Everything I have bought from e trailer has exceeded my expectations.
The instructions were clear and the cable fit perfectly in my 2019 Q7, even though the website said it would not fit. Which is a good thing because my local Audi dealership said they didn't know how when I asked them to install the brake controller. So I went home and did it myself.



Do you have a question about this Trailer Brake Controller?
Info for this part was:
At etrailer we provide the best information available about the products we sell. We take the quality of our information seriously so that you can get the right part the first time. Let us know if anything is missing or if you have any questions.






































Thank you! Your comment has been submitted successfully. You should be able to view your question/comment here within a few days.
Error submitting comment. Please try again momentarily.