Hey Donny! For your Dometic Penguin/Brisk Air 15,000 BTU AC model B59516.711C0-MX, the correct soft start is the #DMC93JF. This is designed for Dometic Brisk II electronic air conditioner units with in-wall thermostats.
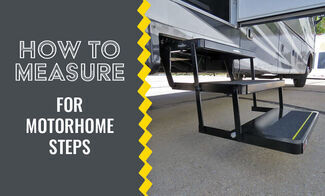
Hey Randy! The cost of those replacement parts can definitely get out of hand. The right MORryde StepAbove RV Steps will depend on the measurements on your motorhome. You will need to measure your doorway width (from inside flange to inside flange)…
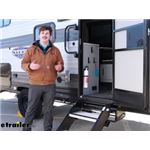
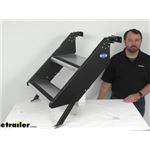
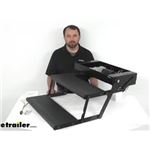
Hello Theresa, Yes, the TorkLift GlowStep Revolution #TLA8002 will work on your 2022 Forest River Aurora 18BHS based on the measurements you provided. Your 24 inch ground clearance is right within the operating range for the 2-step #TLA8002, and the…
Hey Scott. To add a 7-way and 4-way connector to your 2024 GMC Sierra 3500 that can be used at the same time, I recommend the TowSmart ProClass Trailer Connector item #TS49RR. It's going to replace the factory one and mount in the same position…
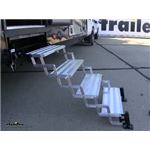
Hey John! You weren't finding that SolidStep because Lippert discontinued it in 2024 and that table wasn't updated to reflect this. What I recommend instead is the MORryde StepAbove RV Steps #MR26RR. These are designed to fit 23-3/4" to…
Hi Paul, you’re definitely on the right track here, and I can help you narrow this down with confidence. With your tandem 3,500 lb Dexter axles and 33 inch spacing, both the Dexter EZ Flex part #K71-652-00 and the Lippert Road Armor part #LC53CK are…
Hi Frank, The In-command system does limit our options for what air conditioners we have that'll work with that system. You can replace your Coleman AC with the Dometic FreshJet 3 RV Air Condition part #DMC94JF and install the Dometic Climate…
Hey Woody, For your 2025 Grand Design Reflection 337RLS, I don't think you'll have any trouble getting either the MORryde RV Cargo Slide Tray - 72" x 39" - 2 Way Slide - 80 Percent Extension - 500 lbs #MR33FR or the MORryde RV Cargo…
Hey Tom! Do you currently have the Kwikee 47 series on your Entegra Cornerstone? It looks like that is what was used on the 2014, but we have no way of confirming this for your 2017 without you checking. Assuming you do, the Replacement Steps, Motor,…
Hey Steven, thanks for all of the info you listed on your Grand Design 310GK! Based on that the correct Lippert SolidStep RV Steps are the #LC791574 that you referenced. This matches your doorway width and is a 4 step like you have as well. Is your…
Hey Nicholas, thanks for the pics and information. To replace your Dometic Brisk II 9105304474 AC, I recommend the Advent Air RV Air Conditioner System item #ADV92SR in white or item #ADV62SR in black. There's no way to just replace your AC unit…
Hey Joe, so when the Lippert Solidstep part #LC65DX is folded up in the stored position it will take up 10 inches of space inside the doorway of your RV. Do you have any cabinets near the doorway?
Enjoy easier entry with 2 steps in a pull-out step setup that feels natural underfoot. Check your bracket width and bolt-hole alignment; some installs are a direct swap while others may need light drilling, spacer plates, or new outriggers to square things up. A solid pick when upgrading from a single step or replacing bent hardware on older or custom rigs.
Yes, that's a common upgrade for easier entry. Verify your bracket spacing and plan for possible adjustments like moving outriggers or drilling new holes. Confirm there's enough clearance when the steps are folded since a 2-step can sit lower when closed. Support the unit with a floor jack during install to hold it square while you bolt it up.
Using spacers on each side is an acceptable solution. Steel spacer plates with appropriately longer hardware help close small gaps so the steps mount square and feel stable. Tighten everything evenly and recheck alignment before final torque. If the existing brackets won't work at all, install new outriggers with the correct bolt pattern.
Pull-out steps keep everything outside and can help avoid entry screen door modifications. They're a straightforward swap when your frame has room for the mounting brackets. If you want extra stability, add a step stabilizer or landing gear. Confirm your entry height suits a 2-step setup and check ground clearance and closed-depth before you commit.
They can, but measure first. Check the width, height, and depth of your mounting brackets and compare to the step's mounting frame. If the holes don't line up, adding outriggers can provide the correct bolt-hole locations. Slight misalignment can be handled by redrilling or carefully opening holes. Square up any bent outriggers before bolting down for a solid fit.


 Towable Camper
 Truck Camper
 Filters