


Thank you! Your comment has been submitted successfully. You should be able to view your question/comment here within a few days.
Error submitting comment. Please try again momentarily.
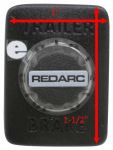
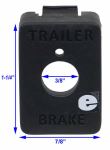
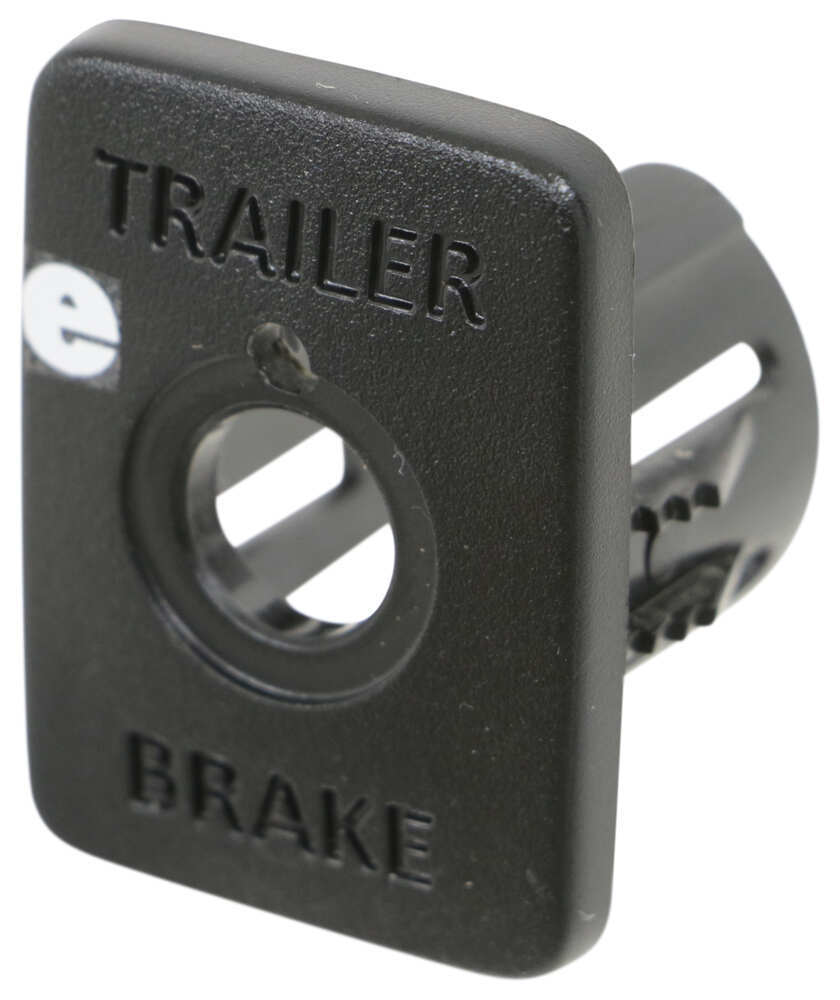
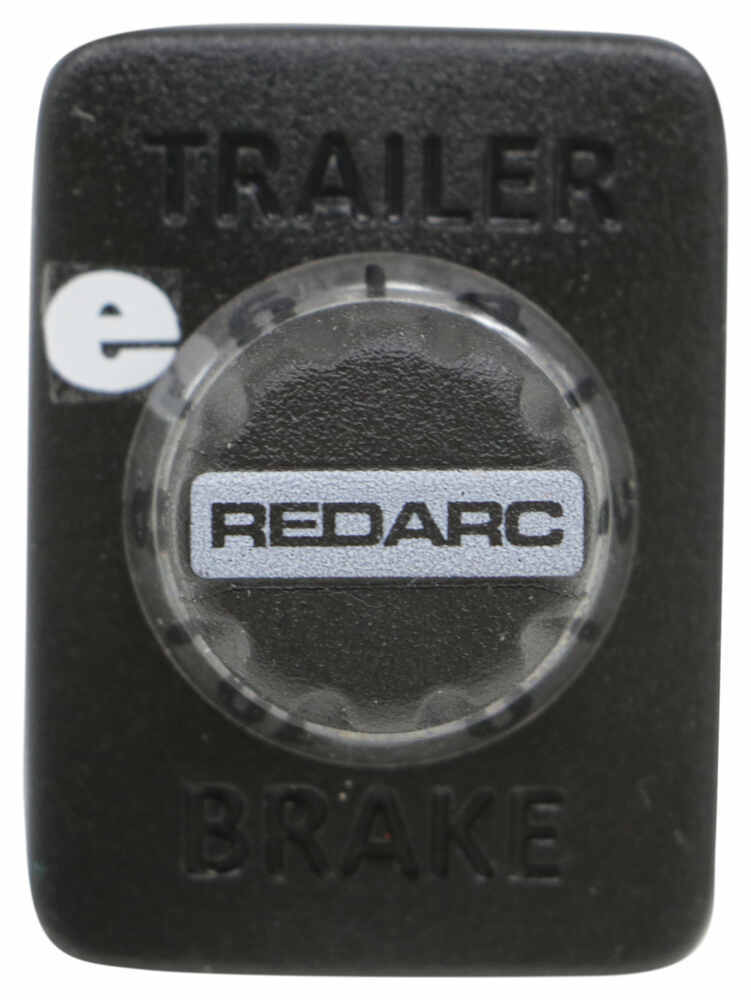
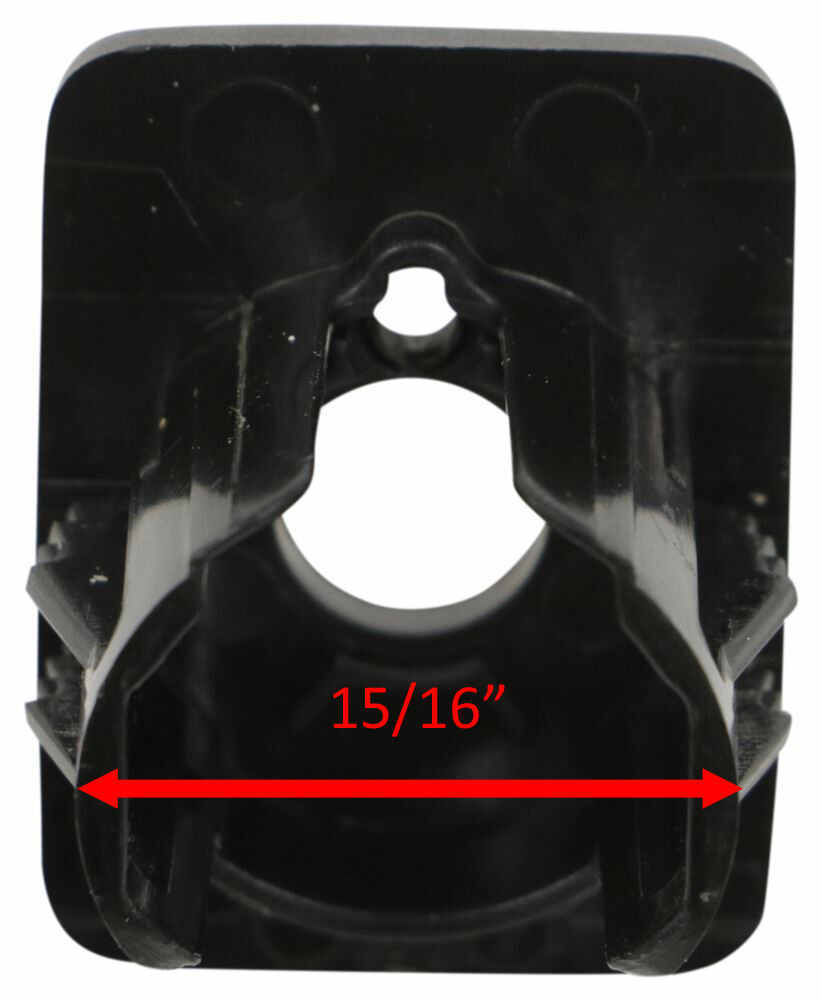
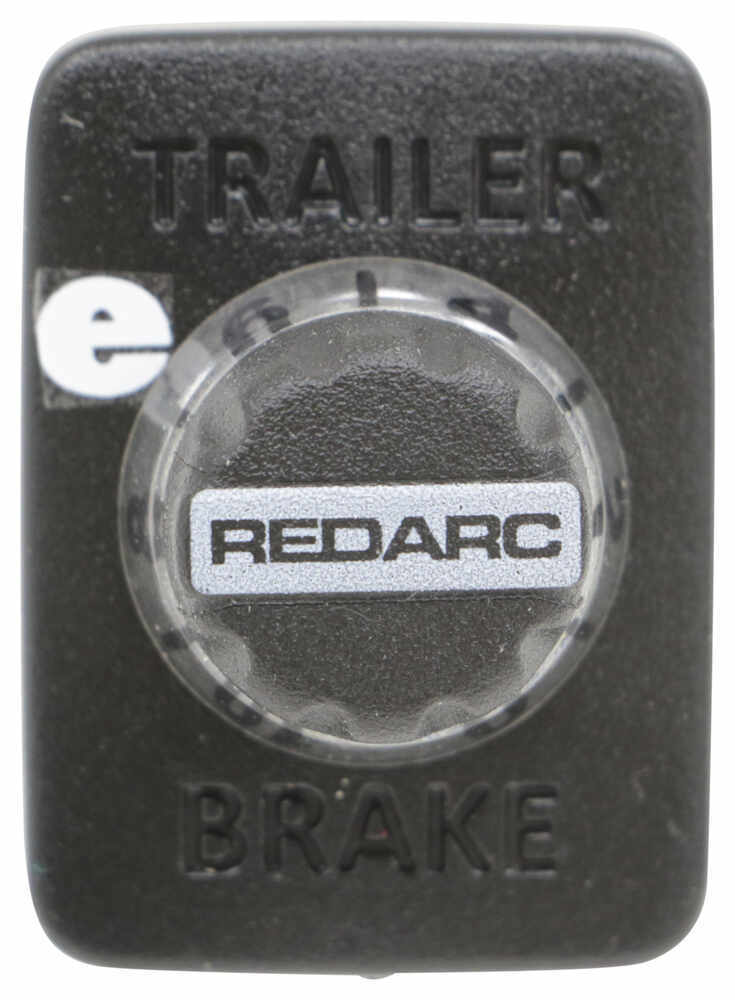
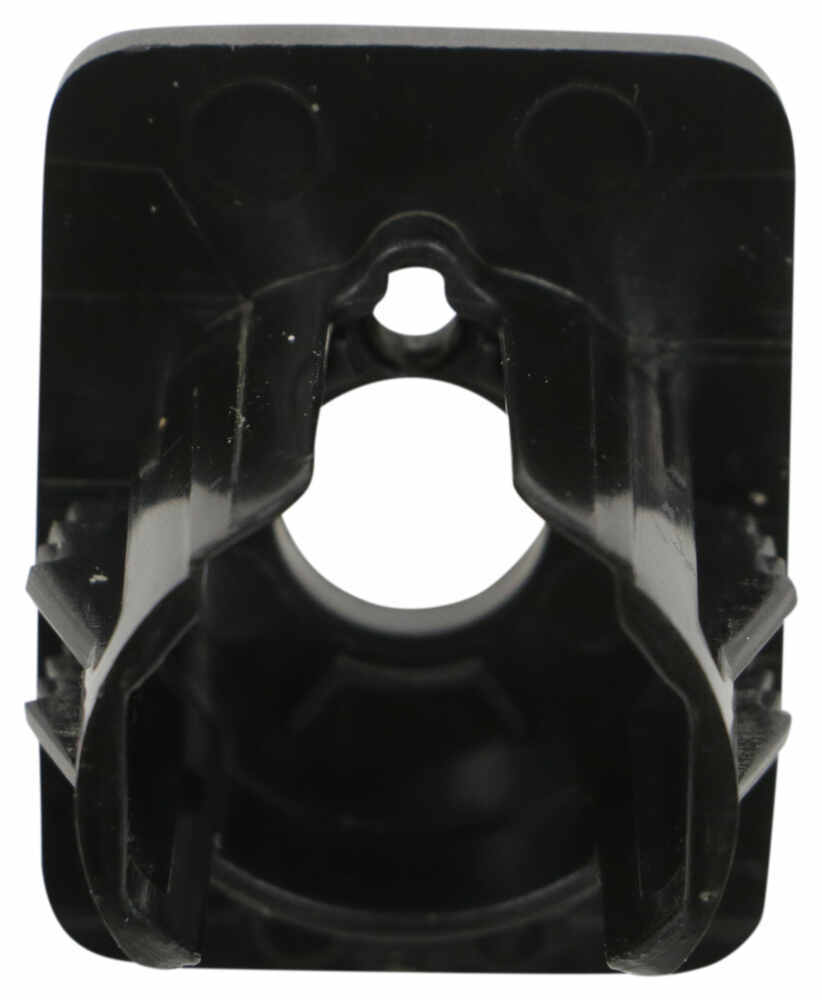
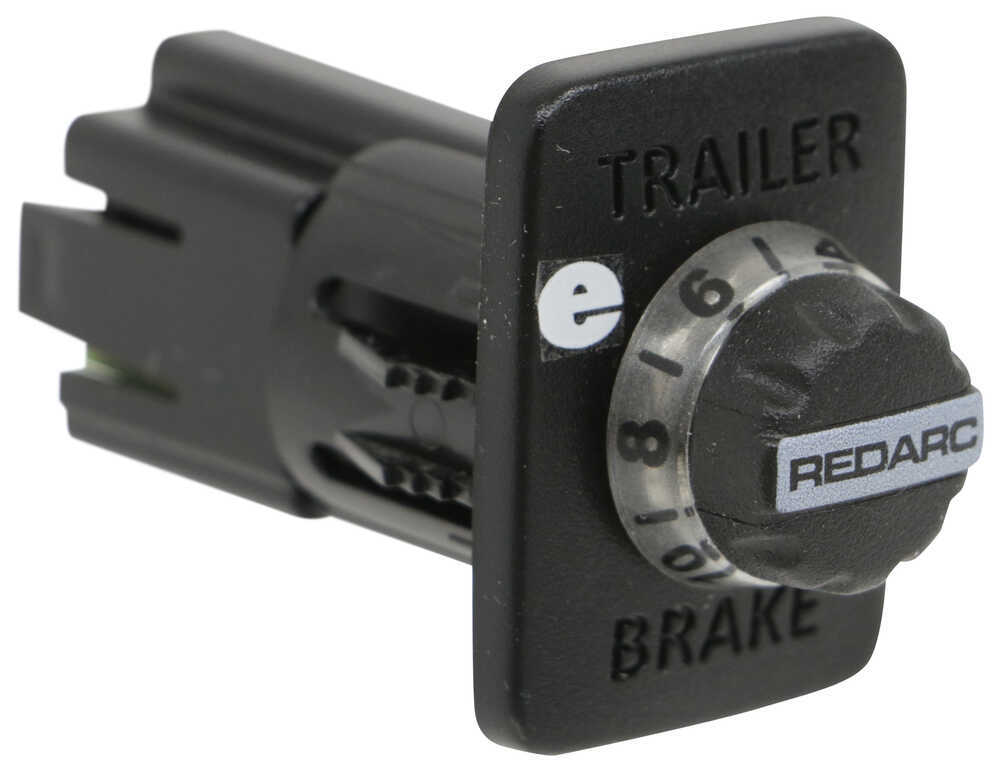
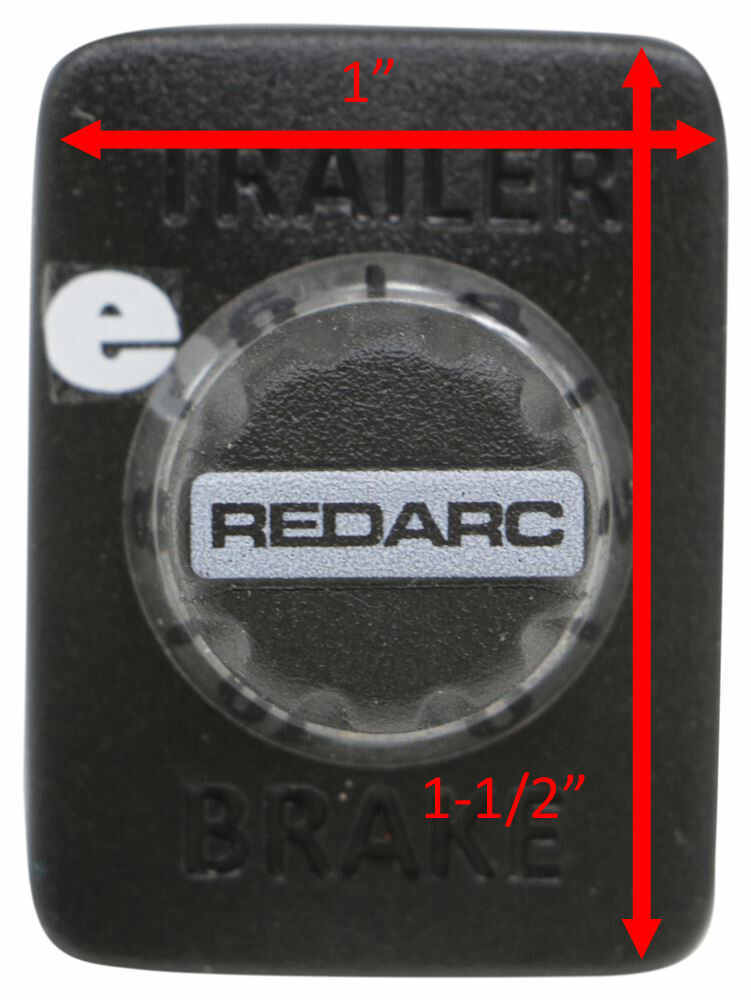
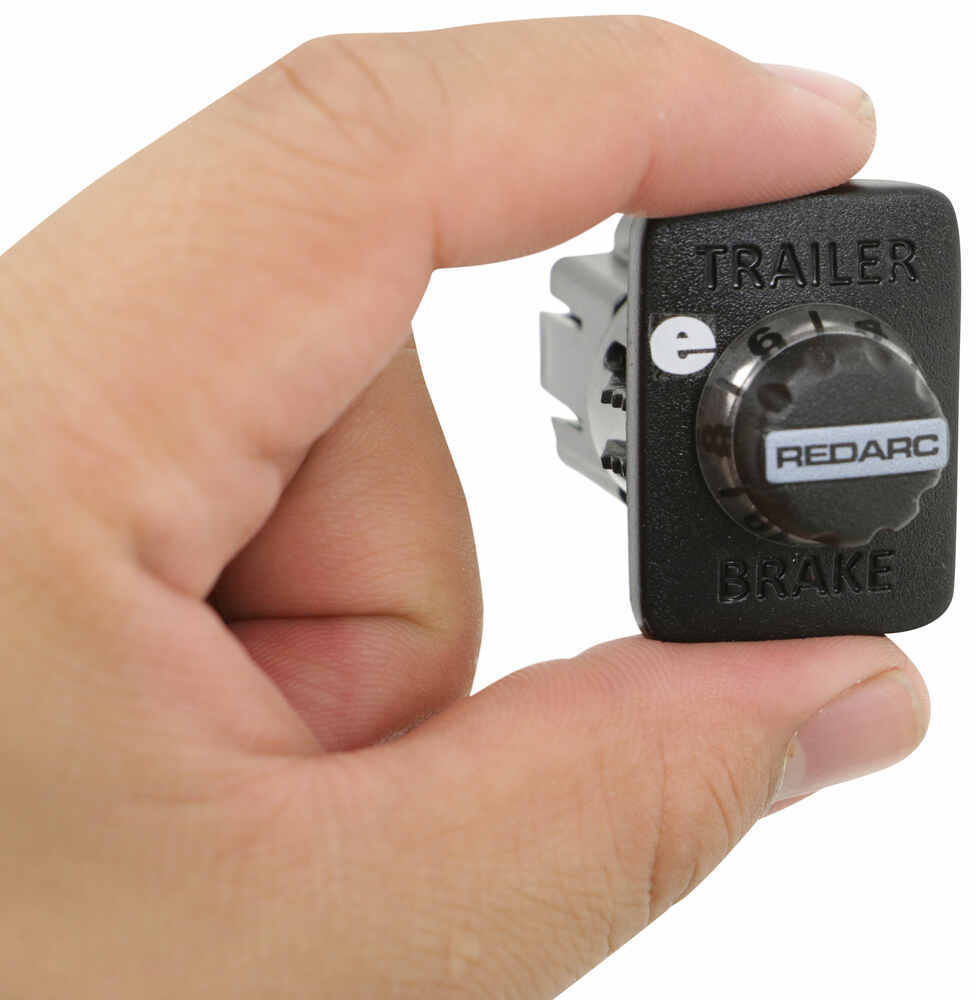
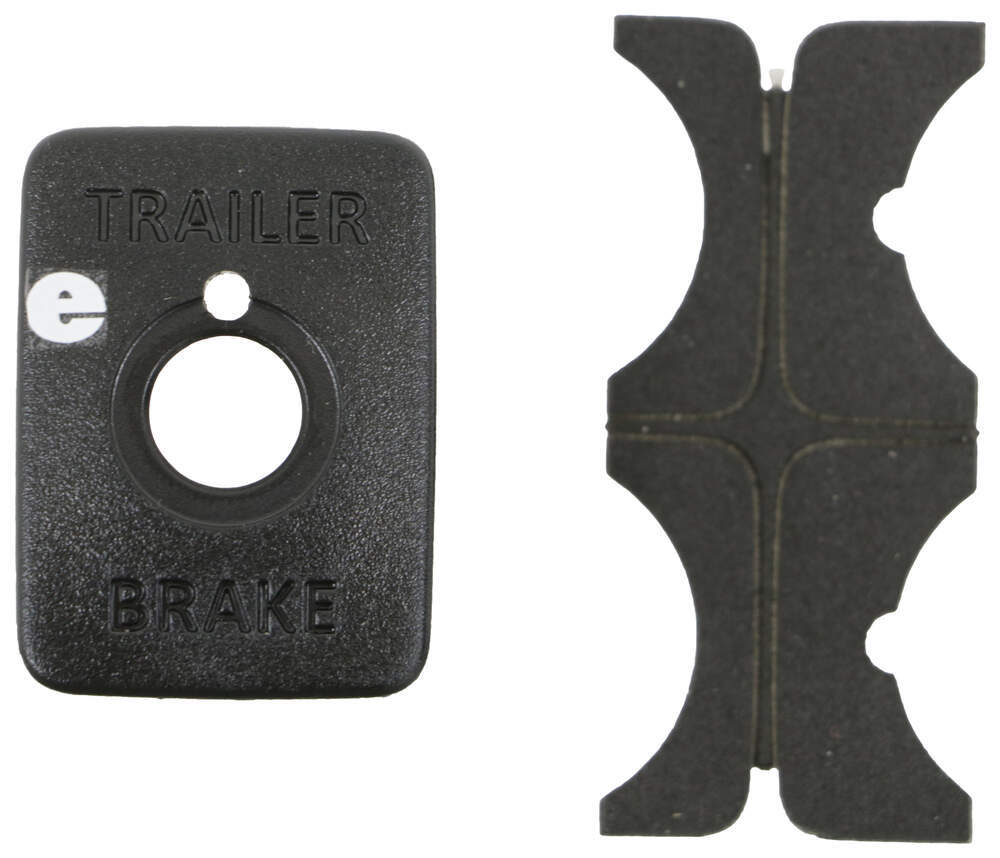
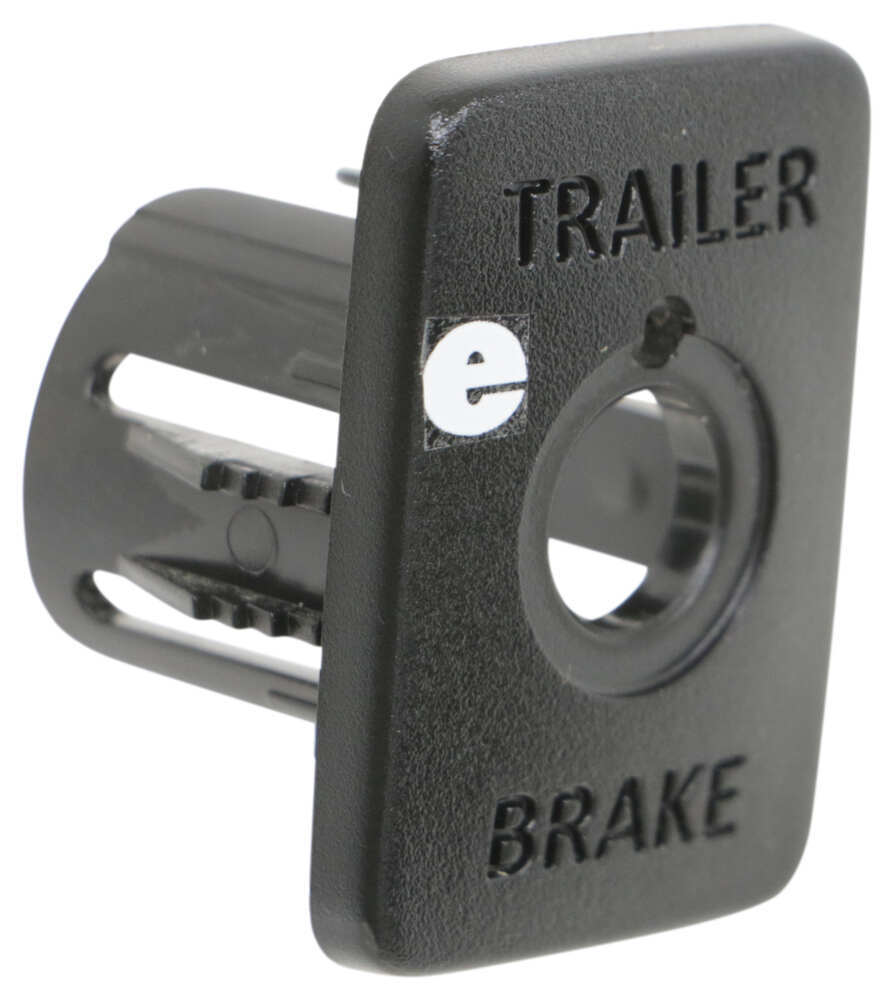
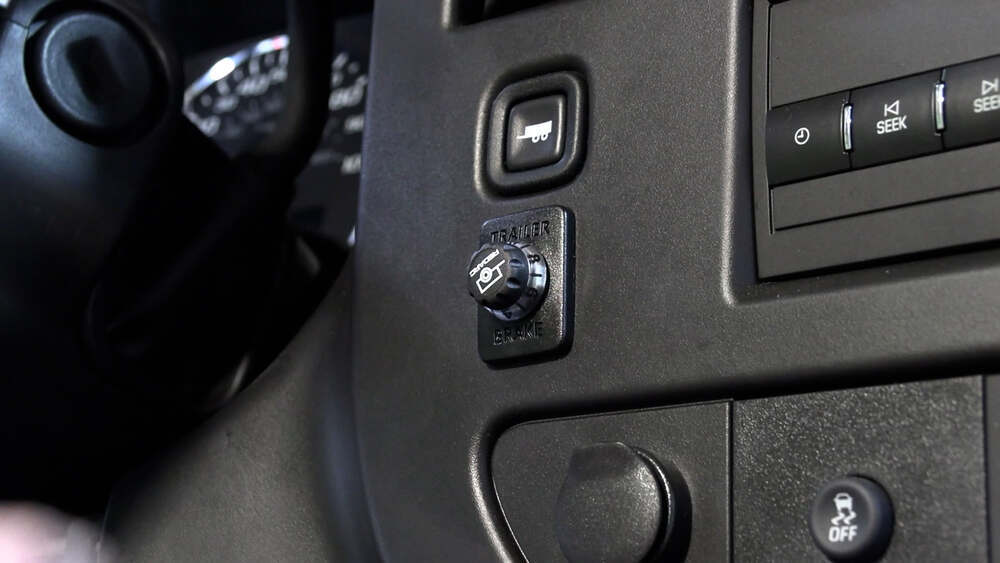
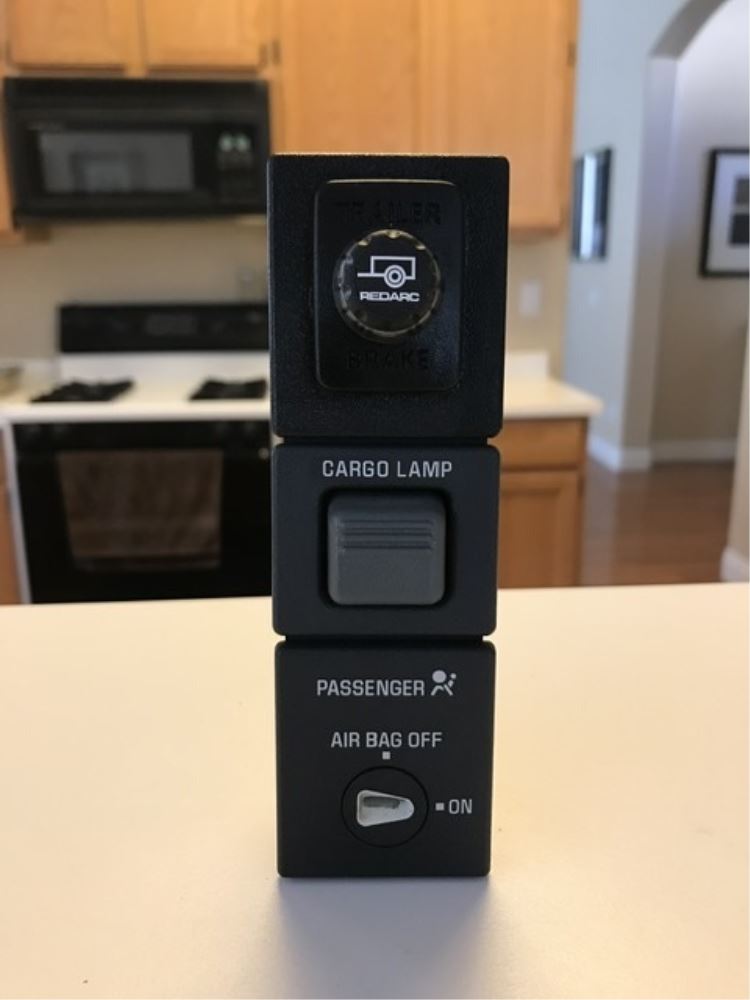
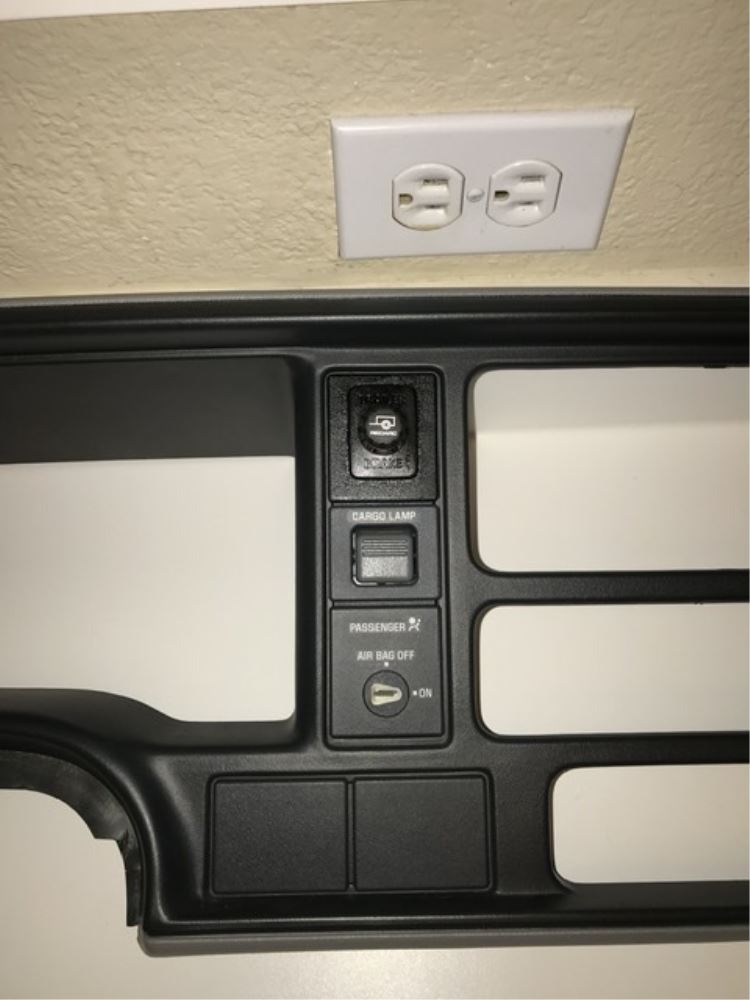
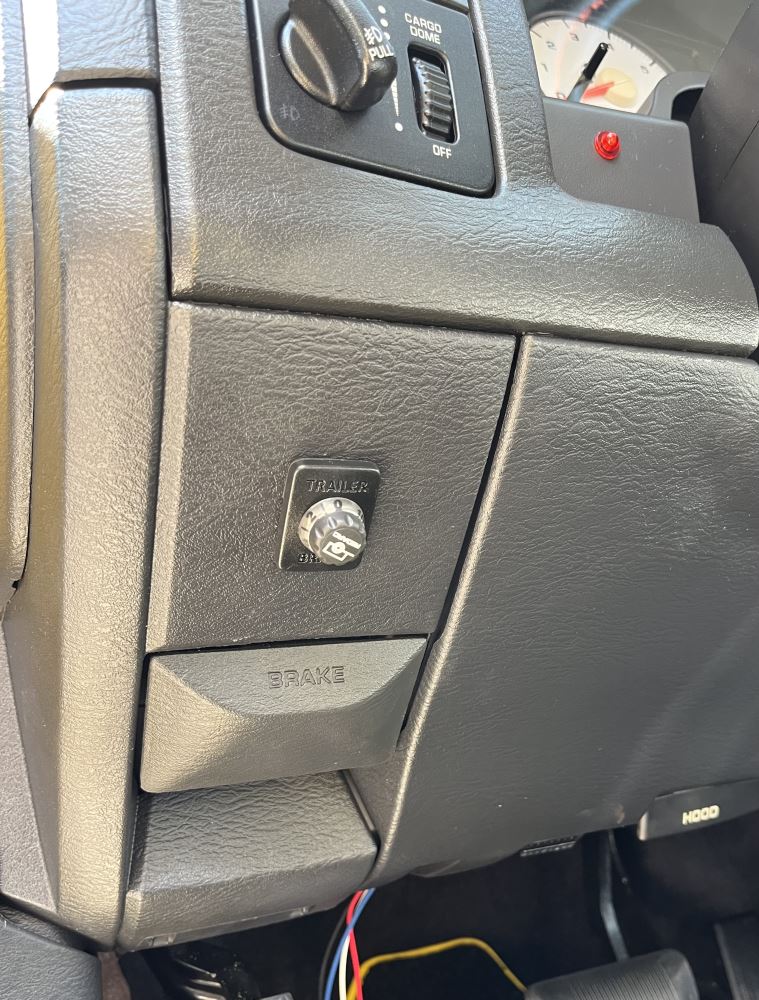
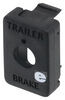
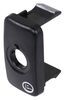
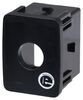
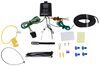
Mounting panel creates a factory look for your vehicle's dash when you install the control knob from your Tow-Pro brake controller. Works on dash panels that are up to 9/32" thick. Drilling template and self-adhesive tape included.
Features:

Videos are provided as a guide only. Refer to manufacturer installation instructions and specs for complete information.
Hi there do-it-yourself-ers. Today we're gonna be taking a look at, and we're also gonna show you how to install REDARC's panel mount for the button for the Tow-Pro Elite or for the Tow-Pro Liberty. The one I'm holding in my hand here, this is the Tow-Pro Elite Switch. It's a little bit smaller than the Liberty's. Here's the Liberty switch. So you can see that the Elite here definitely is gonna have a smaller footprint, but both of these are gonna work with our mount there.
So we're gonna start with the Elite, we'll just go ahead and show you that here real quick. We're gonna unscrew the nut when installing the Elite in there, you do want the thicker part here, down towards the bottom, and that'll just slide in the back there, we'll put our nut on there and secure it down. And it screws in very easily into this mounting location which is one of the reasons I like it. The Tow-Pro Elite here, the nut is a plastic nut so it's actually strips and breaks fairly easily. So having a nice mounting location that it threads into easily can help you prevent you from cross threading it or damaging that nut cause it does break pretty easy.
And after that we're just gonna install our knob, we'll turn it fully counterclockwise, line the zero up at the top and slide that into place. And then just verify your button clicks. And with this mounting location here, if you got the nut tightened down, and you can cross thread it, everything should work out very well. I like this mounting location, this mounting button, because sometimes your panels here, depending on their thickness, you may not be able to press the button if the panel is too thick. So this way if we use this mounting location here it's already gonna give us a preset mounting thickness here on the button mount so you know it's gonna work no matter what.
So I do like that, that kind of turns any panel into a usable panel, even if it may be quite a thick paneling. So now we're gonna go ahead and pull this off of here and then we'll show you the Tow-Pro Liberty's. And for both the Tow-Pro Elite and the Tow-Pro Liberty if you did use a socket, you would use a 12 millimeter socket. I don't necessarily recommend it with these plastic buttons but if you want to just put a little extra little maybe like a 16th of a turn type of thing on there then you would be okay, or for removing it, it works well for removing it. So we're gonna set that aside.
Now we're gonna grab our Tow-Pro Liberty button. The Tow-Pro Liberty's a little bit different than the Tow-Pro Elite you can see its much bigger. We're gonna slide the button off of there. This one does have a chrome nut. It looks like it's made of metal but it's very light and it can be difficult to tell. It kind of feels like it's just a plastic with the chrome coating on it, but it may be like an aluminum or light metal. Now this ring you have here with the Tow-Pro Liberty this is what you would normally use to mount it. You can see it's at the alignment hole at the top for the LED. If you're using the button here we don't want to use this ring. This doesn't really fit in there. So just set that off to the side. That's for if you're doing a bare mount with our Tow-Pro Liberty, the LED indicator is at the top unlike the Tow-Pro Elite where the LED is made into the shaft portion of it. So that little LED at the top needs to line up with that small hole that's at the top of our button there. So we're gonna go ahead and slide that in now, that lines right up on there and we just take our nut and thread it into place. Man, I can't quite get that one all the way snug so we'll grab our 12 millimeter socket and that's as far as I'm gonna tighten it there so we don't wanna over tighten it. So now we're gonna take our knob here just barely push it on there just enough and turn it all the way counterclockwise. Once you've got the knob there, turn fully counterclockwise we're gonna take the button here, put the zero at the top line it up with that little LED indicator push it into place, and again verify you can press the button but that's why this mounts so nice. It should give you the proper depth for our button to press nicely. And it gives us a nice mounting location that almost looks like it's a factory piece that was just supposed to be there. What else is nice about these pieces is while we mounted ours by drilling into the paneling which you can do cause it is a universal mount it is also a knockout replacement. So if you do have some knockouts like some vehicles have like a row buttons in a row and you can knock out one of the blanks if there's not a button there, maybe 'cause there's a certain option the vehicle could come equipped with but they don't have it, you can knock those out and a lot of times this'll slide in place. Now this is a universal one though, so different manufacturers do use slightly different size knockouts with slightly different indentations on them so you may have to modify that hole a little bit in order for this universal one to to fit. We do also have some custom fit knockout REDARC brackets here at etrailer that for these mounting buttons, but it is kind of limited so you just wanna check our fit guide and see if there is one available. If not, then you can use this one here. And that completes our look at REDARC's panel mount for the Tow-Pro Elite or Tow-Pro Liberty button..
Customer Satisfaction Score:
97% were satisfied with this product
3% of customers were not satisfied
Ratings & Reviews

Easy installation, less than 20 minutes. Looks factory. Towed 250 miles and no problems. Hardest part of install was getting fingers between dash. Recommend a set of plastic pry bars. Also, my cable was taped to wall of cab on far left. Took a few minutes to find it. Just look for the yellow taped bundle.
Have fun.
This part does not fit 2025 Honda Ridge line.
This mounting panel didn’t work for my application. I thought it was the one that came up when I was watching the video.
I ended up modifying the one in my truck and it worked ok.
Fast shipping
Steven

4/27/2026
Great, no issues
THIS WILL NOT FIT 2026 NISSAN FRONTIER. THERE ARE COMPLAINTS ON THE REDARC WEBSITE ABOUT THIS GOING BACK 2 YEARS AND THE REVIEWS ARE NOT ANSWERED. THE COMPANY IS MISLEADING CONSUMERS ABOUT THIS PART BEING UNIVERSAL.
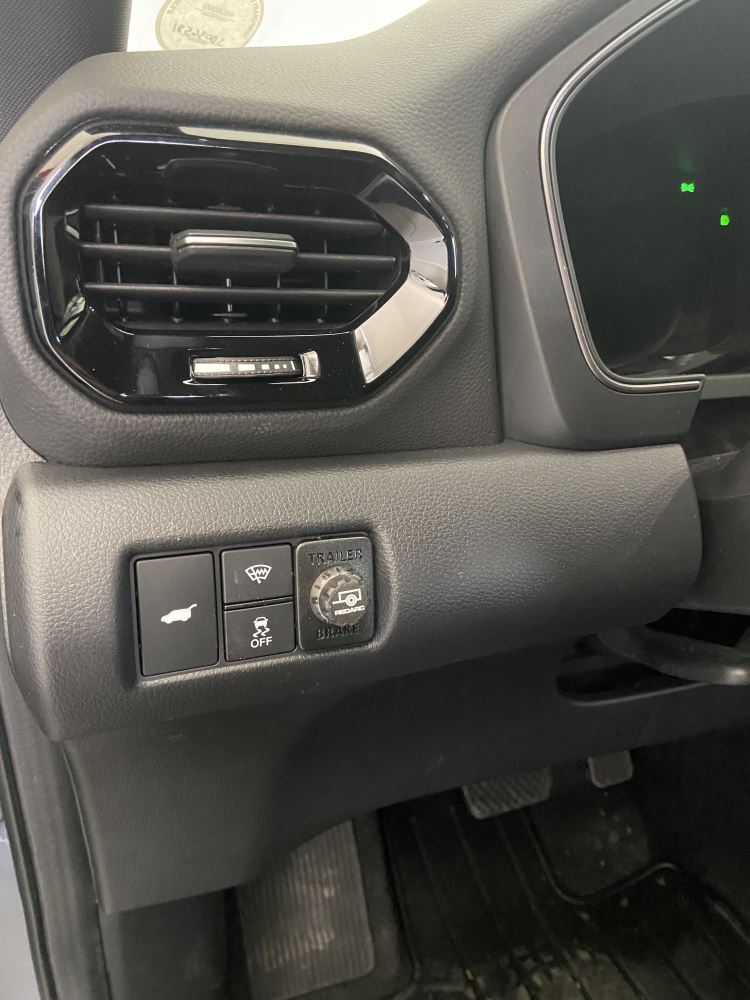
The universal mounting unit fit well on my 2025 Honda Ridgeline. It took a few minutes to get it snapped into place but everything appears to be working well. Thank you for your personal help with this.
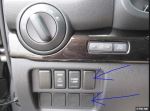
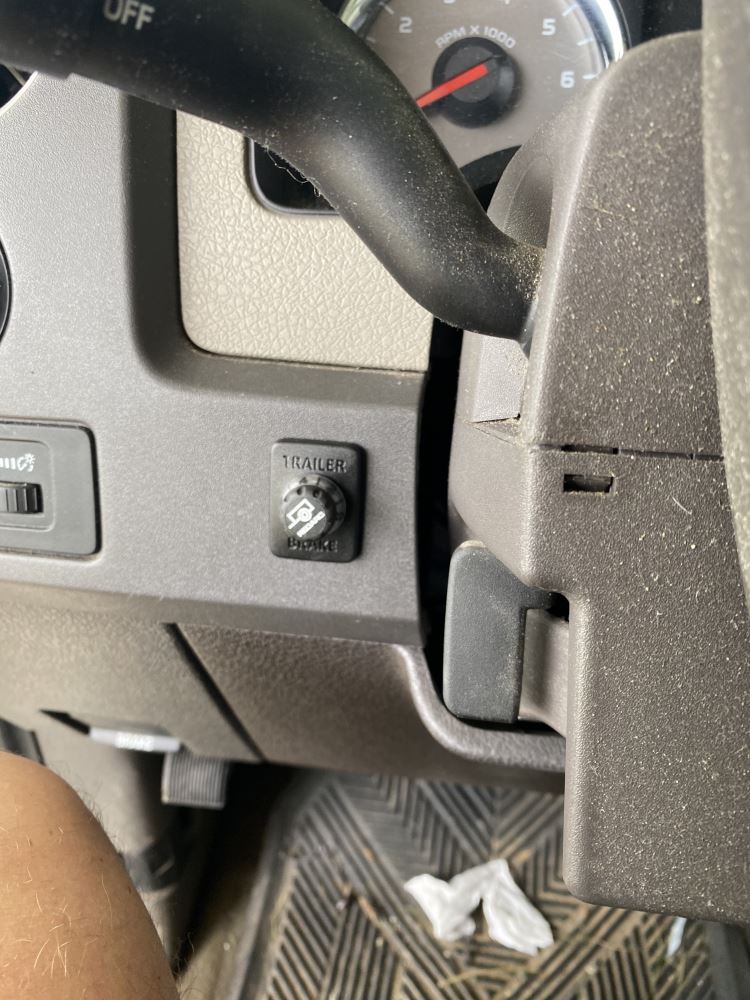
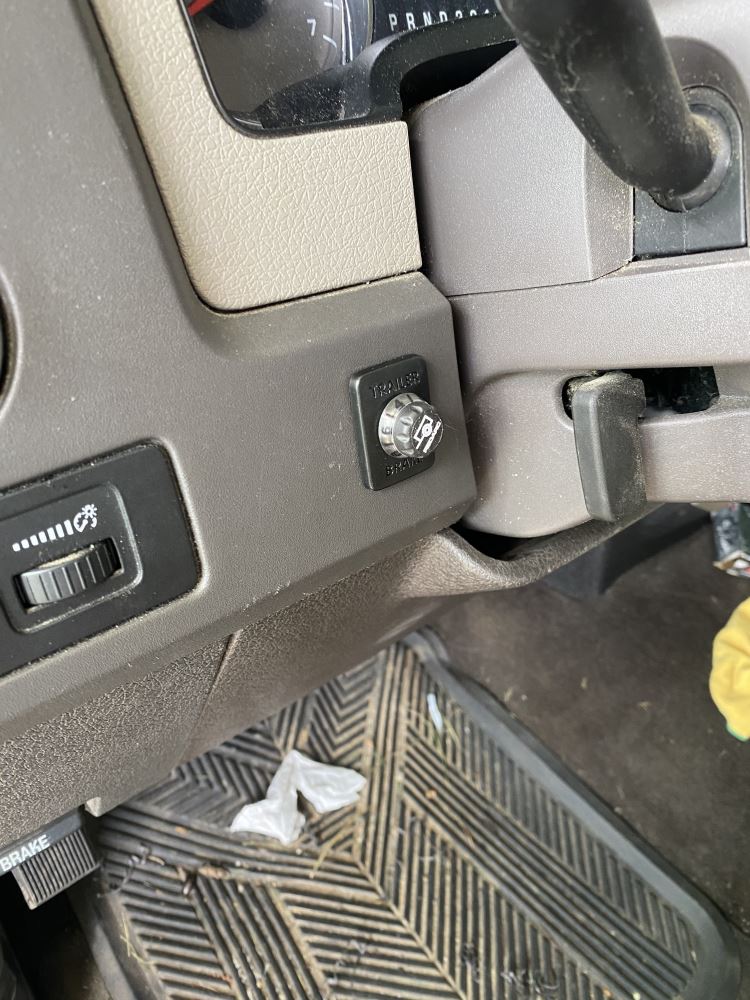
This worked out great on my 2025 Ford Ranger XLT. I did have to drill a hole in the dash underneath the headlight switches as I couldn't find anywhere else that I could install it. This worked out perfectly and this really looks factory. The Radarc fits on the dash nicely with only one turn knob, button. Fortunately I had the connector under my brake so getting the cable also from e-trailer along with the Radarc worked out great for me.
The Tesla Model Y offers limited suitable dashboard space for mounting a traditional brake controller such as the Tekonsha P3, and most potential locations compromise driver visibility.
The RED52VR, along with its compatible universal mounting panel (331-TPSI-001), provides an excellent solution. The main control unit can be discreetly installed out of sight, while the control knob can be positioned within the driver’s direct line of sight or along the armrest compartment for easy access and optimal visibility.
I would also like to extend my sincere appreciation to the eTrailer sales representative for recommending this outstanding product.
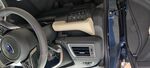
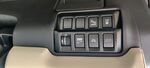
Did not easily fit into a Subaru Ascent panel blank slot. Required alot of sanding and shaving to get it to fit. To be fare, directions are to drill holes into vehicle panel, which I'm sure would work.
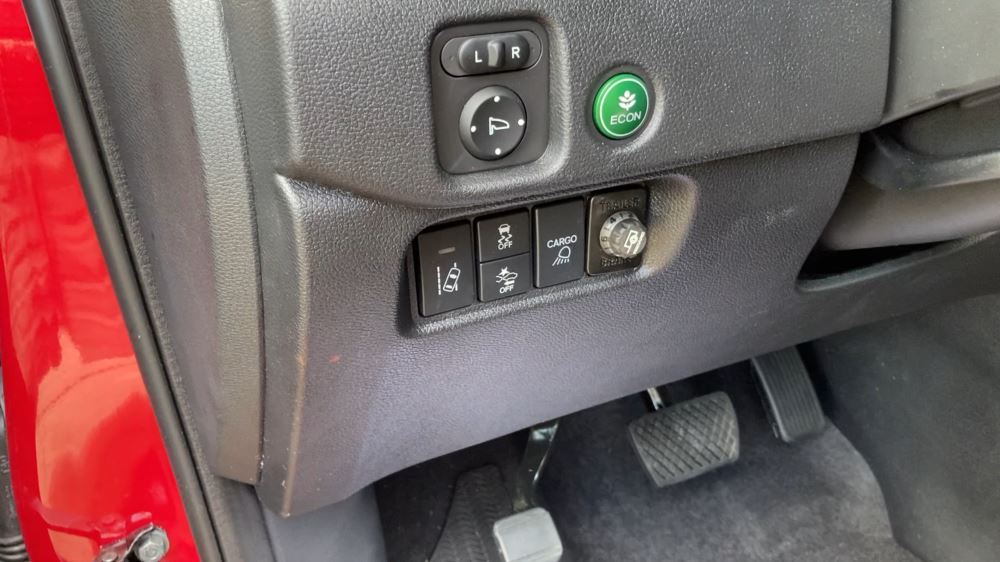
This fit in my 2023 Ridgeline. It is difficult to get in the slot, but putting one side in first then pushing with some effort snapped it in place.
You might have to do a little trimming to get it to fit right but you will need it for the Redarc brake controller
great website! got exactly what i needed for my nissan frontier and towing needs (and at the right price). had trouble with ups/usps shipping in time for scheduled installation of parts, and kaleigh was awesome to work with!! she even helped installers with instructions. thank you again!
Adapter fit perfectly in slot on the dash of my 2025 Nissan Frontier to nicely plade controller switch in a convenient place and looks factory equipment
It is not a universal fit. 25 Honda Ridgeline owner, the panel had to be severely modified to make this work.
The product is OK but the face is larger than I expected and was a bit too tight for the panel location I wanted to put it in so I did not use it. It is considerably larger than most of the existing button control boxes and you would have to have room for a 1 inch + hole to be cut.
Second time ordering from strainer (in general) and am super thrilled how hands off selecting the right compatible pieces has been. Gave the make model and selected what I wanted - in this case, a break controller. Showed up ahead of schedule and installation went as smoothly as one could hope!
Outstanding brake controller, returned my Subaru and my camper into a six wheeled vehicle as it applies to dynamic breaking I highly recommend this unit
2027 Nissan Frontier pro4X
this mounting panel makes the install quick and easy . I don't like to drill holes , or cut and splice wires .these are permanent scars . when I trade my truck in , I'll remove this trailer brake and put the factory dash plug back in . it will look like it was never there . I bought this mounting panel so I could install my old trailer brake in my new truck . I removed it from my 2018 Tacoma. I only needed to buy this mounting panel , and a plug and play harness . the total install took about 45 minutes . very happy with the looks , being it's a universal item .
Excellent installation instructions provided with the product. This makes the installation of the brake controller appear as factory installed. It also provides a stable platform to hold the redarc control button securely in place in 2025 wrangler Jo willy
Nick S.
12/1/2025
That is great to hear! I am glad the installation was easy and the instructions were thorough. What are you towing?
I used this on a Honda Ridgeline. Removed a blank from the switch panel on the dash and it filled the space perfectly, looks factory. However, this universal mount has the ratchet teeth on the sides and there is nothing for them to grab on to on the Ridgeline, they need to be on the top & bottom. I had to put a zip tie around the mount cylinder to keep it in place.
The Redarc is the best electric brake controller I've used and installed in my 50 + years. The dash plate is good looking. Installed was easy and it was programmed by the end of the drive. 1 year later im still very happy how Redarc has smoothly hooked to all my different trailers. It has worked flawless. Never hit your dang knee on your brake controller again.
It was the easiest aftermarket install I have ever done. It took longer figuring out where I wanted it and how to mount it than the connections. Definitely looks like a professional install.
The product worked for what it is made for. It is not large enough to cover the Location Ford has for the controller.
Visited YouTube for instructions and example. Patience with removing panels, located the controller in center console per YouTube example. Located manual control on left of steering under the factory buttons. First outinbg had one incidende of it reading an issue and flashing lights. Per instructions, stopped and restarted the engine. Not further issues. Perfect for my Ridgeline.
I give it 5 stars but ended up not using it. I mounted Redarc Liberty switch in the spot where a four wheel drive selector goes, I didn’t think of that before I ordered it.
Do you have a question about this Accessories and Part?
Info for this part was:
At etrailer we provide the best information available about the products we sell. We take the quality of our information seriously so that you can get the right part the first time. Let us know if anything is missing or if you have any questions.

































Steven
4/24/2026
Still working as expected