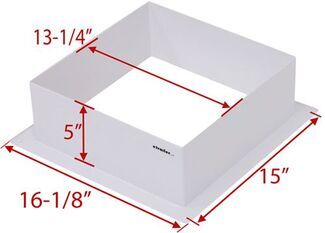
Upgrading airflow in your rig is simple with plastic RV vents and fans. The lighter, flexible housings make installs easier in tight spots, and options range from multi-speed, reversible fans to units with rain-proof covers or auto-open temperature control. Check roof shape and accessories—curved roofs may need an adapter, and bug screens or brackets can be required, while fan noise can be noticeable at night.
Yes, prep is key. Fully remove old sealants and adhesives before setting the new unit. Use self-leveling sealant on screws and seams, but keep it out of the upper hinge area. On curved roofs, use a proper spacer or base to ensure a flat mount and leak test after curing. Some vents have a minimal inside lip; longer bolts and skipping a washer can help brackets fit.
Pick a taller cover if your lid opens high to reduce contact and give the fan room to operate. Compare cover height and louver design, since lower-profile options trade clearance for a sleeker look. Bug screen availability varies by cover style, so confirm if a screen is included or offered. Check roof clearances near solar panels or accessories before you install.
Plan for two parts: 12v power at the fan and a communication cable to the wall control when required. Verify your existing wiring; older setups may have more wires than the new unit needs. Route the cable along existing runs and confirm plug types before buttoning up. The fan's positive lead is tagged and should go to vehicle 12 volt positive.
Variable speed helps you dial airflow and reduce noise for sleeping, but expect some fan sound. If your unit offers reversible flow or temp-based opening, use those features to move air efficiently without running max speed. Clean the screen regularly to keep venting strong; a small brush works well. If noise rises, check for cover-to-lid contact and adjust as needed.
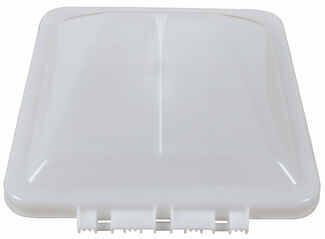
Match the hinge style, lid shape, and the brand or stamped codes on your existing lid. Measure the opening and note features like a side-mounted crank to narrow compatibility. If your vent brand is marked on the frame, use that along with any molded numbers to confirm the right Plastic lid. When in doubt, compare the inner lip size where brackets or hinges attach.


 Filters