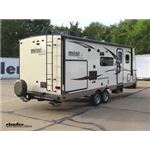
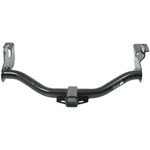
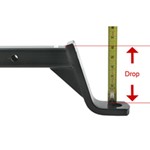
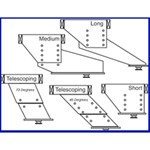
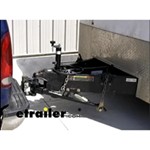
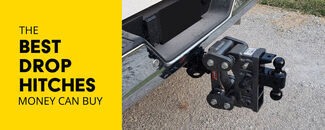
Skip the welder and add a sturdy, frame-mounted solution. A bolt-on RV and camper hitch lets you secure racks or even tow when your RV is rated for it, and adjustable designs help fit different frame widths. Plan your install by checking frame spacing and underbelly clearances, and confirm whether mounting hardware is included—some setups need drilling, trimming, or minor bumper or jack mods for a solid fit.
Sometimes, but not always. Certain options meant for RVs prepped for a hitch may not include hardware and use existing welded brackets. More universal bolt-on hitches can include mounting hardware. Verify whether hardware is included and whether your RV has welded tabs or if you'll be drilling the frame.
Installation is typically straightforward but can take time. Plan on drilling the frame, carefully marking hole locations—making a template helps—and having a second person to lift and position the hitch. Quality drill bits with oil and thread locker are useful. Some installs involved dropping the rear weather barrier or trimming to improve ground clearance.
They're commonly used for bike racks, heavy e-bikes, cargo carriers, generators, and small trailers like those for dirt bikes or an SxS. Confirm the hitch tongue weight and towing ratings against your RV's limits. If you need much higher capacity, a weld-on service-body style hitch is the route to consider.
Yes, bolt-on RV hitches are designed to attach to the frame rails and adjustable designs help fit between the rails and underbelly. Check that your frame area is clear of tanks, brackets, or crossmembers. Some installs required trimming the cross tube ends, cutting a small opening in the bumper for the receiver, or relocating rear stabilizer jacks to clear the hitch.


 RV and Camper Hitch Parts or Accessories
 Filters