


To see if this custom-fit item will work for you please tell us what vehicle you'll use it with.


Thank you! Your comment has been submitted successfully. You should be able to view your question/comment here within a few days.
Error submitting comment. Please try again momentarily.
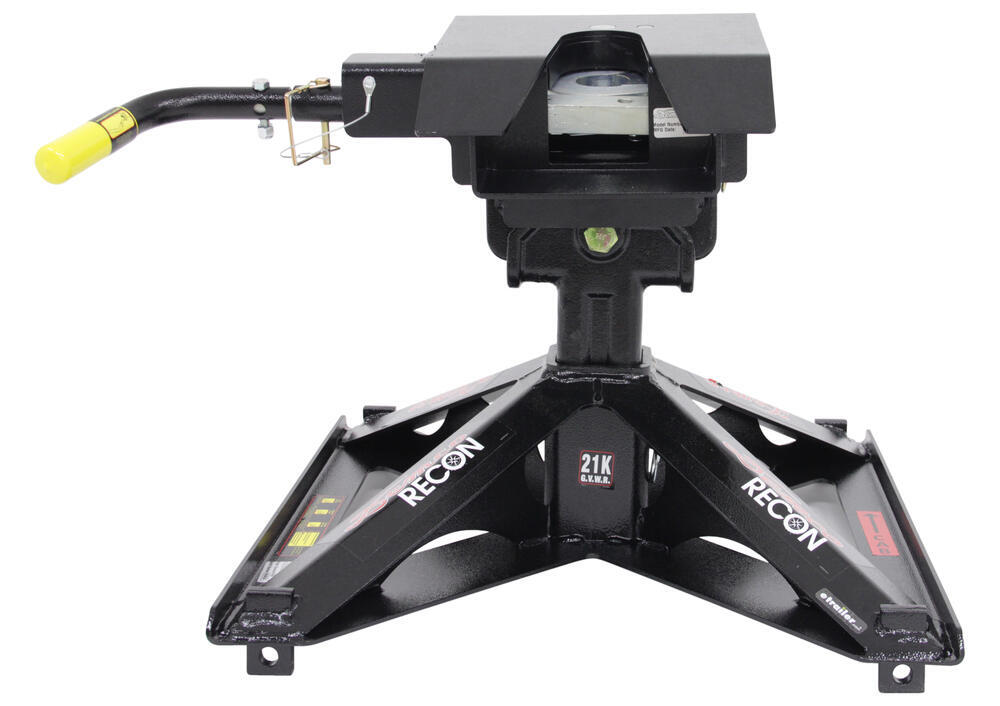
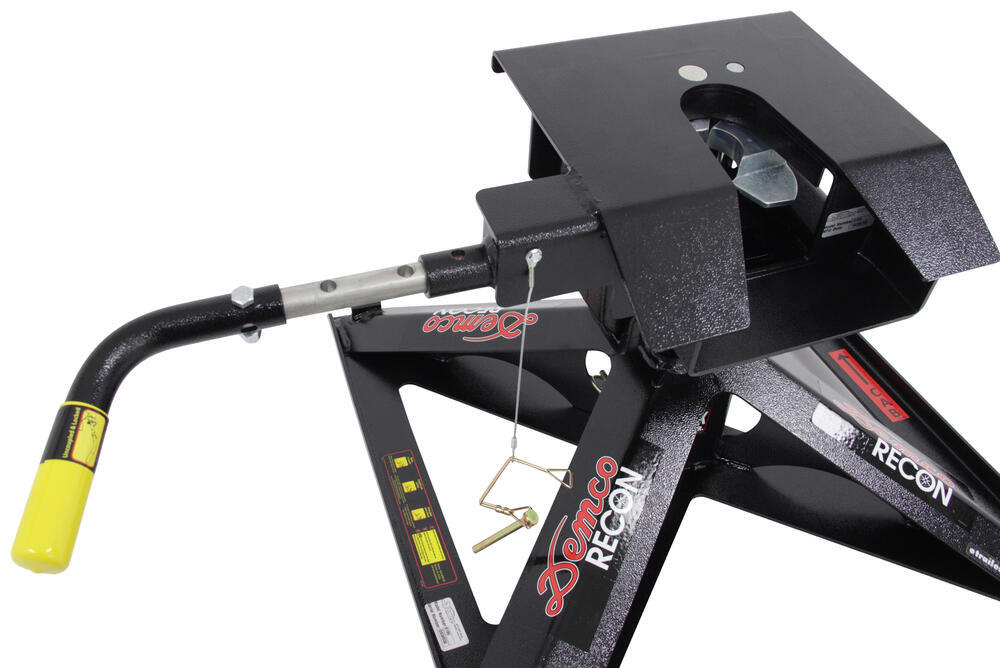
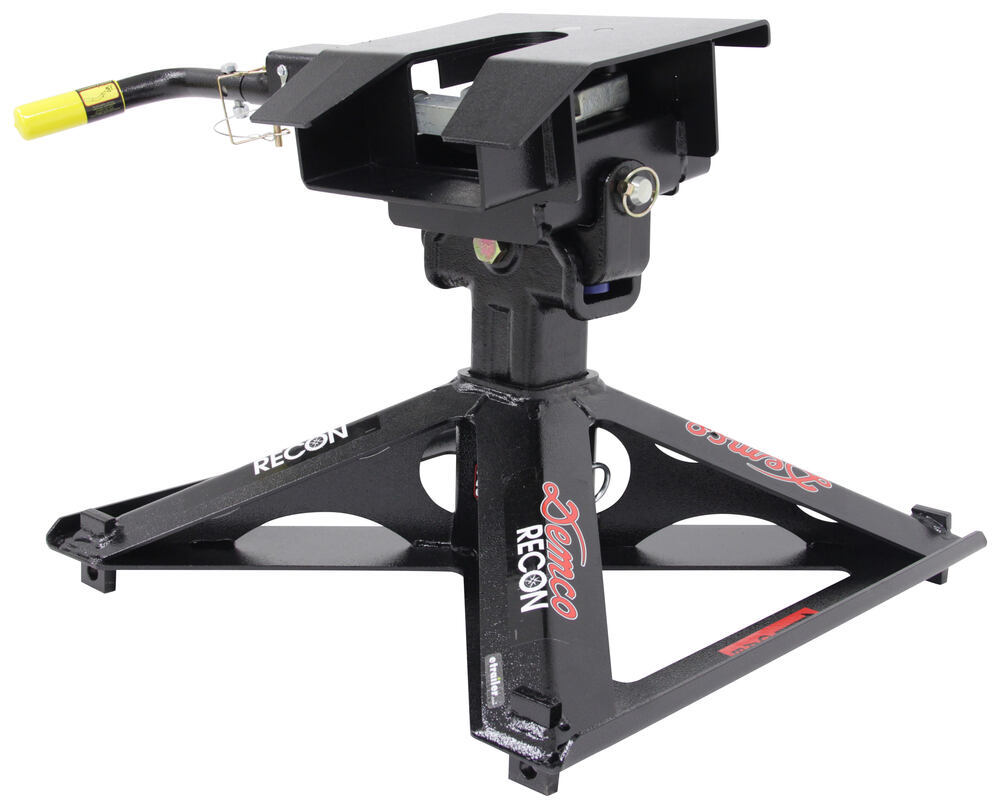
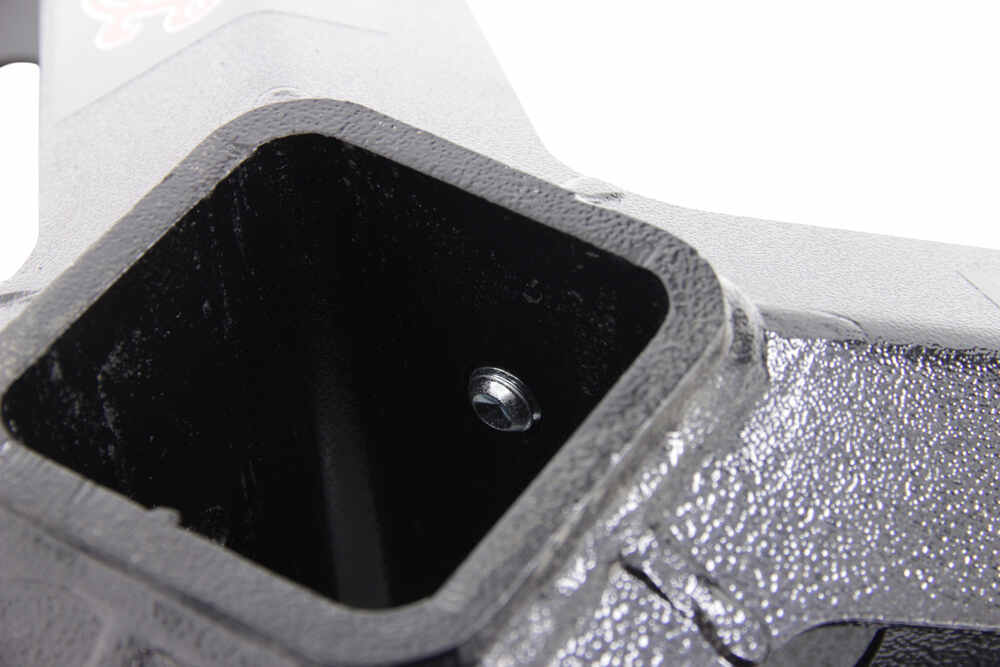
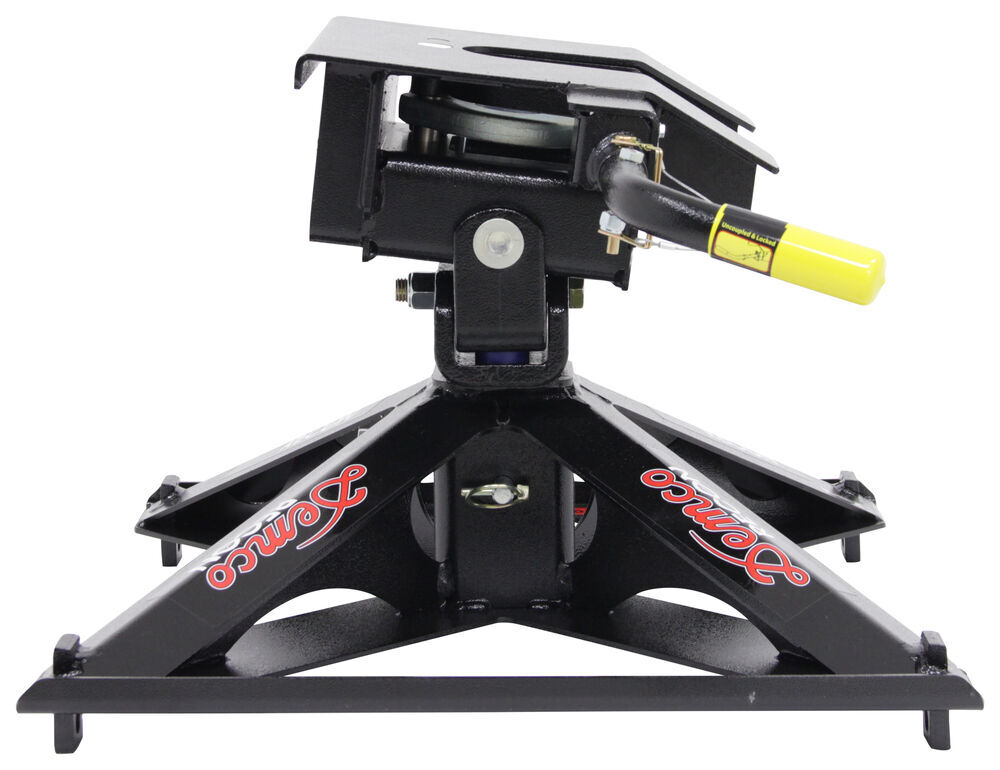
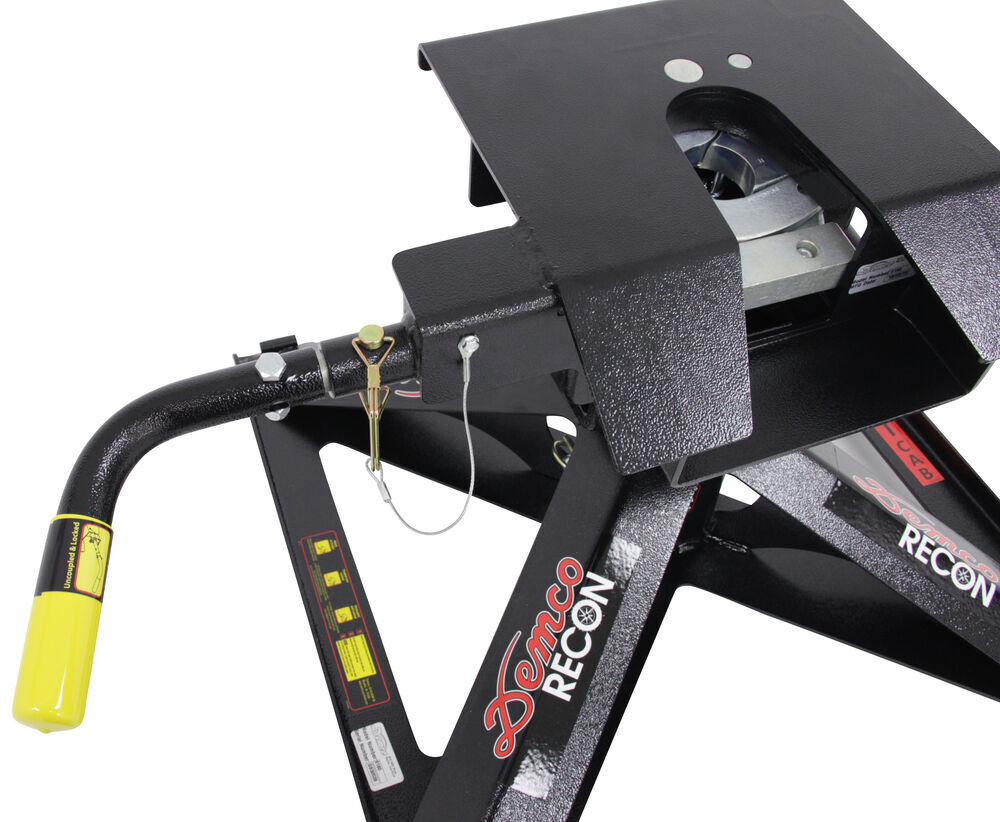
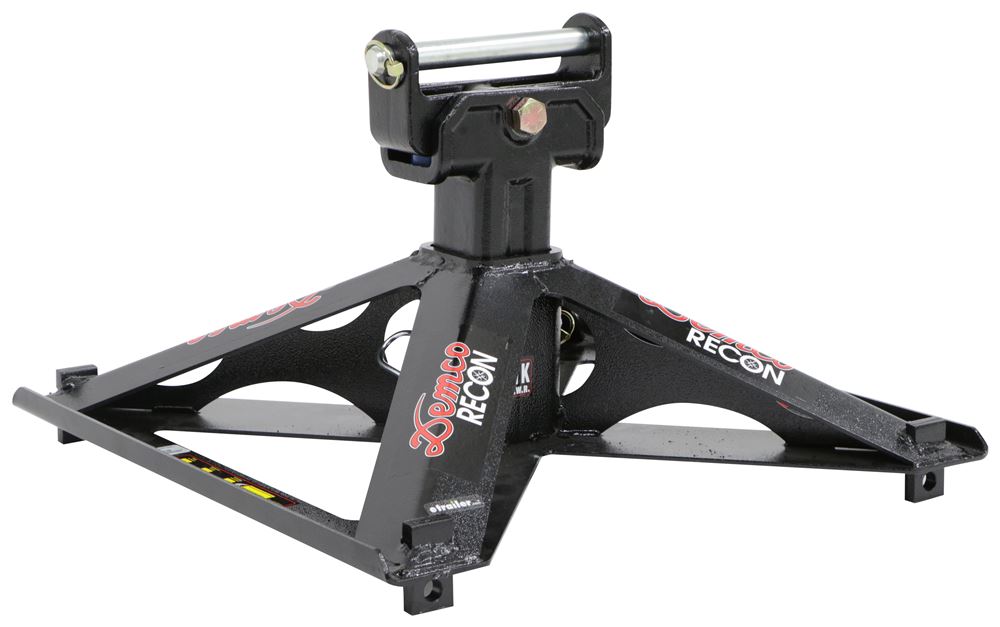
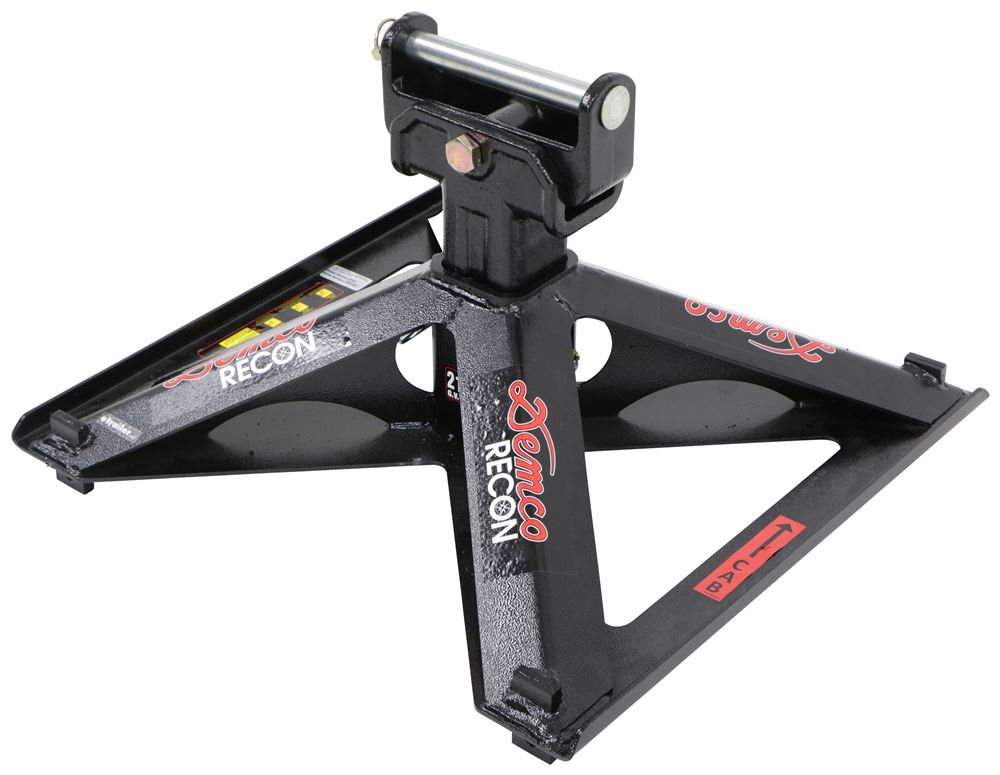

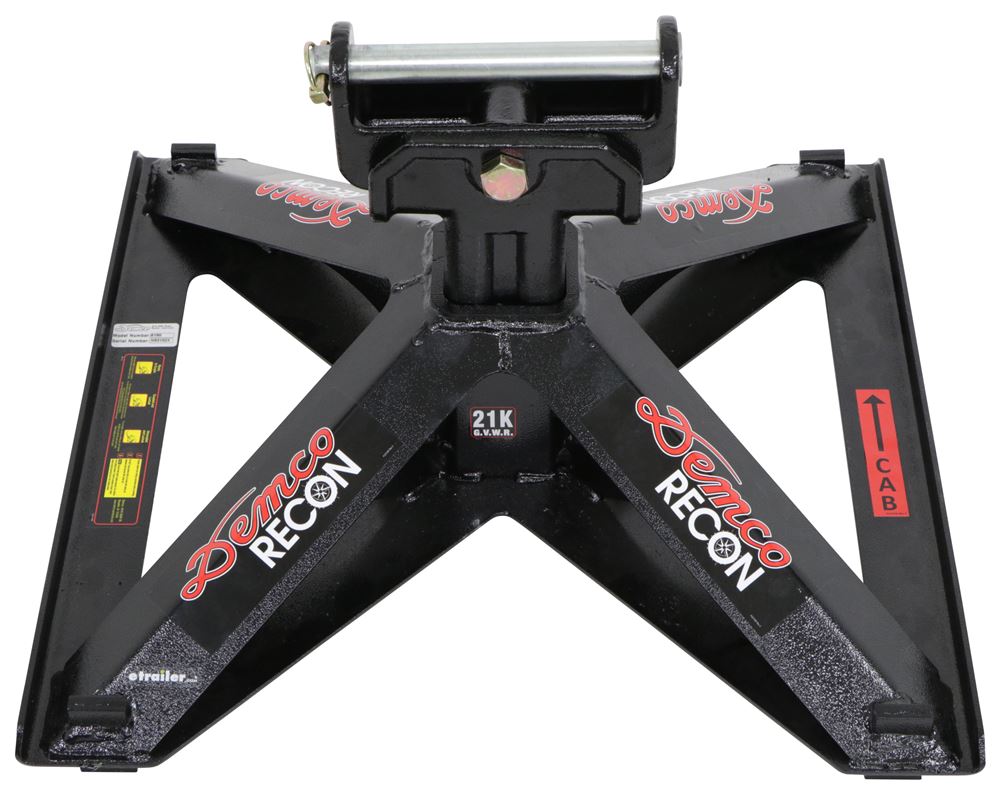
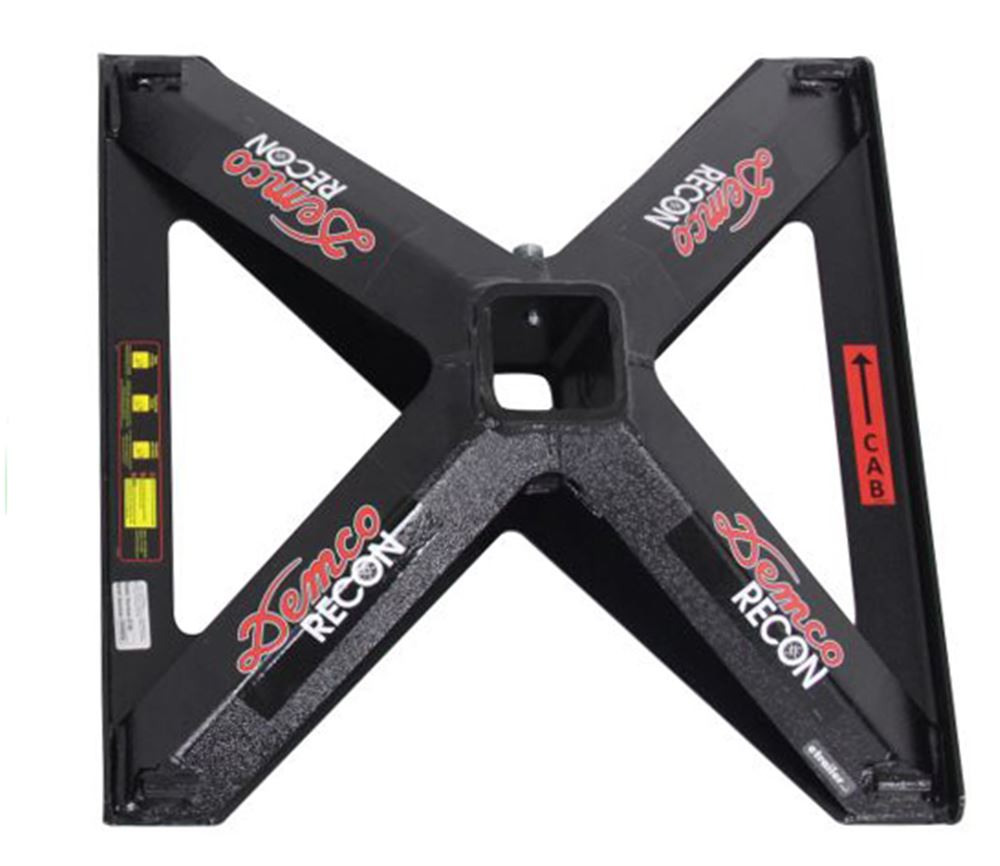
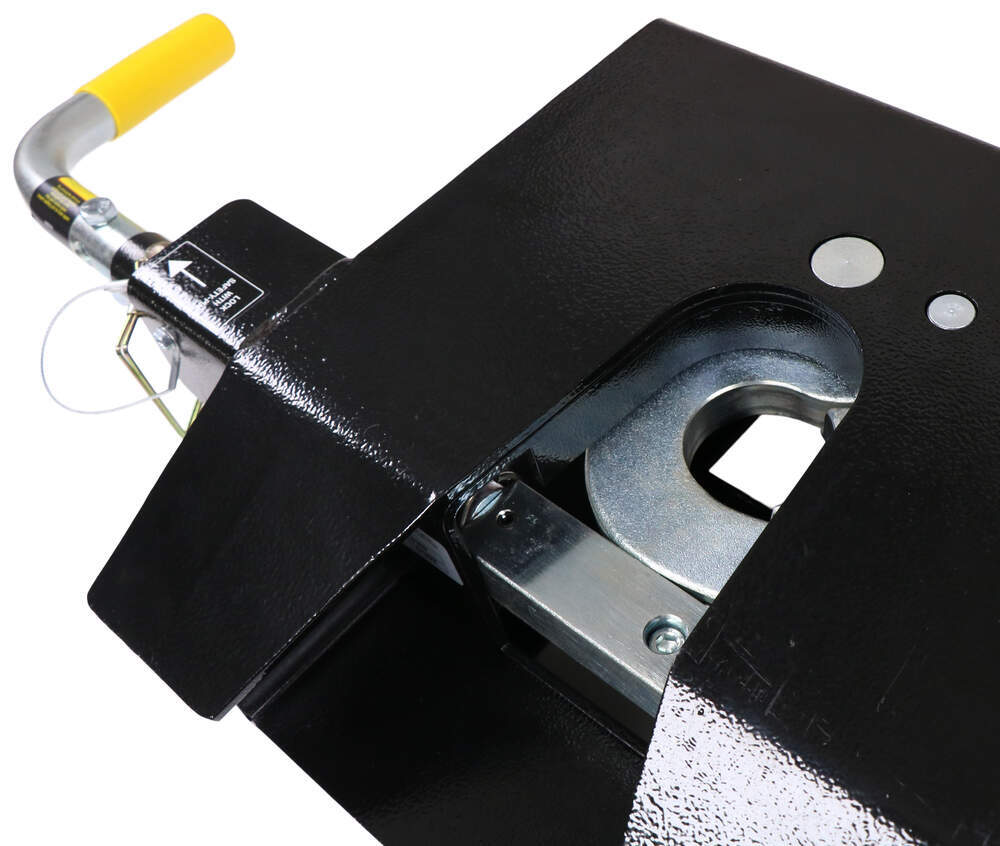

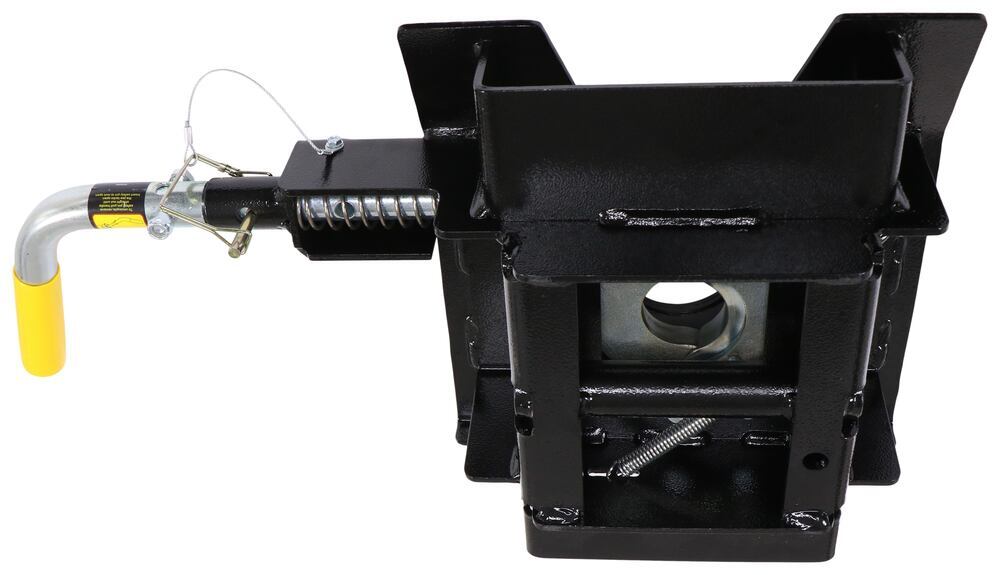
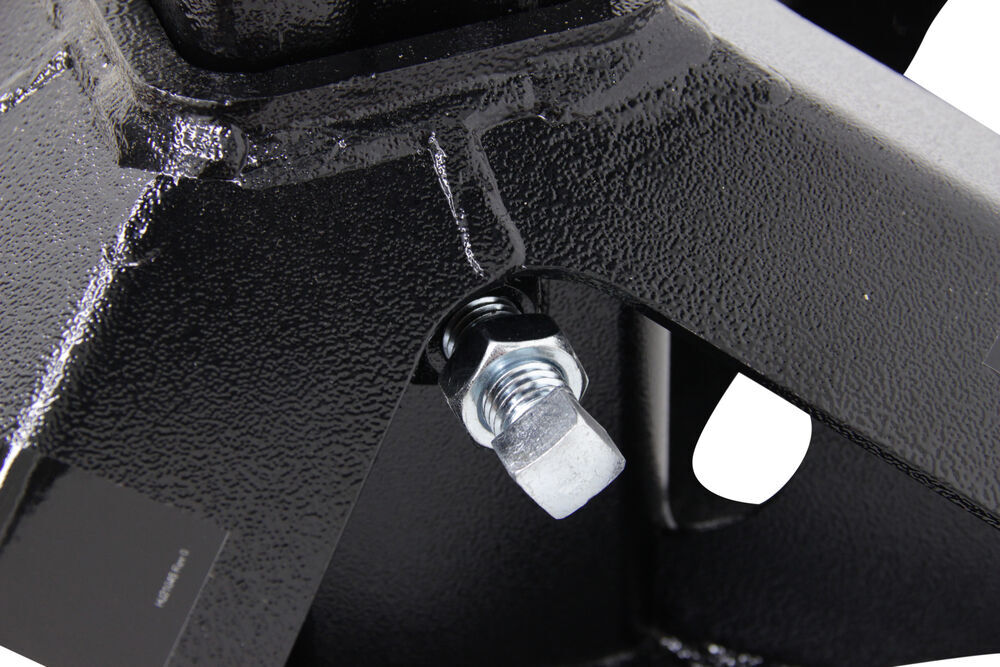



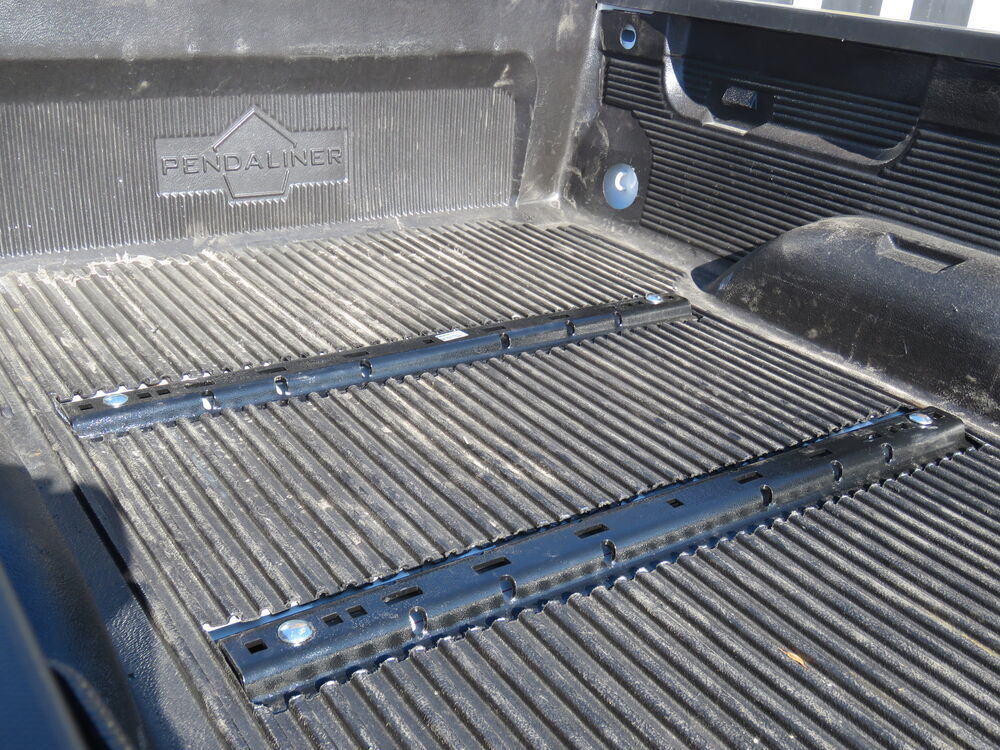


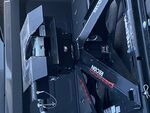
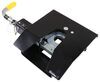
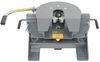
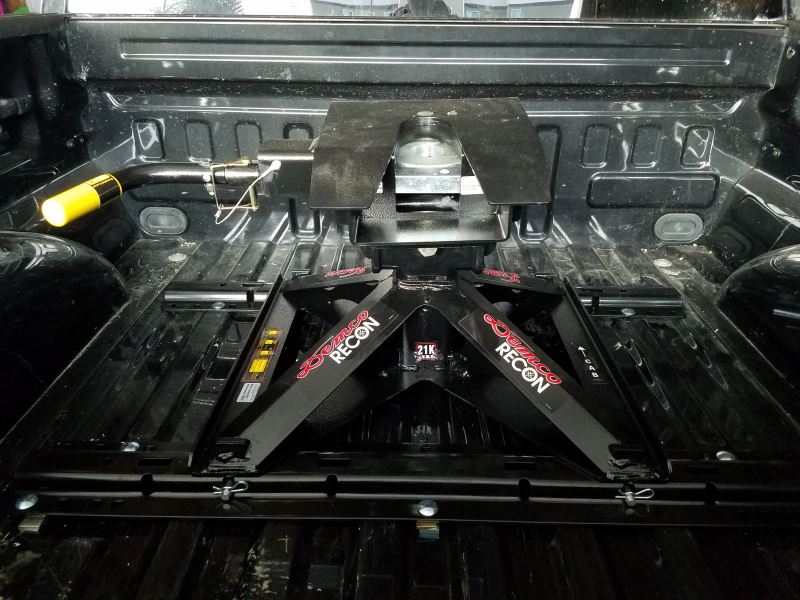
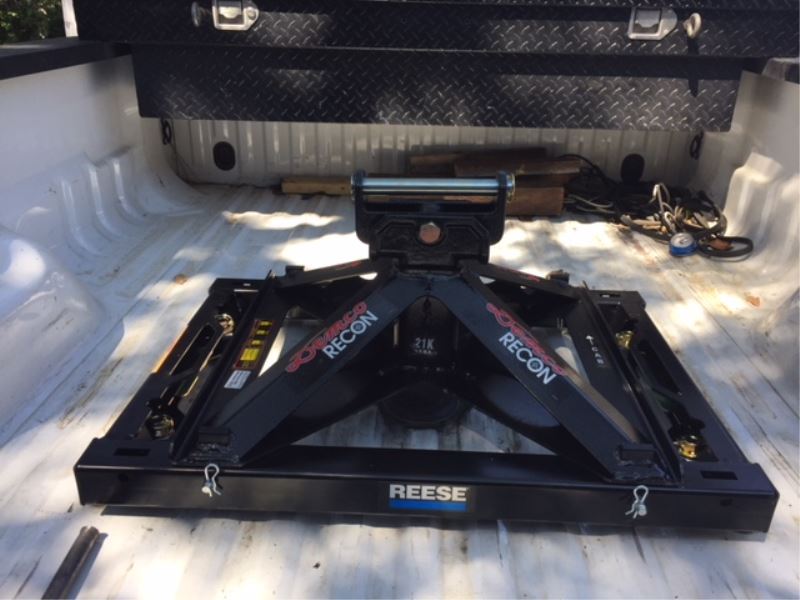
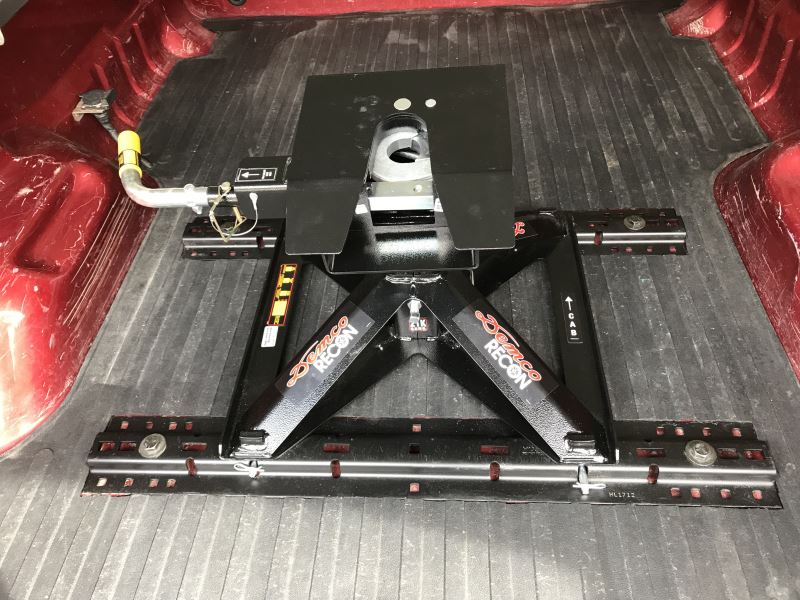
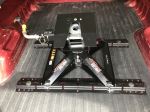
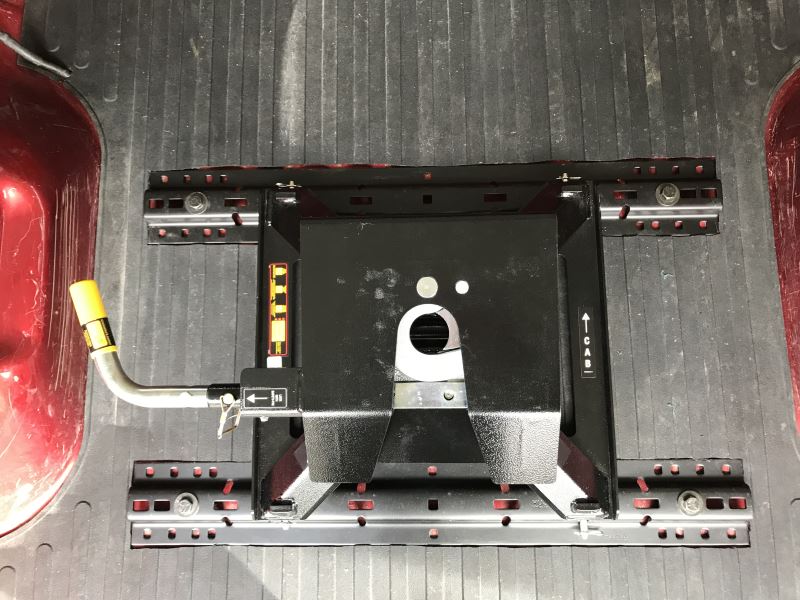
This hitch is rated for 21,000 lbs gross towing weight and a 4,000 lbs vertical load limit, giving it the strength to handle large fifth-wheel trailers with total confidence. The solid steel construction and rust-resistant black powder coat finish make it a dependable setup for long trips and heavy-duty towing. Once locked in, the hitch feels tight and stable—exactly what you want when you’re pulling serious weight.

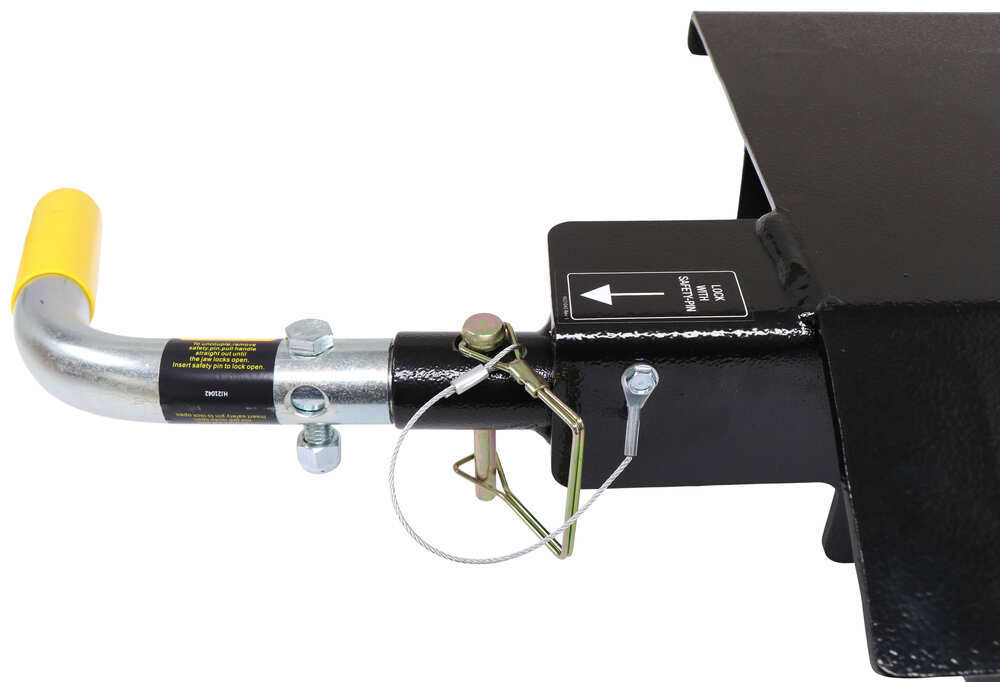
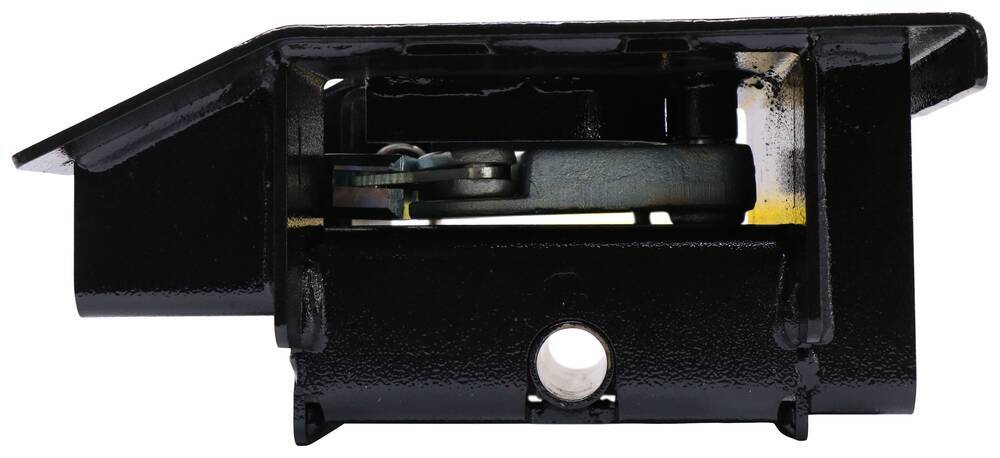
The single-piece wraparound jaw completely surrounds the king pin for 360 degrees of contact. That tight fit means less rattle and more security than slide-bar jaws. A 3/4" thick solid steel locking bar sits in front of the jaw as a physical barrier, automatically locking when the jaw closes. It’s a system built to give peace of mind that your trailer is truly secure before you hit the road.

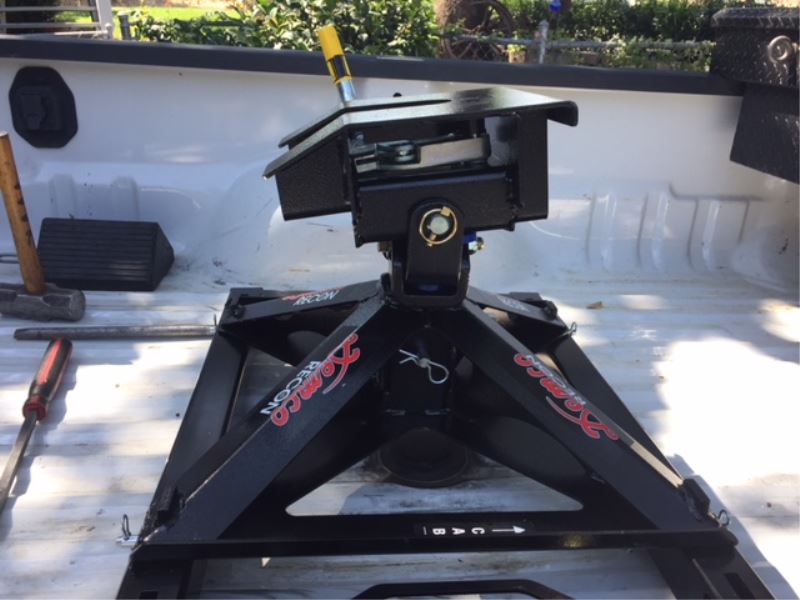
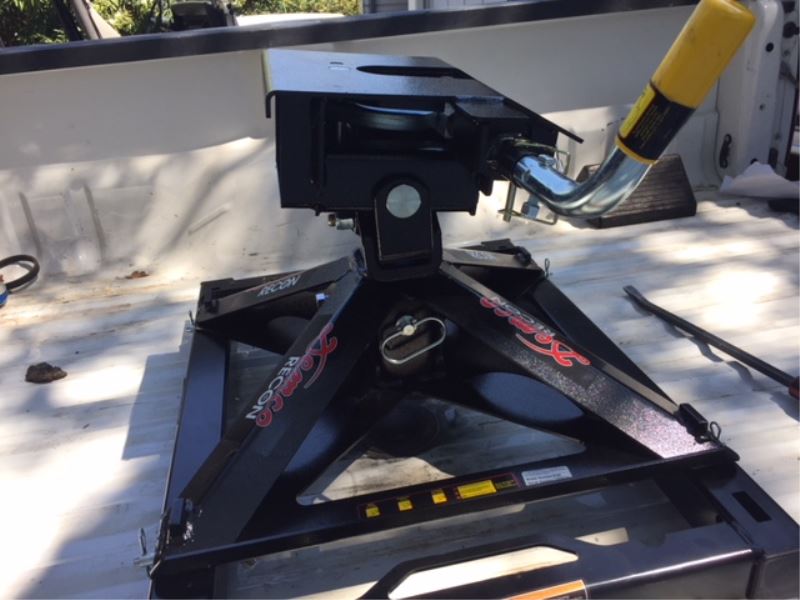
The double-pivot hitch head moves front to back and side to side, making hookups easier and helping to cut down on chucking while you drive. Polyurethane dampeners built into the head cushion the motion and absorb road shock. The result is a quieter, smoother towing experience that keeps both truck and trailer feeling steady through bumps and turns.


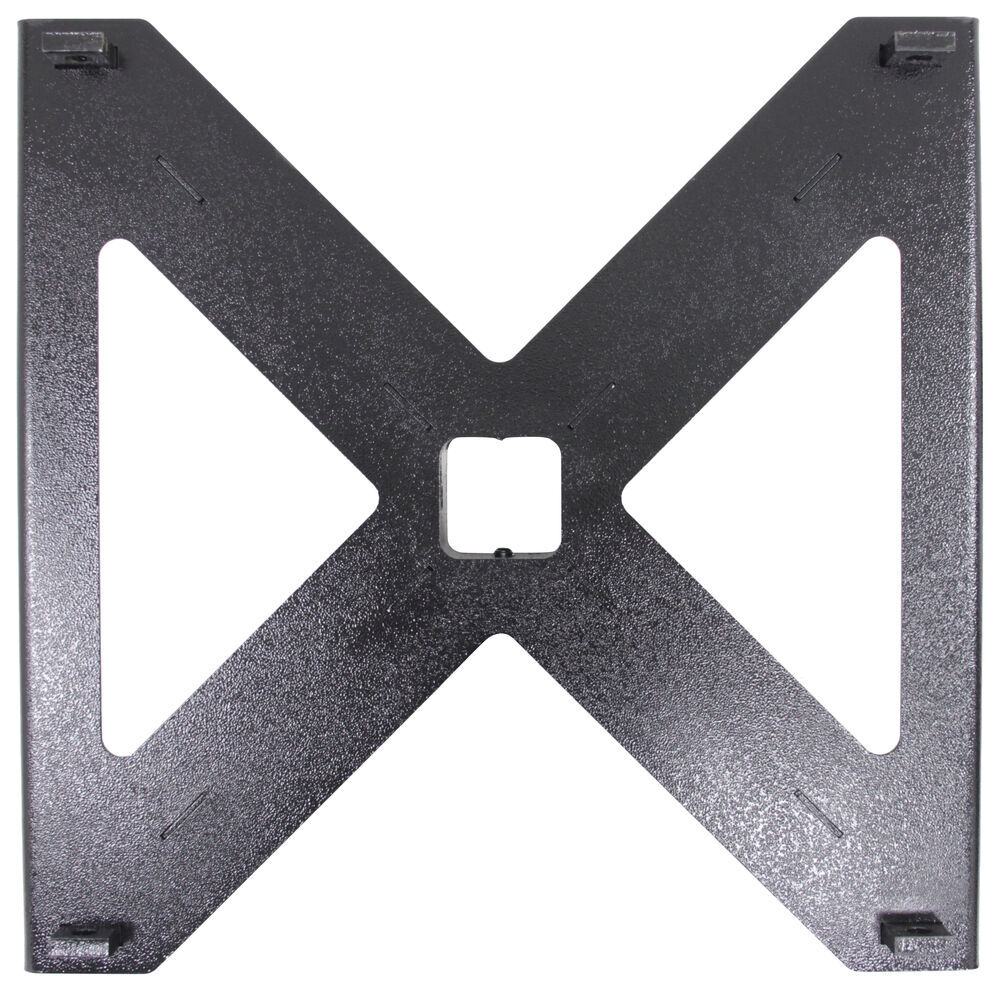
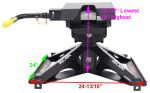
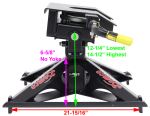
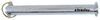
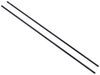
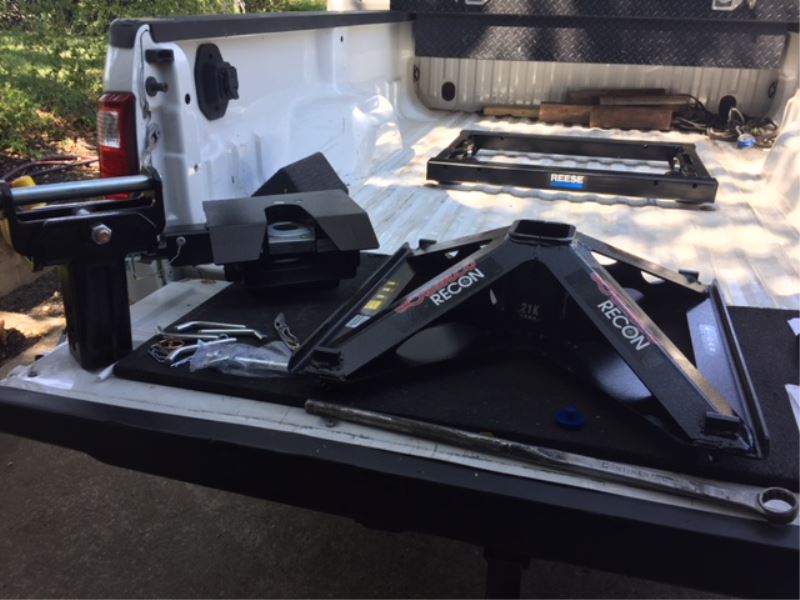
The hitch is designed in two lightweight pieces so you can install or remove it fast without extra equipment. Just mount the base on the included above-bed rails, slide in the head assembly, and lock it down with the pin. Three height settings—15-1/2", 17-1/4", and 18"—let you match your trailer setup for level towing and proper clearance. When you’re done towing, separating the sections makes clearing your bed simple.


 Alternate Instructions
Videos are provided as a guide only. Refer to manufacturer installation instructions and specs for complete information.
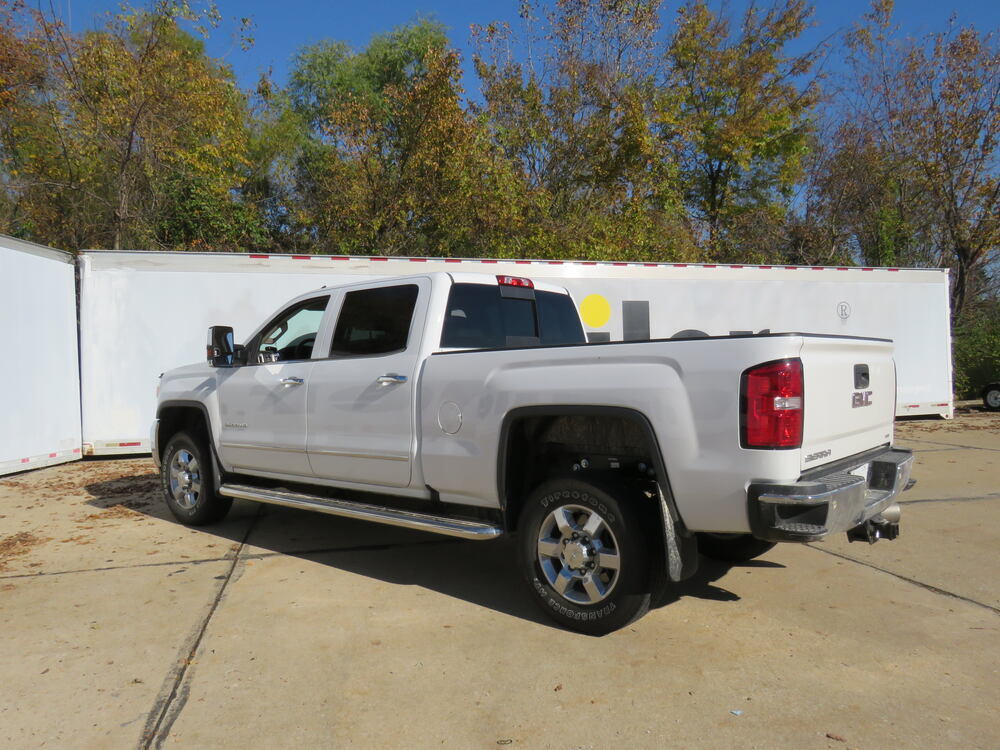
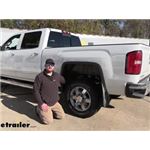
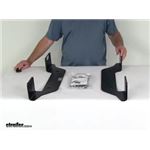
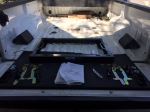
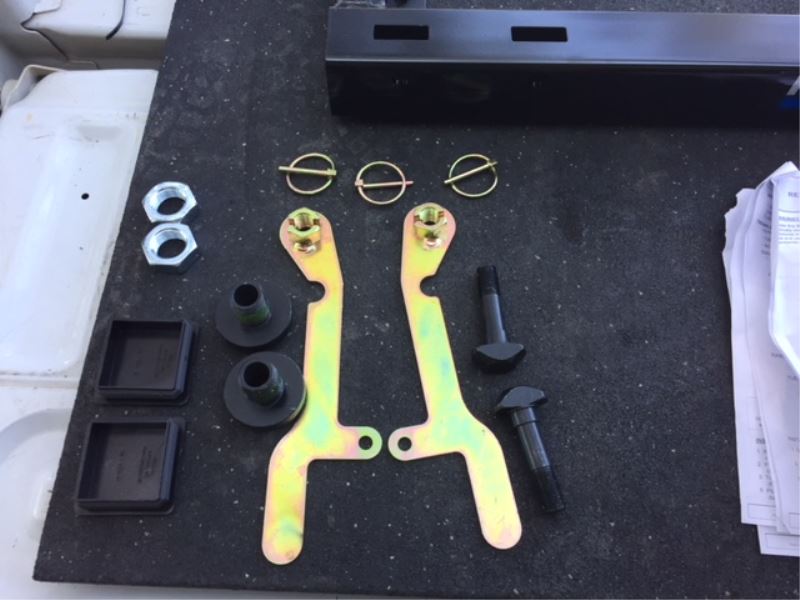
Hey everybody, Ryan here at etrailer. Today on our 2017 GMC Sierra 2500. We're gonna be showing you how to install the Demco side plates for fifth wheel rails. But before we do that, why don't we check them out and make sure that this is something that's gonna work for you. So this is just going to have the side plates and some hardware. So you get your passenger side one and your driver's side one.
That's what we're showing off here today. And it seems like a really big reason people are looking for just the side plates is that they had another truck and already had a fifth wheel hitch set up in there. And a lot of times the hitch can carry over as well as the rails. The rails are pretty universal for the most part. I mean, there's a ton of them out there, so I can't really go over every single one of them, but generally speaking, pretty universal.
And so you want to save your hitch. You're familiar with it, you liked the way it works and everything else. So you end up getting a new truck and you don't want to have to build a whole new kit again. And so that's where picking up just the side plates are gonna become useful. You can still utilize your old rails as long as they fit with the side plates and your fifth wheel hitch itself ahead of it.
And on your new truck, you can just put the side plates, use some of that existing parts that you already had, and you'll have a hitch in there again ready to go. Now I do suggest if that's what you're doing, if you have any old hardware that's kind of beat up or anything like that, you're gonna be doing some heavy towing, probably not a bad idea into making sure some of those things are new, and that way you don't have to worry about any issues down the road. And although the rails don't come with just the side plates, if these are something you need separately as well, or these are actually what you're looking for, you can pick these up as well separately, or if you need the whole kit, if you'd just rather say I'm not gonna try to reuse anything, just give me all new stuff and call it a day, you can also pick this up as a custom fit kit as well. So, that's really nice, that custom fit stuff, you're gonna have the confidence, knowing that everything's gonna bolt up, bolt up to your truck the way you want it to. With the side brackets, these are gonna be custom fit to your truck, so they make it really easy.
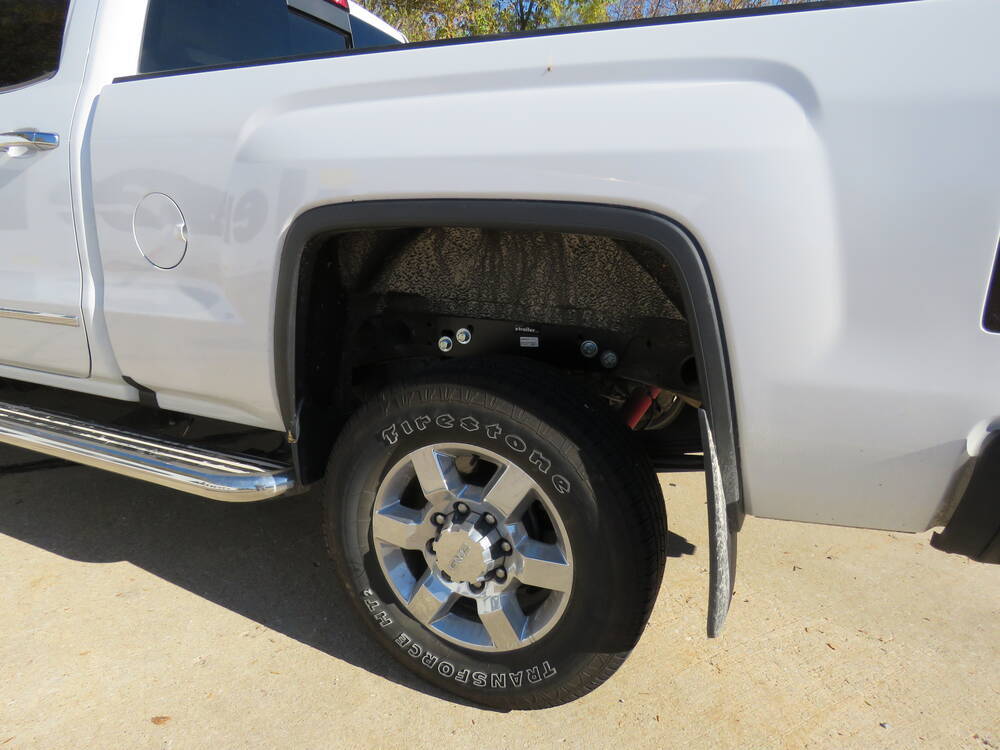
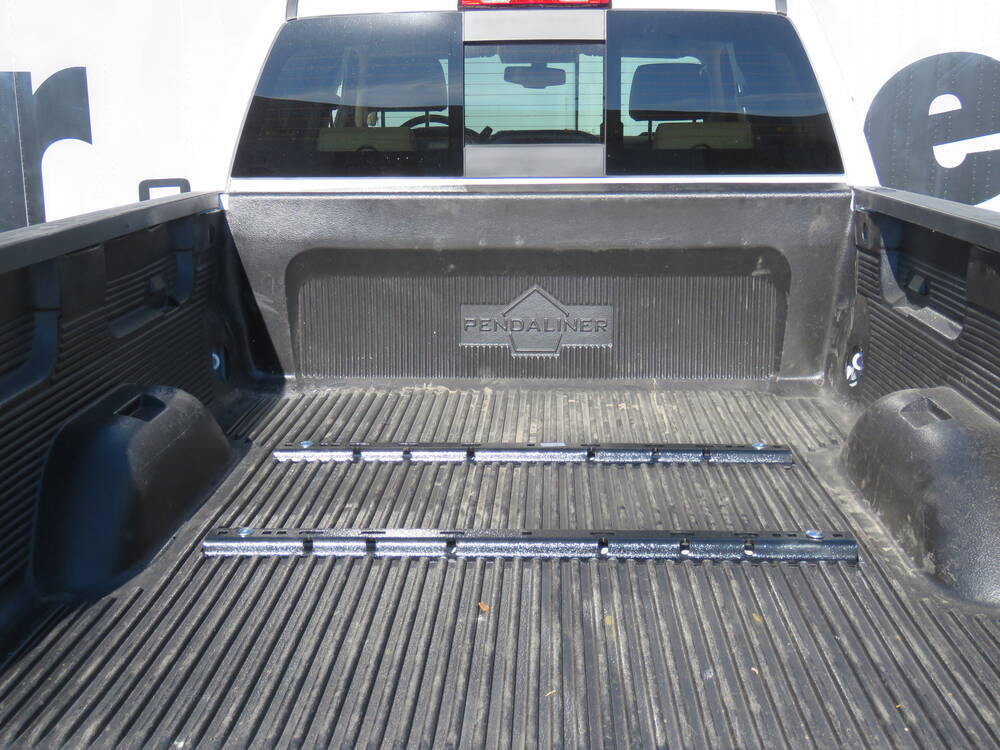
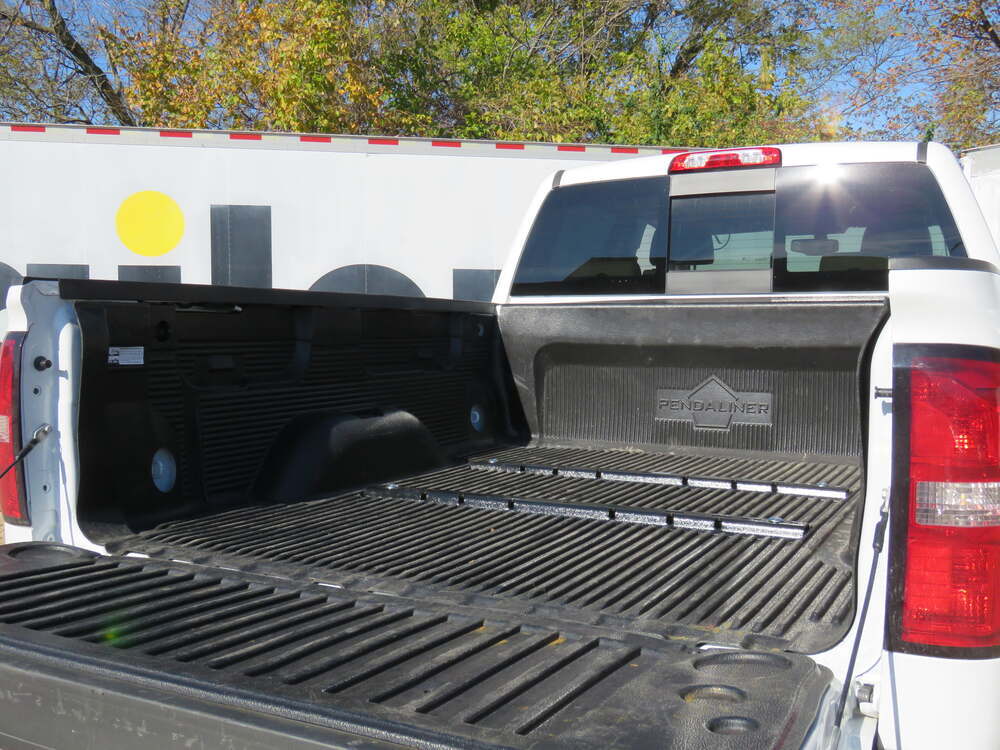
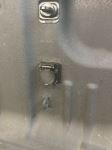
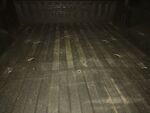
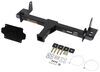
On this here truck, we simply just utilize some factory weld nuts that are already in the frame, so literally the bolts just thread right in. I believe on some of the older model trucks, they don't have those weld nuts, but they utilize these openings here, so that's just gonna be, depending on what year truck you have and how you're gonna install it, but either way, you're not gonna have to drill or do anything like that, so a really convenient setup. As far as the installation goes, just the side plates are really simple like we just talked about. But chances are pretty good if you're gonna be doing that, you're probably gonna be trying to set up a whole kit. Right The whole package. So we'll go ahead and walk you through on not only how to do the side plates, but as if you we're gonna put a hitch in your truck right from the beginning. So if that information is something that you need it'll be there, if not, you can just kind of skip on past to where we're on the side plates. As far as the difficulty of the whole fifth wheels set up, if you will. As far as getting that installed, it's really not bad. Probably the hardest part to it is torquing down some of the bolts, they're just really tight and in kind of a funny spot, so I give you guys a couple of options as far as some tools that you can use that'll make that a little bit easier. So hopefully that'll help get you going. But speaking of that, why don't we go ahead and pull into the garage and put everything on together now. To begin your installation, you're gonna be here up in the bed of the truck, and first thing you want to do is clean out your bed and make it easy to work in here. If you have a drop-in bed bed liner, I suggest removing that, that'll give us the most accurate installation, and make it much easier. With that said, the first thing that you want to do is take one of your rails and we're gonna have to find the placement of it. So you're going to measure from the end of the bed, make sure you're going from the end of the bed and not the tailgate. And you're gonna take that measurement and make a mark. And then you want to refer to the instructions for that correct measurement, because there is a difference between the short bed or, I'm sorry, the six and a half foot bed and the long bed. In our case, we have the shorter bed today. But what I do is make a mark and then I just use this as a straight edge to kind of draw a line all the way cross, and I'm gonna get it roughly in position. And then you want to make sure that it is centered on the truck bed. So the way I do that is measure from our wheel well, to the edge of the rail on each side, and you want the distance to be the same. So once I find that distance, I also use a straight edge and just make a mark there. That way we have kind of a reference and we can make sure our rail is gonna be exactly where it needs to go. So since that line that we drew, the distance, they want you to line that up with the center of our rail here. and so you can kind of look down through the openings, and get it pretty close as eyeball it. But we want to go a step further and make sure it's exact. And make sure that this is perfectly square. So what I've done is take your measure, go from the end of the bed again, and just go to one edge of the rail, in our case, I just followed this one. So for example, on ours here today, the edge here is about 32 inches. And so I made sure that the other side was at 32 inches. And now we know it's exactly square. And once I found that, I just took our marker and kind of traced all the way around it. That way we have a diagram more or less on where this needs to go exactly. Now at this point, definitely need a couple of friends, you're gonna take your preassembled hitch, set the second rail upfront, roughly in position, and then we're gonna take this and actually drop it into our rails. If they move around a little bit, not a huge deal. That's why we marked that one exactly where it needs to go. So we can slide it around a little bit if need be. So once you have this in here, what you're gonna do, make sure this front rail is squared up and everything and plum. What I've done is made sure the back was where we originally had it, and then measure the distance between this edge and this edge and make sure that they're the same on each side. Not a bad idea to check the distance from your rear wells as well here. Once I found that perfect spot, again, I just drew a pattern around our front rail too just to give us a reference, make sure that we can kind of constantly keep an eye on it while we're going through this process. From there, excuse me, each one of the rails, this hole, the second one in, that's the attachment points that we're gonna be using. So I'm just gonna take a marker, put a dot in the center. I already did the other three attachment points. And then what we're gonna do is I'm gonna drill a pilot hole. Just got a small, relatively small drill bit, and before you start doing this too check underneath your truck, make sure you don't have anything that we're gonna drill into. You shouldn't, but if you have any aftermarket stuff down there, whatever, just to be on the safe side. So your best here to get it in the center. Then we'll drill a small hole on each corner. Now what we need to do is enlarge those holes that we drilled to five eighths in diameter. Problem is even if you had that large or rather tight drill bit, it's almost too big to go through this hole. And I really don't want to damage our square opening here in our rail. So since we have each hole kind of pre-drilled and marked already, what I think I'm gonna do is kind of just move our hitch out of the way a little bit. And this one looks like I was a little bit off. That's okay though. And if you move that out of the way, since we have everything marked already, we can use a step bit like this, or you can use your regular bit, whatever you're trying to do. So with that said, I'll go ahead and enlarge all of our holes. Since this one I am off just a hair, probably I'll just try to shift it over a little bit if I can. So what I've done is vacuumed up all the metal shavings, in the holes that we drilled, I shot some spray paint over them and let them dry just to get a coat of paint over that bare metal. Slide the hitch back into the rough position. Then you're gonna take these spacer blocks here. Slide that in between the corrugation and the rail. Then you're gonna take these hockey puck looking bushings, slide them in and line them up with the hole that we drilled like so, and then we're gonna take the long, I believe they're three and a half inch carriage bolts, drop them down. We're gonna to do that same thing on the three remaining corners. Now we can come over to our wheel wells and we're gonna be working on our frame rail. Wipe this down, get it clean, and we're gonna be using four attachment points to bolt up our side plates. We got two well nuts here, and two more well nuts here. Not a bad idea if you spray them down with some penetrating oil, some type of cleaner and wipe those threads clean. I'm just using a tooth brush. That way you get some of that undercoating out of there. These GM trucks, they really pack on this undercoating and any dirt would jump out of there, and what we'll to do is take our side plate. They are labeled, so you really can't mix that up. Driver's side. These slots up here, our bolts that we put in through the bed, those are gonna go through there. And coming right in on up, Hold it in place. We're gonna take a bolt, a split lock washer, and get these started hand tight. What I like to do is just get one or two of them going, that way it'll kind of hold it roughly into position. And a lot of times, what you're gonna need to do, every truck will be set up a little bit different and how you drill will vary a little bit. So you may have to kind of manipulate this plate here to get the bolts to line up perfectly. Looks like I might have to a little bit here, so what I'm gonna do is grab a tool. So I'm gonna use a tool like this, just kind of spreads out a little bit. You can see right there, one of those holes is kind of blocked a little bit. I'm just gonna take this, put it up through one of those access holes and kind of work that side plate over to hold it in possession where I need it to be. Then of course, once you have all of them started, we tighten it down and kind of draw everything together. That makes sense. So once we have these hand tight, we'll go ahead, go over to the other side and repeat the same process. Now we come back with the 15-16 socket and snug everything down. Now we need to make sure and come back with a torque wrench, tighten down all of our bolts to the amount specified in the instructions. If you don't have a torque wrench, you can grab one here at etrailer, or a lot of times if you go to your local auto parts stores, they'll have one there available to rent. So back up in the bed here, I went underneath our truck and just kind of took a look at where we're gonna need to secure these actual bolts. And upon further inspection, it seems to me we'd be better off taking these spacers that we had in here originally, and actually putting them underneath the truck on this part of the corrugation. It's kind of one of those deals, 'cause our bolt is literally going through kind of the edge of our corrugation. So it could go really either way. If you put it here, this one will crush, we put it here, that one will crush. But I think what our best option is pull these out, since we don't have anything bolted down, you can kind of just knock these out. We're gonna put these underneath. And you're also gonna have these large ones. I think we're gonna put these here, under there. And that way, if it does start to crush a little bit, this is gonna stop it and prevent that from happening. If it doesn't, not a big deal, we can always just slide these back out whenever we have everything tightened down. So I'm gonna go ahead and switch all these out and then I'll go underneath the truck. So underneath our truck, you can see it here, our frame brackets and where our bolt comes down. Take the spacer, slide this through like so. Now all these they might not go in that easy. You might have to kind of pry up on your bolt and slide the block and drop the bolt back down, or kind of pry this down a little bit. Every truck is gonna be a little bit different. But once that's in, we're gonna take a flat washer, put that on up, and a flange nut, get this going hand tight here and then repeat the same process for our three remaining corners there. So now that we have all the bolts in there and hand tight, I came back with a regular box wrench and tighten them down as much as I could. Which brings me to my next point. Now it's time to torque them down. And you don't have a ton of space up there. So you can't get kind of your classic socket on there. There's a few tools that you can use to make this a little bit easier. Now they're all gonna be 15s, 16s in size. One of them is like this, I believe this is called the dog bone if I'm not mistaken. This one worked out pretty well, it's relatively thin. The other one, you could use a crow's foot like this. And all these just go on the end of the torque wrench. Like that. So it's kind of low profile. And then there's another one. I assume this would be a crow's foot as well. It just doesn't have the extra sides, like a line wrench or something would. Unfortunately I don't have the right size in this one, but tightening a couple of bolts down already, one like this would probably work the best. So it's a lot more low-profile and a little bit easier to get in there. But with that said, we can still make do here. And now that we know what tools you can use to get this process done, let's go ahead. We're gonna grab this one and I'll show you one of them getting torqued and kind of how this works. So the way this works, it'll slide in there and go up and around the bolt. Obviously before you torque everything, you want to get them as tight as you can with the regular box wrench, try to draw everything down evenly. But once we have that done, we'll come back and make sure it's all torqued. As you could see, there's just not a ton of room up here, so it's gonna take a little bit of time, be patient with it, take a break in between if you need to. It can get a little frustrating. With everything torqued down, what I did was remove our actual fifth wheel head. And in our case, we had this bed liner. So I dropped that in, kind of eyeballed it. Kind of measured out where it's gonna hit our rails and I'm gonna just cut an opening out here. I'll lay it in there, make sure it fits and then I'll do the same thing for the rail up towards the front. So I'm just gonna use an air saw to do this. You can use a cutoff wheel kind of just whatever you have laying around. So I'll go ahead and get that done now. So got that cut out, dropped it on in and it's in there loosely, but it looks good. I'm pretty happy with it. So what I'm gonna do is measure the distance between our back rail to the front one, take some rough measurements and then I'll probably just use the piece that we cut out here kind of as a template so you can just roughly measure it, set this down, make our lines and come back and make a cut. And that'll finish up our look at and our installation of the Demco side plates for fifth wheel rails on our 2017 GMC Sierra 2500..
Ratings & Reviews

It was a SOB! getting it installed, welding process warped feet and did not just fit into place as expected. It took some coaxing with a nine pounder on the feet tabs to fit my rails, luckily mild carbon steel is workable, however it did upset the finish. A QA check needs to be done on final dimensions prior to powder coating!

Ed

10/12/2022
Worked great. However after being shocked by high fuel prices and a couple of trips we sold 5th wheel and down sized to a TT, You want to buy a slightly used Demco Hitch?
The hitch arrived in four days was easy to install in truck not too heavy for a 70 year old man hooks up easy and I really like the double locking jaw the only issue I had was the wedge for my sidewinder the bolt holes did not line up took me about an hour making holes longer to be able to bolt up
love the three piece set-up of these hitches...makes them light weight and easy to handle...also when not in use there is a topper on my truck and the covertability of the hitch allows me to use my bed platform without removing the hitch...just remove two pins and back off the lock bolt and its low enough to use the two tier stacking feature of most trucks
product delivered on time and as described. This hitch is easy to move in and out of the bed of my truck with it being able to come apart. Thanks.
Randy
3/21/2019
I really liked the hitch as it was light and easy to use. I have purchased a new truck and needed a slider as it is a short bed. I purchased the rail kit from etrailer and as always it a superior product.
Seems to be a well built hitch and the 3 piece design is VERY nice in the load/unload space. Why this received 3 stars is that it was missing parts and the base was beat up badly (cosmetic) when received. Missing parts included the pins to connect the base to the rails and the pin to connect the neck to the base. Not usable at this point. Etrailer is sending out the parts, and I'll contact Demco for new stickers. Will update review and photos once I have used it.
Hitch came in two boxes UPS. The head was stapled and secured in one box. The base and upright piece came, not in a box, but rolled up in cardboard and taped up with clear packing tape. I put it together so I could hook up and set the height and there is no hitch pin and lynch pin. I don’t know if it was rolled up in the cardboard and lost in shipping or wasn’t packed at all. I also didn’t get the instruction manual and had to go to Demcos website for it. The base and upright being rolled up together banged up the base or it was used and returned and that is why it was rolled up and not in a box. Now I have a hitch that I can’t use because I didn’t get all the parts. Called etrailer for the hitch pin and lynch pin and don’t know when it’ll arrive because it’s not an etrailer part. I can’t review the hitch because as of yet I can’t use it.
Well it came in two pieces the head and the base not a big deal but they came A WEEK apart when I paid for expedited shipping. They tried to blame it on ups but I looked at the second tracking order after the first boxes arrived and it says the label had been made but not at ups so it shipped far after the other boxes. Then when I took the 5th wheel had out of the box the bolt that holds the handle on had a smaller size nut so you can’t even assemble the head. I went here hoping to get the stuff I needed for my 5th in a timely matter but got the opposite… not saying I will not order from here again but I will definitely think twice before I do.
Excellent product and customer service was outstanding. I just bought the product so I haven’t towed with it yet but after many many years of towing with other fifth wheel hitches, I can tell this is going to be an huge improvement!
First shipment had a problem, the box with the base was ok. The box with the hitch head was empty except the release handle. Etrailer promptly sent out a second box with the hitch head that arrived intact. Etrailer had me send some pictures of the damaged first box and then handled the problem with UPS completely on their own. Prompt service to resolve the problem is highly commendable.
Product arrived on time, correct and in perfect condition.
The only issue I am having with the fifth wheel hitch is latch handle will not stay open (out) when hooking up or disconnecting from king Pin sometimes (and yes, I know how to work a fifth wheel hitch). If it wasn't for that I would give it 5 stars.
Haven't used it yet but it's unlikely to be anything but 5 stars. I'll update review if so. The hitch came in 2 boxes. The head was packages in a HD box. The box that the base came in was battered pretty bad. But, no marks in the base. All hardware arrived. Took about 15 minutes to assemble and get set up.
Robert
3/1/2020
I am very happy with this hitch. Easy to hitch. Rock solid connection. Easy to disassemble to be removed. Great buy.
This was an upgrade from the dealer installed hitch. Best purchase since I didn't know how much longer the old hitch would last. After purchase, I was at the dealership and saw they were now selling the same hitch. Solid and rattle free.
Jane S.
4/9/2021
Excellent
The product arrived as scheduled and all the parts and pieces were in the two boxes. It installed quickly in my pickup and I hooked it to the fifth wheel and moved it forward and back. Seems to work well, takes all the slop out of the hitch. The hitch seems to be well constructed and the double latch is what I was looking for.
Jess A.
7/20/2018
I love the hitch it is possitive locking and there is no movement when it is latched around the pin
works every time has never failed, replaced a curt 20k that i used for 10 years,lots of times it wouldnt click and lock .easy to use no chucking.very happy with this hitch.3 years ago i installed air lift air bags ,love them too!!etrailer is a great place to buy from
Robert K.
11/12/2020
real well,hooks up easily,the bolt that snugs up hitch head broke in half,called denco and had a new one in 4 days.very satisfied with hitch
The kit came with everything and instruction. Very easy to understand how it all fits together. Getting the rail bolt washers and nuts were pretty difficult to get started. You just got to take your time and you will get.
Looks great nice workmanship. Easy to install.
Packaging on large components should be changed??? Need custom molded styrofoam to slide on two sieds and hold product in shipping box. Will include pictures of delivered packages
This is a really nice hitch for the money. Extremely easy to installl for one person. I can’t wait to pull my camper with it. The only problem I had was how badly damaged the package was when delivered. Fortunately the hitch was not damaged. The picture shows how it was when I got it.
Ordered hitch late Wednesday evening and received early afternoon on Friday, that is super fast delivery. Two cartons received with no damage and all parts were there as expected. It looks exactly as advertised online and it was at a great price. AND FREE SHIPPING.
Also made in the USA.
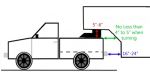
I am replacing my Demco Hi Jacker Auto Slider that weighs approximately 300 lbs with the Demco Recon that according to the shipping labels weighs 91 lbs. It will be installed on a Ford F150 with 5 1/2 ft bed and fiver with a Lippert Turning Point Pin box.
Rugged product, easy to install, quick latch system. easy to remove. Purchased the Reese adapter with this hitch, and installation was easy. Some minor adjustments with the cam over lugs, and setting the hitch posts into the adapter. Overall very easy set up. Looks good, and can be taken apart in pieces, for ease of removal and installation, after set up. Ordering was simple and all parts came in about a week.
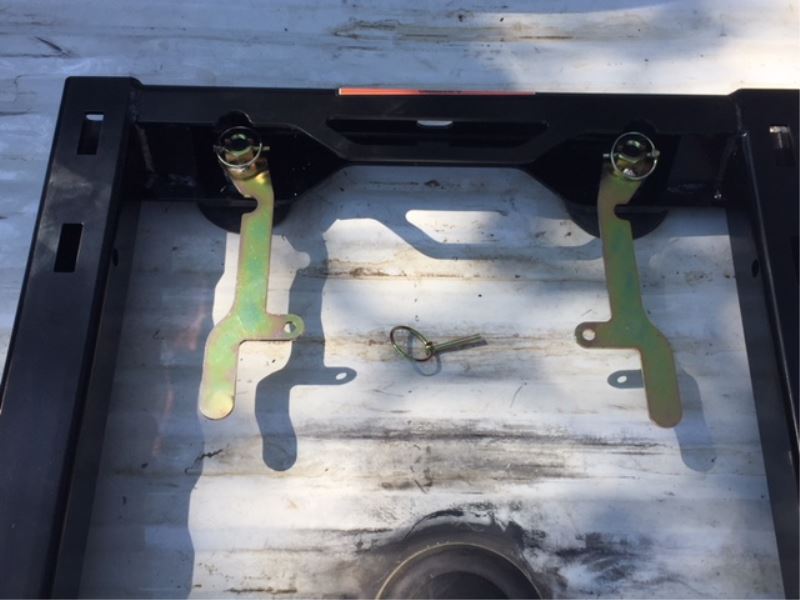
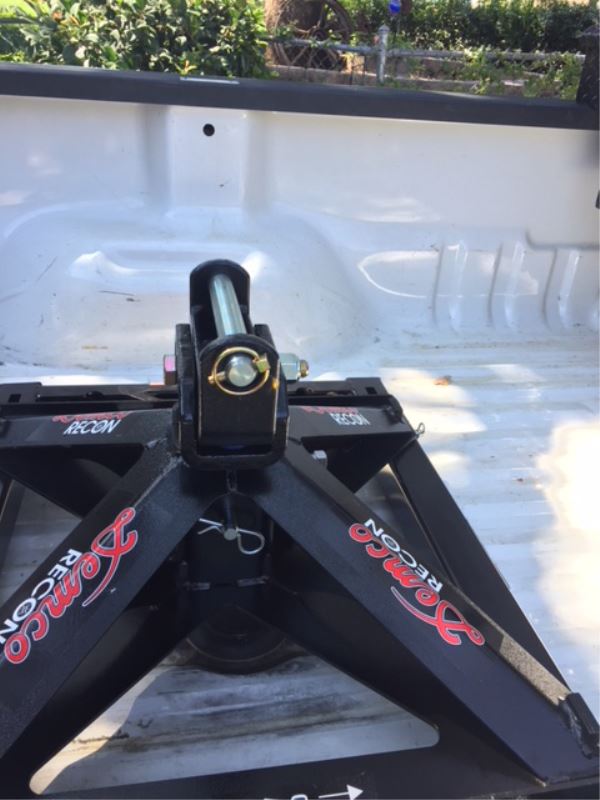
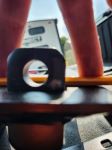
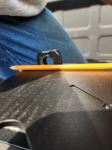
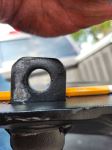
Parts arrived for the DM 8550043, received only the hitch base plate and adjustable shaft for the hitch head. Have been told that the hitch head is shipped separately. Now have a problem with the hitch plate fitting the bed rails. The holes for the pin that secures the hitch plate to the rails are to close to the bottom of the hitch plate photos are given of the problem a pencil was used for reference. There is NO WAY the pin will go through the rail and hitch plate. Waiting on a solution from etrailer. The hole that you can barely see the pencil is tailgate rails pin fits fine.
This hitch with the Airbourne Sidewinder worked great with the 2018 Ram 2500 Mega cab short bed with Ram boxes. Can maneuver a 90 degree turn without issue. Still have to get trailer lifted higher to get the trailer nose lowered, but for the complicated research we had on the right combo, this is tested and verified
Already pulled the rv with it. I like the design. Literally ripped open the box and put it together in a matter of minutes. The three pieces come apart fast lightening it up to remove it from the bed
Jeremiah
9/9/2025
Looks good works good, pull a triple axle Roy hauler rv. No complaints
I had a Demco Recon 5th Wheel Hitch in the past I liked how easy it was to operate and the get in and out of the truck bed. I also like how compacted it is compared to most of the other brands. Go with what you know works for you.
The truck that got the install is a 2002 Ford F350 Super Duty 7.3 L Diesel dually. The Demco Recon 5th wheel hitch (DM8550043) looks like a well made, heavy duty hitch. All the welds are precise and well done. I like the single wrap around jaw with the real thick bar that backs that up. The handle that pulls out to unlock the jaw moves with ease and locks in the out position when the jaw opens. When the king pin comes in contact with the back of jaw, the jaw wraps around the king pin, the handle closes, you put in the safety pin and your ready to go RVing. I chose the Husky Custom Rails and installation kit (HT31405-686) for my install. The reason I chose these rails over the ones that etrailer had matched up for the hitch is, I had previously installed a set of Airlift Airbags and I didn't want the rail install to interfere with the airbags. It was a good choice, there was no interference at all. If I had not had the bags, I would have chose the rails and install kit that require no drilling. Drilling the holes went very fast and easy, it was torking the rear bolts down that was very difficult. There was not enough room to get a wrench of any kind around the nut. I wound up using a set of vise grips on the nut while a friend of mine torked the bolt slowly from above.
All and all I'm happy with the product and I'll give another review in a year.

Harvey
3/3/2020
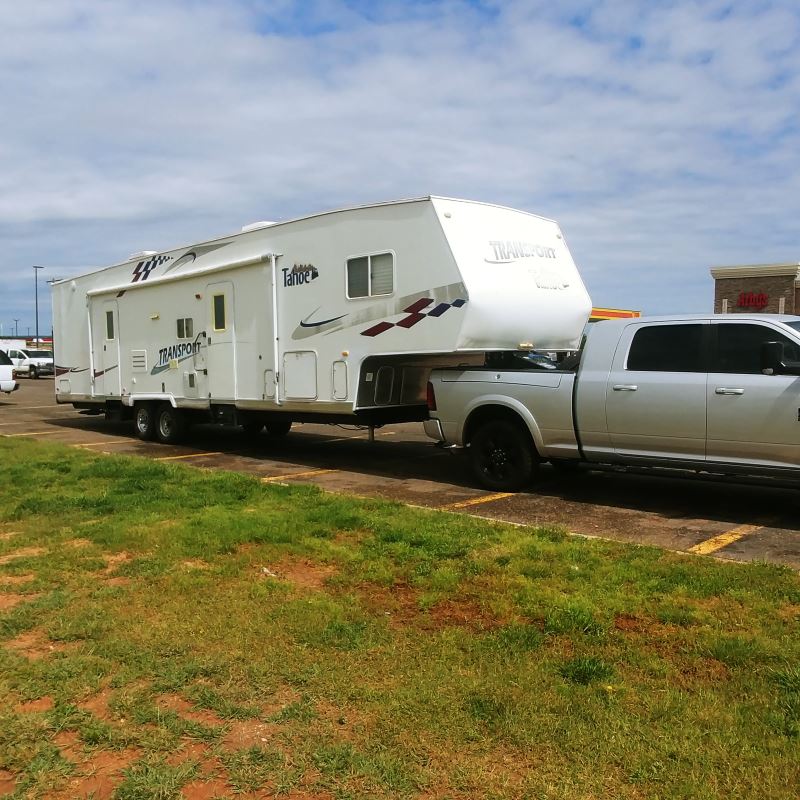
This Demco 21K fifth wheel hitch is a great piece of equipment. I have pulled my 40 Heartland Bighorn fifth wheel as far north and west as Wisconsin and south and east as Florida. It has performed like I thought it should and beyond. I am sure glad that I chose the Recon over any of the more expensive brands. Its a real performer and it looks pretty cool too!
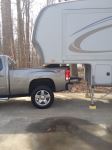
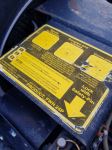
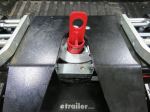
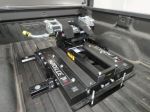



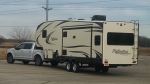
Do you have a question about this 5th Wheel Hitch?
Info for this part was:
At etrailer we provide the best information available about the products we sell. We take the quality of our information seriously so that you can get the right part the first time. Let us know if anything is missing or if you have any questions.
















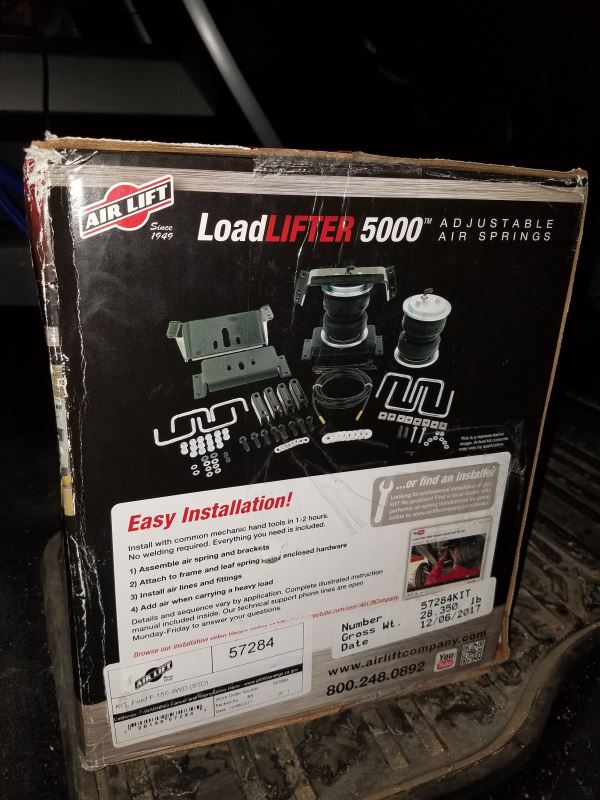




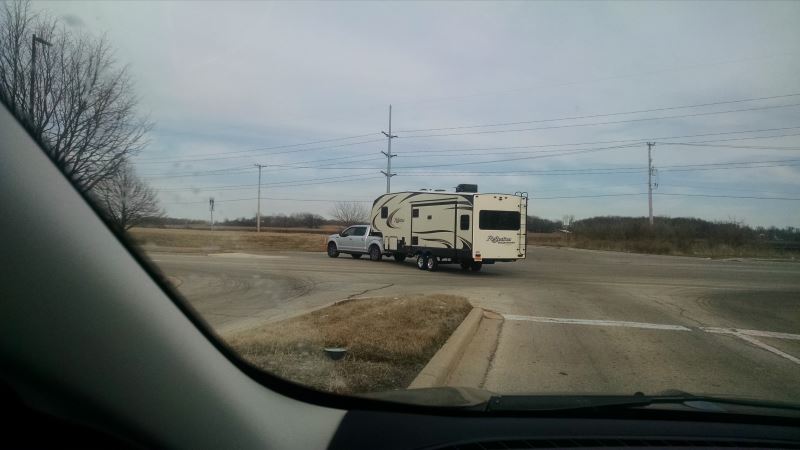












Jenny N.
10/19/2021
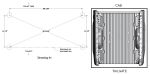
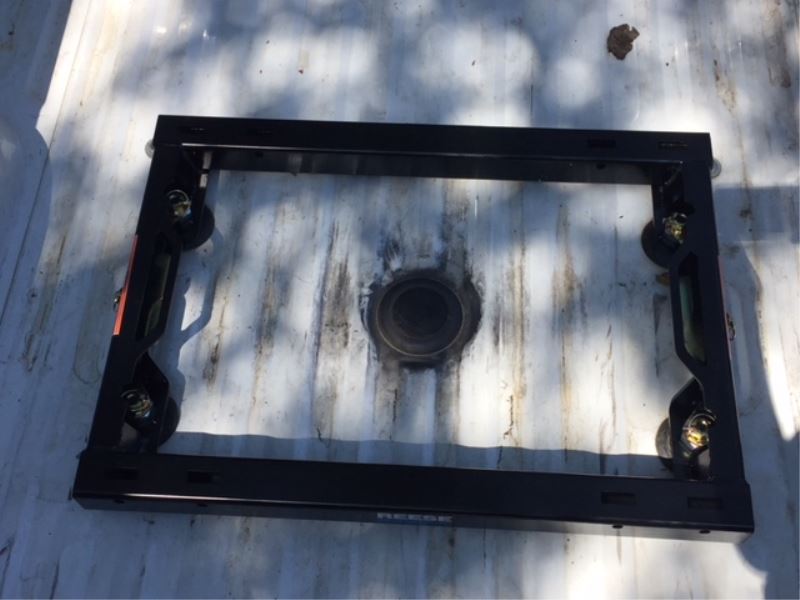
The Recon is designed to work with industry standard rails however we have seen rails that were not installed correctly in the bed or shifted so that it is throwing off the hole positioning as the rails are independent of each other. I would recommend measuring the rails to ensure that the front to back measurement is 29 inches and the side to side measurement is 22 inches.