
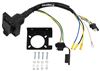
Curt T-Connector Vehicle Wiring Harness with 4-Pole Flat Trailer Connector


To see if this custom-fit item will work for you please tell us what vehicle you'll use it with.


Thank you! Your comment has been submitted successfully. You should be able to view your question/comment here within a few days.
Error submitting comment. Please try again momentarily.

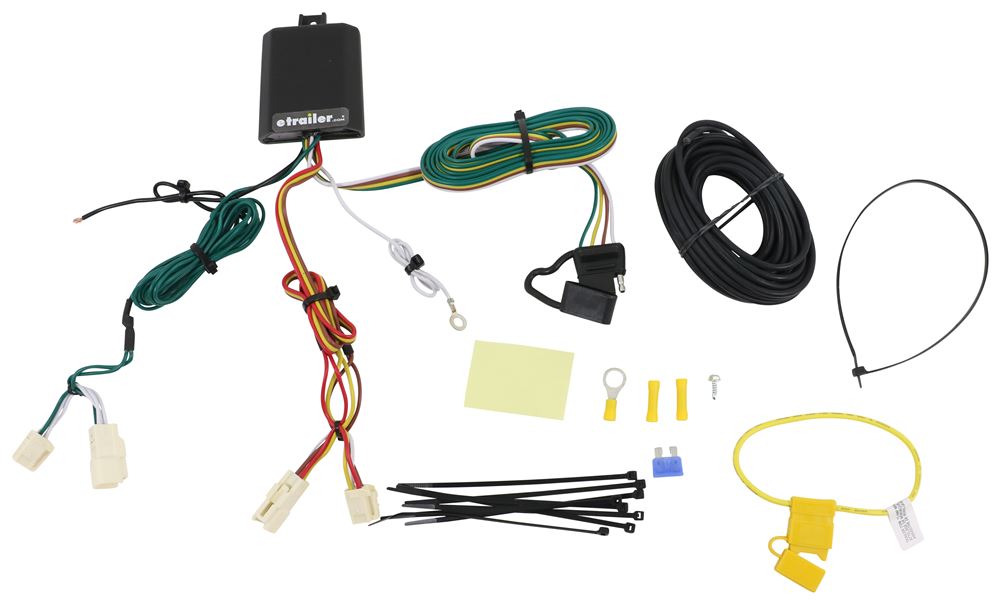
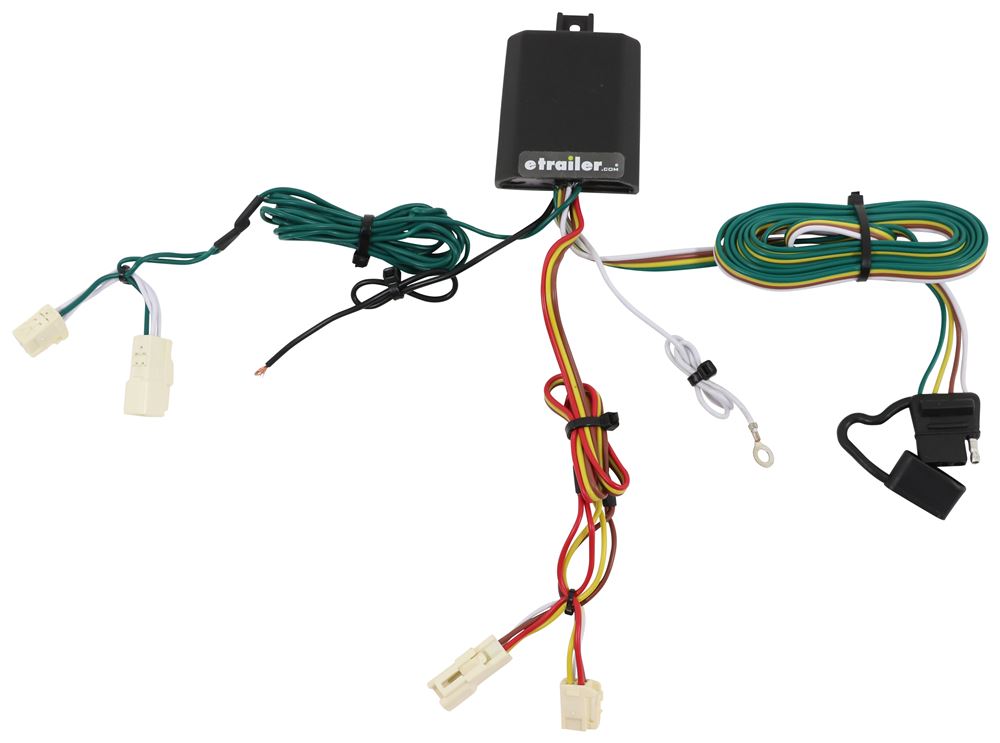
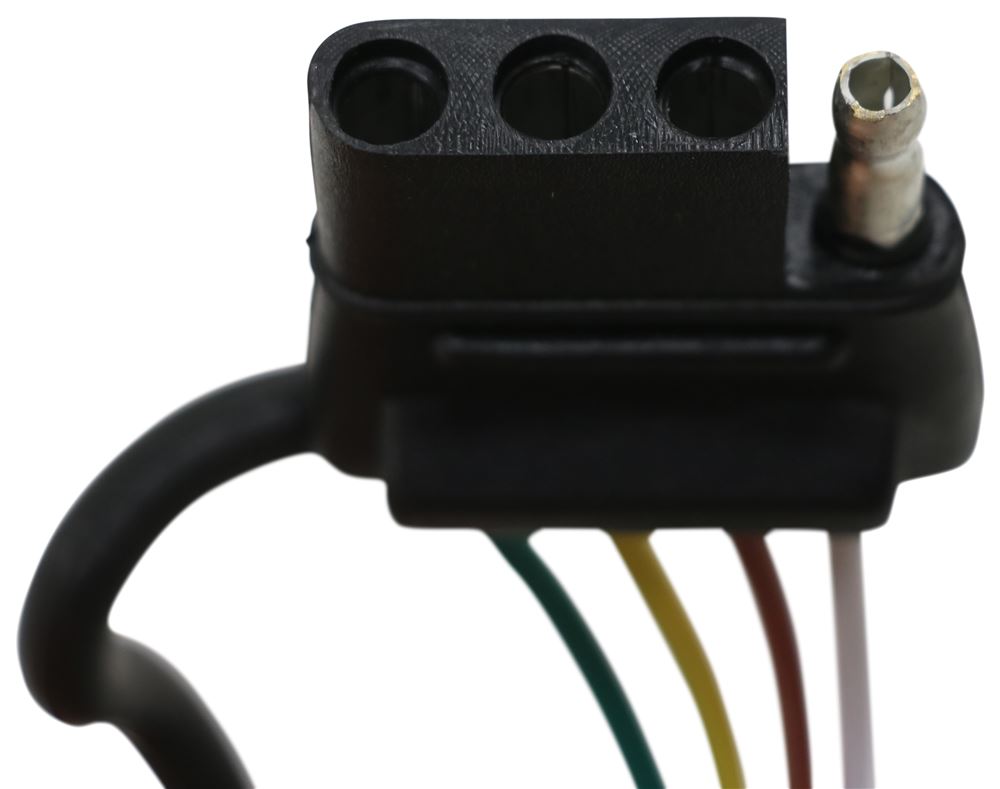

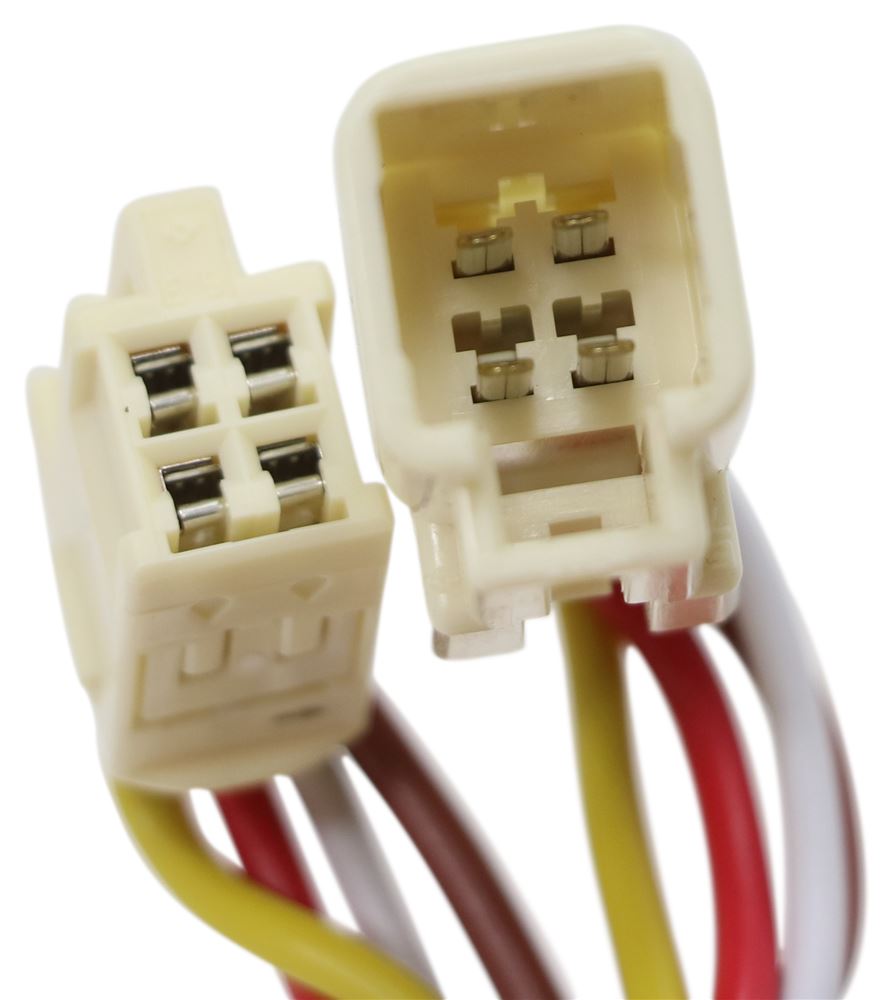
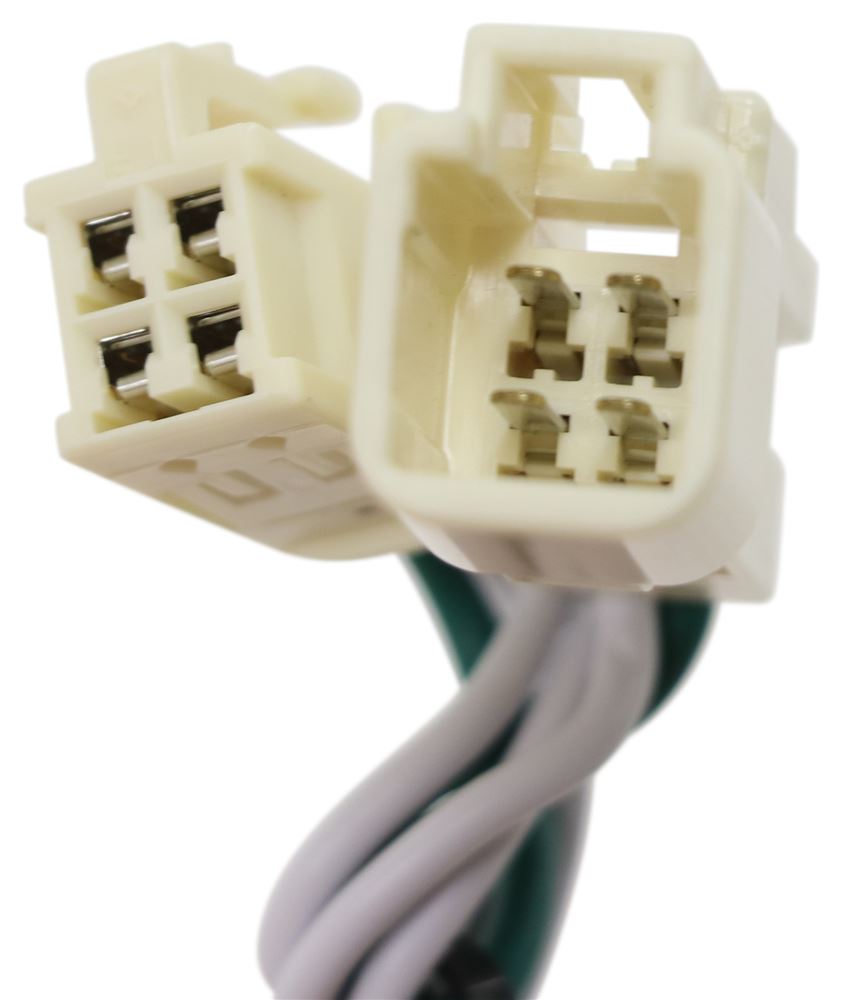
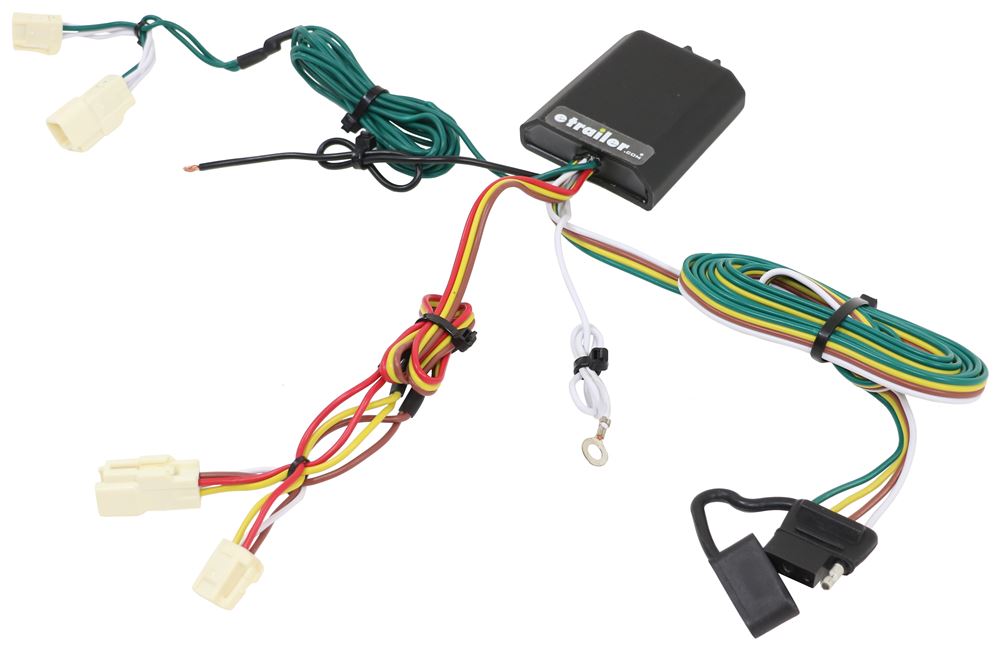


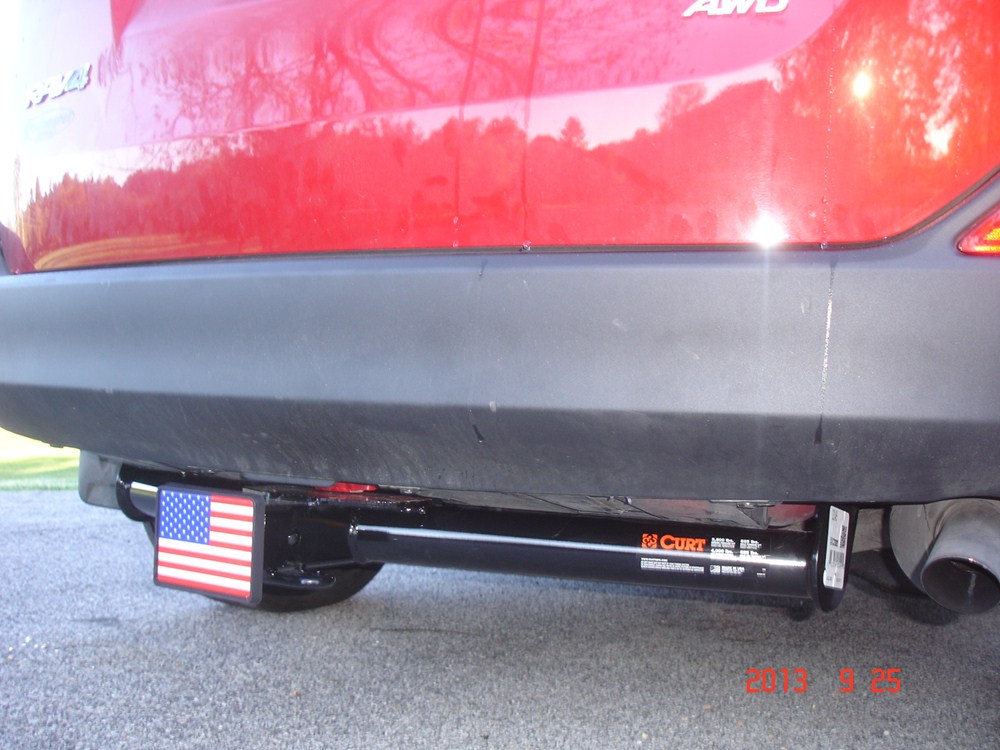
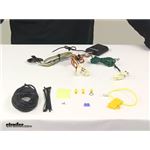
Wiring a trailer can be tricky if you have to cut into factory wires, but this Curt T-Connector Vehicle Wiring Harness skips all that. It plugs directly into the vehicle’s tail light wiring, creating a 4-way flat connector for your trailer lights. No splicing or guessing which wire does what—just plug it in and it’s ready to go.
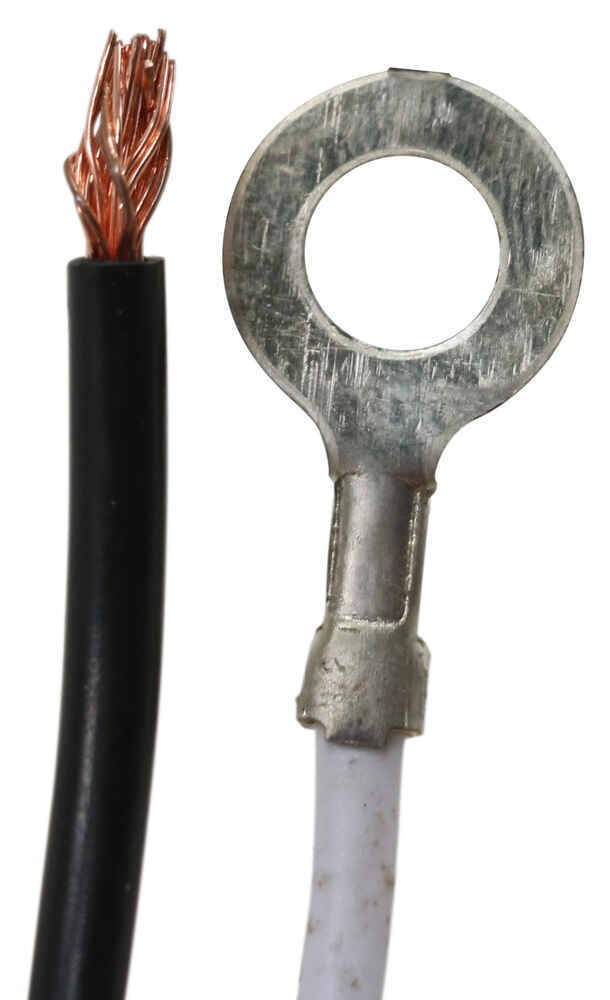
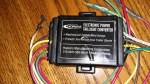
Instead of pulling power from the tail light circuit, the harness uses a powered converter that runs a direct line to the vehicle’s battery. This isolates the trailer wiring from the vehicle system and keeps sensitive electronics safe from overload or short circuits. It delivers smooth power for running, turn, and brake lights while keeping your vehicle wiring protected.
The 4-flat connector gives you the essential lighting functions—running lights, brake lights, and turn signals—so your trailer is ready for simple towing setups like small utility trailers or boat trailers. It’s the common connection type for most light-duty towing tasks.
The harness is designed to stay out of sight once installed. The wiring tucks neatly behind trim panels and exits cleanly near the hitch area for a professional look. It’s a hidden setup that keeps everything secure and protected from road debris while looking like it came from the factory.

Customer Satisfaction Score:
97% were satisfied with this product
3% of customers were not satisfied
Ratings & Reviews

Wiring harness installed and worked as it should, although it was NOT easy! No fault of the product, there was just a lot of removal of the car's trim to get to the tail light connectors. Watching the video (several timers) was a necessity to do this. I opted to leave the plug inside the car in the spare tire area and feed it out through the back hatch when needed. That eliminates having the plug get covered with salt and water if it is mounted outside the vehicle.
This product was one part of several that I have ordered through etrailer.com including a trailer hitch, bike rack and wall mounts for our bikes. Each and every purchase I have made from etrailer has been flawless. The products are top quality and the level of service is second to none. When is the last time another online company checked back with you a year later to find out if you are still satisfied with their product? I have been purchasing items through etrailer.com every since I found a replacement part for our cargo box several years ago (which is also still going strong). I am a regular customer now and have no intention of going with anyone else anytime soon.
I took time to research price and quality, I found both with etrailer. My order was shipped and received on time as said. The product worked exactly as promised. The directions and videos made install painless and easy. I highly recommend this company and would not hesitate to make another purchase.
Fit was exact. Worked great. Use dielectric grease, it does help overall and ensures better connections. Even on vehicle connectors.
Lou M.

7/9/2019
Still works great!
The sticky backing for the "black box" was so old a degraded that is crumbled in my hand. That was disappointing. But otherwise, I LOVE these custom kits. They always work like a charm. My only setup qualm is that even though it is compatible with the hybrid system, there was no instructional video for it (I think). It's easier in the long run, but some of the paneling is different and so I had a hard time figuring it out.
Also, maybe don't take the wire out of the back drain port, it exposes too much of the wire underneath. And sell this with a section of black flexible tubing to protect the wiring. Also, nothing to hold the wire to the hitch receiver?


Jenny N.
2/2/2023
You have a few options available when it comes to where your harness ends up. You can just pull the harness out of the back door of the 2016 Rav4 whenever you want to use it. And store it back in the cargo area when done. It would be the best way to protect the harness from the elements. However, if you are so inclined, it can be moved to stored on the hitch. You can route the 4-Way through the vehicle and outside to attach it to the bracket rather than storing the harness in the vehicle when not in use. To do this you will need to get down to the metal floor of the cargo area by removing any plastic or carpeted panels that are in the way. Once down to the metal look for a grommet or other exit point through which you can route the wiring. If there is not one, then a hole will have to be drilled. If you have to drill, be careful of what is on the other side of where you are drilling! Once the 4-Way end has been routed through the grommet or hole be sure to seal up the hole using silicone such as part # 0160297 to keep out fumes and moisture. You can use the built in bracket on the Draw Tite hitch along with part # 18144 to hold the 4-way in place. Or you can use a magnetic 4-way holder like part # 306-X6019 that would give you more flexibility of where on the hitch to hold the 4-flat too.
Unfortunately I did not realize the hitch review and this would be separate so I commented on the wiring and the hitch. The connector kit worked fine. There is not a lot of room to work behind the trim. Took a bit of work to get the wires loose from the frame. The two sided tape for the black box did not work very well. The wires should be longer so that a different location could be used. The video for running the wire to the front of the car looks much easier than it is. I was working on the floor and it was difficult. The good news is that all worked first time!

Heather A.
10/12/2021
Thank you for your review. It is easy to run out of length of the black power wire. I recommend to take a look at the article I linked that helps explain the best way to route the wire.
Helpful Links
Great product! Quick delivery. The instructional videos were great. I watched them a couple of times and was able to install on my 2016 Toyota Rav4 Hybrid by myself in about 30 mins. The same with the wiring harness. Great instructions and video. Was able to do myself in about 1 hour. Most of the time was spent being careful removing the trim. Great product, great price and great support. Well done!
Richard
2/10/2018
Working very well thank you.
Right product, easy install, and work well with my trailer.
Would recommend getting clip and tab pry bars. It made the interior panel removal very easy with no damage.
Rolo
2/13/2025
It’s been a little over a year and the Curt T connector has done its job. On the 2017 Rav 4 that tows a small boat, I have encountered no problems. It’s why I keep coming back to eTrailer.

Got the hitch & wiring harness kit in very short order. Put hitch on in half hour, wiring took about three hours. Keep in mind I'm 72 years young, so I'm very happy with E-Trailer products and instructions. Thank you E-Trailer !!
Randy P.
9/13/2015
The was only hard to install because of my age, 73. Although routing the wiring was a little difficult, directions where OK. Its a good product, thanksRandall
The 2014 Rav4 hitch and wiring harness arrived in good shape within 3 business days of my order. Installing the hitch was simple and easy (30 to 45 min) with the use of a jack to hold one side while starting the bolts on the opposite side. I did not remove the exhaust as suggested but used a wood block to hold it aside while installing the bolts.
Installing the wiring harness is more of a challenge, especially if you have little or no experience. The instructions and few photos are not much help. After removing all the rear panels as instructed you also have to loosen the complete side panels enough to reach inside with your arms and the tools needed. I loosened the driver side rear panel to allow access to the floor of the rear passenger area. This will allow you to eventually feed the hot wire forward. Wear a long sleeve shirt to protect your arms from the sharp edges of the plastic side panels. After making all the connections, I fed the hot wire forward under the inside plastic floor guards for each door on the drivers side. Under the dash (above and to the left of the brake pedal and under the insulation) there is a large rubber grommet around the vehicle main electrical harness. I used a stiff wire to push through the grommet and feed the hot wire to the battery. There was more than enough wire supplied to route the wire this way. Even with my previous experience it took me just over 4 hours to complete the installation. I am very pleased with the product and would recommend "etrailer" to all who read this review.

Harry W.
10/6/2014
Good call on where to push power cable through fire wall. You saved us some time. Thanks!
The harness arrived in good condition and fairly quick, since it is a new item for the 2013 Rav 4. The install is not exactly easy. It took myself and a friend (an Aircraft A&P mechanic) 4 hours to complete. We were being careful not to break any interior plastic which added to the time.
My wife did not like the idea of hanging the connector out the hatch so we decided to run it our the bottom next to the spare tire through a rubber grommet ..then sealed the grommet with silicone and mounted the flat connector to the provided are on the hitch.
It might be helpful to test the connectors provided with the harness before trying to disconnect the connectors on the vehicle. The vehicle connectors are in a very tight spot and trying to unlock the tab is not easy. Pictures of how to unlock the tab connectors on the instructions would have been helpful.
I thought it would be a good idea to teat after the install with a volt/ohm meter. To my surprise, I had 12V at each leg without anything turned on. We then connected the trailer and all worked as expected. We still don't understand it but it works just fine. Some serious magic in that little black box LOL.
Ron

Patrick B.
4/4/2013
That is exactly why we work so hard to have videos of our products. Sometimes a different look can make all the difference in an install. As soon as we have a 2013 RAV 4 come through our shop, we will have wiring videos available on the site.
Mike
4/11/2013
Getting a 2013 rav next week. Any additionall light you can shed on removing plastic pcs. or where you ran hot wire would make me forever in your debt. I am a little bit of a detail frek also.Thanks.Mike

Ron
4/25/2013
Mike,One suggestion I have for removing the plastic interior panels is to purchase a set of nylon pry bars designed for this purpose. I used these from Harbor Freight tools:http:/www.harborfreight.com/4-piece-nylon-pry-bar-installer-kit-69668.htmlinexpensive and worth every cent!Along with the screws and bolts mentioned in the instructions, there are many plastic retainers that will be pulled straight out to remove. Be careful not to them since the do slide out of their mount brackets.I ran the hot wire to the battery through a rubber plug under the spare tire and under the Rav to the front. There are plenty places to tie wrap along the way forward and secure it. I did run it through a hole in the frame and made sure to use a grommet to assure that it did not chafe and short out.I also ran the 4 way plug through the same rubber plug under the spare and routed it to the tab on the hitch and secured it. All wires were then sealed with silicone on the rubber plug.I hope some of that is a help for you.Ron
This product was exactly as described in the product description and the installation was easy. I watched the video for the muffler hanger release to drop the muffler and a little CRC did the trick. I installed the trailer hitch on a 2014 RAV4 and the product value is exceptional, a very well constructed hitch with pleanty of towing capacity. I would recommend this hitch to everyone.
Larry R.
3/10/2016
It is still working perfectly fine with no issues. It is a great product.
Product arrived in two days in great condition. 15 min hitch install and one hour for harness. I decided against running my power wires below the truck and instead ran it down the the left side under the the door sill plates. Everything works as promised and I'm looking forward to having another tow vehicle in the garage for light duty towing. E trailer was fantastic. I received three emails from George on my hitch. He was great.
Joe M.
6/9/2016
Great! No problems so far!
thanks to the guy suggested plastic trim tools from harbor freight they were helpful, drivers side T connector wires need to be longer as would not let me put convertor box in a good place so I extended them. ran battery wire in side vehicle tucked it under plastic door trim and put through firewall where wire bundle and hood latch went through used screwdriver to punch hole and small electricians fish tape to feed wire through. overall very pleased with kit and instructions. installed on 2014 Toyota rav4. if you are not used to working on cars/mechanics it may be a bit much to do.
Vern
6/24/2015
I M VERY HAPPY with the products and recomemd you site to everyone I can.
Installation of this kit took longer than putting on the hitch itself, but connection to the vehicle wiring was simple and straight forward. No cutting of wires, and only one ground hole to drill. Running the +12V line to the front was the most difficult part, but certainly not an issue of the kit, rather is just the way it is with any newer vehicle that doesn't provide +12V at the back end. Don't run the wire under the vehicle. I ran it under the floor mats and found a spare port in a firewall boot. Relatively easy. I would recommend having an extra set of hands to hold the rear inner panel moldings out while you plug in the tail light connectors.

Laura E.
6/21/2017
Thanks for your business and your review, Robert. You should not use the power outlets to install a wiring harness.The reasons are that doing so will void the wiring harness warranty because it is not tested or designed for that type of installation. The circuit for a power outlet could be overloaded by the draw of a trailer wiring harness. And if attached to a power outlet you lose that level of circuit protection between the trailer and vehicle so if there is a severe short on the trailer it can end up damaging electrical components on the vehicle. I have included a link to a help article with tips on routing trailer wiring harness power wires. That link may be found at:
Helpful Links
This Curt T-connector installed pretty much per the instructions and per the available videos (my car is a 2018 Rav4). However, there are better places to route the trailer connector wire and power lead from the left pillar down to the hitch without routing it to the middle of the spare tire pan. There's a grommet (at least on my 2018) below the left pillar that puts the wiring right atop the left end of the hitch cross bar. Much better (and safer) location than the middle of the spare tire pan.
Paul
12/8/2022
No problems with the wiring harness for the past year.
Installed this in my new 2015 RAV4. Took a bit longer than I expected due to a considerable amount of disassembly and partial disassembly of vehicle's plastic trim parts. The OEM connectors were actually behind the upper trim panel which also required partial disassembly (the instructions made no mention of this). There was a convenient tapped hole in the chassis that could be used for the ground point. Had to run to local hardware store to get an M6 metric pan head screw to accomplish the grounding.
I ran the power cable up the passenger side of my vehicle because I had previously run something else through the firewall boot on that side. The driver side also has a firewall boot, but it is hidden behind engine parts making it extremely difficult to get at. As a result of running my wire along the passenger side, the supplied wire was too short to reach the battery. I simply added more 12 ga. wire.
Accessing the OEM connectors behind the partially disassembled panels wasn't real fun. A bit tough to get both hands in there. When I was done with that part, there were some pretty good "indents" in my wrists where the plastic trim pushed against me.
With a run to the local hardware, and a lunch break, it took me about 4-1/2 hours to complete. Connector tested fine with a test light.

Chuck K.
7/21/2016
Everything is working fine. No problems, no issues. Happy with purchase.
Can't speak to the installation of this product as I wound up having my mechanic install this wiring harness, which was well worth the money. The harness itself has been working great for a year now, and I'm very happy with it.
Just what I needed for our vehicle.
Plug and play design. I ran my wires through the interior of the vehicle, so it took a few hours. If you go under the car as recommended then it would be over pretty quick. Buy some wire loom at Harbor Freight to help protect your battery wire, though
Really easy to install if your half way handy. Reading the instructions really helps. They were clear and easy to understand. It took me about 45 minutes to install from start to finish.
The Trailer Hitch apparantly had been damaged in shipment because the spacing between the mounting holes was too close by 3/8". I had to use a Hydraulic bottle jack and 4x4 wood block to expand the mounting pads so they wold fit. I think they need to put some foam in the packaging.. so when shipper drop the box it doesn't cause the mounting plates to get closer.. Other than that no problem only took 15 minutes to install
Easy process (ordering/scheduling). Great work!
Product as expected. E-Trailer is top notch. Customer service was incredible. I can’t be more grateful for their help!
Worked exactly as advertised. I must say having the associated instructional video made the installation process go much smoother - I wasn't having to search around to find "that one hidden fastener"
Do you have a question about this Custom Fit Vehicle Wiring?
Info for this part was:
At etrailer we provide the best information available about the products we sell. We take the quality of our information seriously so that you can get the right part the first time. Let us know if anything is missing or if you have any questions.



























Jeff S.
7/9/2017
Unit is still in great working shape. I installed according to the manufacturer instructions and have had no problems. I am very satisfied with the product.