
Thule WingBar Evo Roof Rack for Flush Rails - Aluminum - Black - Qty 2


To see if this custom-fit item will work for you please tell us what vehicle you'll use it with.


Thank you! Your comment has been submitted successfully. You should be able to view your question/comment here within a few days.
Error submitting comment. Please try again momentarily.


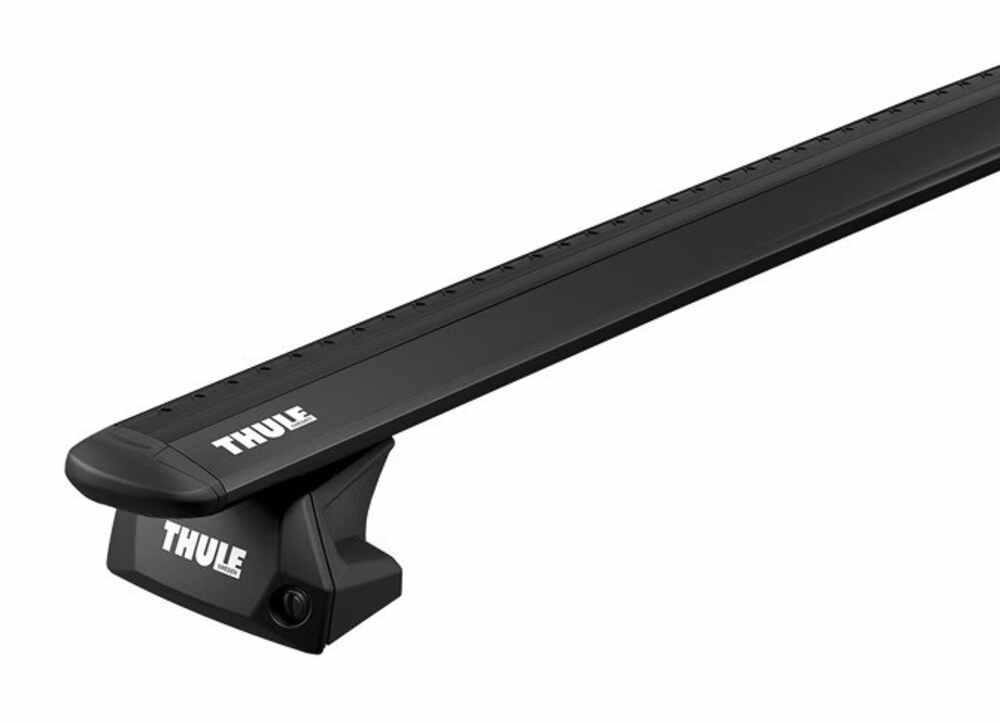


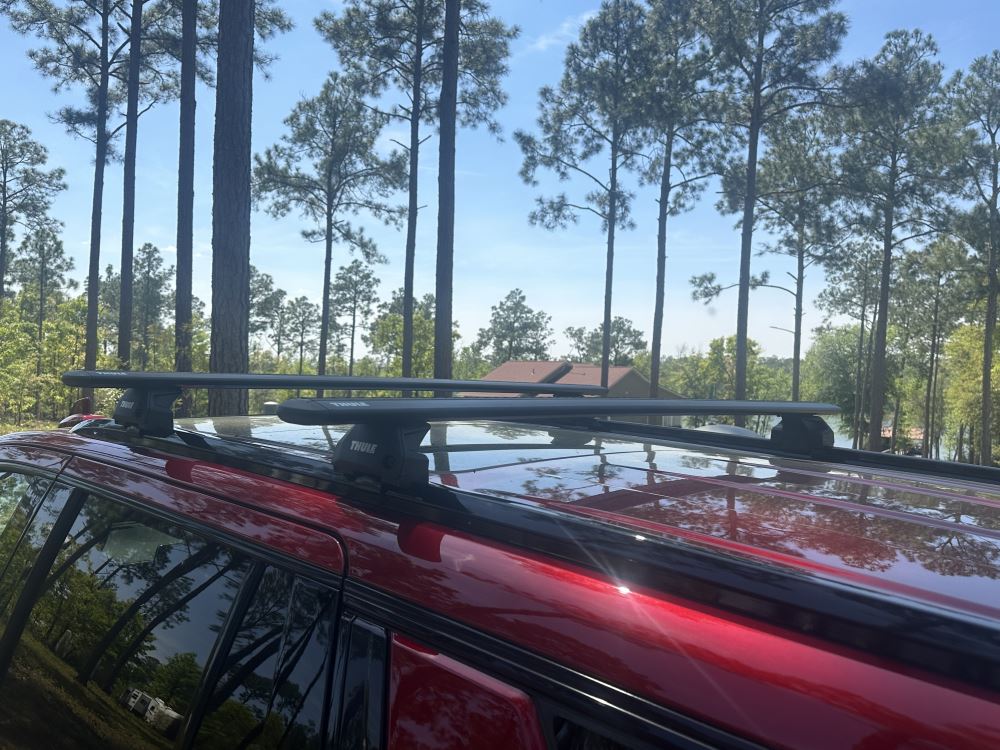
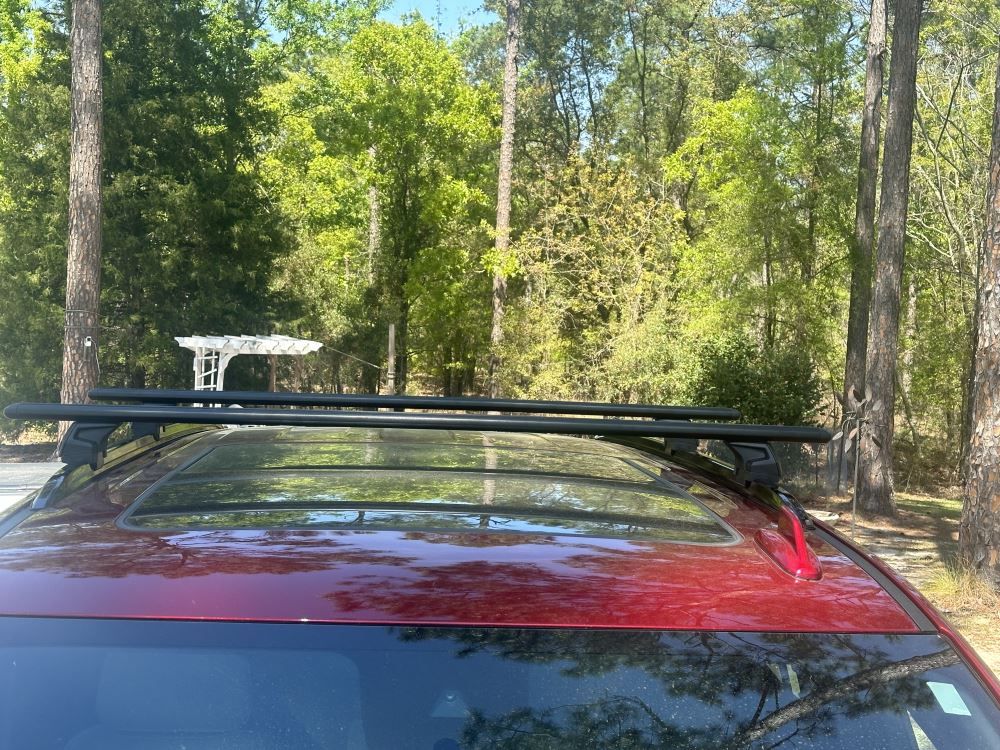
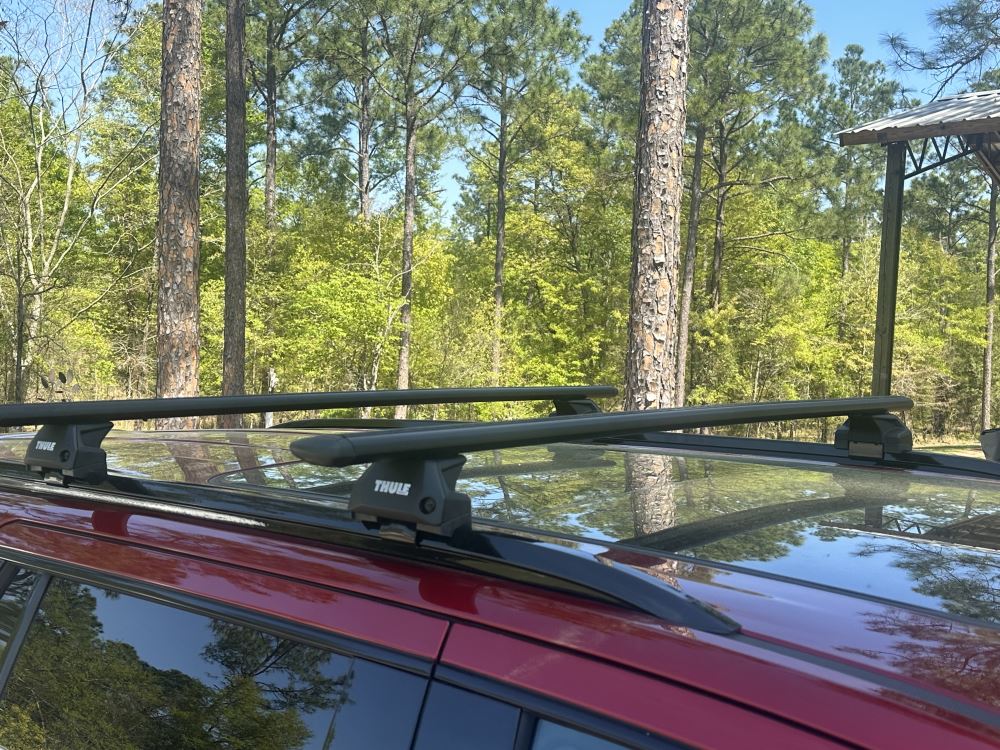
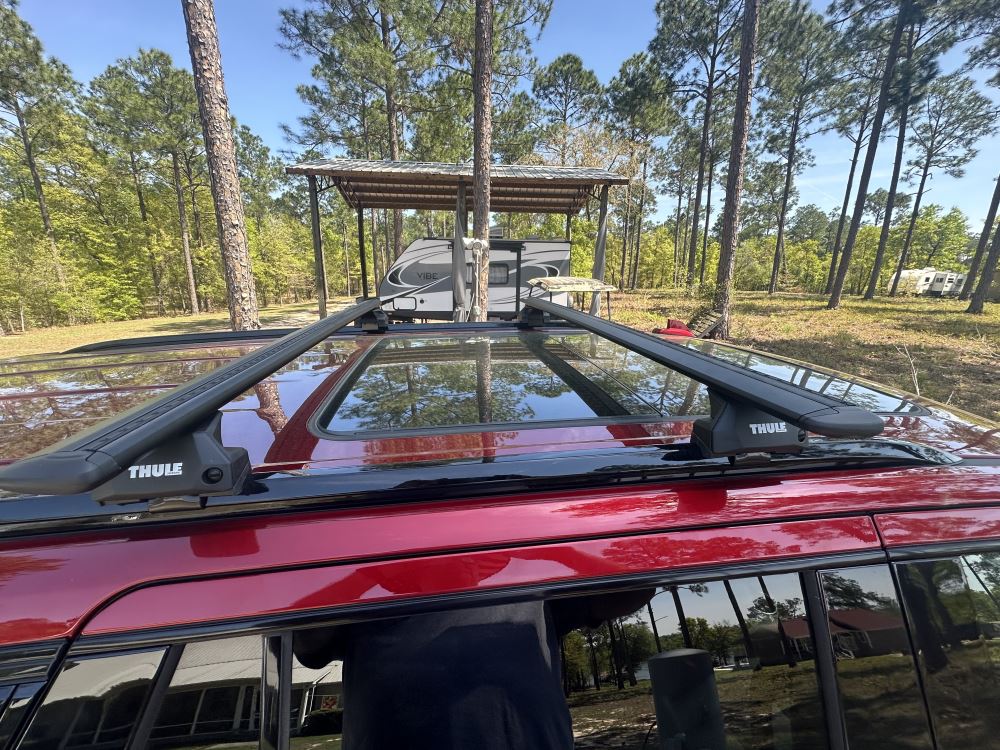
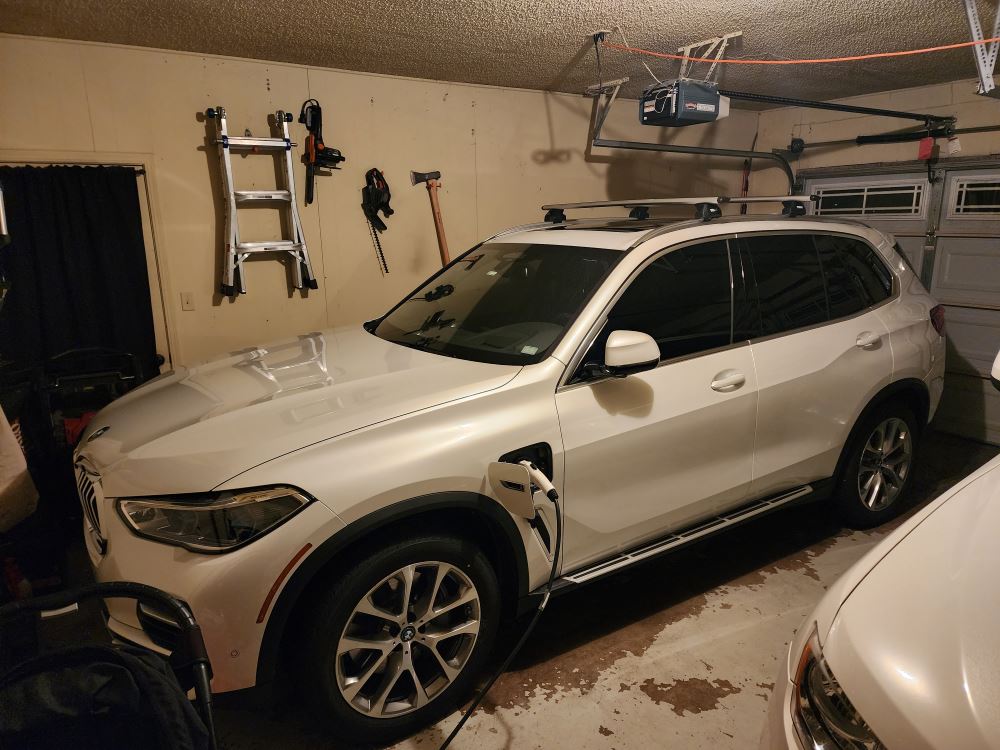
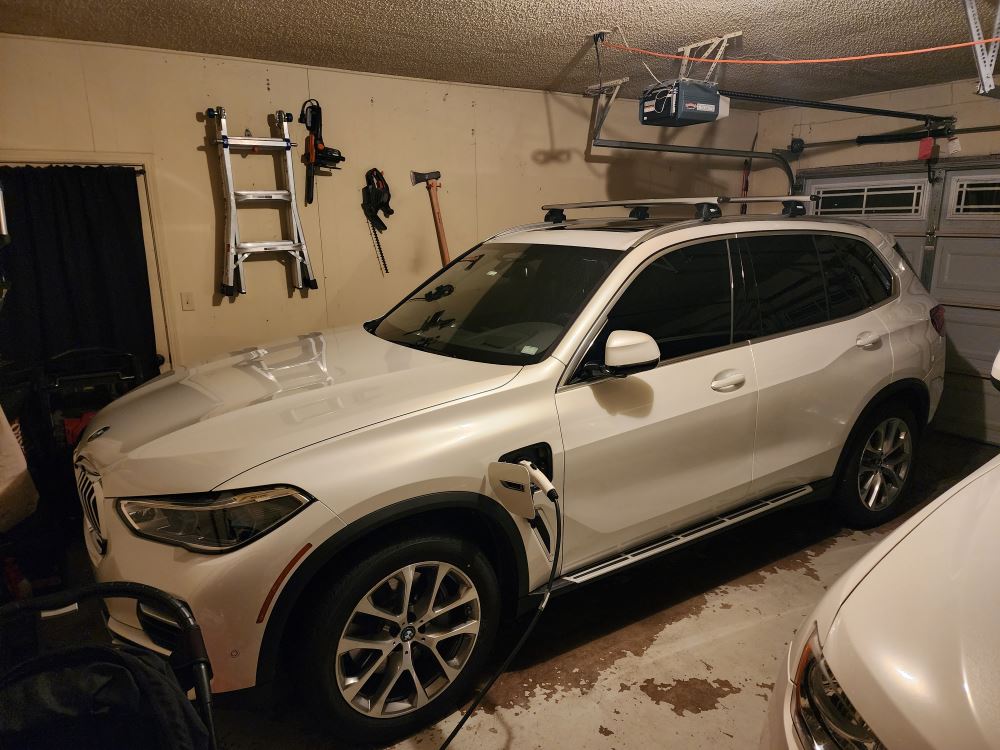
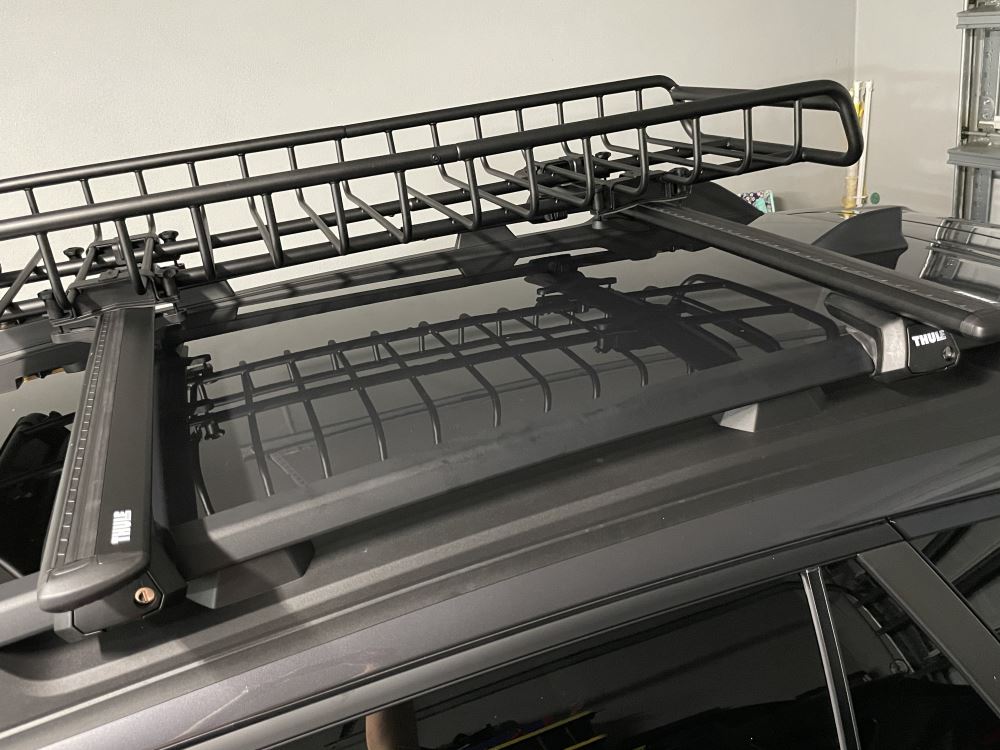
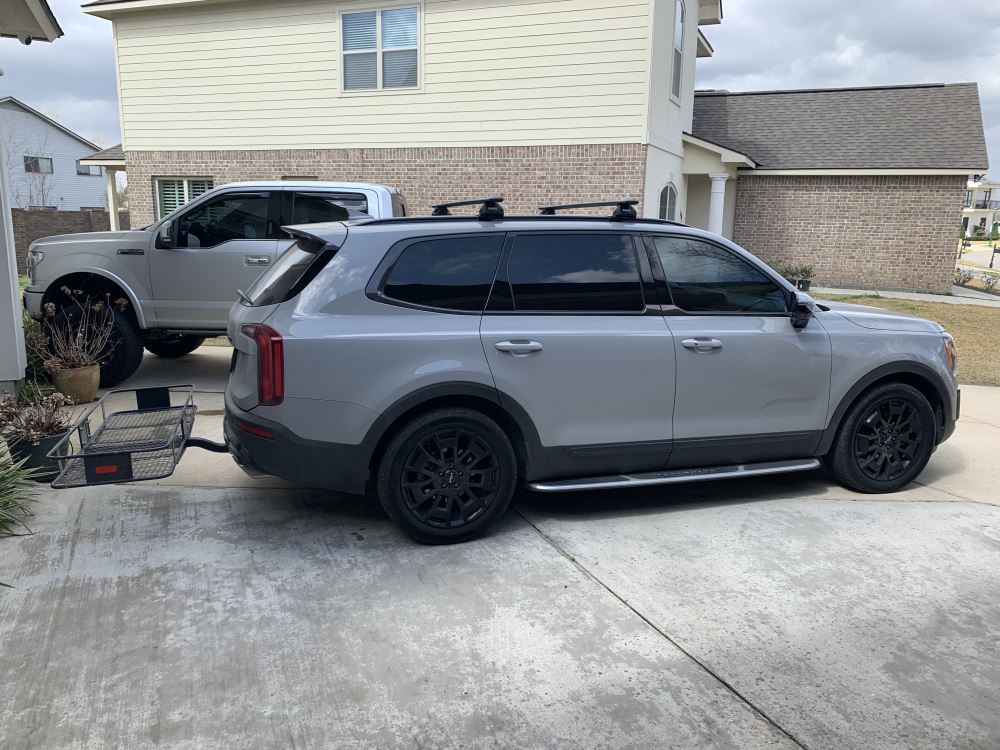

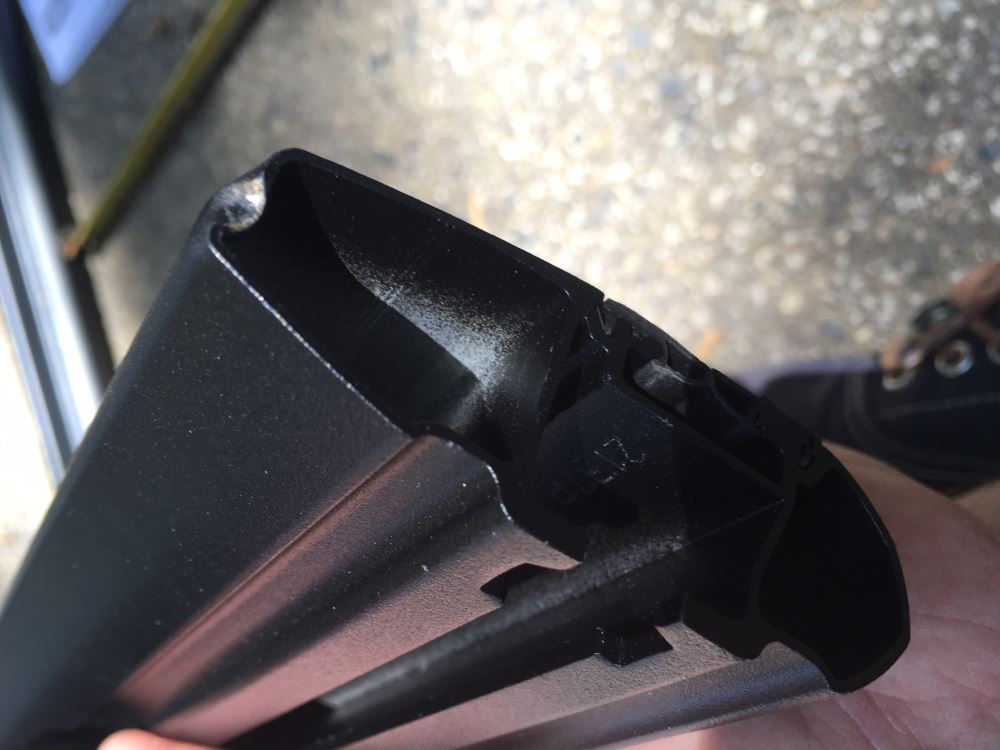
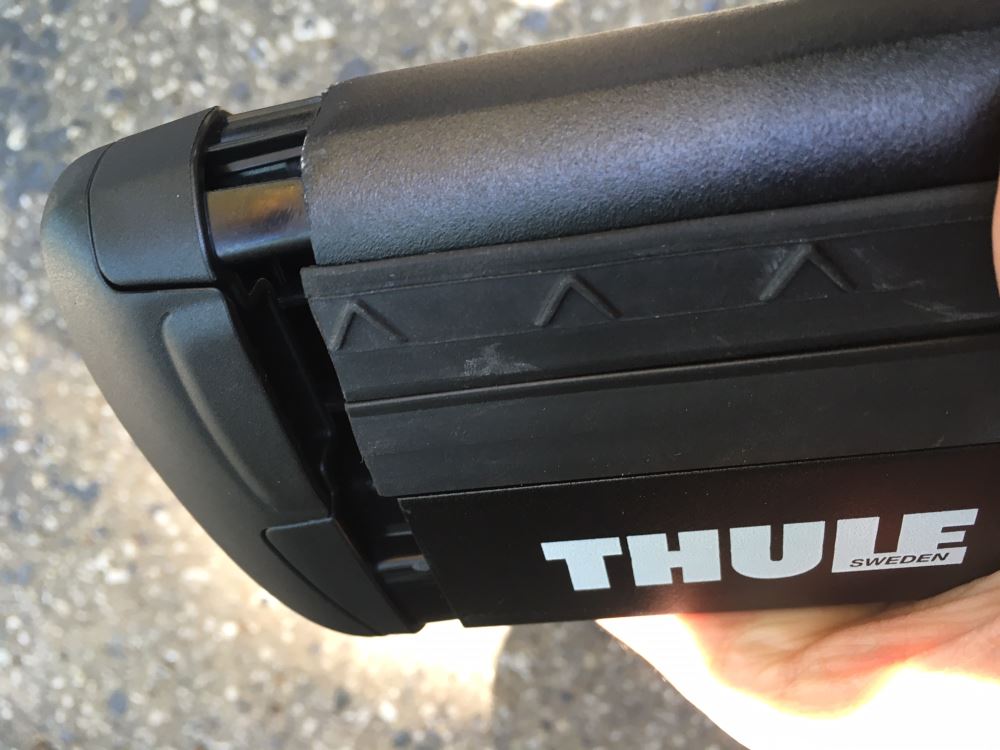

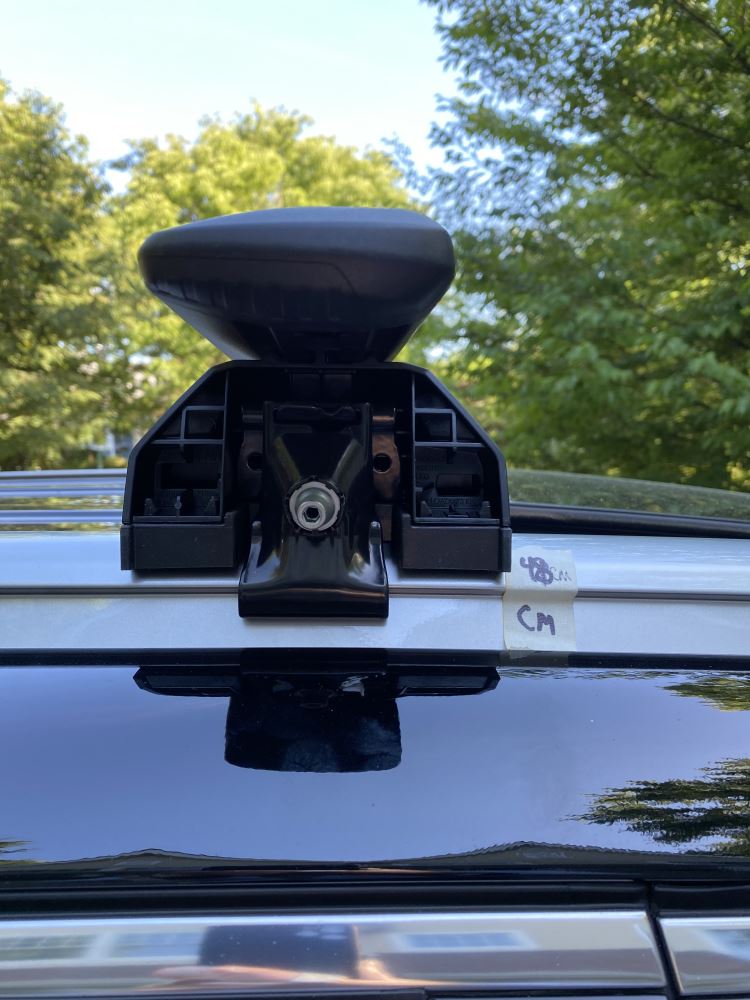
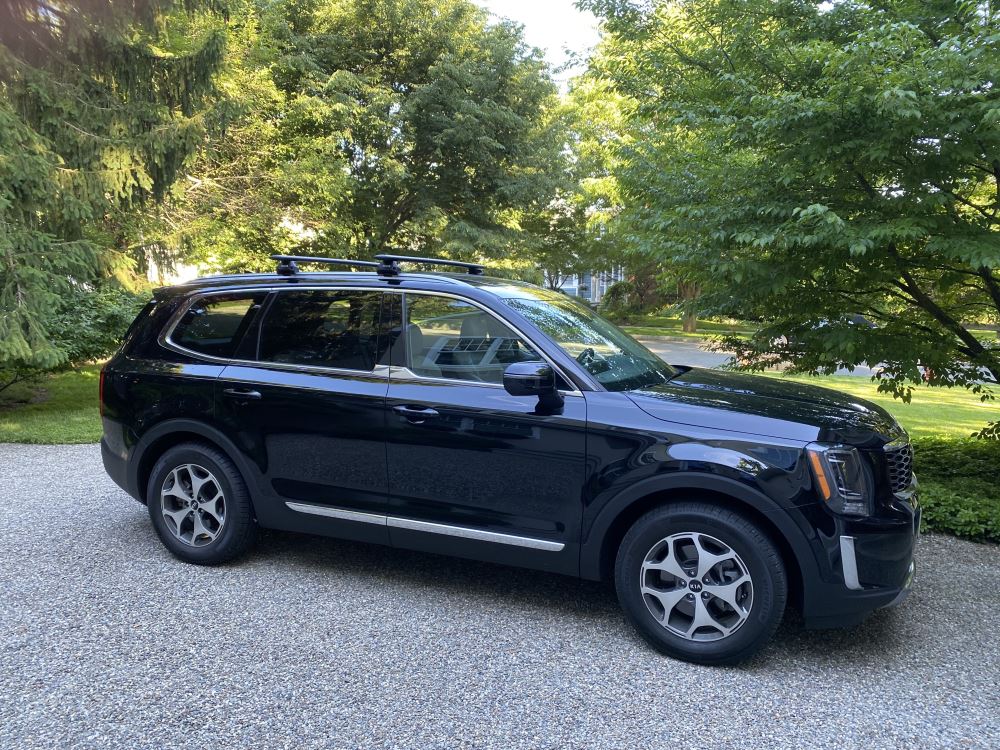
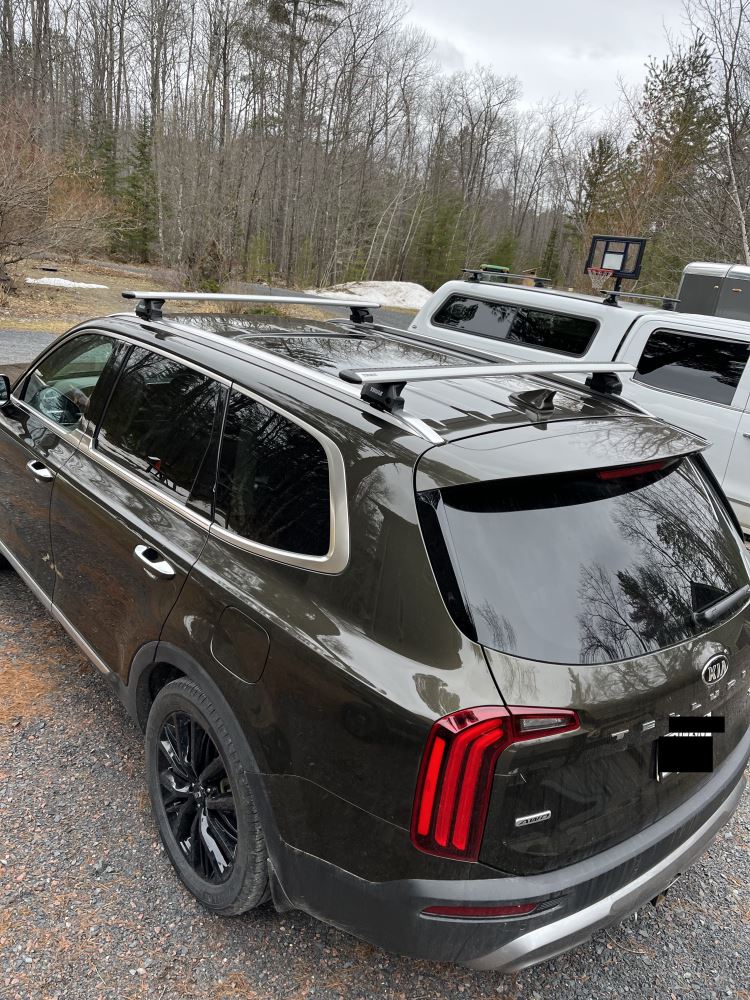
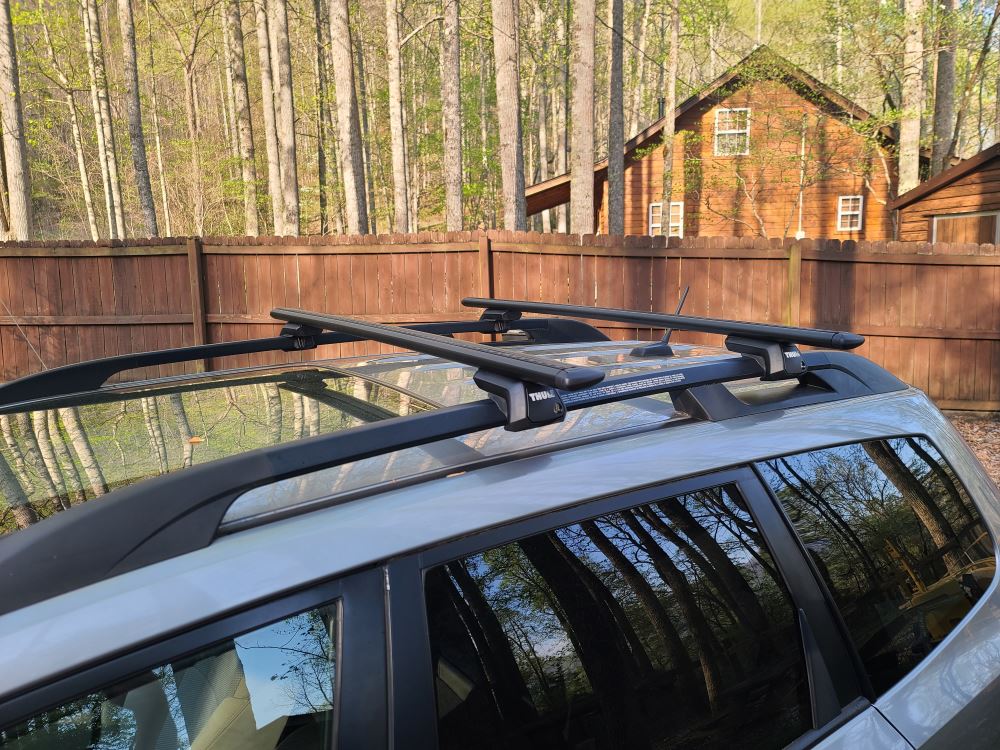
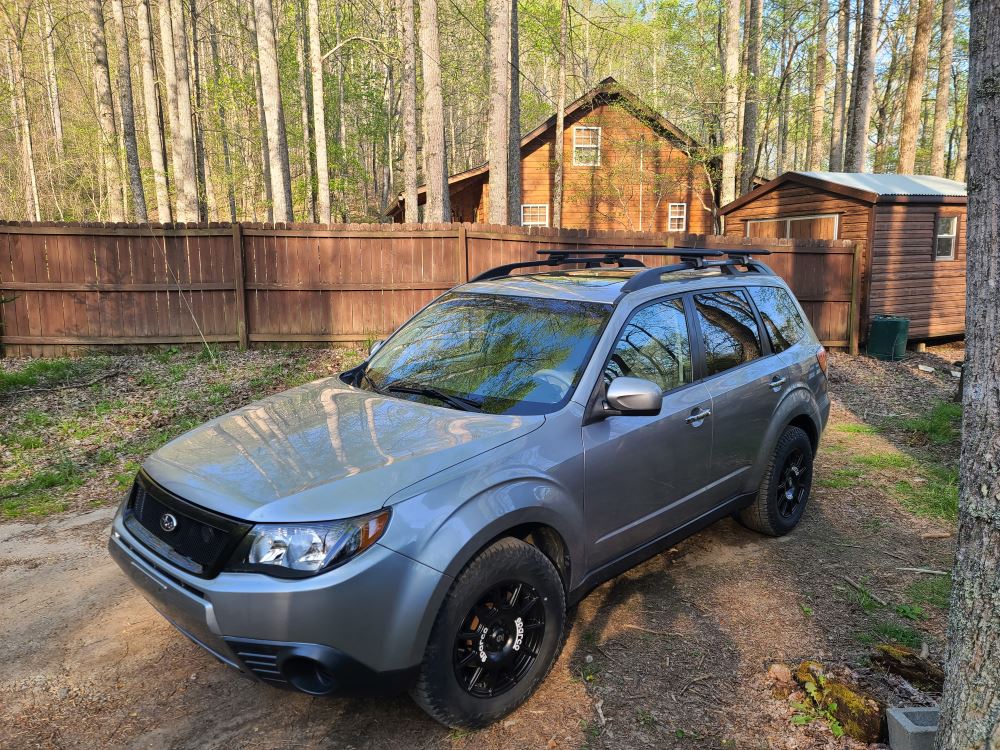
Nobody wants an annoying whistle coming from the roof when driving down the highway. The WingBar Evo crossbars use an aerodynamic shape and split rubber strips in the top channels to help cut down on that noise and vibration. You’ll notice a smoother, quieter ride whether you’re heading to the lake or cruising across the country.
This rack works with both channel-mount and clamp-on accessories, so you can load up for whatever’s next. Attach a cargo box for road trips, a kayak or paddleboard for the weekend, or a bike or ski rack when seasons change. The crossbars are compatible with most bike, watersport, snow, and cargo carriers, giving you flexibility to use what you already own.
Some racks require trimming rubber strips before you can slide accessories into place. These 50" long bars skip that step entirely thanks to their split strip design. Just slide your gear’s attachment into the top channel — no cutting or adjusting needed — and the strips close back around it to keep things tight and quiet.
Strong enough for heavy gear but light enough for easy handling, the aluminum bars offer sturdy support up to 165 lbs (always follow your vehicle’s maximum roof load rating). They resist corrosion and stand up to years of use through changing weather. It’s a solid setup made to haul what you need without worry.
You can add Thule One-Key System locks (sold separately) to secure both the rack and any channel-mounted gear. It’s an easy upgrade that helps deter theft when you’re parked at a trailhead or campsite overnight.
 Alternate Instructions
Videos are provided as a guide only. Refer to manufacturer installation instructions and specs for complete information.
Hello, neighbors, this is Curt with Etrailer, and today, we're gonna take a look at the Thule WingBar Evo roof rack and see how it works and how it installs on our 2021 BMW X1. Now, a roof rack is a great way to carry that extra cargo that you either can't fit inside the vehicle, or you don't want riding with you inside the vehicle. The X1 does have a decent amount of cargo space back here, but if you're going on a trip and there's four passengers in the vehicle, well, that's not gonna leave a lot of extra room for any of that luggage or anything like that, so a roof rack is something that you can place a cargo box, a cargo basket, bike rack, kayak carrier, there's a lot of accessories that you can use with your roof rack to make that kind of traveling that much more convenient. The roof rack is going to give you a 165-pound capacity, however, you should always double-check your owner's manual and see what the vehicle's rooftop capacity is. Whichever number is lower, that's the weight limit you'll be able to carry up there. Now, the WingBar Evo is an overhanging style of roof rack, and what that means is the crossbar extends out past the towers, and what that provides for you is the ability to use the entire bar space.
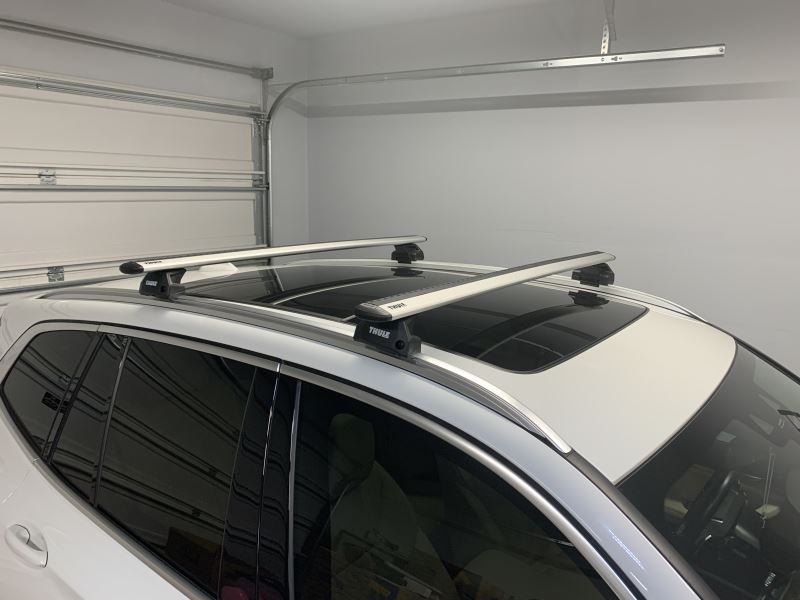
This setup has a 50-inch bar on it, and with this overhang, you'll be able to use your clamp-mounted accessories both inside the towers, and, if the clamps are small enough, on the outside of the tower as well, and what that's gonna allow you to do, possibly, as long as you're within your weight capacity, is mount two roof rack accessories side by side, so you could do a kayak carrier and a roof box or a bike rack and a ski carrier or a snowboard carrier, whatever it is on your trip that you want to take with you, you're gonna have the ability to do that, or at least a much better chance to. You're gonna be able to use your clamp-mounted accessories on it or your T-track accessories, which are accessible through the end cap here, which flips up and allows you access to that T-track. Now, the WingBar Evo is an aero style of crossbar, which means it's got kind of an ovular shape. In the case of this, it's wider in the front, narrower in the back, and what that's gonna do is make it a lot more aerodynamic. You're gonna get less vibration and less wind resistance out of a bar like this, so it'll be a lot quieter on your ride than your traditional square bar or round bar would.
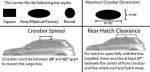
Now, one of the things that concerns a lot of people about the overhanging style is head clearance getting in and out of the vehicle, which is understandable, completely, but as you can see, with this 50-inch bar setup, we really just barely come out of the top of the door threshold, so with people getting out of the car more this way than straight up and down, I don't see headroom clearance really being an issue with these. However, that could also depend on your accessory, too. Sometimes, there are accessories that might hang out a little bit past there, and in those cases, you're just gonna wanna be careful of that. But we mentioned earlier that we we inchesre gonna check out how this fits on the X1, so let's get up on the roof with a tape measure and see how this works out. So I had mentioned before that you've got 50 inches of bar space up here that you're gonna be able to use, but one of the most important measurements you can know is, what is your crossbar spread So we're gonna measure from the middle of our back T-track to the middle of the front, and we're sitting on about a 28-inch spread, and that's a number that I'm actually really, really happy with.
The reason for that is rooftop accessories all have a minimum and a maximum crossbar spread that they're gonna be able to work with, so knowing what your spread is is really important, and at 28 inches, that's gonna be able to accommodate most, if not all, rooftop accessories. Another thing that we're gonna want to take a look at is, with this sunroof up here, let's see how much clearance we have below our bars. That's important if you're using clamp-mounted accessories. So from the middle of our roof, we're gonna have about two and three quarters inch from the actual roof itself. If we're talking about from the sunroof when it's open, that puts us at about an inch and a quarter, so bear that in mind.
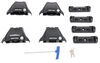
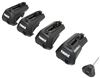
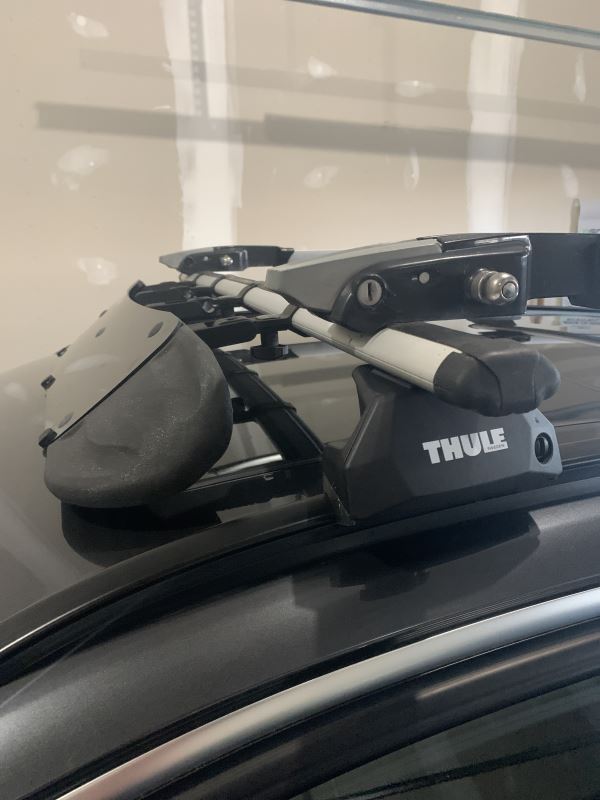
We did, as you'll see in a moment, we did actually place these crossbars pretty strategically in our installation. One of the things we had in mind was the sunroof. We wanted to make sure it was gonna be the most functional with that. The other thing we wanted to make sure of is that, for easy access to your rooftop accessory, if we put it here, when you're standing on your second row door threshold, your backseat door threshold, it's gonna put you about in the middle of your crossbar. It's just gonna make it that much easier to unload and load up your accessory, but I mentioned installation. Installation is actually a breeze with this particular setup, so follow along, and I'll show you exactly how we got these up on the roof of our X1. So to begin our installation, there's really only gonna be two tools that you're gonna need. One is provided from Thule. It's this torquing tool right here, and the other is going to be a tape measure, and what we're gonna begin with is our tower assembly, so we've got our tower and tower cover, and we've also got the parts from our fit kit. Now, Thule is nice enough to label these in order that they go on, so they're stamped A, B, and C. So we're gonna take our tower, take part A, and we're gonna insert that bolt through the middle, and make sure that these tabs are going over the top just like so. Once we do that, we're gonna take our rubber foot pad here, and we're gonna put this on in a way that the back part of our clamp comes around behind it, and this is gonna fit right into these tabs, so we're just gonna compress that in and down tight. Now, we're gonna go ahead and come over to our crossbar and remove our end cap. We're gonna go ahead and push this tab down and off. Then, with this bolt facing outside, we're gonna use this T-slot to go right in here and slide it on into place and then replace our end cap. We're gonna repeat this on the other side. So with the wider portion of the crossbar facing the front and the narrower part facing the rear of the vehicle, we're gonna go ahead and get it on our rails. Now, that rubber foot pad is cut out to fit really well over these. We just wanna make sure that this back portion of our clip is behind the rail, and we're gonna get it into position just like so, where it's gonna go around our rail, and the back portion of the clip is gonna be in position to go under this lip. So before we clamp these down, let's talk a little bit about our positioning. So we've already got our front bar installed, and the way that we determined where we wanted to install that was really right along this front door seam right here. Reason being is if we have our sunroof open, like we have on our X1 here, we want to kind of make it so that it's not gonna be very obtrusive for anybody sitting in there. This is gonna put the bar directly above your head, so if you kinda glance up, you're not really gonna see it. It's, for the most part, outta the way, it's gonna let you enjoy your sunroof. The other thing we wanna do is use this bolt to kind of measure where we're gonna put this second bar, so what I did was I got us to a width of 28 inches from the bolt to bolt. 28 inches is gonna be a really good crossbar spread. Not only that, it puts the bar in a position back here that it's clear of the edge of our sunroof, and it's gonna give us the best chance of mounting those clamp-mounted accessories onto it without any interference from the open sunroof. It's also gonna be really important to double-check the measurement of 28 inches on both the driver and the passenger side. This is gonna guarantee that our bars are gonna be parallel to each other, but once you've done that and you've got both the driver and the passenger side in the same position, you're gonna go ahead and take the C portion of your clamp, you're going to feed it in over that tab just like so, and we're going to use this piece here to thread onto our bolt. Now, I'm not gonna tighten this down completely. I'm just getting it into a position where it's a little bit snug. As this bolt tightens down, it's gonna not only tighten our clamps down onto our rails, it's also gonna tighten our bar down onto the towers, but we wanna double check and measure our overhang here on each side of the vehicle to make sure it's even before we do that, so I'm gonna go ahead and start that process right now and see what kind of overhang we've got. We're happy with our overhang, it's even on both sides. We're happy with our bar position. It's time to go ahead and grab that tool that Thule gave you, and we're gonna go ahead and tighten it down through this bolt here. Now, what I'm gonna do is give it three or four turns over here on the passenger side, and then I'm gonna do the same on the driver's side. I'm just gonna incrementally tighten these down. What I don't wanna do is tighten one side down completely and leave the other side loose. There's a really good chance that you're gonna knock that other side out of position, and you'll just be back here loosening things up and trying again, so just do a few turns on each side until you get it good and tight. So after we're bouncing back and forth a little bit, we got it really tight on here, and this tool is a torquing tool, so once you get it tight enough, you're gonna hear a good, loud pop come out of the tool. (tool popping) Just like that. That's gonna indicate that it's tightened down all the way. Now, once you get that done on both sides, go ahead and grab your roof rack and give it a good shake. Now, the vehicle is moving, but my crossbar is not moving, and neither are my towers, so I know I've got a good, secure fit. At this point, you can grab your tower cover and place it on, however, before I do that, I just wanted to point something out. When you get this set up initially, it's gonna come with these plastic lock cores, and while these are gonna do a good job of securing the cover onto your tower, it's not a very good theft deterrent, because this can be opened with a coin or with a flathead screwdriver. Thule has what's called a one-key system, where you could buy lock cores and the keys that match, and you can get it set up on all four of your towers. Not only that, you could actually press them to be keyed alike to any Thule accessories you already have, so if you have a roof box or a bike rack and a key number for that, you can get lock cores that will match that key, and therefore, a lot less confusion when it comes time to open up any of your Thule stuff. So all I'm gonna do at this point is pop this back on right into place just like so. I've got a flathead here today, and I'm just gonna turn that and lock it on, and our installation is complete. So that's a look at the Thule WingBar Evo on the roof of our 2021 BMW X1, and if after watching this video, you decide that this is the roof rack for you, and you get it, install it, have a chance to use it a little bit, go ahead and tell us what you think about it in the comments below. We would love to share your story with other neighbors just like you so they can make the best decision for themselves. Once again, this is Curt with Etrailer. Thanks for stopping by.
Customer Satisfaction Score:
95% were satisfied with this product
5% of customers were not satisfied
Ratings & Reviews



Do you have a question about this Roof Rack?
Info for this part was:
At etrailer we provide the best information available about the products we sell. We take the quality of our information seriously so that you can get the right part the first time. Let us know if anything is missing or if you have any questions.


























Kate F.
6/5/2026
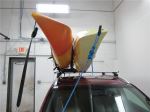
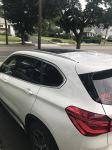
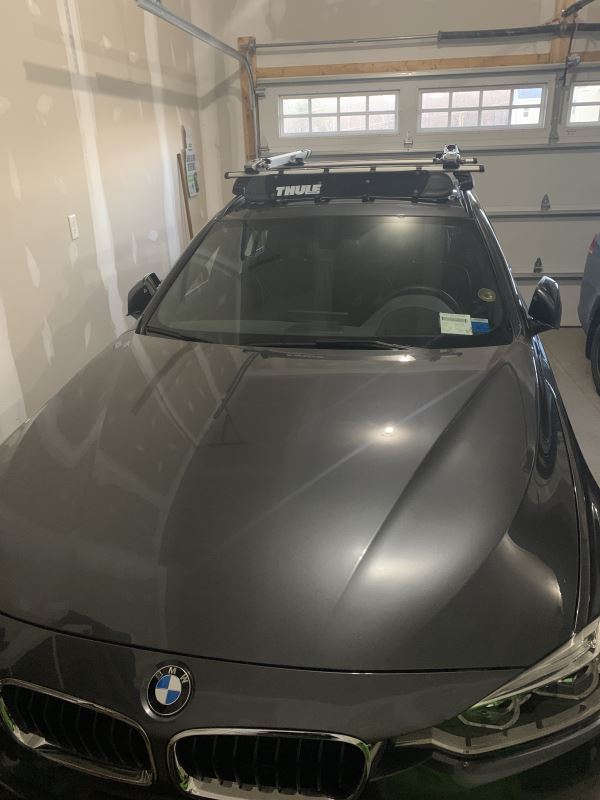
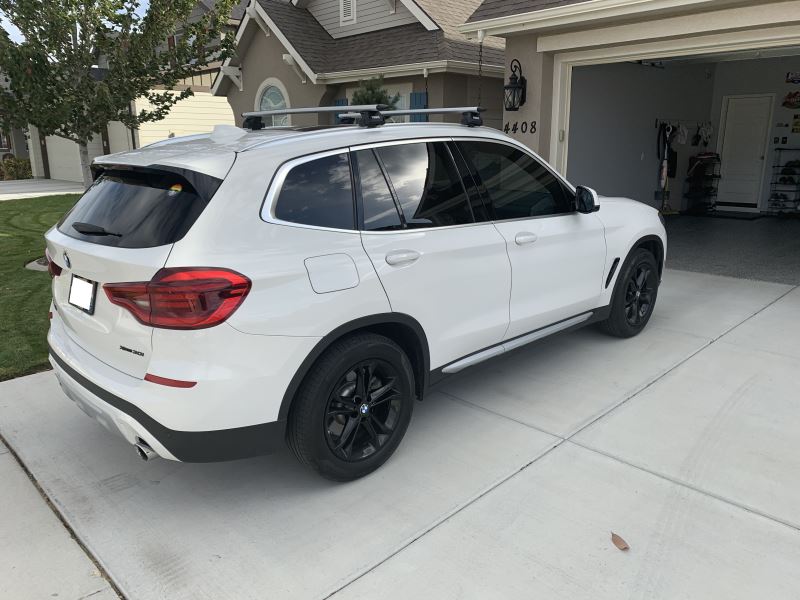
Wow Roger, the rack looks great on your car! What do you plan on using it for? I am about to load up my roof rack with a portable shower, and fishing rods, it's going to be a fun weekend =)