
 Product Experts Available Now!
Call 1-800-940-8924


Thank you! Your comment has been submitted successfully. You should be able to view your question/comment here within a few days.
Error submitting comment. Please try again momentarily.
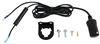
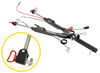
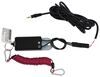
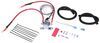
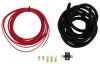
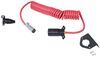
Kit allows up to 15 amps from your RV's battery to be used to maintain the charge of your towed car's battery while the car is being towed. Charge line connects to the 6-way or 7-way plug on your vehicle. Requires separate charge line in RV.
Features:

Videos are provided as a guide only. Refer to manufacturer installation instructions and specs for complete information.
Hello Ram owners standard 2012 Ram 1500, we're going to be taking a look at and showing you how to install Roadmasters Charge Line Kit, and your Charge Line Kit. You really don't even see it installed on your vehicle. It integrates into your existing diode wiring. So, you'll have to already have a connector here at the front to attach your Charge Line too our connector here at the front is a six pole connector. This is the most common connector type for a flat tow setup. It's putting a six pole here at the front.
You'll need four poles just for all of your lighting circuits. So, a six pole we'll give you two additional circuits for adding accessories. A Charged Line Kits, one of the most common and your motorhomes are typically wired for them already. And usually when you plug in an umbilical, like a seven to six connector into your motorhome, that seven way end on your motorhome, we'll send a charge circuit down to the center pin here on your six pole. So, we're going to wire our fueled wire, to your Charge Line Kit into that center pole to be able to get your voltage trickle charging your battery from your motorhome.
And so whenever you're driving your motorhome, the motorhome's charging system, y'all made around there. It's going to put out a higher voltage than what our battery is, pushing some in there and keeping it topped off. So, when we reach our destination, no matter how long we're driving, cause there's some of you guys out there like to put in the hours and maybe do a six to eight hour trip. Some vehicles could discharge over the course of six to eight hours, depending on how much the braking systems drawing and any loads that may be present when the vehicles in flat tow. So, a Charge Line circuit, like this is going to ensure that battery stays topped up and you never have to worry about hearing that clicking noise.
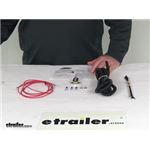
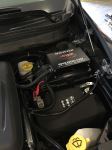
When you get to your spot and realizing you can't take this vehicle. So, has our charge line circuit looks like under the hood here, we've got circuit protection included with the kit to ensure that we're going to keep our vehicle in a safe state, no chances of shorts and any electrical damage there you'll receive a wire included with your kit. That's a heavy enough gauge to allow your battery to trickle charge and enough length of wire, to be able to make the connections here at your battery, to your circuit breaker. And as well as to the front, to your connector there. You also receive some wire loom in the kit to protect your circuit as you're making all of your routing and connections.
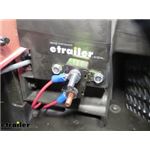
So, if you want to follow along with us, we'll show you how to get this installed. This is something that honestly you could probably do in your driveway or in your garage, even in less than a half an hour, it's a really easy thing to get done. And it does really just put you at peace of mind when you're going down the road, knowing that when you get to your spot, you're not going to have to take that motorhome somewhere. You can unhook and enjoy your easier to drive vehicle. We'll begin our installation by mounting our circuit breaker. You'll want to determine a location that's close to your battery. We're actually going to put ours right next to this ground, Start right here. There's a pretty good spot right here to Mount it up. So, for now we know what location we're going to Mount it up. We can go ahead and run it in with our self-tapping screws. What I like to do is to hold all this stuff together though, I'll take the top and the self-tapping screw. I'll put it through the hole. And I'm just kind of scratching a little mark where I want the self-tapping screw to go. This way We can use this right. It's a lot easier than trying to hold all your pieces together when you're turning to get these self-tapping screws in place. So, we're just going to run this in now. And once you get it started, we can then go ahead and back it out of there. So, now that we have our circuit breaker and we'll get it installed, your bronze post is labeled battery. And would normally under most accessory applications, you would hook best this side here to the battery in your vehicle. But since this is a Charge Line Kit, we're going to be using our motorhomes battery. And alternator and charging system to charge this battery. So, the power supply is actually going to be the motorhomes. So, the stud here is actually going to go to the front of our motorhome to send power to this, to then output it to our battery. So the ox is actually gonna hook to the battery and this particular application that we're using it for. So, we're sliding our self-tapper now through one of those, eyelid ends on our circuit breaker, and then we round it down just a little bit easier this way, trying to hold all those pieces together. Now that we've got that one snug, it kind of holds this high over here, snug for us, making it easy to run this one right in. So, here we've got our wiring. This needs to route from our circuit breaker to the front of the vehicle. We're going to route that first and we'll hook it up to our battery. Actually last to prevent us from accidentally causing any shorts. So, we're going to take our red wire here. We're going to strip it back and after we strip it back, we're going to take one of these smaller ring terminals that comes in our kit here and attach it to it. We'll then loosen up the Brown stud one labeled battery. After you remove the nut, slide your wire in place that small ring terminal there, and then just reinstall the nut. We can come back and snug these down here at a later step. We're going to go ahead and get this wire routed out towards the front of the vehicle when routing your wiring, you want to avoid anything excessively hot and any moving components. So, we're going to take ours down here. We'll probably run it underneath and then bring it forward to where our electrical connectors located at the front of our vehicle. And we're going to go ahead and zip tie it along the way to make sure our wire stays secure and in place where we want it. So, it doesn't fall down and wrap up into anything, so we've got our connections made to our connector at the front. We can come back here and go to make our connection at the battery. So, we're going to take the remaining excess wire that we've got here from trimming off the excess up there at the front. We'll strip this back. We'll then take our small ring terminal, fly that in place connected to one end. We then remove the nut from the silver post on our circuit breaker. Slide our new wire on there, and then we can tighten this down. And at this point, it's a pretty good idea to go ahead and snug these up. Just snug them up using a 3/8 socket. We can go ahead and snug these down with that 3/8 socket. You don't want to over tighten them, just make sure they're snug to where they don't slide around or anything. You can't rotate on the, on the stud there. We going to take the rest of this wire. We're going to kind of just wanna shorten it, but we also want to leave length there for the future to be able to make any repairs or, you know, anything we might want done. So, we're going to be trimming down some while leaving a little bit of excess. We'll strip this back and then this one's going to get the larger ring terminal that's in your kit. This guy right here. This will attach to the battery positive post on our vehicle here. So, we get that put together. We can go ahead and put back our battery cover. So, now we'll just take up, strip up the cover for your battery positive. We did turn it to the side and push on both of those tabs there, to let this open up and now we can kind of slide our wire in here to make it look a little bit neater, and then we can close those back up. Will now remove the nut located here with a 10 millimeter socket. Take your ring terminal, slide it right on top. And then just re-install that nut And you will get some wire loom in your kit so we can go and cover our wiring with the loom, especially at any point where we suspect it could have a spot where it could rub through. So, any place where it's kind of turning the corner, where it might be tucking, some metal or anything, that's a good location to make sure you got some wire loom on there. And that completes our installation of Roadmasters Charge Line Kit on our 2012 Ram 1500..
Customer Satisfaction Score:
96% were satisfied with this product
4% of customers were not satisfied
Ratings & Reviews


Jeffrey

11/19/2022
I have no regrets with this purchase. Items preform as advertised with no issues. I am very satisfied with Roadmaster and Demco products.
Ken
2/27/2026
Great little product. Worked great while we needed it flat towing and the brake controller and lights were being activated. Now the Jeep is babied , trailered and enclosed.


Victoria H.
1/9/2025
That's awesome Ron! I will let them know you reached out.
Ron
12/20/2025
The Roadmaster accessories work great - the brake switch in the car is ideal for turning it on and off as required.
Do you have a question about this Accessories and Part?
Condition: Like New
Notes: May have damaged packaging or minor cosmetic blemishes.
Info for this part was:
At etrailer we provide the best information available about the products we sell. We take the quality of our information seriously so that you can get the right part the first time. Let us know if anything is missing or if you have any questions.














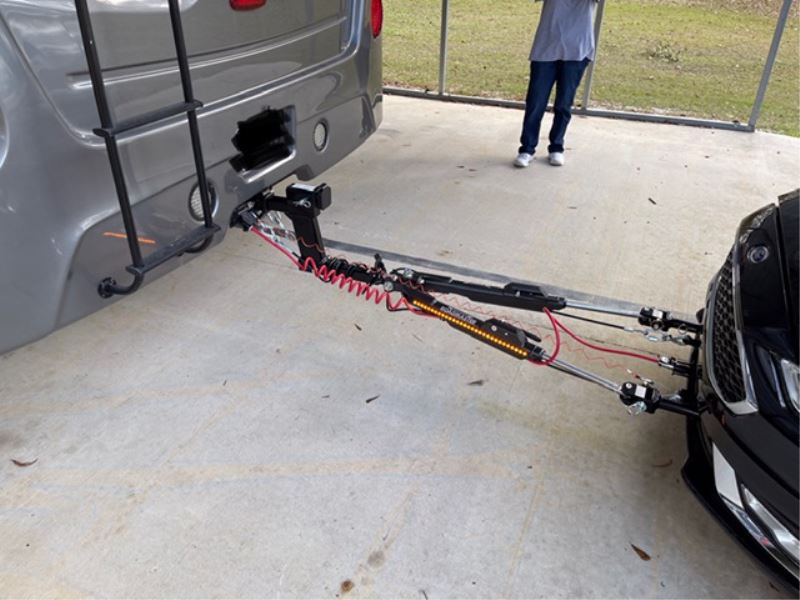
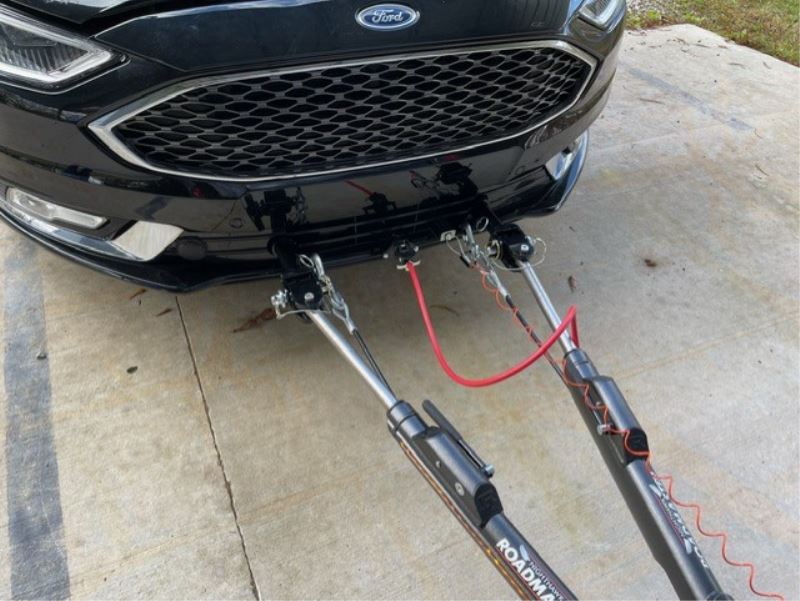
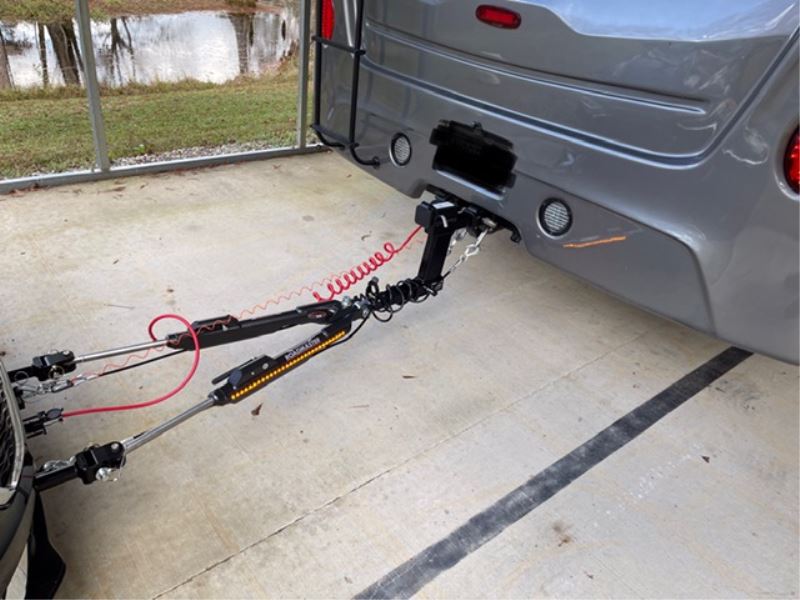









































Roy
7/30/2018
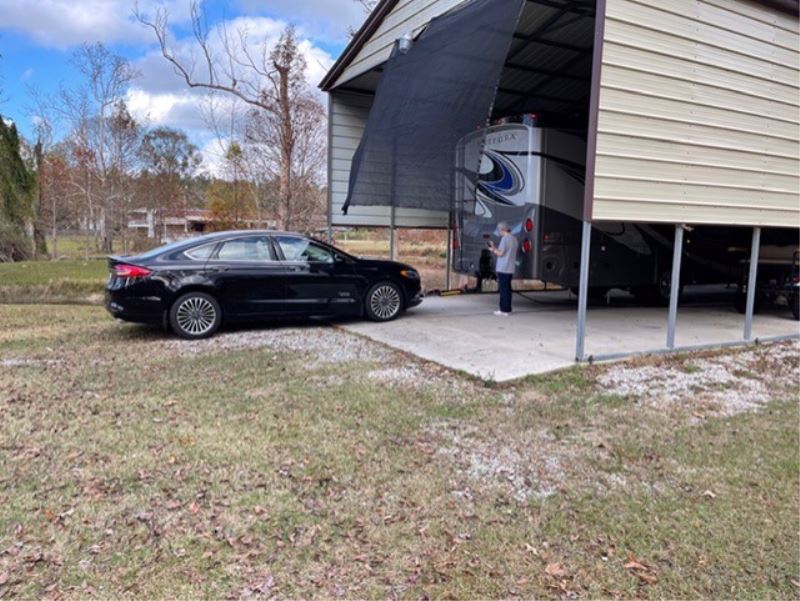
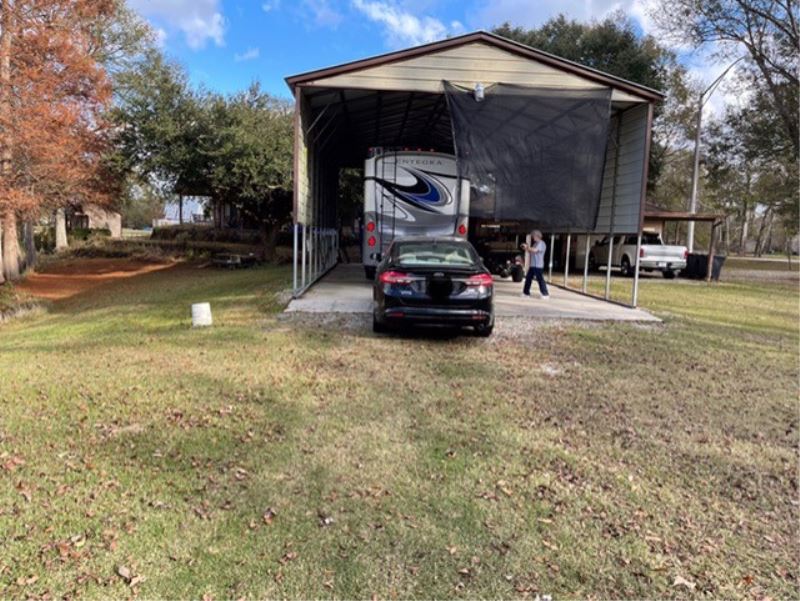
Still very happy with our purchase. We’ve towed over 10k miles and have had zero issues with our tow setup. I’ve shared my experience with several other RVrs and recommended your company for their needs. Thank you,