
Yakima SightLine Roof Rack for Flush Rails - HD Crossbars - Aluminum - Black - Qty 2


To see if this custom-fit item will work for you please tell us what vehicle you'll use it with.


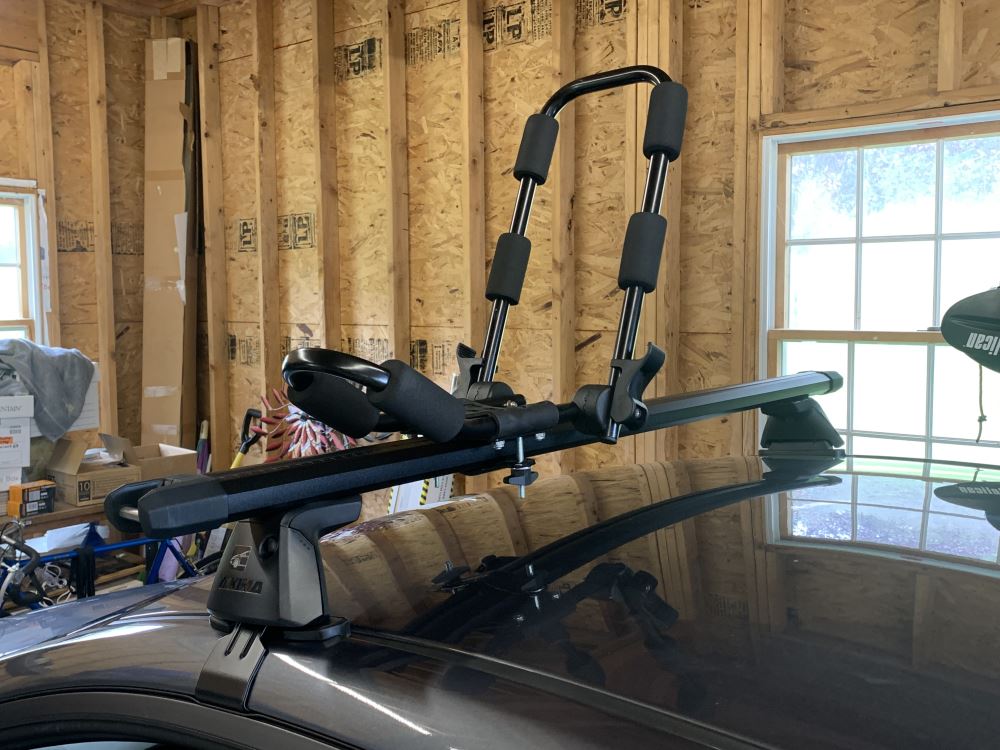
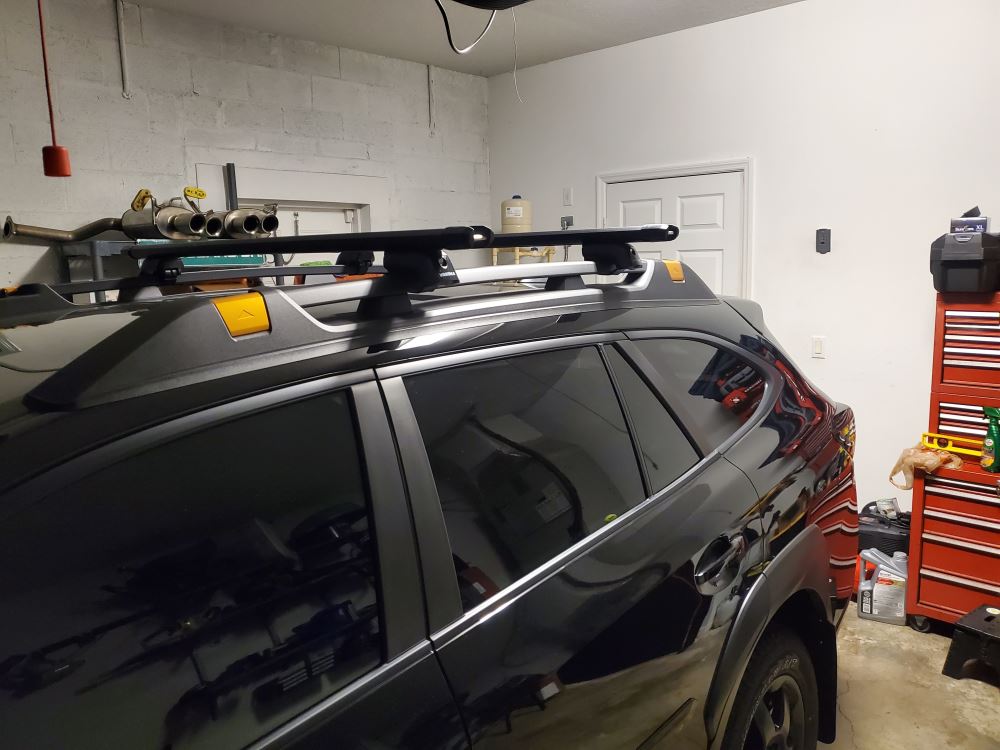
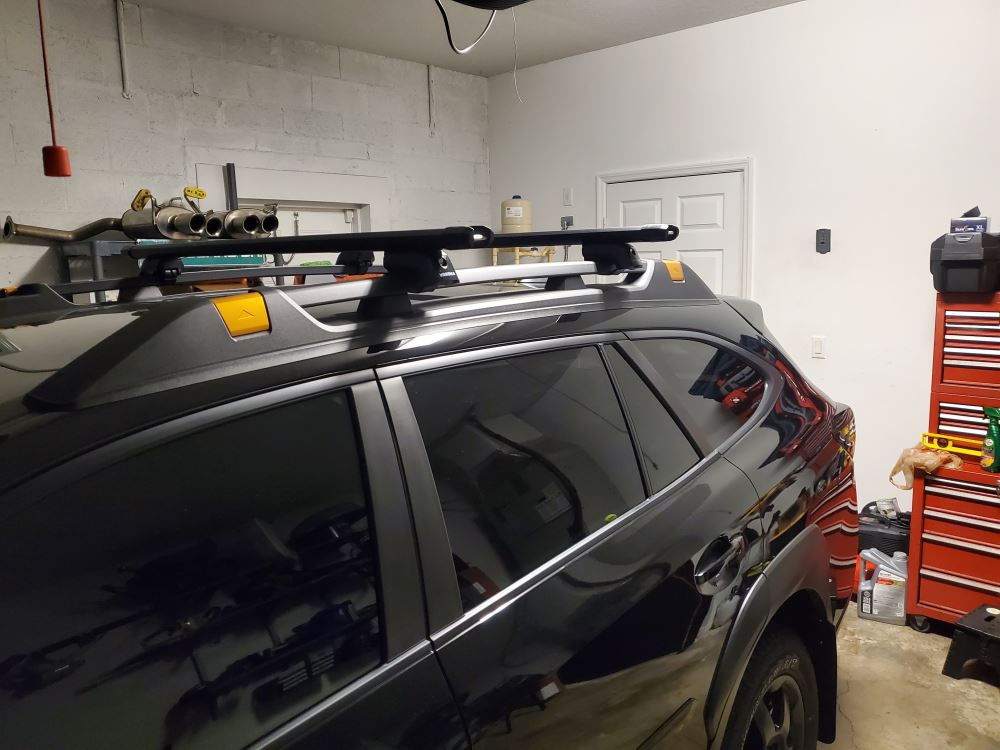
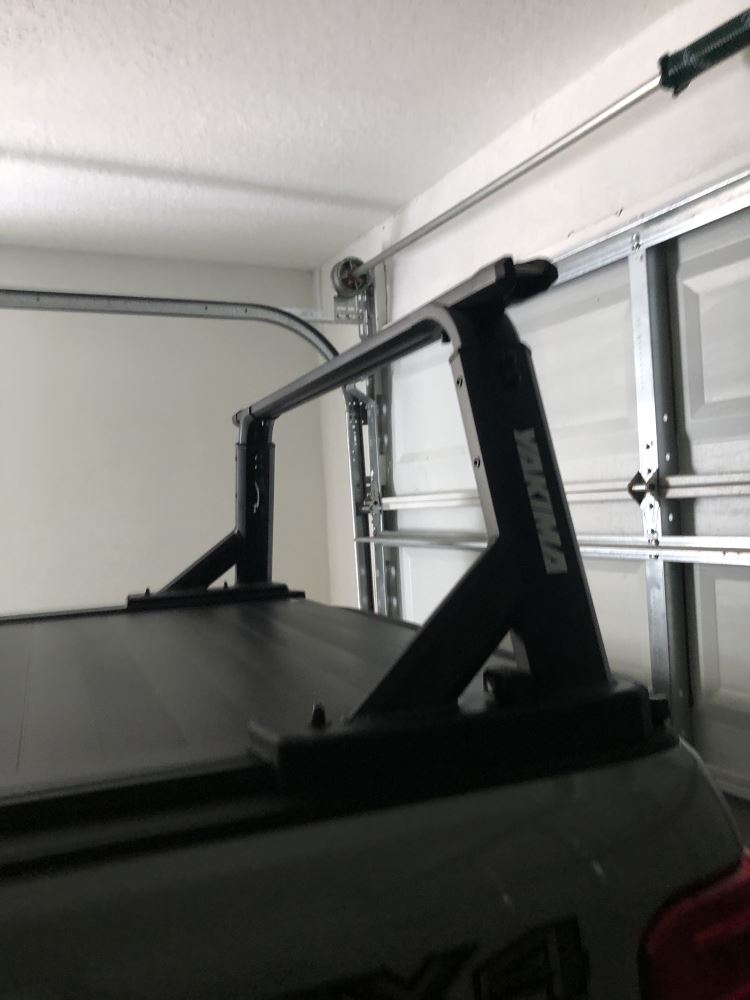
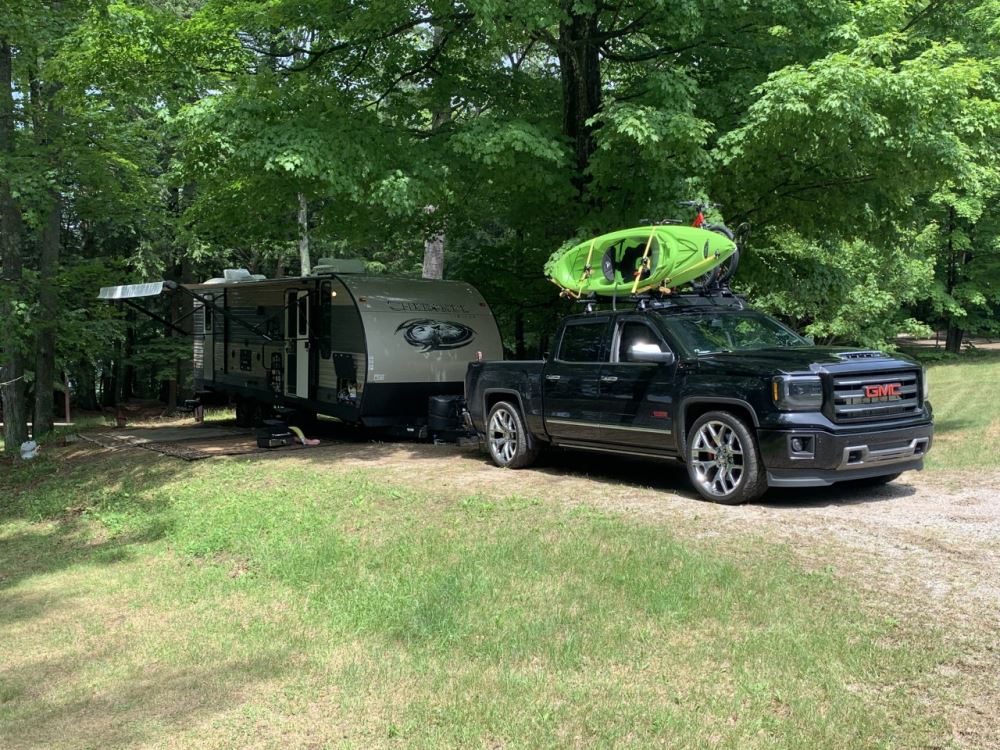
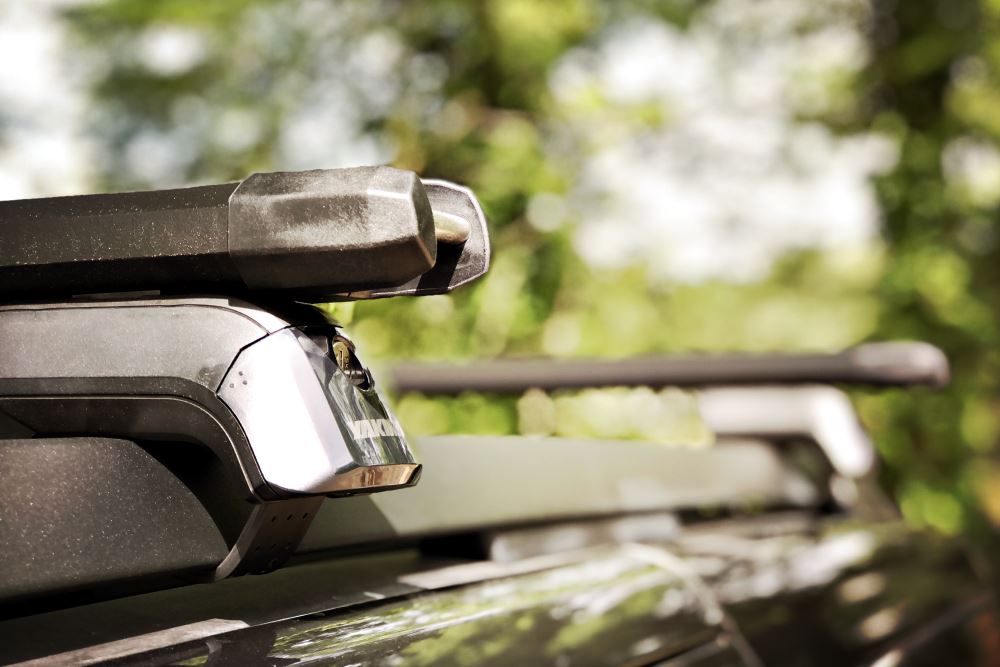
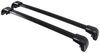
When you’re loading up for a full weekend of kayaking, camping, or hauling lumber, strength matters most. These heavy-duty aluminum crossbars can handle up to 500 lbs while maintaining a solid, stable platform for your gear. The durable construction keeps everything steady on long drives so you can focus on the road, not what’s on the roof.
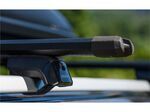
No matter what you’re carrying—bikes in the spring, paddleboards in the summer, skis in the winter—these bars are built to adapt. The top channels accept channel-mount accessories, while the square bar shape works perfectly with clamp-on mounts. You can switch between cargo boxes, kayak cradles, or bike racks without needing new hardware each time.
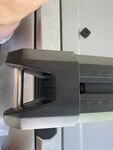
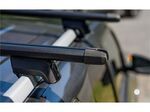
Each endcap includes integrated tie-down points that make it easy to strap down gear when the trip gets serious. Whether you’re cinching down a canoe or securing a tent bag, you’ll always have a strong anchor point right where you need it—no need to hunt for extra loops or hooks.
No one enjoys constant wind noise on long drives. The rubberized strips in the top channels help smooth airflow across the bars, cutting down on drag and whistling. It’s a small detail that makes highway travel noticeably more comfortable while keeping your setup efficient.
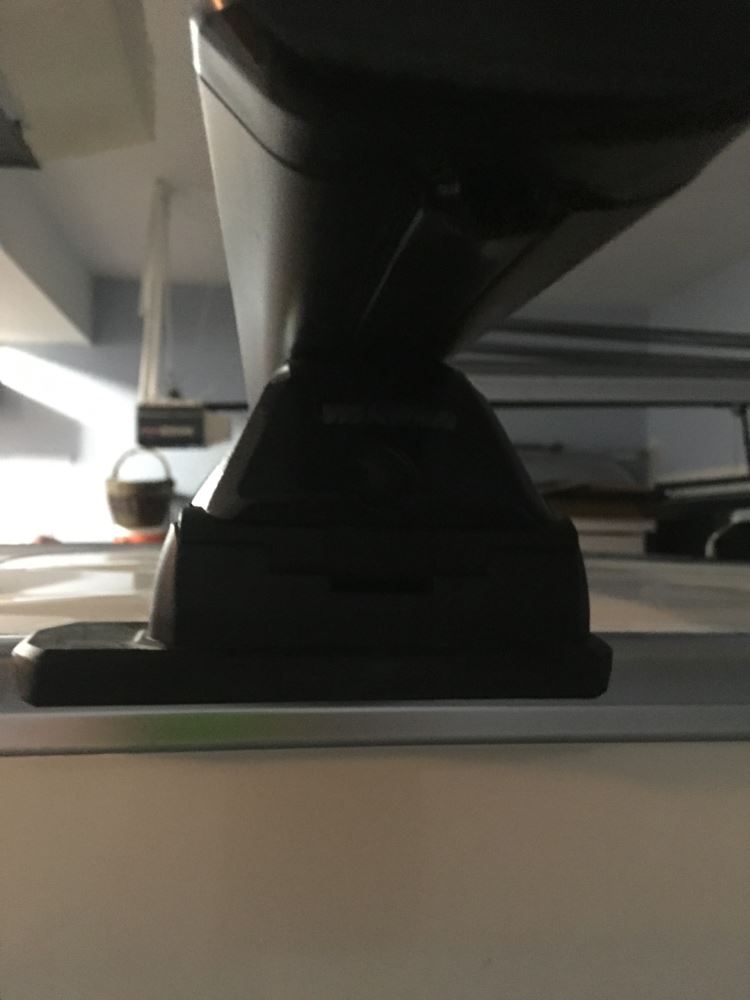
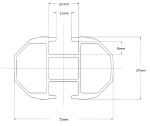
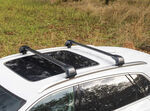
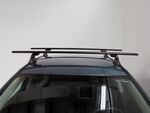
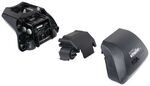
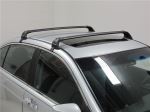
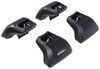
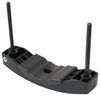
This complete roof rack system includes two 55" long?× 3" wide?× 1-1/2" tall HD crossbars, four SightLine towers, and a custom fit kit designed for flush rails. The fit is solid and precise, locking into place without shifting under load. You can even add Yakima Same Key System (SKS) lock cores (sold separately) for theft deterrence and peace of mind when parked overnight.
 Alternate Instructions
Videos are provided as a guide only. Refer to manufacturer installation instructions and specs for complete information.
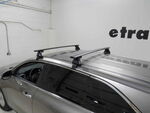
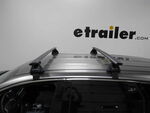
Hi, everyone. I'm Evangeline right here at etrailer. If you're looking to carry around some heavy-duty cargo, like a rooftop tent or some kayaks, on your 2022 Volvo XC90, well, today we get to take a look at this Yakima roof rack. We have some heavy-duty crossbars and some towers and custom feet designed specifically for this car. Let's get to it. This is a full kit available here at etrailer.
This kit includes your 55-inch long crossbars, your SightLine towers, and your clips for your flush rail version of your Volvo XC90. There's a bunch of different roof rack options for different types of adventures. This kit specifically is the one that I tend to recommend for people if they're looking to carry on some heavier-duty cargo, like rooftop tents, or if they want to take advantage of the anchor points of the HD crossbars. These anchor points can be used with your hooks, your bungees, your straps to tie down different types of cargo. Now we have larger style crossbars here, so do be mindful with the HD bars to double-check what your accessories can clamp around because they may need to have some special styles to them to be able to fit around the larger diameter of the HD bar.
Or you can always go the channel-mount route. If you have channel-mounted accessories, let's say a kayak carrier that can be adapted with a T-track mount, well, those can just slide right in here and then you don't have to worry about clamping around the bars, whatsoever. Now 55-inches long is the recommended length specifically for this car, and that's because you get a little bit of overhang, but not too much length where it looks bulky on your XC90. By overhang, I mean right here by the tower to right before that end cap, I measure at 2 1/4 inches. That's how much space we have if we wanted to clamp something to the outside edge of the crossbar, which is helpful if you want to bring things further out to make things easier to reach.
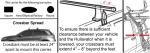
Now, I'm on the shorter side, about five feet tall. So for me, having my kayak carrier or my roof box a little bit further to the edge is nice because then it's in reaching distance. But if you're a taller person, or if you already have a plan for how you're getting your things up there, or if you're using a rooftop tent, then the overhang or adjusting where your accessory sits doesn't really matter that much. Double-check the crossbar spread requirements of your accessories. With this system here, we have a crossbar spread of 32 inches.
That is measured center to center for your bars. Now with the rear bar, you do have a little bit of wiggle room. You can move it forward, maybe up to two inches forward or two inches backward if you need some crossbar spread adjustment, depending on what you are carrying. The front bar has to be at that very specific spot because you will notice here that there's actually a slight pitch or angle shift to our front bar to compensate for the angle of our XC90's flush rails, and that is a very unique feature to Yakima. They're really the only ones that have a very intentional shift that you can set into your bars. That way you can get the full capacity out of your vehicle. Let's talk about roof height. So there's two measurements there. The first is how much space we have under the roof. So with our sunroof closed, I measure, top of the roof to bottom of the bar, maybe 3 1/2 inches, and that's going to be how much space you have underneath the bar for clamps or straps. 3 1/2 inches is a good amount, so I'm not really worried about clearance issues there. The next is going to be where your cargo sits. This time I measure from top of the roof to top of the crossbar. And I see maybe 5 1/4 inches. Now where you measure on your roof will change that a little bit, but that measurement is helpful if you have, let's say, skis with tall bindings, and you want to make sure that those bindings don't scratch up your roof, or if you are carrying taller items, you want to double-check that your crossbars, plus your big old kayak, still gives you clearance underneath low bridges or in your garage. These are very important things to know before you go under the bridge. Here's our sunroof opening. And you can see here that there's still clearance underneath the crossbars for the sunroof to open and to close. So we're not worried there. If you want to have your gear up on your roof and have your sunroof open, that is possible. However, as someone who also owns a sunroof, something that I've noticed is if your sunroof sits directly in the opening, it's going to shoot wind down into your car. So you are going to have more wind noise with your sunroof open with crossbars. So that's just something to be mindful of. Plus, if you have a kayak up here, that's definitely covering your sunroof area. So you are going to have to pick between having a fully open sunroof area or having crossbars up there. Overall, this is a really good fit for the XC90. Now, when you are looking through different roof rack options, I do want to address that just because you have heavy-duty crossbars does not mean you have extra weight capacity. Because at the end of the day, your weight capacity comes from your vehicle's roof weight capacity. And according to Yakima, that's going to be 165 pounds, no matter what style crossbars you do have. So at this point, if you do want to go with a Yakima roof rack because they make great accessories, it's nice to have a Yakima roof box paired with Yakima Crossbars, then everything can be key to like, I totally understand. Well, then you have two choices here. You can go with your aerodynamic, sleek-looking JetStream bars, or you can do with your heavy-duty HD crossbars that have integrated anchor points. Both are great options. It's simply a matter of what look are you going for and what kind of cargo will you be carrying. Hopefully this video is helpful for seeing the different measurements of things, helping you decide what will fit with your accessories and what things to measure and look out for. If you're curious about the installation process, well, stick around. We'll get to it. Getting your rear rack put together might seem a little overwhelming at first because there's so many pieces. You have different numbers on the clips. You have these pods. You have adapter pieces. So I'm going to guide you through that process. Now I already installed the rear crossbar. We will install the front crossbar together, which is where you would begin your install process anyways. Let's get to it. I like to start with the towers. Other people call them the feet. Either way, you're going to have these pieces here, and we will start with removing the doors. So this is just a pinch on both sides and then pull motion. I've got small hands. It's a little tricky. But there we go. And once we have that open, we're also going to open this cover here. With a flat head screwdriver, you can turn this lock core to the unlock position. There you go, that's a better way. Once that's unlocked, then this whole thing pivots out. And now you're going to grab one of your Allen keys and you're going to loosen this bolt over here. Now, how do you know when it's loose Well, what this bolt does is it covers a metal door on the back of the foot. So keep loosening until that door opens and reveals a bolt. Now you can install your adapter pieces. This is used for your HD bars and your JetStream bars. So first get the plastic piece, and we're just going to drop that onto the tower top. We're going to get this metal piece, and then that goes onto that bolt. So remember how we revealed that bolt earlier Well, now you're going to get your tool and you're going to tighten down on the metal piece. I just tighten down just enough where the piece is threading on there and does not fall off. Now grab your crossbar. We have our HD bar and we're going to flip it over, and we're going to loosen this bolt here on the side because I want to take it the end cap out. So this may be a little tricky. I'm just kind of lifting the bolt up to make sure that it's actually coming out. There we go. Once that bolt is out, you're then able to just pull at the anchor points and pull that end cap off. And the reason you want that off is because then you can slide your towers in. I just go ahead and slide both towers through. And notice how the towers are oriented to each other. See how they're facing away from each other and facing out That looks really good. Once they're in there, just go ahead and close that end cap, putting that bolt back in. We're going to slide our towers out to 38 1/2 inches apart. Now that will be measured on the crossbar to the front of the tower. You can see the numbers on the crossbar. You're just going to align the front of your tower to right where that is. See how that's 38 1/2. And then we're going to tighten this into place. Now there's a little, there's a unique way to do this. And that is you want to orient yourself to the arrow on the crossbar. And see how that arrow is facing away from you Well, if that arrow is facing away from you, then you want to go to pitch A for the front bar, which is going to be the notch furthest away from you as well, and then that's where you tighten it down. So see how our bolt is tilted that way. I'm going to tighten down. And since I'm using a torque tool, tighten until your tool clicks. It's moved. There we go. (torque tool clicking) Alrighty, for our Sight clips. So we're going to have two clips and we're going to have this pad. So the first step is to loosen this bolt here. You want it just loose until the back of the bolt here on the Sight clip is no longer in the way of the clip. So if you look on over here, you can see that there's that bolt there, and that's pretty much flush. So now I can grab R1. See that And I'm going to slide it into that clip spot. Now if you have trouble sliding it, you may just need to undo these clips. Get that in there. Make sure that's slid through. And then you're also going to want to pull it to make sure that it's secure there in the back. Here's a better, here's a better angle of it. So you can see how now it's sitting in those tabs. And from here, I can now bring those springs back to where they fit into the holes. Do the same thing in the front, except for the front, or I guess the outer one, is going to be your R16. So make sure that fits into the tab before securing it with your springs. Final step is to put the plastic and the rubber foot. And that just clips in, in the center, and have the arrow facing out. With everything secured, you have hooks on both sides, you can now put this on your roof. Remember that arrow underneath, well, that's supposed to be facing forward or the front of the car. So keep that in mind as you place this onto your roof and set this on your flush rails. There's going to be measurements in your instructions, which is going to be M1 and M3, and those are for the distance where your crossbar sit. Now Yakima has you measure M1 as from the edge of your window to the front edge of your tower. So see how over here is 16 Well, I'm going to push the power up to where 16 inches is away. And that's going to be the exact same thing you do for the rear crossbar when you have that set up. You're going to go from the front edge of the front crossbar, and then you're going to go M3, or 32 inches back, to the front of the rear bar. With both sides lined up, you can then start tightening down. Now with these clips, I want you to be very intentional about how you secure them. One is that you want to push down on your rack as you tighten down, because you also want those clips to fit around the ridges of your rail. Now, as you tighten, the clips will drop down around the ridges, but you want to make sure that they're always lined up as you secure. The second thing I want you to do is to do this evenly. What I do is I secure the one side right till those clips touch the flush rail. And then I go to the other side and do the same. And I like to go back and forth. That way we're not pulling the whole system one way, but we're evenly tightening it down. Both of them are securing at around the same pace. Whenever you're using this tool, always tighten down to the torque it is set at. In this case, I'm going to keep going until it clicks, like that. And don't forget to close the door underneath the tower, which is this bolt over here. With everything tightened down, I like to give them the good old shake test to make sure it really is secure. It is. And now we can put our covers back on. So we're going to start with this cover here. That pivots into place. Again, use that flathead screwdriver to lock, give it a little shake, and then put this other cover right in front. And that snaps into place. Do that on both sides. Now you're done with the install. From here on, all I really hold onto is that torque tool. I keep it in the glove box or the center console in case I ever needed to tighten down the roof rack or take it off. You could also carry a flathead screwdriver, but in a pinch, you can use the back of your key to remove that center door. That works just as well. Well, with this all installed, you can now load this up with all your fun cargo and hit the road. This is a look at the installation of your Yakima roof rack with your HD crossbars on your 2022 Volvo XC90. My name is Evangeline, and I hope you enjoyed the journey.
Ratings & Reviews

The Yakima products are doing great. Just got home yesterday from a 18 day trip using them in Michigan's upper peninsula. Love them. Great products. Thanks again.
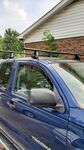
Works well, after getting them in place. On my Kia Sorrento it's very tricky to get the towers to fit the holes in the factory rails -- takes a lot of loosening and readjusting the bars.
Everything was perfect and relatively easy to setup. Ì bought from etrailer due to the actual manufacturer being out of stock, I was skeptical when I ordered but very glad I did. Would 100% recommend etrailer.
These Yakima crossbars are very HD, just what I was looking for. The Small size was hard to locate but etrailer had them in stock and delivered in short order. Instillation was quick and straight forward.
I had a difficult time identifying whether these were the correct adapters for the rack towers that I was purchasing to fit my tracks but that has more to do with yakima doing everything a-la-cart instead of having kits that include everything you need if I hadn't already had the HD bars on my other rack and wanted to be able to transfer them to this rack I probably wouldn't have went to this expense because I think they are overpriced.AS far as etrailer is concerned I always receive great service and products and they are always well packaged and never damaged by poor delivery care and always fast delivery speed.
Sightline Towers(along with #82 Sightclips)are a perfect fit on my 2024 Mazda CX-90 even though not confirmed by etrailer (Yakima HQ did confirm it though). ETrailer’s sales support staff was super helpful in getting this figured out. Yakima’s instructions are very thorough—follow their measurements! Mazda has four locator holes on the flush rails for positioning the Sightline towers—use them. Note, I reused my Jetstream crossbars, hence them looking a tad weathered.
The roof rack works well. The only problem I have is noise and while I'm carrying a ladder there is none. I figured if I take the ladder off I'll split a piece of pvc pipe and mount that on the front of it. But they work well for what I needed for work. The service from etrailer was excellant. I dealt with Carol and she did a very good job in helping me.
I choose etrailer simply because they mailed to APO. I’m a AD SM, and a lot of companies don’t shop to APO. As soon as I ordered my product, I received an email as a courtesy from etrailer letting me know I had an individual that would be tracking my product every step of the way, reassuring a smooth process. Their site functionality was easy, their customer service was great. I wanted to know if they had bike racks that would fit my cross bars, I got a email right away with a suggestion and a link that would fit my needs. I’ll definitely order from etrailer if I ever need to again.
I put it with the Timberline system and worked great
Fast shipping and great updates on my items. Thank you!
They fit perfectlly and solidly on my 2021 Toyota Highlander. The instructions are clear and entirely accurate.
All parts of adapter were not needed. Instructions were a little unclear.
Required for Yakima HD crossbars using timberland tower system.
These are a must for HD bars and the shipping was fast! I wish there was some way to know I had to get these because they are not included.
Easy installation on a '25 Kia Sportage hybrid. I installed with round crossbars and both the towers and the crossbars clear the fully opened moon-roof.
Great product and even better was the service with etrailer! These guys make it happen and delivery was super fast. Thanks for a fantastic experience, will be a return customer.
Yakima HD bars 60”
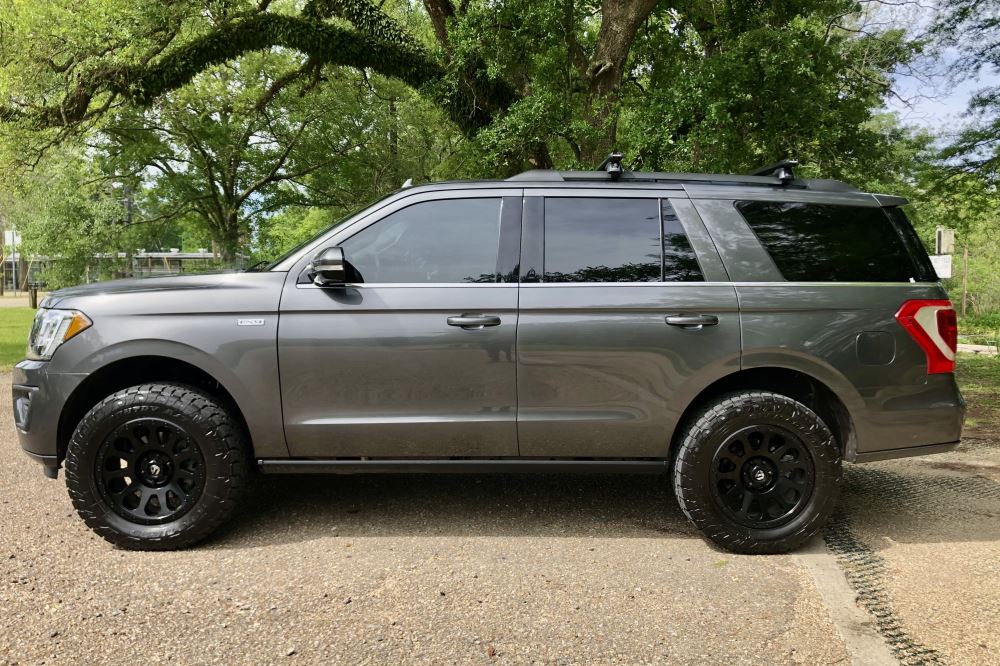
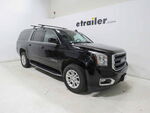
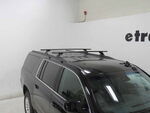
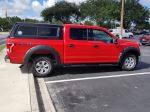
2018 Ford Expedition
I ordered the Yakima roof rack for a 2019 Hyundai Ioniq. I went with the heavy duty one for extra strength but it is quite a bit thicker, likely increasing wind noise. So I might have chosen the aerodynamic lighter weight one if I was to do it again. Also, I needed to get larger bolts for my kayak holder to get around the crossbar. The instructions and video on website were very helpful but they did not explain well how to adjust the toe and pitch. For the toe adjustment, you have to push the metal post with the tool before tightening. That was not obvious. For the pitch, it helped to do that once the towers are attached to crossbar. Then you can tilt tower while cross bar is laying flat (upside down). I ended up having to add tilt on both front and back crossbars for them to be flat when installed. Website said only front one would need to be pitched. I am very pleased with the look and sturdiness of the product. My Hyundai Dealer had zero options for this car.
This item was just a component of a 4 or 5-part order that I have been working on in recent months. All of the items would receive 5-stars along with the eTrailer fulfillment, customer service, and video product review/installation teams. I appreciate your commitment to outstanding service.
easy install. Worked as advertised
Works perfect for our SUP with the tie down loops. Great for building materials as well. Looks great as well.
Excellent customer service and prompt delivery. They even followed up to make sure everything was correct with my order. I highly recommend ETrailer!
Solid and well made products, easy to i nstall.
Perfect and thank you for great price & fast delivery!
Good inventory choices, excellent customer service with advice on vehicle compatibility, and prompt shipment. I'm a repeat customer at etrailer for good reason!
Right part, quick shipping. Thank you!
Info for this part was:
At etrailer we provide the best information available about the products we sell. We take the quality of our information seriously so that you can get the right part the first time.




















Thank you! Your comment has been submitted successfully. You should be able to view your question/comment here within a few days.
Error submitting comment. Please try again momentarily.