
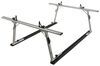
Rhino-Rack Sportz Roof Rack for Naked Roofs - Aluminum - Black - Qty 2


To see if this custom-fit item will work for you please tell us what vehicle you'll use it with.


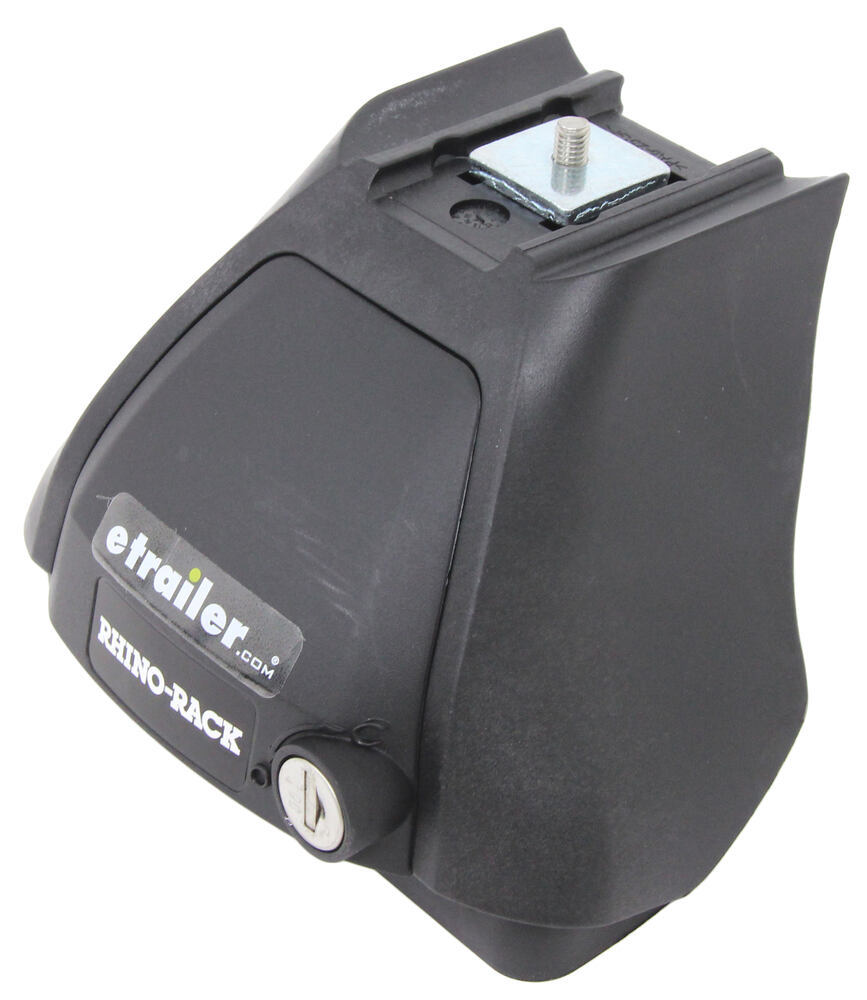
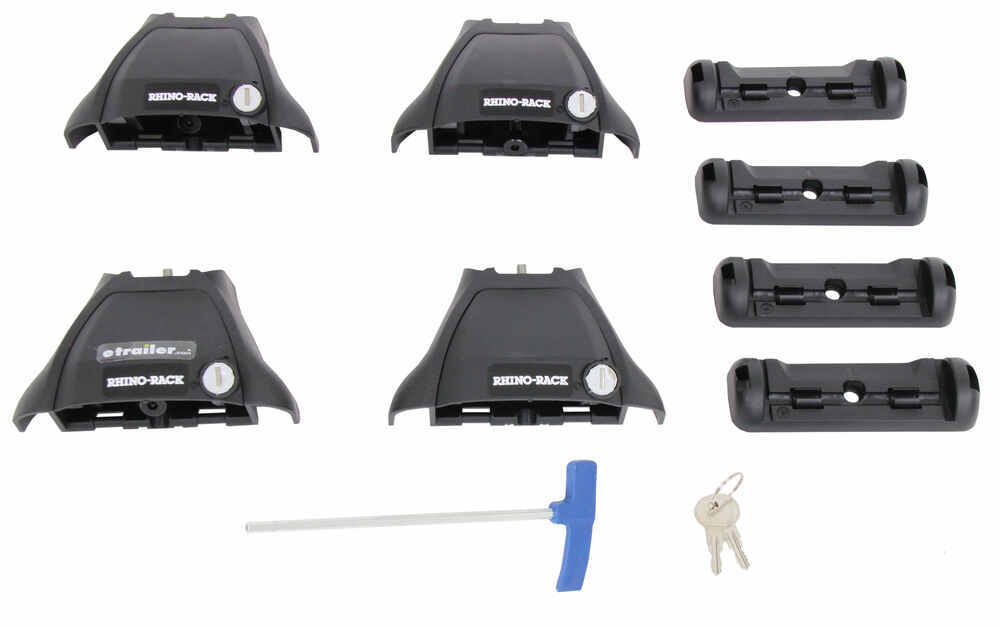


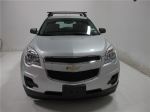
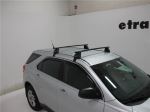
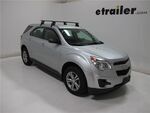
These 54" aluminum crossbars give you the space to haul everything from kayaks and canoes to cargo boxes and ski carriers. The full-length design makes it easy to mount multiple accessories side by side, so you can load up for any trip without worrying about running out of room. With a 165-lb weight capacity and sturdy aluminum construction, the setup stays strong even when fully packed.
Wind noise can wear you out on long drives. The aerodynamic shape of these bars helps guide airflow smoothly over the rack, while rubberized dual strips in the top channels cut down on drag and whistling. The result is a quieter, calmer ride whether you’re heading across town or across the country.
You don’t have to pick one mounting style. These aero-style bars work with both channel-mount gear and clamp-on attachments, giving you flexibility for whatever accessories you already own. From bike racks to cargo boxes, it’s easy to swap setups depending on the season or your next trip.
Once installed, lockable cover plates on each leg secure the rack to your vehicle. That extra layer of protection gives peace of mind when you’re parked at a trailhead or campsite. Everything stays tight, steady, and right where you left it.
Made from corrosion-resistant aluminum and finished in black, this rack is built for years of hauling in all kinds of weather. It’s lightweight yet tough enough for daily use, backed by a 5-year warranty for long-term confidence in every mile.
 Alternate Instructions
Videos are provided as a guide only. Refer to manufacturer installation instructions and specs for complete information.
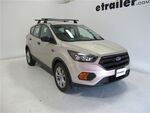
Hi, I'm Matt with etrailer. Today we're gonna be talking about the Rhino Rack Roof Rack with the Sports Bars on top of our 2024 Ford Escape. Now this is gonna be a great option if you're looking for something that's gonna have more of this rugged look on top of your vehicle, where it's gonna allow you to carry those with longer accessories. So let's take a closer look at it. I do like roof racks just in general because they offer us a great point to put our accessories at, because if you have anything larger, longer, trying to put that on the back of your vehicle, you have two options. You can use a cargo carrier, which sometimes it can be a little bit awkward depending on what you have, or a trailer.
And if you have a trailer on the back of here that's gonna add a lot behind you. It's gonna make it really tough to get in those tight spaces. So putting that on top of your roof is gonna help you out in a lot of cases. Now it is important you find the right one for you. So make sure you're putting your vehicle's information into our fit guide, and making sure you have the right type of roof, since you can get this in either a naked roof or a flush option.
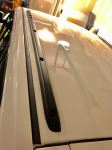
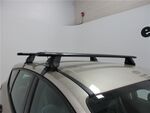
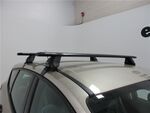
The way you can tell is a naked roof won't have anything on top of it like this one we have right here. A flush one will have the bar that goes down, you can kind of grab onto it. These are gonna be 54 inches in width. So I'll give you plenty of room to mount those accessories., and you can do it one of two ways. So first way is you can just clamp 'em on.
This is gonna work with most clamp on accessories, or you can use this T channel right here. Now this is a pretty unique design. I'll actually remove this cap so we can get a better look at it. You're gonna have those T channel accessories that go right in here. And I like this design because you don't have to worry about some weather stripping getting your way, but it's also not gonna create any wood noise because we have these rubber sections on either side that's gonna negate that.
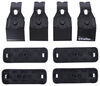
It's also nice if you have anything that's gonna make direct contact with this bar so it doesn't scuff anything up. And we can put the cap back on there, and talk about the tower itself. Now the tower itself is gonna come with a lock core, give you the extra security you need. And if I take it off, it's a pretty simple setup underneath here. We're just gonna have one bolt that secures this clamp into place. So simple to use and take off. And we're getting a really good fit here. This is what I kind of gauge if this is a good roof rack or not. You can tell we don't have any gaps underneath this rubber pad that won't scratch up anything. And that's good, because that's not gonna create any wind noise. And it gives me a little more confidence on how this is gonna sit up top. And then we're gonna have this clamp that goes into our gutter here. So I'll actually open up our door, and we'll get a better look at that. You can see how it's grabbing on. So this is gonna be something that gives you a really solid fit. Now I'll just get a couple measurements and see how it's sitting up here. So the first one I'm gonna get is gonna be the overall height. And this is gonna be sitting at a little bit under three and a half inches. That's actually pretty good. Now I would recommend taking the total height of the vehicle, crossbar, and anything on top there. So you know if you make it under a low clearance area, like a garage. Now for the space underneath that crossbar, that's gonna be about two inches. So that can be a little bit tight. Definitely something to take into consideration if you have a sunroof here and you have a clamp on accessory with larger clamps, 'cause those could collide. So keep an eye on it. Now for the spread we have here at the moment, going from the center of bar to the center of bar, we're gonna be a little bit under 28 inches, which will be compatible with most accessories out there. Let's talk about the overhang a little bit. So this front one, we're not gonna have a whole lot here. This rear one, we'll have a little bit more space. That's gonna be about two inches of actually usable space there. Now I will say when it comes to clamp on accessories, that's not gonna be much that's gonna be able to fit in this area, but if you're gonna be using the T channel instead you can get that pretty close to the edge, which will be helpful if you're trying to unload or load anything that is a little bit heavier, kinda like a kayak. Now another thing I would recommend checking out is if you don't like that overhang look, Yakima actually has these FX bars that goes straight from the tower into the bar directly, and it kind of gives you more of a clean look. Now when it comes to the weight capacity of this, it's gonna be pretty sturdy, but what's probably gonna be your limiting factor is gonna be your roof itself. So I would recommend checking that in your owner's manual and then going from the lowest rate component so you don't damage anything. Now if you guys do decide to go with this, let us know how it's working for you in either a comment or a review, and if you need a little bit of help kind of getting everything set up to begin with, just stay tuned, and we'll walk you through the process. For the installation, it's gonna be the same process for the front and rear crossbar. You might have a couple different measurements, but other than that it's gonna be the same process. Now I already have the front crossbar on there, but again, we're gonna be showing you how to put on the rear one. I'll go over exactly where to place the front one too. Now where I'm gonna start off with is making sure I have all my parts. So I have my crossbar here. We're gonna have a fit kit, a tower, clamp, and end cap for each one of the towers. Also, you should have your tool in hand. And I recommend having some tape and a measuring tape to help you get everything in place. So what we're gonna do is grab the bar itself. This is gonna be the top side. I want the under side to be shown up. I'm gonna remove that end cap by pulling on it. And then we'll grab the tower. Now the tower should be already loosened up. If not, there's gonna be an Allen key underneath here you'll use your tool with to loosen. It should look like this. And we'll push it into place with that bolt facing out like this. You might have to align that block on the bottom to go into that hole. There we go. That feels pretty good. And then I'm just gonna loosely tighten this so it's not sliding all around when I move this about. But I can still adjust it if need be. When that's done, sometimes you won't have this base already put on. You'll just check your instructions and they'll tell you which way that arrow on here should be facing. In my case today, when I flip it over like this, that arrow should be facing out. Press it onto these middle bars and they'll clip on, just like that. Once that's all said and done, we will grab the end cap, put it on here as well. And if you want, now you can put on this base. Also reference your instructions, 'cause you're gonna have a 435 and a 436. These are gonna have a specified side they go on. This one right here is gonna be the passenger. And this one right here is gonna be the driver's side. And make sure that arrow is facing the right direction as well. And that just kind of forms around the base, contouring around it. Once it feels like it's not gonna fall off, then we can repeat this process on the other side. We're gonna grab the bar. Now we're gonna throw it on our roof. Now when you're doing this, make sure you don't get this flipped around because those arrows will be facing the new orientation on the base now. We'll just double check that. We don't have to get this on there perfect. Once that's here, I can tell mine's a little bit wide, so what I'm gonna do from this point is bring these towers in a bit further. The way I can do that is just by pushing on it, but we also wanna make sure it's sustained when you side. So it wouldn't be a bad idea to grab your tape measure, measure from the very end of that tower to the end of the end cap and double check on either side. If have your instructions, usually they'll come with a QR code. You scan that, and that's gonna give you some documents so you can find exactly where these crossbars sit. So the way you get those measurements is, one, we'll go from the seam right here where the doors meet, till the center of that crossbar. In my case today is about four, almost four inches from that seam to the center of that crossbar. Then what I'm gonna do is out from the center of this crossbar to where this one sits. I might have to push mine out a little bit further. That's why I said we just wanna get it close to this point, doesn't need to be perfect that time. And what I'm looking for is almost 27 and a half inches at this time. But again, I would recommend checking your instructions online and make sure yours match is up. Make sure you do this on both sides. We're gonna grab our actual clamps themselves. I took out the bolt from the tower, and it's just gonna go through that hole on the clamp to open up the door and line it back up with that bolt there. Just like this. Usually you're gonna kind of hold it up with that tool. I'll put my other hand behind there. There you go. Just kinda keep it steady. And at this point, I'm just wanting to get it to grab on. There you go. It's about grabbed on now I think. And we just went there to be a little bit of resistance on this tower with this clamp. And then I'm gonna go over to the other side and repeat this. You know, tighten that down a little bit, and then eventually you just go back and forth, 'cause you don't wanna attach it too much from one side 'cause it's gonna pull it and make it uneven up top. So make sure you are going back and forth until this is all the way tightening down. The way you can tell if it is, is when you're turning this, this blue section here starts to straighten out, then you're good to go. And now, with this completely tightened down, give it a good shake test, make sure it's not gonna go anywhere. Then I'm gonna grab the little end caps to 'em, put 'em on and lock 'em in place. And that'll pretty much be it. At this point, you can load it up and take it out for a ride. And thanks for watching.

Do you have a question about this Roof Rack?
Info for this part was:
At etrailer we provide the best information available about the products we sell. We take the quality of our information seriously so that you can get the right part the first time. Let us know if anything is missing or if you have any questions.

















Thank you! Your comment has been submitted successfully. You should be able to view your question/comment here within a few days.
Error submitting comment. Please try again momentarily.