


To see if this custom-fit item will work for you please tell us what vehicle you'll use it with.


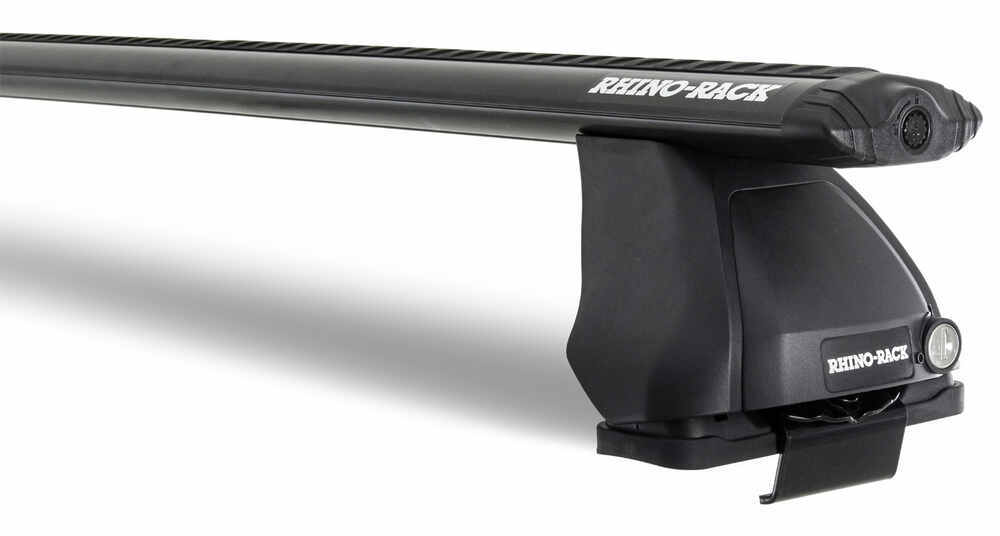


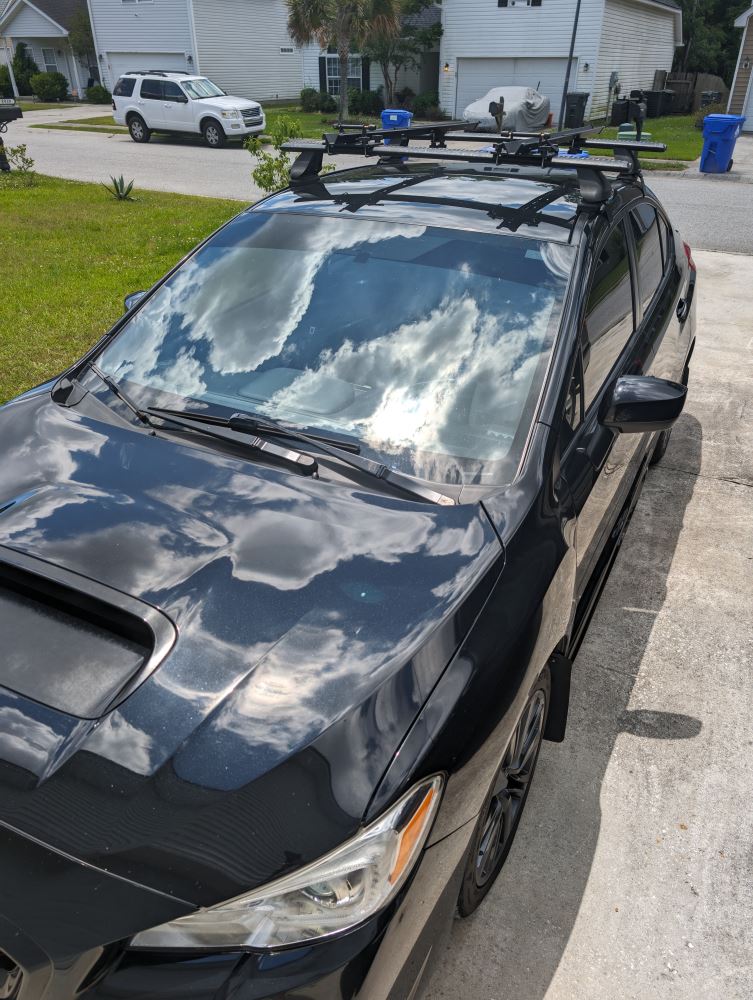
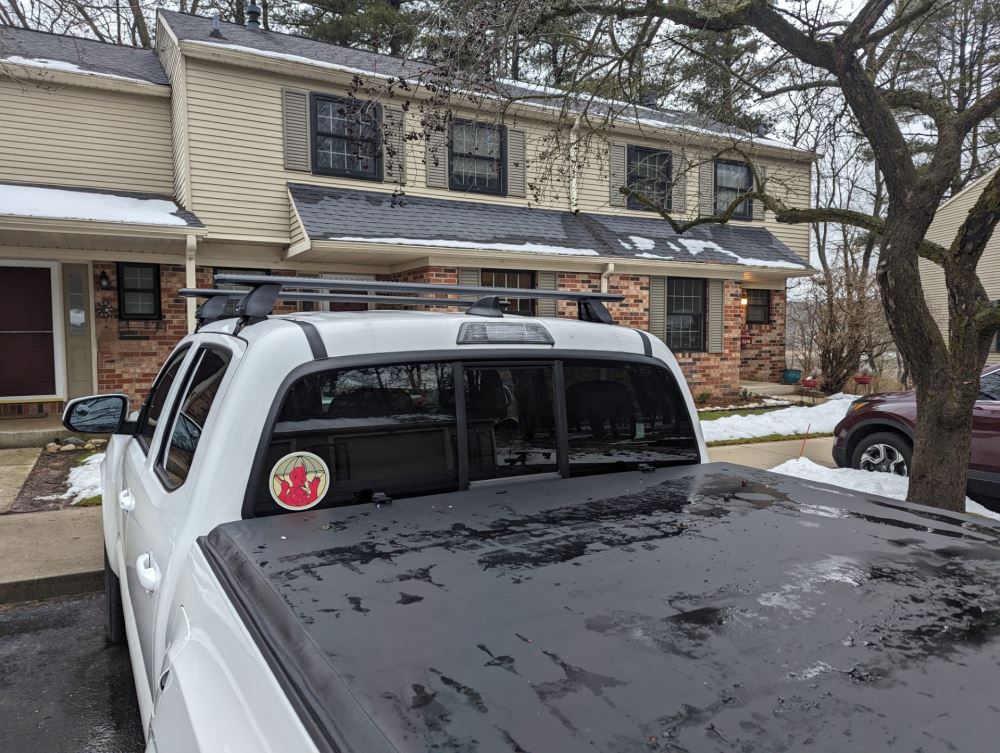
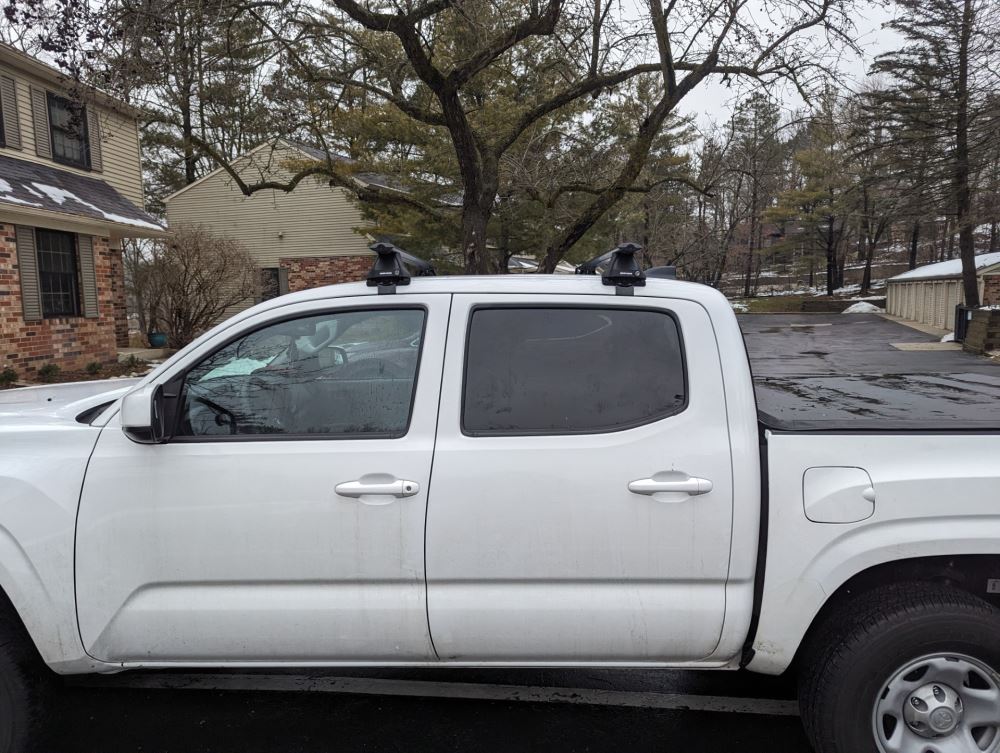
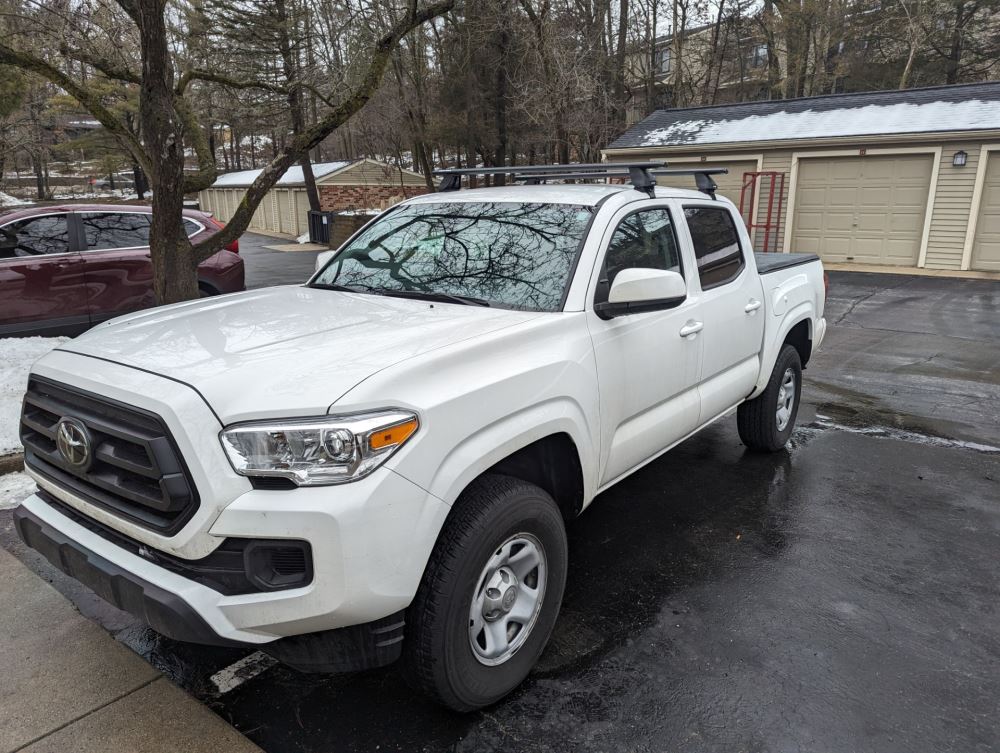
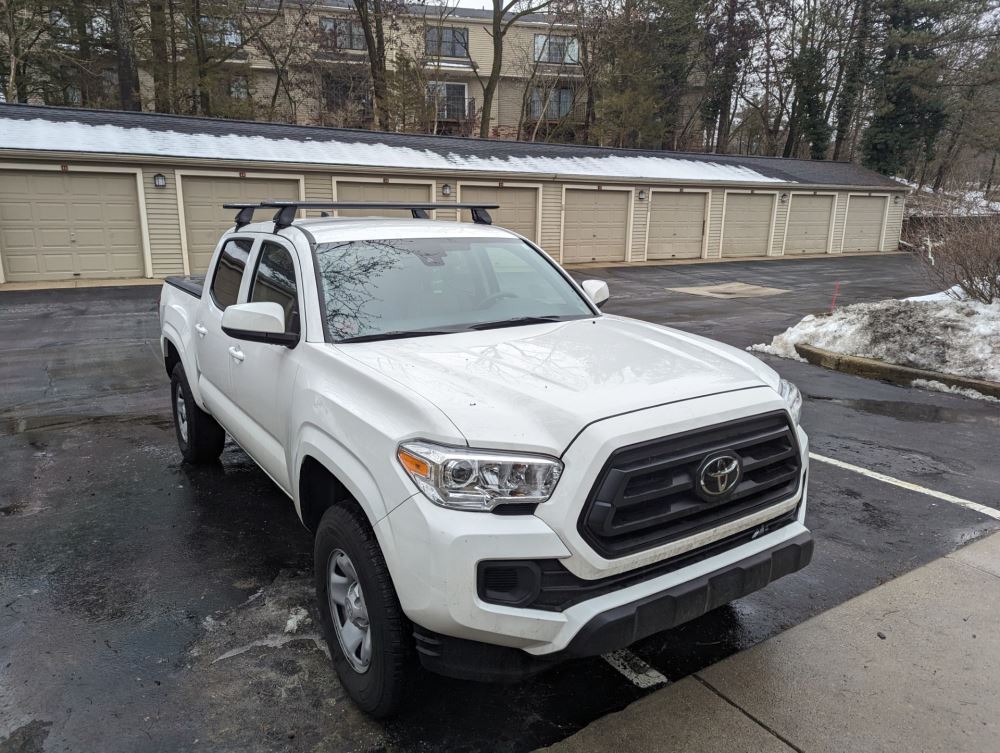
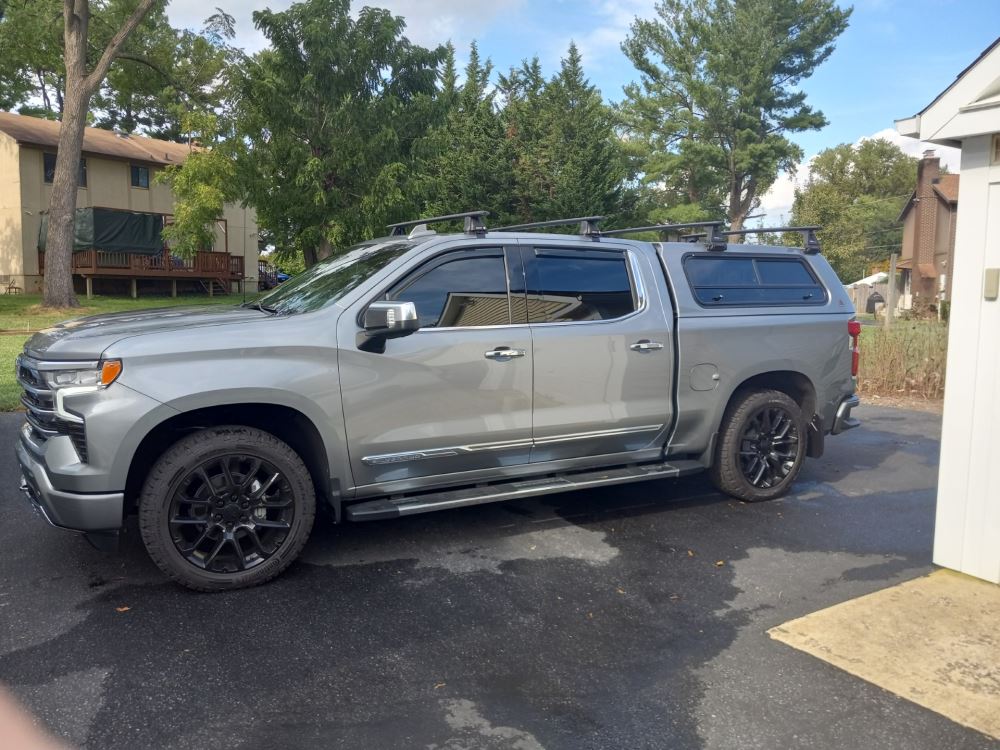
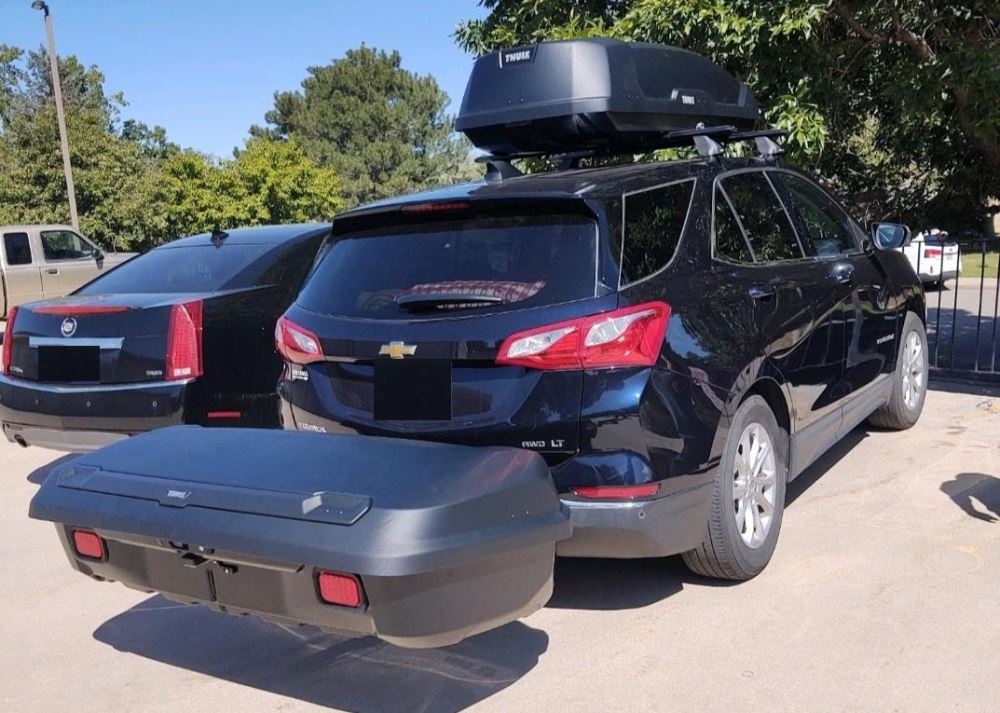
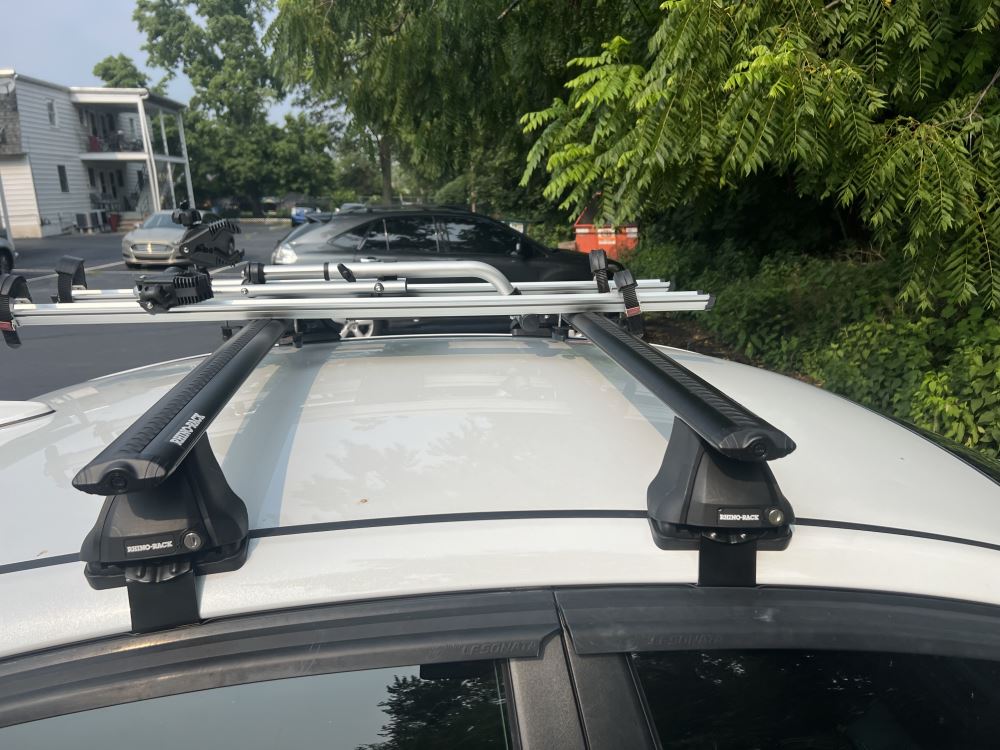
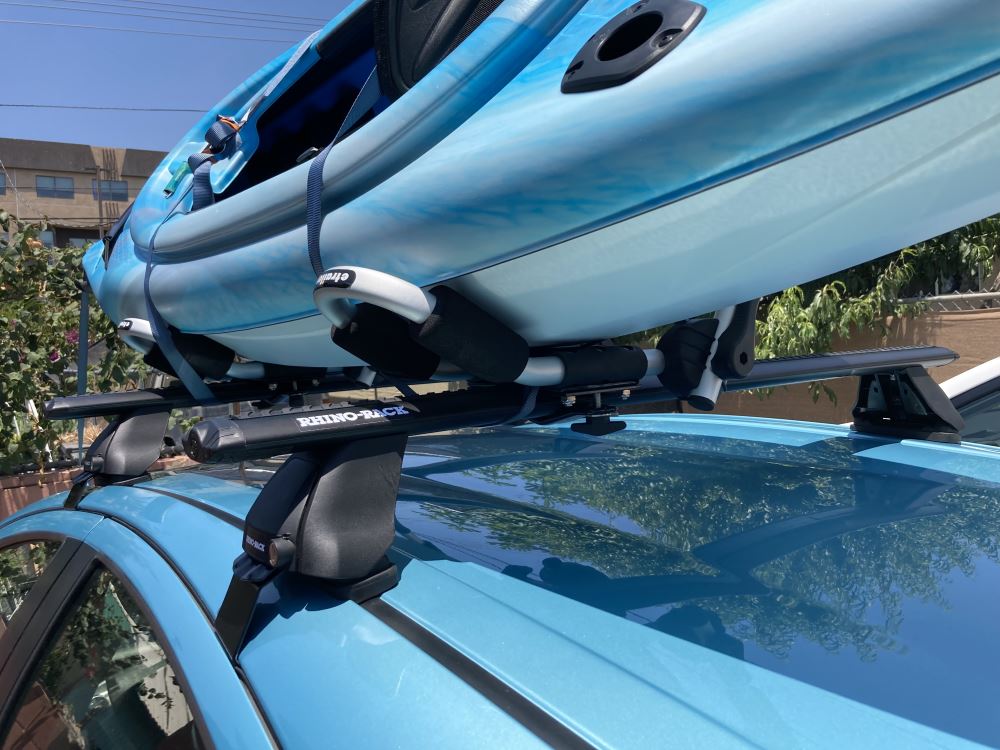
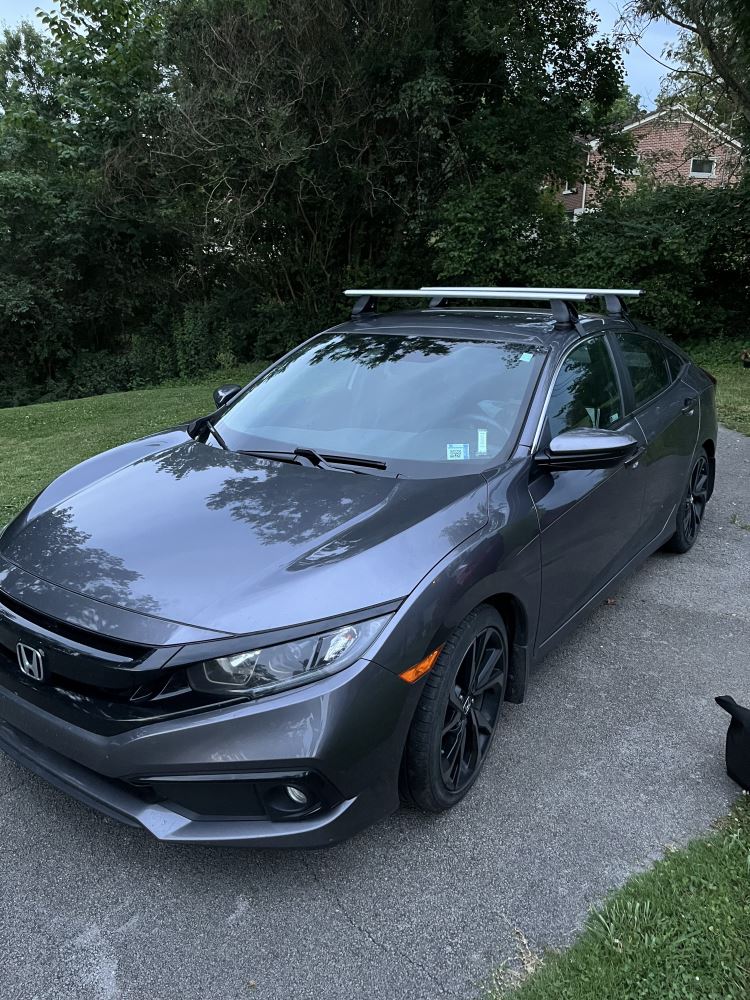
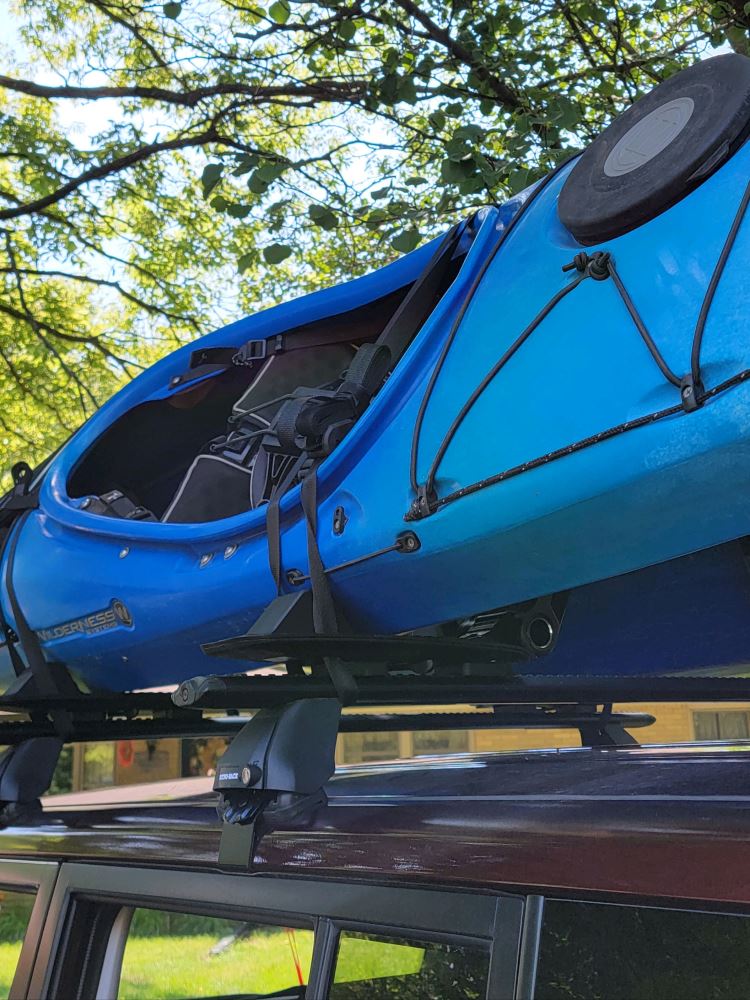

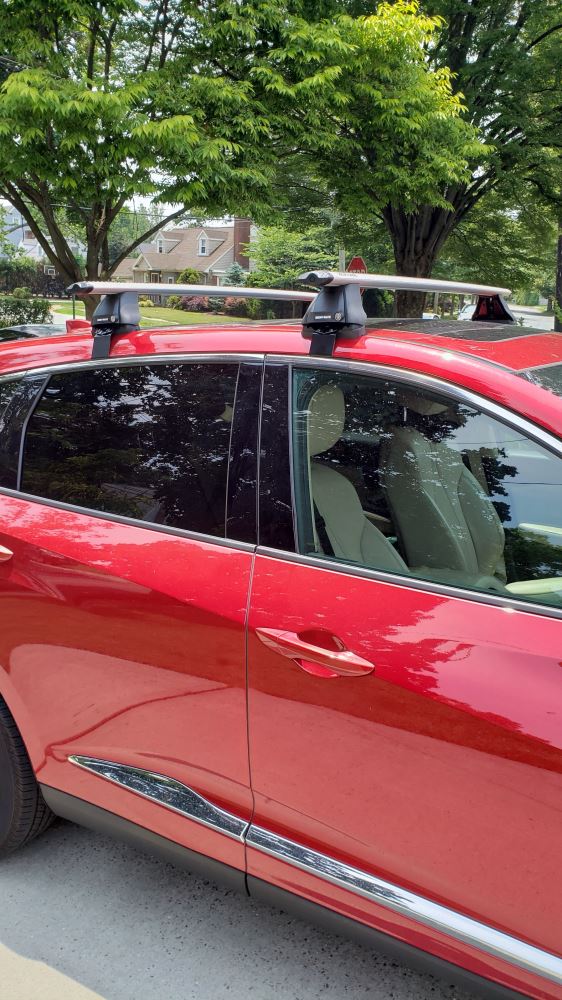
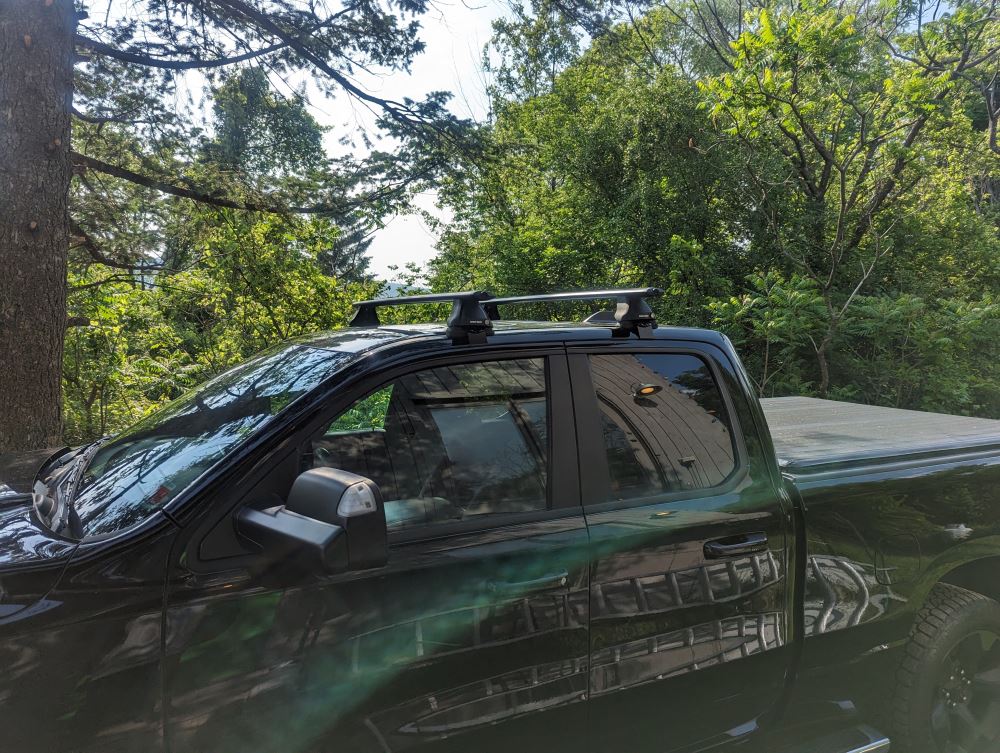
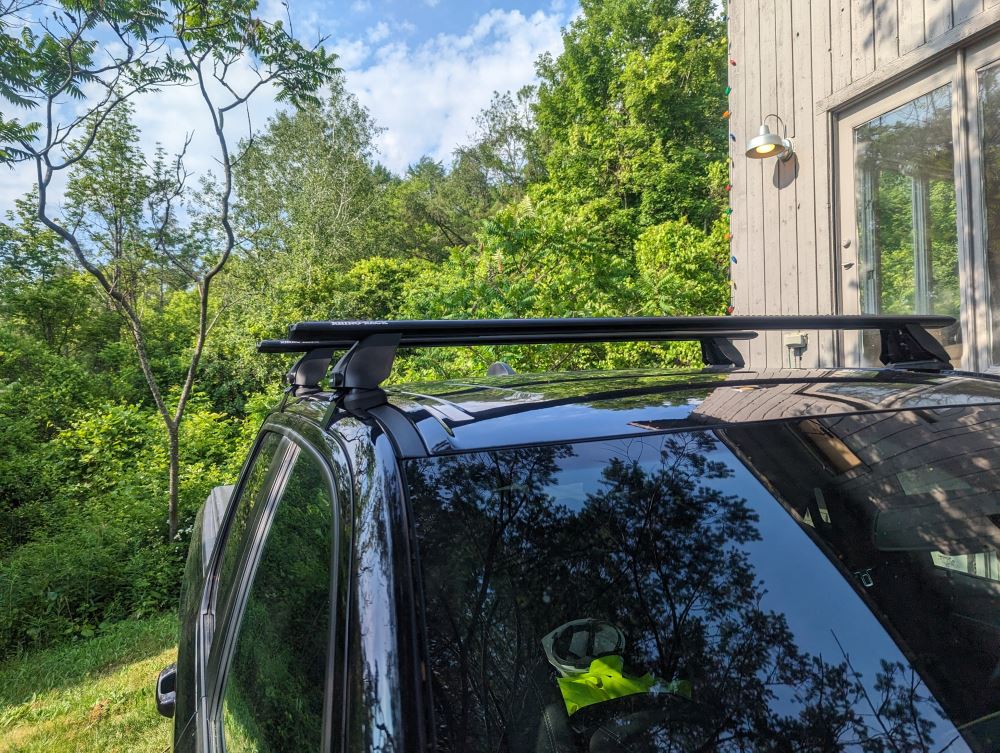
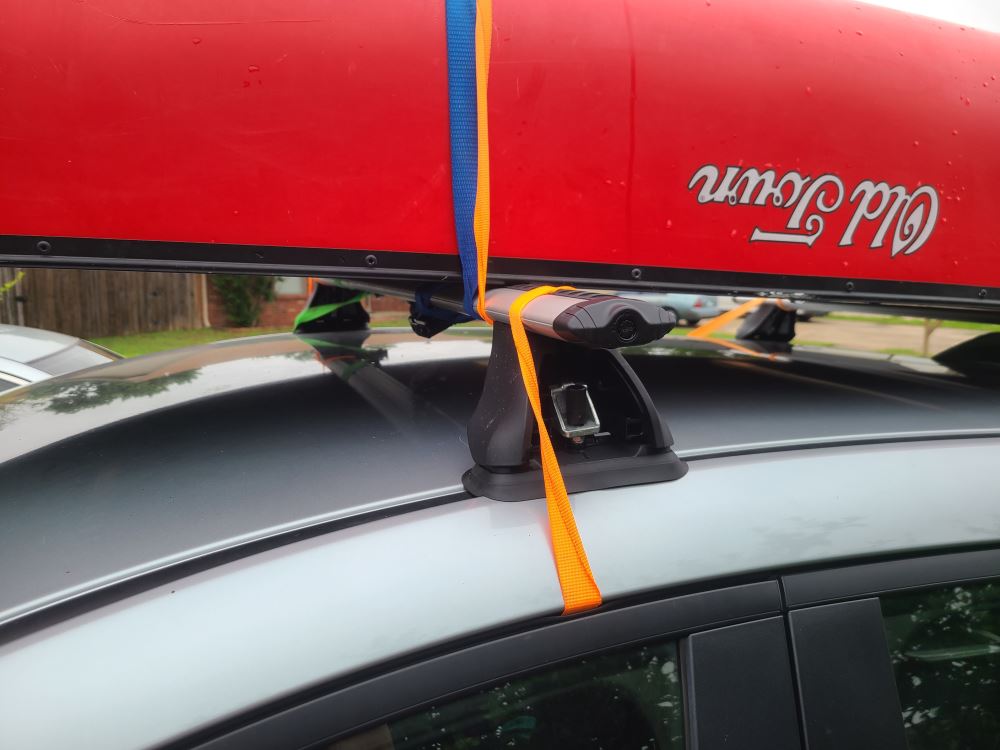
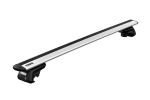
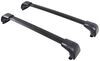
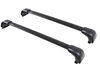
When you’re loading up kayaks, paddleboards, or a full cargo box for a long trip, you need bars that won’t flex under pressure. The full-length aluminum crossbars on this Rhino-Rack Vortex setup hold strong with a 165-lb weight capacity. The solid build keeps everything stable on the road and gives you confidence when you’re hauling bulky or heavy gear.
Wind noise can wear on you fast when you’re covering miles of highway. These aero-style crossbars are shaped to cut through the air and use rubberized Vortex strips in the top channels to help reduce drag and whistling. The result is a smoother, quieter ride so you can focus on the drive instead of the hum overhead.
Whether it’s bikes, skis, fishing gear, or a rooftop box for your luggage, these bars let you switch between setups easily. The top channels accept channel-mount accessories while the bar shape works with clamp-on carriers too. You can mix and match what you already have or add new attachments without swapping racks.
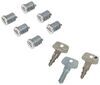
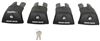
Security matters when your gear’s sitting on the roof. The integrated plastic locks in the crossbars help deter theft of channel-mount accessories, and lockable cover plates on the legs secure the rack to your vehicle. If you want more protection, you can upgrade to all-metal locks (RRVA-LEC4 – sold separately) for added peace of mind.
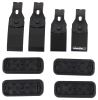
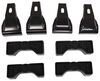
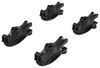
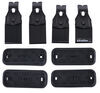
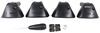
Installing on a naked roof can be tricky, but this system takes out the guesswork. It comes as a complete setup with two Vortex crossbars, four 2500 Series legs, and a custom fit kit designed specifically for bare-roof attachment points. Once installed, it looks clean and fits securely without needing extra modifications.
 Alternate Instructions
Videos are provided as a guide only. Refer to manufacturer installation instructions and specs for complete information.
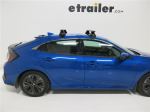
Hi, Matt at etrailer. If you have a 2021 Honda Civic and you're looking for a way to carry even more items with you on your adventures, then the Rino-Rack roof rack is gonna be a great option for you. So let's check it out. Now, what I really like about the Rino-Rack rack is one, it's gonna be really easy to put on. It's gonna have some lock course for the extra security and it's gonna be a really good fit with our fit kit. Also important to note that there's gonna be a kit for the sedan and the hatchback variation.
Now you can actually use our fit guide on our webpage to make sure you're finding the right one for you 'cause really the only difference is gonna be this fit kit and how it is put on. But everything else is gonna be the same process and the same specs. So with that said, let's go over some of the features or the parts that come with this. So we're gonna have our 49" bars on top. We're gonna have the tower beneath it and we're gonna have that fit kit here in the bottom.
Now with this crossbar, this is gonna have an arrow design to that. That's gonna help reduce any wind noise when you're driving around. And on top of here, you're gonna notice this weather stripping. This weather stripping, it's gonna do two things for us, it's gonna help keep any debris from getting in there and it's also gonna help produce wind noise. The reason why we need this here is let's say you have a lot of clamp on accessories, but you have that one item that just doesn't work very well or you just want to use the T channel instead.
You can put those T channel accessories at this point here. You can cut these down the size and work with those certain accessories. And here at the very end, we're gonna have this end cap. This end cap has this plastic core on it at the moment, but what you can do is get this whopped out with a metal locking core with later on. We'll also have another channel here at the bottom.
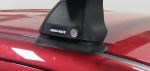
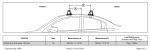
I do recommend using some of your weatherstripping to cover this up to help reduce wind noise. But this is where you're gonna mount your tower into place and I like the design of this 'cause it's fairly simple. It doesn't really stand out too much. It's gonna have a metal lock quarter for that extra security like I was talking about earlier. And right here we're gonna have our fit kit and our fit kit is fairly simple, all it's gonna involve is a bolt that comes with your tower and this clamp and rubber pad. And this here is giving us our unique fit on our Civic today. Now what's happening is we're getting a really nice fit around here. There's no gaps at this point, and then the second point that's gonna be making contact, it's gonna be right at this point on top of our roof. You want something that's not gonna have any large gaps, and this here is pretty seamless. The first measurement I'm gonna get is gonna be the overall height this adds. This is gonna add about a little bit over 4 1/2,"" So that's a little bit taller for a roof rack. The biggest thing to keep in mind is if you have anything on here here like a roof box, just make sure you take the total head of vehicle, the crossbar and that box. Make sure you have clearance. Nice thing about Pacific though is a little bit more low profile than larger vehicles. Another thing to keep in mind is the space underneath here. So since it sits up higher, we're gonna have more space and this is gonna be a little bit over three inches. So even if you have some really bulky clamps, they're gonna fit just fine on here. And even we're gonna play nice with our sunroof because our sunroof actually goes inside instead of expanding on top of our roof so we don't have to worry about anything there. Now, if you curious what this one looks like for an installation, just stay tuned and I'll walk you through it. I have one of my crossbars already installed. Now it's gonna be the same process for either one of them. The biggest difference is there's gonna be a little bit of a difference in the measurements. You get to see where it's gonna be placed on your roof, but I'll go over that later on. How we can get started with this I also recommend grabbing two other things to help you out with this process. One's gonna be a tape measure so you make sure everything's even on your roof. The other one's gonna be just some painters tape. So we can mark things out just in case we need to make adjustments. This blue key, this is gonna be the first place we start with. I'm gonna come over here to the side and remove this end cap. All I have to do is put it in there, turn comes right out. You can do that on both sides. You're gonna flip it over and you're gonna put this tower into place. The way you're gonna do that is you're gonna have the squarer pull plate on the very top of it, that plate is gonna slide into that channel, just like that. Once you have it in there, you move it just kinda roughly to a random point. We'll get a measurement for that later on. But just make sure you do this on the other side. We can get the exact measurement of where this is gonna sit. If you reference your instructions, there's gonna be a measurement for your arrow bars like we have today from the inner side of this channel to the very edge of this tower on the inside. Now this is gonna be a millimeter, so if you're not super used to using that, you can try to convert that to inches. So I'm just gonna adjust this to fit my measurements. Once that's done, I'll come back over and then tighten this down. I don't wanna fully tighten this down just in case I have to make any adjustments and we'll do this on the other side. We're almost ready to put this on our roof, but before we do that, we wanna make sure that these plastic pads and their rubber pads are gonna be set to go. So you can look at your instructions and they're gonna tell you which way the arrows on them need to face. So once you figure that out, the plastic ones, you can put that on because we're gonna have these two bars that they're gonna grab onto, just like that. Press down to here a click. So with that rubber pad, you're also gonna have that error on it. It'll tell you which way it needs to face either forward or backwards. And it's also gonna say RR, for this one particularly, it's gonna mean the rear right side. And now I don't really like to go off that because right or left can really just depend on how you're looking at your vehicle. So what I do instead is come over here and I figure out how this indention is gonna sit on our roof and it's gonna push in just like this, that's how I know I'm gonna have a good fit on my Civic. I put the rover pads up here just to kind of leave them here and I'm gonna do a little test and make sure everything's gonna feel good. So I'm just gonna roughly map it out and that's feeling pretty close, most likely to what I'm gonna need. So I'm just gonna line these rubber pads and the plastic pads up, press down on this, might need to lift up sometimes. And these are actually gonna see into one another. Once you have it done on one side, you can do that on the other. Now before we make any adjustments to how the towers are sitting up here, let's make sure it's in the right spot. And the way we can do that is referencing the instructions to see where this part's gonna sit exactly. Now to find the spot for your rear crossbar, you need to find the spot for your front crossbar first. The way we're gonna do that is we're gonna use this point right where your front door closes and meets your rear door. We'll measure from there and use the center of that front crossbar. Reference your instructions for that measurement, it should give you one an inches and in millimeters. Once you have that, make your adjustments until it sits there. And then for your rear one, what we're gonna do instead is use the center of this bar, the center of the front crossbar. And if we're not sitting exactly where we need to, we can just adjust it by pulling this back one forward or back some and fit our needs. Once we finished with those measurements, what I did was I laid down some painter's tape. The reason why I did this is 'cause you can tell that I don't have the best fit on top of my roof right now. So I'm going to take this off and instead of having to measure it again, I can just put this down where the tape is. Now to figure out if you have a good fit or not, we're just gonna see how this rubber pad is sitting on here and it's sitting right on top. It's not flush with it. So I already know mine's sitting too wide. On the flip side of things, let's say I was sitting more like this, I would have to expand the towers to sit further apart from one another. And if it's really close but not quite a fit, sometimes you might get something like this, where it's flush, but back here, this isn't making contact with a roof, and we want that to be making contact with a roof just like this. Now that I've adjusted my tower, just by loosening up that bolt in there and pushing it in and then retitling it down, this is looking much better. So what you can do from there is tighten this down the rest of the way. And once that is fully tightened into place, then we can grab our clamps. You're gonna have a specific one for your front and back, so make sure you reference your instructions for that. But typically it's gonna be the longer one for the back and you're gonna use this bolt that's gonna come off the back of your tower. And this is just gonna go through that opening on your clamp and what I'll do here is apply some pressure to the back of this little nut in there to line them up. Once that's lined up, I'm just gonna try to thread it in place. Sometimes it's gonna be a little tricky 'cause you wanna make sure you don't cross thread it. Okay, that's feeling pretty good. What I'm gonna do here is I'm just gonna tighten this enough just so we have a little bit of resistance. You typically can tell when you do, 'cause this clamp is just gonna wrap around the gutter here just a bit. Once you have that done, then you're gonna repeat this on the other side. Then we can just go back and forth on either side. Tighten this little by little until this is all in place. Now the reason why you wanna go back and forth is just so you don't over-tighten anything, the way you'll be able to tell if this is all the way tightened down is when you're pulling on this. And if this is bedding quite a bit and becoming straight, you're good to go. Now we will say you can overtighten this. So for example, right now this is completely flush on either side, it's looking good, but when I go to overtighten this, you're gonna start to see this start to lift up and not make contact. And sometimes it's gonna matter on how you put things in place to begin with. But if you do over tighten it, all you have to do is just loosen it up a little bit. (crew members murmuring) And just make sure we still have that resistance on here, just like that. Then you can put on your end caps. I'll typically put on the one for your crossbar first, use your blue key, tie them down, and then the one on the bottom. And once these are both in place, make sure to do that in all the corners. Lock it up, take off your tape, and then you can load it up and take it out for a ride. And, of course, if you guys have any other questions, please let us know here at etrailer. But again, I'm Matt and thanks to watching.
Ratings & Reviews

The Rhino Rack is very well made. I installed it my self on our 2016 Ford Escape, but had an assist from my wife to fine tune it at the end. There was no whistling or any other distracting wind noise on our 3,500 mile drive to visit family out West. A Sear's Cargo Box was easily mounted to the Rhino Rack and it remained centered and secured at western highway speed limits plus. The included locks on the roof mounts were the selling point for me. The Rhino Rack remained securely mounted to the roof with no additional adjustments or tightening being needed. Great Product. Donna P. @ etrailer was super with the order.
I purchased the Rhino Rack roof rack as an alternative to the factory installed products and the more popular Thule and Yakima brands. The Rhino Rack is solid and sleek and is largely silent while driving (if I have the roof open you can hear a soft whistle). Not only does the rack look fantastic, but the non-slip top and the strong bars make carrying things on top a real pleasure.
This roof rack works great! At first I was skeptical about putting a rack on my IS250, but it couldn't have turned out better. Paired with the Yakima Highroad, I can easily transport my bikes around without worrying about anything coming loose while driving. The installation instructions for the legs and bars are pretty straightforward. Takes about 30-45 minutes total to install.
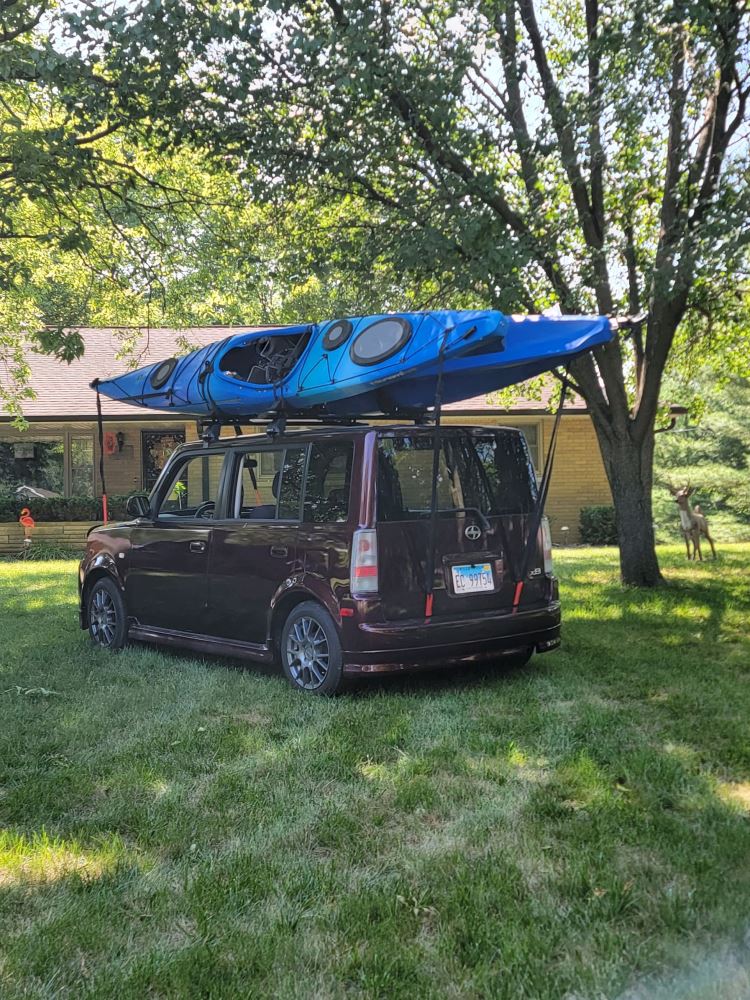
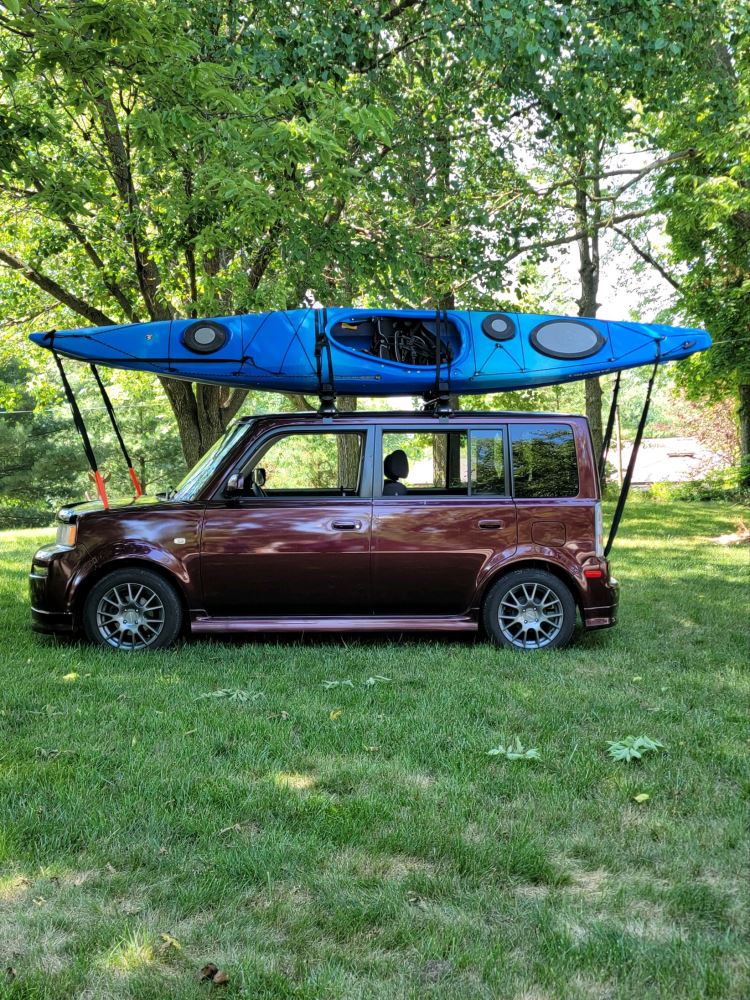
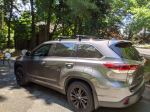
I wanted to share the items I used to be able to haul two Wilderness Systems Tsunami 145 kayaks on my 2006 Scion xB. This may help others who struggle with deciding what to use. I am pleased with my purchase and hope this helps. I originally thought I wanted the Thule Hull-A-Port Aero, but they discontinued making the fit kit for their roof rack systems and I ended up going with the Kuats. I am glad that they didn’t make the fit kit for approximately $[XX] and so they missed out on the rest of my business. Here are the items I used for anyone interested – pictures included. Custom DK Fit Kit for 4 Rhino-Rack 2500 Series Roof Rack Legs - Naked Roof #DK138, Kuat Class 4 V2 Kayak Carrier w/ Tie-Downs - J-Style - Folding - 1 Kayak - Black #KU53VR and these are really cool, Rhino-Rack 2500 Series Legs for Vortex Aero Crossbars - Naked Roofs or Fixed Mounting Points - Qty 4 #RRRLKVA, Rhino-Rack Vortex Aero Crossbars - Aluminum - Black - 54" Long - Qty 2 #RRVA137-B2. The 54” crossbars fit really well and the perfect length in my opinion and it doesn’t stick out like the longer ones would. Also purchased two sets of these Malone QuickLash T-Style Hood Loops for Bow and Stern Tie-Downs - Qty 2 #MPG308.
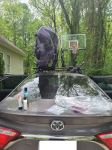
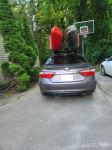
I bought this last yr to haul my kayaks on my Toyota camry. Being 5'2", getting them on top of my SUV was next to impossible for me and my daughters. Since then, I have traveled from Michigan, all the way to the west coast with two 13' ft kayaks. These racks have been absolutely perfect in every aspect. I mounted them myself, and checked them regularly to see if they needed adjusted. Not once did they loosen or move. They with stood Traveling with speed limits reaching 80 mph on I84, along with the windy weather on our cross-country trip. My car moved around from the high winds, and the racks stayed put. These racks have by far reached and surpassed every expectation I had when purchasing them. I would not recommend another. Only thing I would recommend is showing installation for both front and back bars, since the measurements are slightly different for both. As I had to figure this out my self, after watching the installation video. Thank you Rhino for providing such a high quality product.
Great product. Great quality. Fast shipping. Easy to install on my 2011 chevy cruze. Low wind noise, nothing annoying so definitely doing the aerodynamic job. Happy so far
The quality is very good. Ordering was easy and installation using the video made the process so simple. Glad I order them from here instead of somewhere else.
Delivery was a little slower then I would have liked, but otherwise it was perfect. Great customer service when I called to ask about them. Make sure you read the instructions when you install (I didn't and wasted an hour fooling around with the wrong parts) other then that, the install was smooth as silk.
The bars look and feel great. They have such a tough presence while still being aerodynamic. I love the look of the rubber grip strip on top and I like how the rubber strip on the bottom ends have graduations so you can easily match the overhang with the other side. They feel incredible strong, no bend in the them at all. If the platforms were a bit more robust this thing would outshine all the competition. However, it competes with every other system at a much lower price point so that gets 5 stars in my book.
I spent a week reading reviews and forums to find the right one for my 2019 Jeep Cherokee that I just bought a few weeks ago. I just have to overthink everything but it paid off. I just received them this morning and installed them myself! First time for everything! It was really easy. The only part that was frustrating was the very first part... sliding the rubber pieces into the crossbars. They would not slide very well so I ended up using a bit of oil to make them slide better. Other than that, installation was easy and quick. I LOVE the looks of them. Very gorgeous!!! Thank you so much!! Very happy with the end result!!
Easy to read instructions, easy to install. Watched the install video a few times just to be sure! They do whistle a bit at highway speeds, but certainly not unbearable. In fact, I was surprised as to how quiet they are. It's to be expected, especially when paired with kayak j-racks. So happy with this purchase and I would definitely recommend them!
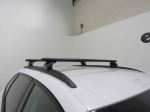
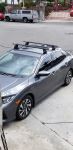
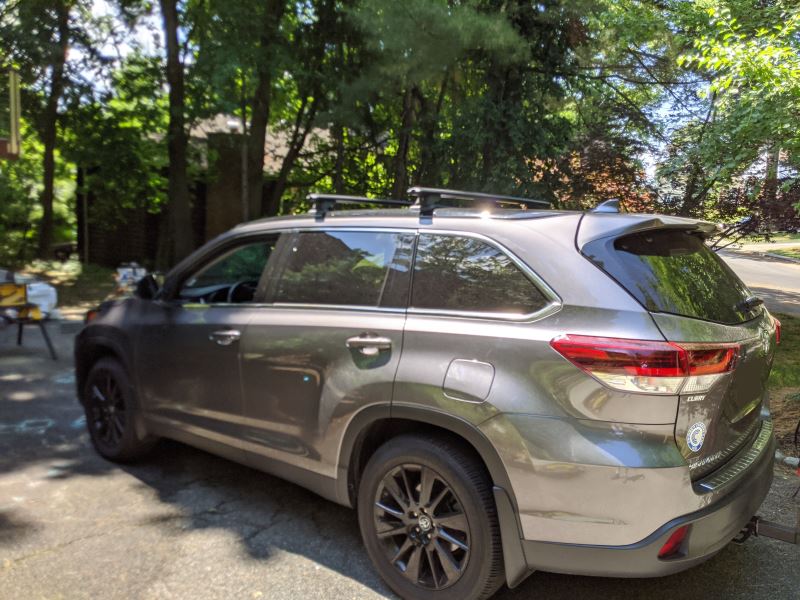
The instructions were clear and the rack installed perfectly. I am impressed with the custom foot mouldings that match my car's contours exactly, and the rack is still as tight as when I installed it 4 weeks ago. I have been using it frequently to pick up 8' lumber for a large shelving project I have underway, and I hope to soon use it to carry my kayaks. The rubber strips on the top hold the lumber so securely I have no worry of having the load slip off the car. The two negatives I have are: (1) the crossbar end-caps consist of 2 locking and 2 slip-ons. I have come out to my car to see 1 of the slip-ons half slipped-off and I expect I will lose one or both of them in short order; and (2) the instructions should put the forward bar at least 1 inch further forward. As you will see in the photo, Rhino's guidelines result in the front bar being higher than the back bar, which results in additional wind pressure on the goods being carried. Finally, I would like to thank etrailer for shipping the product exactly as promised and also for packaging the entire order in an additional box as I requested. I found your service to be outstanding! You are welcome to post my comments and or photo if you should wish to.
Love these aero bars. Perfect for on my 2018 Grand Cherokee Trailhawk. Run fairly quiet and perform as expected. As always the customer service from etrailer was top notch.
Rhino-Rack installed on my 2022 Jeep Cherokee. There was wind noise (whistling) when all the rubber spacers were not installed, now it’s very quiet. I also installed the Yakima fishing rod//Ski holder. I wound up deviating from the directions and using the third lot, so the clamps would close on the bar. So far so good, without the fishing rod holder it’s low profile enough to get into garages, etc. Fast delivery on the products.
I ordered the complete Rhino-Rack with legs for my 2009 Subaru Forester. I watch a couple of videos prior to installation. Followed instructions and installation was completed without any issues. Product was delivered promptly and Natalie helped me with my order and she followed up to inform me of the status of my order. Thanks for the help and thanks for a product.
My inital thought of these crossbars were that they were going to be too small. Two of the other big makers call for 53" min and 60" recommended. However after installing, 49" is a perfect fit for the Cayenne I feel. The rack is extremely quiet (make sure you use the channel rubber on top and bottom) The Cayenne is fairly quiet car inside and it was one of my big concerns but I only hear what sounds like a slight rush of air, no buzzing or whistling at all.
The downside to this rack is I think the black paint is too thin. Just laying it on the pavement while setting up caused scratches to appear. Silver would be the way to go if your getting these, or spray them plastic.
i George from etrailer,
The rack is awesome! Strong, firm hold and nice looking. When doing surveys, I put my ladders on the rack.
I highly recommend this etrailer.
I bought this rack for my son who is a rower so he could take his single shell and oars to regattas using his new Chevy Cruz. First trip from Wyandotte, Michigan to Boston, Massachusetts and back was great. A learning curve to get in the right spot on roof but very sturdy & strong. He is looking forward to many regattas with this car and roof rack. Very Satisfied with etrailer and the rack itself and thank you for the quick shipping.
Easy to install. The pins on the legs clamp perfectly into the fixed points on the car's flush rails. This is a nice low profile set up. The top of the crossbar is about 4" above the roof glass and does not interfere with opening the sunroof. This is a very sturdy setup for our Thule Motion XT XL. etrailer shipped extremely fast. Very pleased with my purchase.
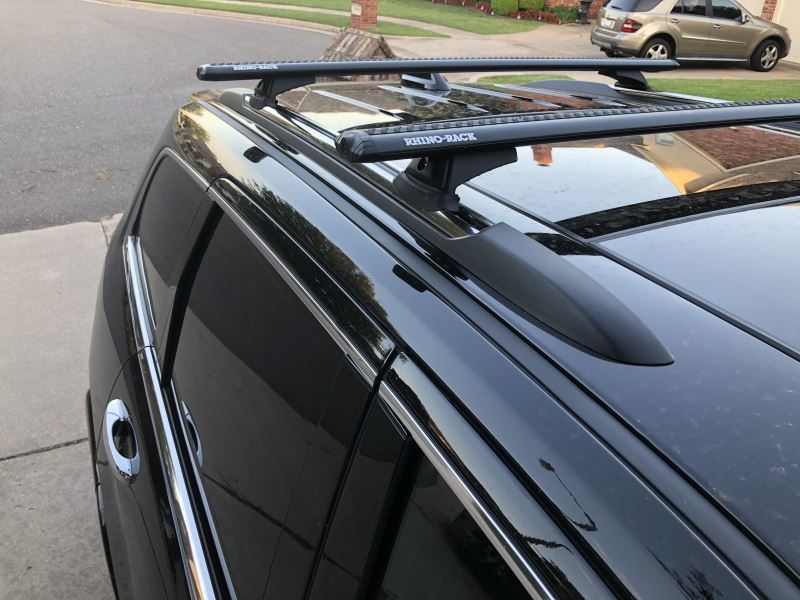
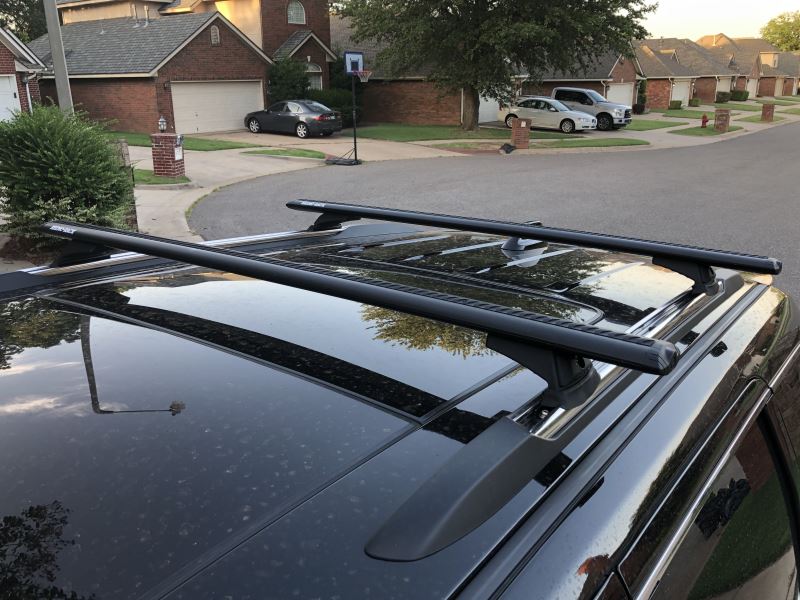
These crossbars were easy to install, are sturdy when installed and look great on my factory side rails when installed with the SX Series legs. The standard end caps are an all-plastic affair and use a little key to engage a cam lock. That plus the distance from the end of the crossbar to the nut that tightens the foot onto the rail keeps things relatively secure. Most people probably want to opt for proper locking end caps, though.
The rubber vortex strips look nice and give items something grippy to rest on. I haven't tried a load test yet but did drive around in moderate wind on the highway in multiple directions. Other than a slight whistle at 70 mph, you'd never know they were there. Overall, real happy with the product and looking forward to hauling some stuff around with them.
Got this for a 2015 Prius. High quality works great. Use their measurements included as a guide and measure everything out yourself before cutting the spacers and when installing. I had to make minor adjustments to make it perfect.
You have to order the cross bars and connector hardware separately. I also ordered the end cap locks.
I consider myself a pretty good DYI person and it took longer than I expected according to other reviews on here to get everything installed and overlapping the same on both sides.
Once installed the crossbars are very solid. I do get noticeable wind noise at say 70+MPH.
I installed these on a 2020 Jeep GC Overland and they look and function great! Was a bit concerned about the sun roof retraction with the bars, but there is plenty of clearance. No issue.
I for sure recommend the Rhino Rail crossbars. Etrailer is a great site to get the bars. Given the COVID issues and supply chain breakdowns retailers are facing, they still had everything I ordered to me in a very reasonable time frame.
Great sturdy rack. I put it together myself and have already started using it. I was concerned that it would cause leaks in the door the way it has to mount..but its Florida and its rainfall in the past few days and no leak! The weak link would be the end caps..two do not lock on and im concerned the will fly off at some point.
Purchase for a 2019 Jeep Grand Cherokee, black rails. Perfect fit.
etrailer.com's videos and additional customer support made the purchase of a Rhino Rack system from them for our 2010 Malibu a no brainer. The rack fit the car perfectly, and with the videos and clear instructions that came with the kit, I got it installed on the car with only one misstep. The instructions came the the measurements in centimeters and inches. I didn't have a metric tape measure, and ended up messing up converting fractions to decimal.
My Daughter is going to college 500 miles away and is moving into an unfurnished apartment and needed to pick up some small furniture that wouldn't fit in her Malibu. She purchased several items from Facebook Marketplace and was able to transport a twin bed and mattress, a medium sized desk and some dining room chairs (in several trips) with no problems.
The only thing I can think of to improve the installation would be to have the Inches measurements in decimal or to include an inexpensive metric tape.
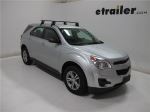
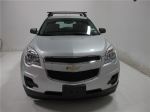
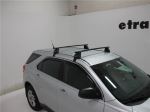
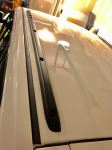

Do you have a question about this Roof Rack?
Info for this part was:
At etrailer we provide the best information available about the products we sell. We take the quality of our information seriously so that you can get the right part the first time. Let us know if anything is missing or if you have any questions.





































Thank you! Your comment has been submitted successfully. You should be able to view your question/comment here within a few days.
Error submitting comment. Please try again momentarily.