


Thank you! Your comment has been submitted successfully. You should be able to view your question/comment here within a few days.
Error submitting comment. Please try again momentarily.
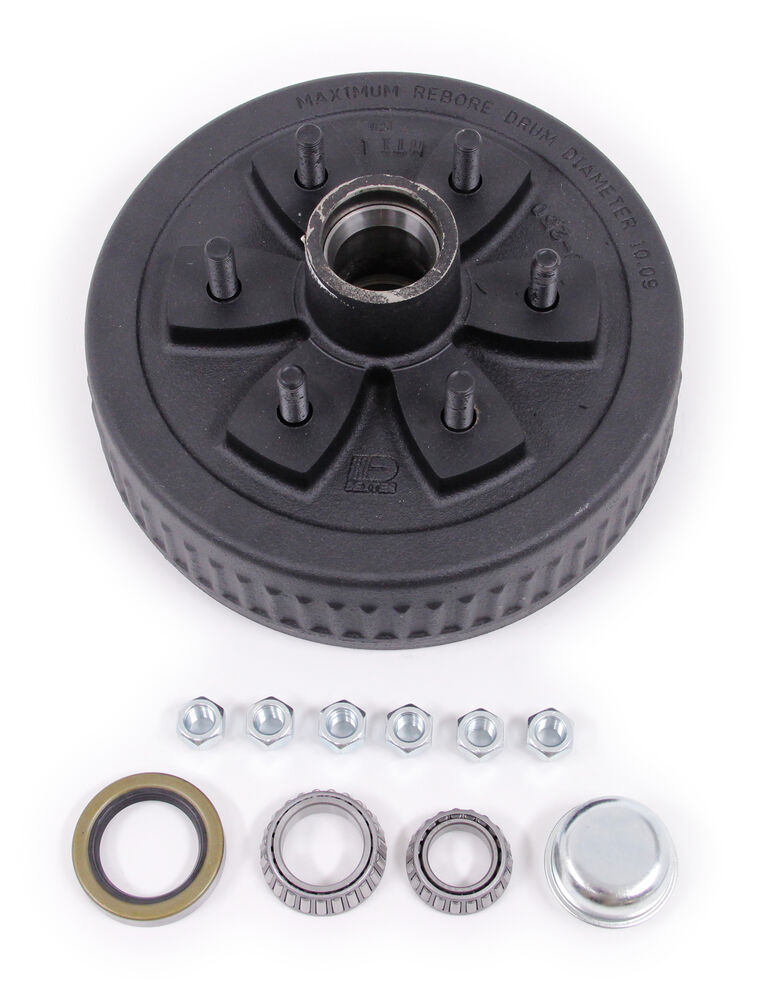
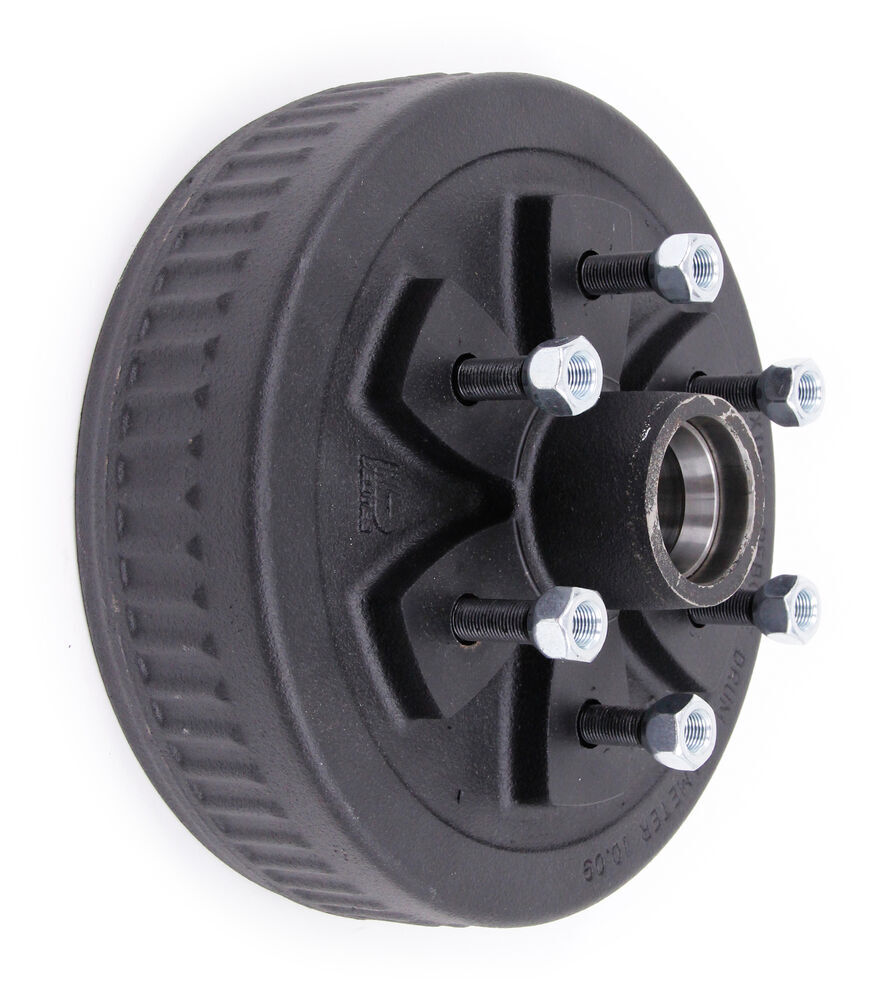
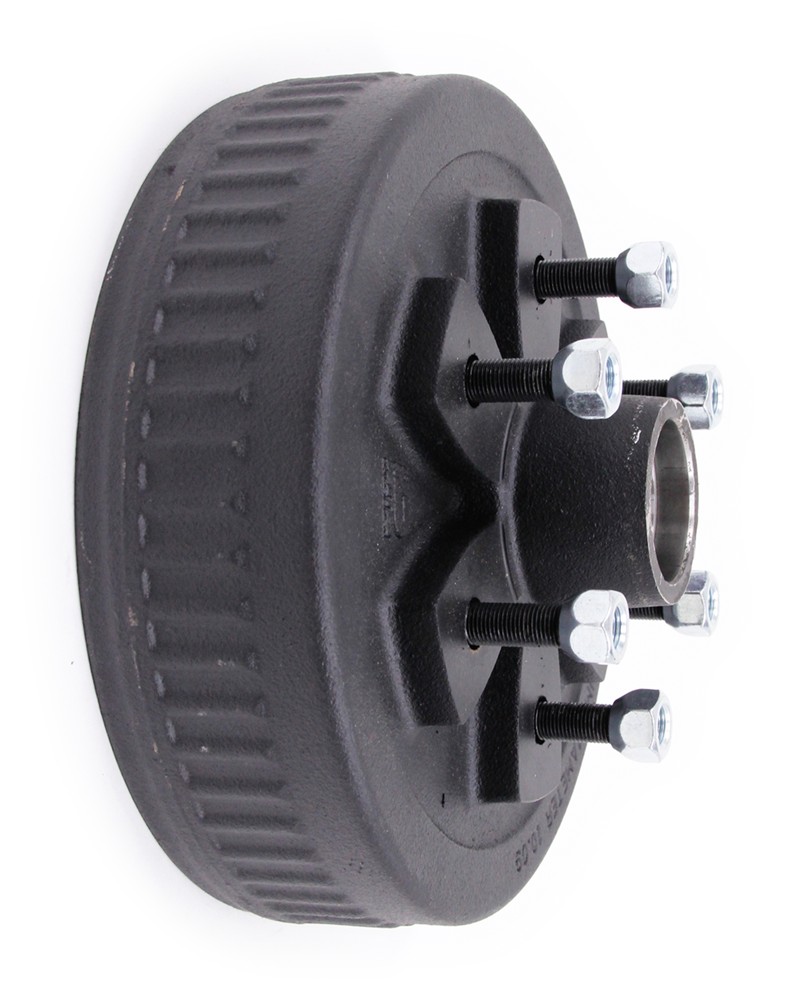
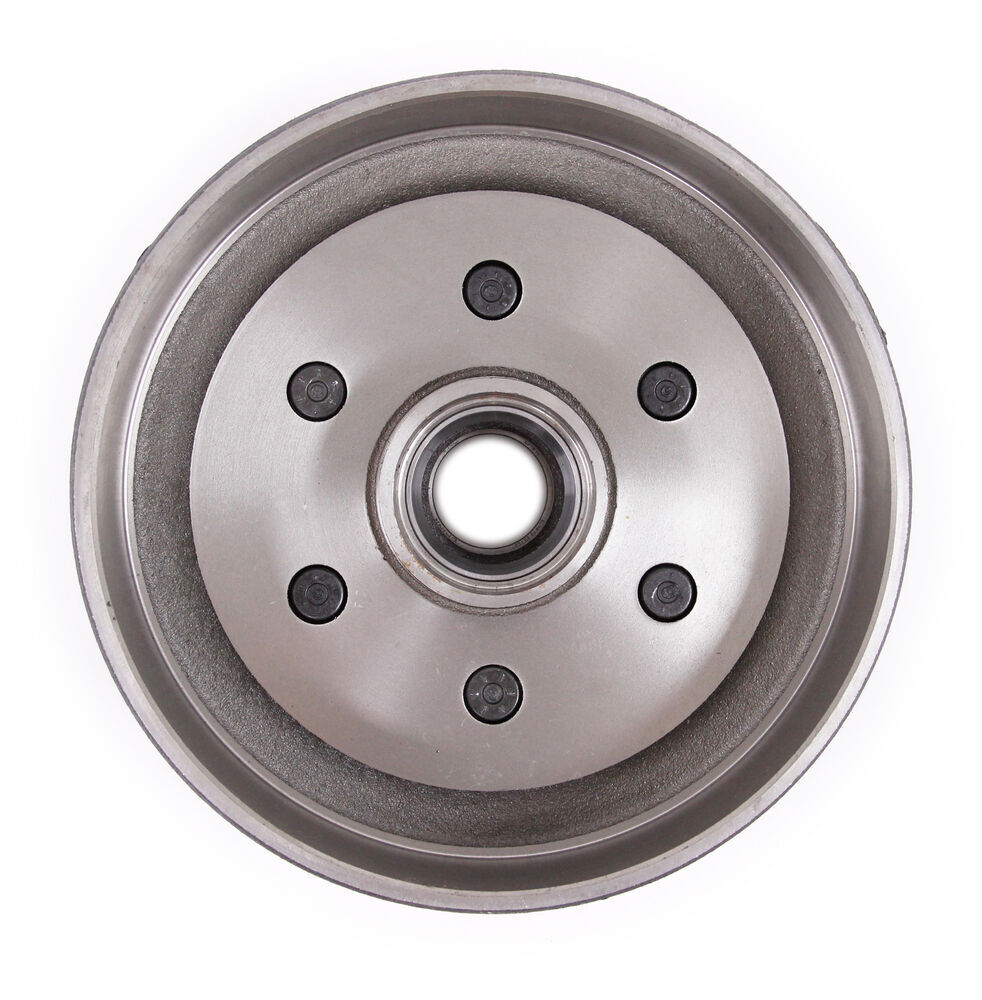
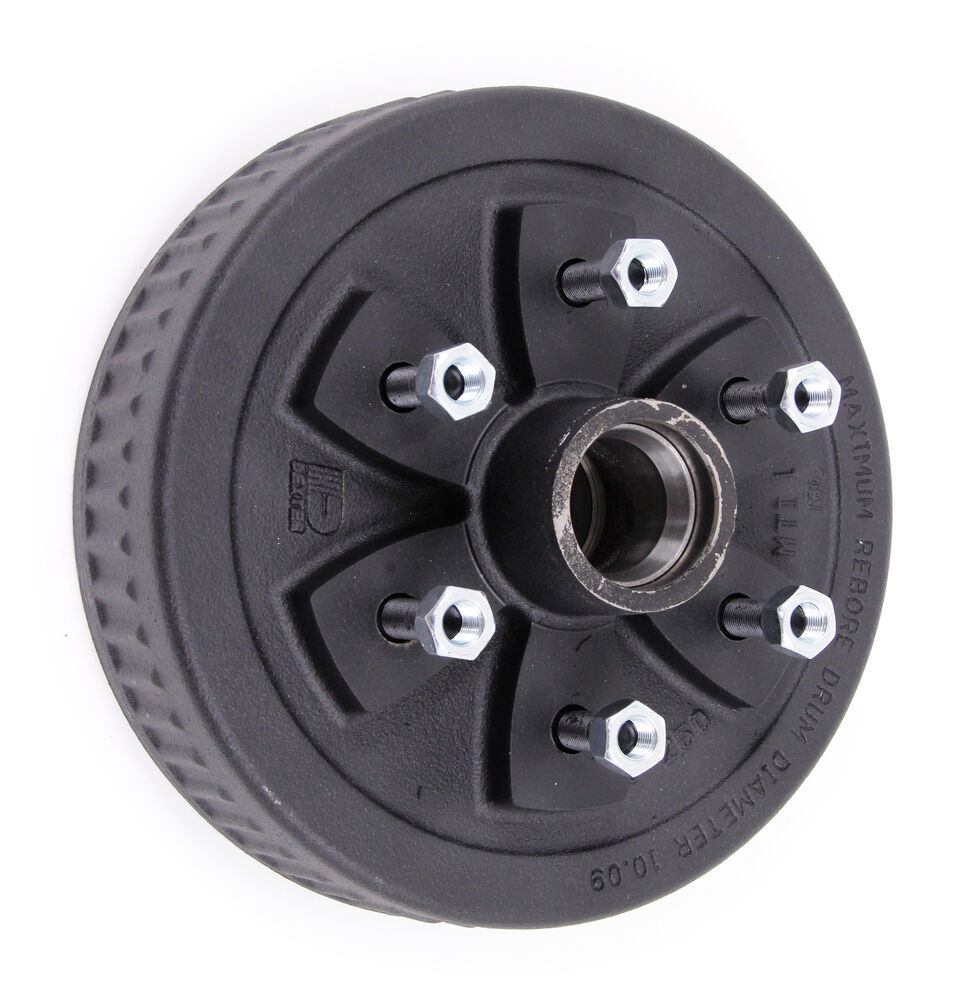
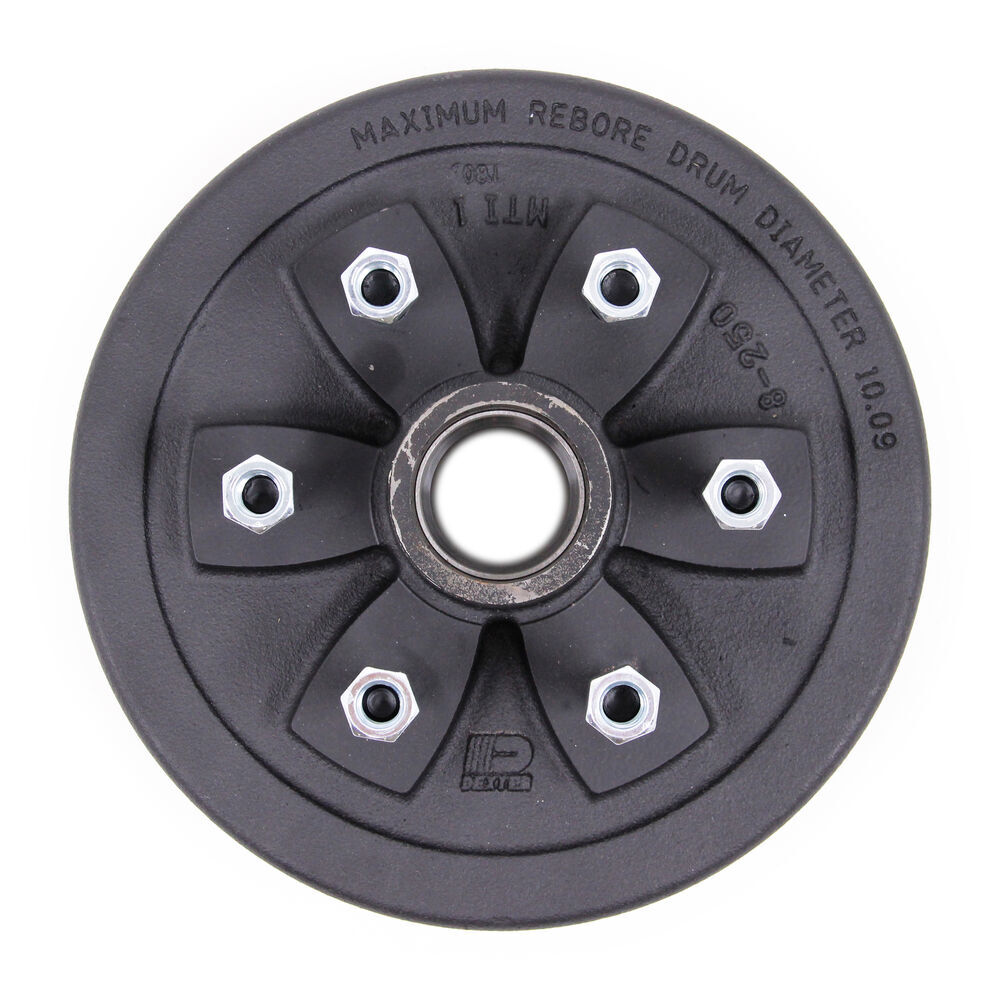
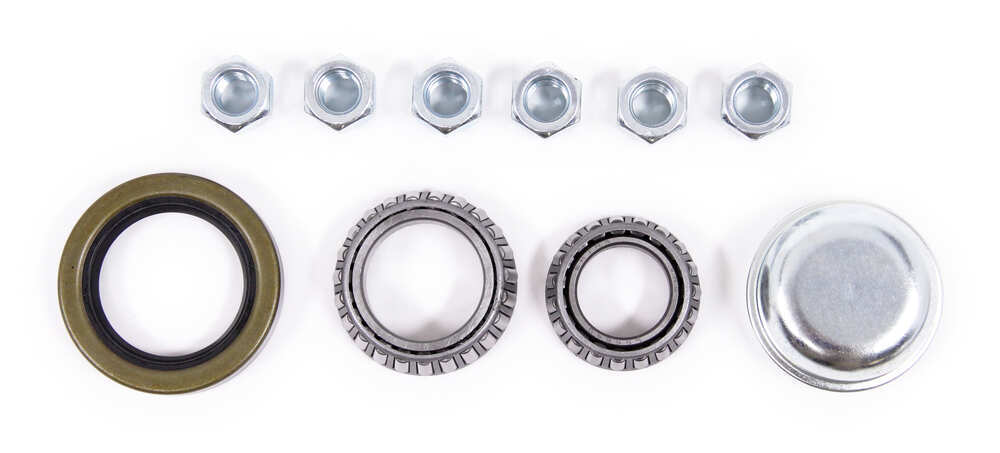

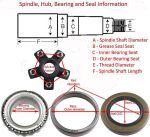
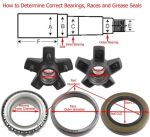
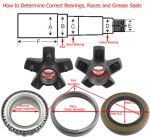
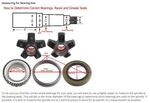
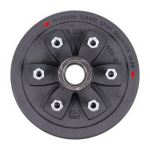
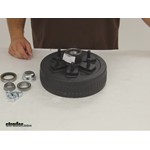
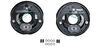
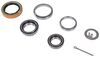
This hub-and-drum assembly fits 3,500-lb axles with #84 spindles. For electric or hydraulic brakes. Inner bearing (L68149) and race, outer bearing (L44649) and race, grease seal, grease cap, wheel bolts, and lug nuts included.
Features:
Specs:
Videos are provided as a guide only. Refer to manufacturer installation instructions and specs for complete information.
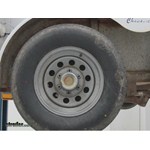
Hey guys, Kevin at etrailer and today we gonna be taking a look at and showing you how to install Dexter's line of trailer hub and drum assemblies. The drum assembly here is gonna be made out of a nice sturdy iron construction. It's goin' to come with your grease seal, your races and your bearings, as well as the lug nuts included and your dust cap. The only thing about this is that it's not pre-greased, so you will have to get your hands dirty and grease up your bearings. As far as insulation goes, this is super simple. It is just messy.
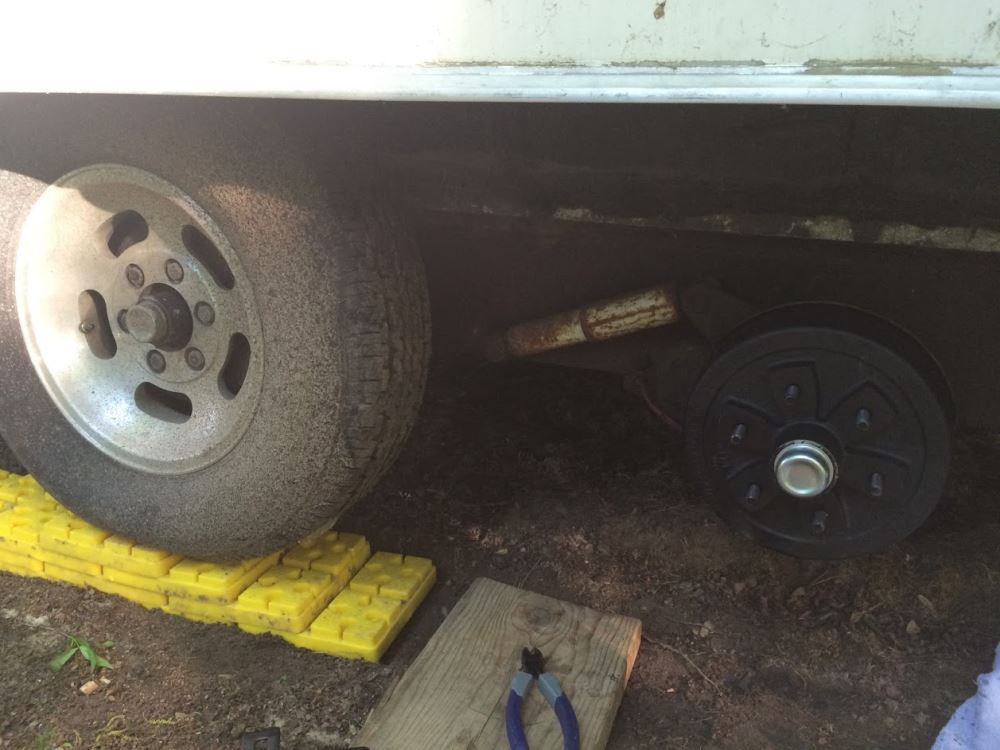
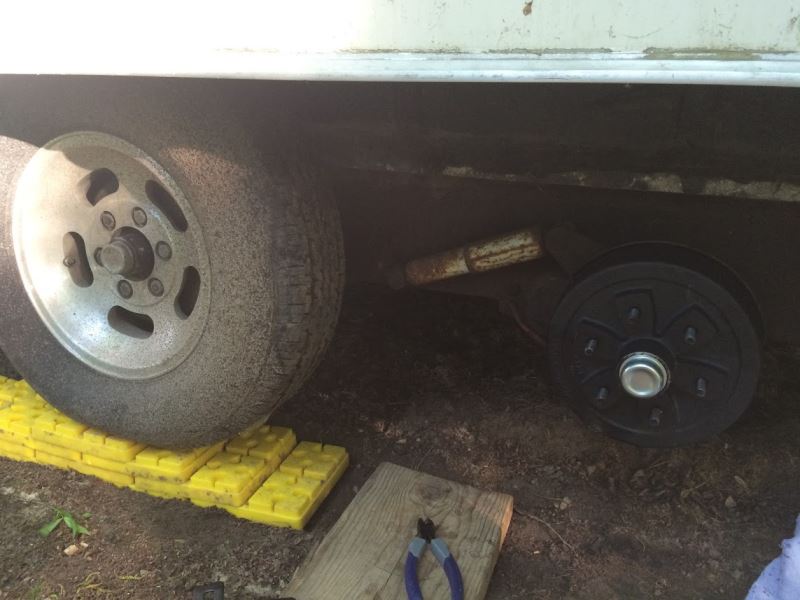
Just packing those bearings is always a mess, no matter how you do it, even if you have a bearing packer. If you want it to be a little bit easier, just ready to go right out of the gate, you can get this same kit with the bearings already pre-greased. To start up our installation, we're gonna first have to take off our wheels or we can lift up and support our trailer, so that our axles can hang. I've already gone ahead and lifted up the trailer. I have it on jacks, it's all good to go.
I just need take these wheels off, so I'm gonna go ahead and do that now. If you don't have an impact gun then I definitely recommend doing it on the ground. That way you're not trying to hold the wheel in place and brake it off with a wrench. (impact gun clattering) (wheels sliding off) To start off our installation we're gonna first need to lift up our trailer and we'll take off of our wheel and then we're gonna remove our idler hub so that we can add on our brakes. To do that we're gonna need to take a rubber mallet and we'll pop off our dust cap, (mallet banging) and you just kinda smack towards yourself just a little bit and can kinda see it (mallet banging) start to lift up off of here (mallet banging) and just kinda keep working it loose and turning it.
(mallet banging) You definitely don't need to hit it too hard, you don't wanna end up denting it all up if you have to reuse it. And from there we can go ahead and take a shot towel. Now this is gonna be pretty messy process. You're definitely gonna wanna have a bunch of shot towels laying around and some penetrating, or some Brite Clean. Kinda clean that up just a bit, make it easier to get off here, cuz our next step is going to be removing our cotter pin.
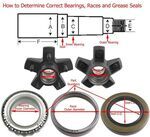
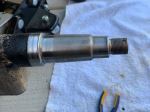
And take some needle nose pliers and kinda bend that back straight. (pliers clicking) Once we have it straight enough we can start pulling it out. And I'm also gonna wipe that down, cuz we will be reusing that. It's not goin' to give you it in the kit. Next we can go ahead and take some channellocks, break our castle nut free, and, unscrew it. (nut rattling) And then wipe it off some more. I've already gone ahead and pretty much wiped it out. We can spray that with some brake cleaner, and we're gonna go ahead. We got one more washer on there that we're gonna need. We'll just pull our idler hub forward and that's gonna pop out our outer bearing and our washer. Outer bearing we can set aside, cuz our brake is going, or our hub that we're gonna have to install, is going to actually have that included. But otherwise you would need to clean it out and as you can see, with that grease on there it's pretty gross. We'd wanna repack that, but we'll go ahead, set that outside. We can pull off our idler hub, and we'll just clean the spindle off, get all that old grease outta the way. So the hub and drum is the peanut butter to the jelly of our electric brake assembly. And to find the correct one you're first gonna need to know the axle capacity and then you can find out exactly what size brake assembly that you're gonna need and then choose the correct hub and drum assembly. And you'll also need to know exactly what your bolt pattern is for your wheel, just so that you can make sure that that hub matches up and you can still put your wheel back on after adding on electric brakes. When you're looking at your wheel, you're gonna want to know exactly how many lug nut studs you're gonna have in here. And then also go ahead and take a quick measurement to find out what exactly the bolt pattern is. So, if you had even amount, you're gonna want to go from the center of one hole to the center of the other hole, opposite from it. If you have an odd one, you're gonna want to go from the center of the hole to the center space between two of the other holes. So, when we look at ours right now we know that we have five. So, we're gonna go five on, 4 1/2. So, we know that we can get a five on 4 1/2 hub and then we can figure out exactly what size drum that we need to go along with our braking assembly. Now that we have selected the correct size hub and drum we're gonna go ahead and pack our bearings, because on this specific kit it's not gonna come pre-greased. So, you'll have to do a little bit of work yourself, but we do have the trade off that you save just a little bit of money. So, we'll go ahead, we'll take some grease and I like to just get a little bit in my hand right here. And then what we're gonna do is on the bottom of our bearing we're just gonna kinda pack it in there and just kinda scrape, so easy way. I kinda like to stick my fingers in there and prevent the grease from just going through the center and just keep scraping it. And as we get it packed in there it's gonna start poking out the top. Add a little bit more. (subdued background chatter) Now this is a super messy thing to do, so definitely recommend wearing gloves. You can see it's starting to pack up right there. It's comin' through, whereas over here we don't have any grease yet, so we can start working our way around. Once you've got it fully packed you can also go around the sides of it and just kinda grease that up as well. And once we're all good we'll go ahead and set that down and we'll grease up our other bearings. So, this smaller one is gonna be our outer one, larger one's gonna be our inner, and then on our grease seal I'm just gonna grease the outside of it. I'm gonna go real light with that. I don't wanna go too crazy and goopy, just a nice thin layer. So, I'll do that right now, cuz afterwards I like to just take these gloves off and toss 'em and put some new ones on. Now we can go ahead and drop in our inner bearing and then we'll drop in our grease seal. Now when we hammer this in, we wanna make sure we get it in nice and straight, that way we don't have any leaks. Typically, what we do here is just grab a little piece of wood so we can get an even pressure along it. Today I just have a little piece of metal I'm gonna hammer against, and that's gonna give us a nice little spot to kinda hammer it down with. (mallet banging) You can kinda feel around, make sure that it's fully down. We might give it just a little bit more. (mallet banging) Alright, now that's packed in there. We can go ahead and we'll lube up our spindle. Go ahead and just kinda rub that all on there. Now we can go ahead and slip on our hub and drum. (drum rattling) Now we can put in our inner bearing, our outer bearing. Push that in. It might not want to go all the way at first. Typically, you gotta kinda play with your drum. But we can go ahead and slip on our washer and our castle nut and that'll kinda help push it the rest of the way on. Get my chanellocks, and what I like to do with the castle nut is just go all the way until it's fully tight and then back it off. I wanna make sure that we have no play in our drum. So now that I have it fully tight, back it off and we'll line up, a little bit more. We have our opening for our cotter pin, and now we'll just slip that right in. And I go just a little bit looser. There we go, and then we'll take our needle nose pliers and pry our cutter pin back up. Last thing to do is just put on our dust cap. I like to get it on pretty even first, just by hand, and then come back (mallet banging) and tap it into place (mallet banging) with a rubber mallet. (mallet banging) And that's just gonna help prevent any grime or dust and dirt from getting in there and messing up our grease. Well, I think that about does it for today's look at and installation of the Dexter's line of hub and drum assemblies. My name's Kevin. Thanks for watching.
Customer Satisfaction Score:
87% were satisfied with this product
13% of customers were not satisfied
Ratings & Reviews

Great OEM product. Excellent shipping t ime.
Exactly what I wanted. Super fast shipping. I will buy from etrailer.com for all my future needs. Keep up the great work!
Hub and breaks were delivered quickly and price was great. The items were what I expected and installation was simple. Would highly recommend this company.
The parts arrived quickly and safely. Etrailer answered all my questions when I called and when I wrote by email. The parts are very high quality as well.
Quick shipping, easy to deal with. Correct parts. Thanks
Perfect fit for my RV. Only took 30 min to pack wheel bearings with grease and install it.
Great service before the sale. Karen answered all my questions and helped confirm the hubs would work for my conversion. Fast shipping. Hubs worked as planned...couldn't ask for more. Thanks Karen!
Hubs were in excellent condition. All machined surfaces looks like they just came off of the lathe. Painted surfaces looked to be well done also. Bearings came in a separately packed box inside one of the larger boxes to protect them and they were individually packaged in zip lock bags to keep out moisture.
Shipping only took three (3) days---that's amazing.
Added brakes to a 2900# trailer that I had for over 40 years. Needed new rims so I went with 6 bolt pattern. Everything went together without any issues.
I had a very pleasant experience dealing with etrailer. Their customer service department was exceptionally responsive to ensure that I got my parts on time. Five stars isn't enough
Drums, Bearings, & Brakes arrived promptly within a few days of ordering. I chose the Dexter brand parts for 2 reasons. One because I have owned as well as installed Dexter parts in the past and I am familiar with the quality and craftsmanship. Also, and foremost "Made in the USA". Kinda makes you wonder. Do the Chinese look for the "Made in China" label?
Thank you,
God Bless America!
I'll be back,
PJF
Very happy with product and price. Shipping time was just what I expected. When using the online catalog I was able to pin down the parts that I needed. The one thing that would have been better was that the backing plate bolts didn't come with nuts (7/16 fine). The size is not that common so a trip to the store was required. Overall, very satisfied.
When I called last year I got a young women on the phone who was very helpful. She explained to me how to check my trailers axle to make sure I purchased the correct parts. When I received the parts everything was perfect. They fit and have been working great for the last year and don't see anything changing. I have made numerous purchases from etrailer and don't see that ever changing. Thanks for the help.
I installed these hubs as part of an upgrade and rebuild of a 20 year old trailer and so far they are working great! I wanted to convert my trailer to 6-bolt wheels to make them standard with my other two trailers and the conversion worked flawlessly!
We purchased several items from etrailer.com. The buying process was easy as most online purchases. The thing that stands out is the communication after the purchase - acknowleging the purchase, informing when it ships and following up after notification of delivery. Nowadays it rare to receive good customer service. This is one company that is doing it right!
Great quality! Several months of daily use and no issues.
Great service, received the wheel hub , placed on axle , haven’t moved trailer yet but all parts fit perfect
Thank you for your expeditious shipment! Arrived quicker than noted. I always try to get OEM replacement parts rather than after market, saves a lot of headaches lol. Will definitely use this company for further trailer parts. Thanks again.
Richard

6/24/2021
Havent had any issues, working just as expected. Great replacement, have another trailer needing this upgrade.
The products and support are great
Disappointed that the 7/18-20 nuts to mount the brakes aren’t included. Really? Sounds odd that when changing the brakes you’d think the nuts would be salvageable
So far performing well. Have not been able to use trailer yet as much as I wanted too.
The part I needed and shipped to me fast
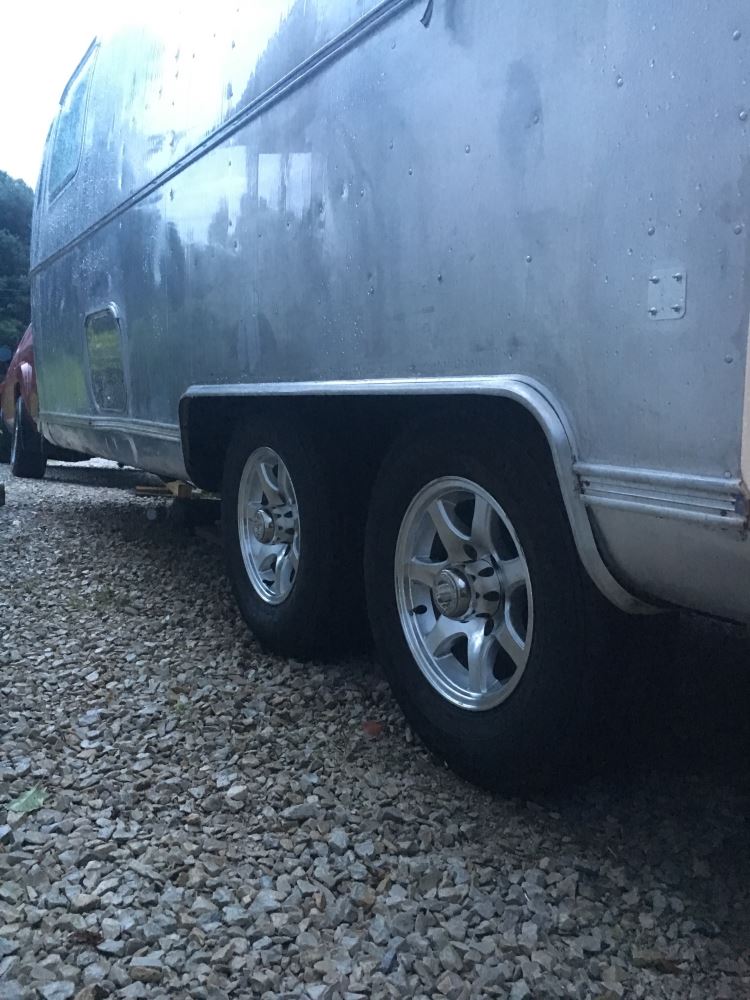
Nice Product, fit my 1975 Airstream camper perfect! Very pleased with the quality. Arrived in timely manner and well packaged. I will purchase from etrailer again.
The grease cap was bent and dented when received.
Outer races were installed making the rest of the installation easy. Shipping was fast and on time. Packaging was solid. Great deal for all that was included (drum, bearings, lugs, seal, dust cover). Don't forget you'll need a new cotter pin since that is not included. Only problem I had was that I lost a lug nut.
Took a couple try’s to get the correct part but thanks to their outstanding customer support I was able to get it sorted out.
Do you have a question about this Trailer Hubs and Drum?
Info for this part was:
At etrailer we provide the best information available about the products we sell. We take the quality of our information seriously so that you can get the right part the first time. Let us know if anything is missing or if you have any questions.





















Victoria H.
11/5/2024
Hello Gerald, it's awesome everything fit perfectly for your set up and that you received great service during your purchase! Feel free to let us know how everything works once you get it moving.