
To see if this custom-fit item will work for you please tell us what vehicle you'll use it with.
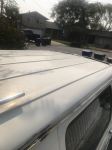
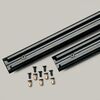
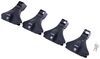
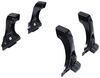
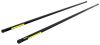
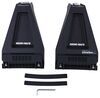
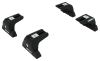
This durable roof rack lets you carry gear and cargo on your vehicle. Hardened steel crossbars accommodate clamp-on accessories. Elastomeric coating protects against corrosion. Installs to the rain gutters on your vehicle.
Features:
Specs:

Ratings & Reviews


Do you have a question about this Roof Rack?
Info for this part was:
At etrailer we provide the best information available about the products we sell. We take the quality of our information seriously so that you can get the right part the first time. Let us know if anything is missing or if you have any questions.


Thank you! Your comment has been submitted successfully. You should be able to view your question/comment here within a few days.
Error submitting comment. Please try again momentarily.