
Thule WingBar Evo Roof Rack for Flush Rails - Aluminum - Black - Qty 2


To see if this custom-fit item will work for you please tell us what vehicle you'll use it with.


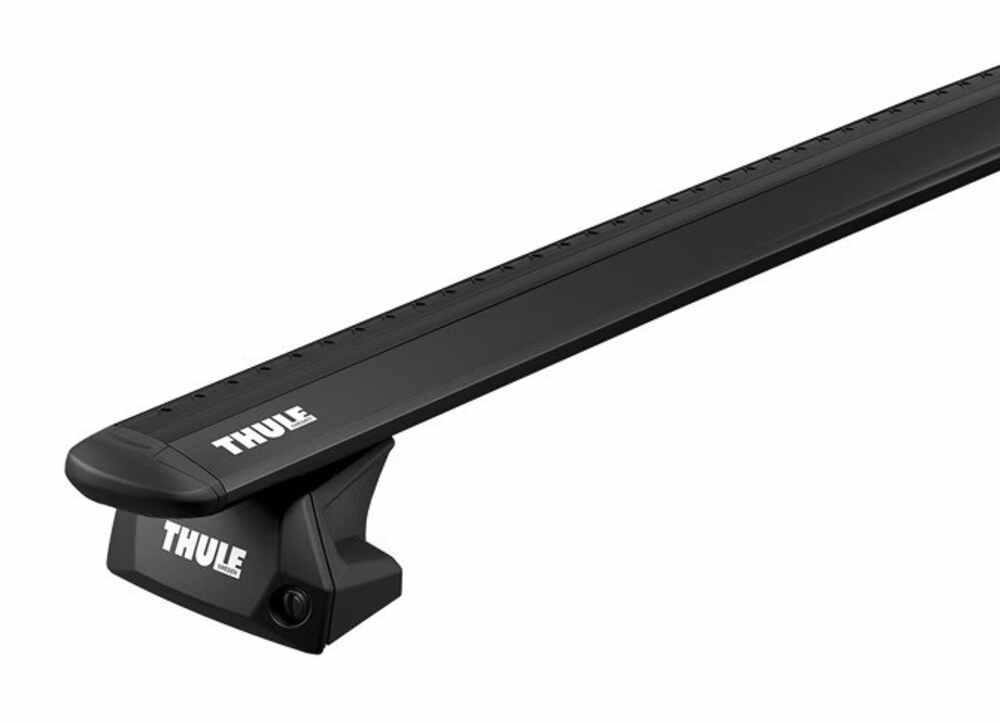


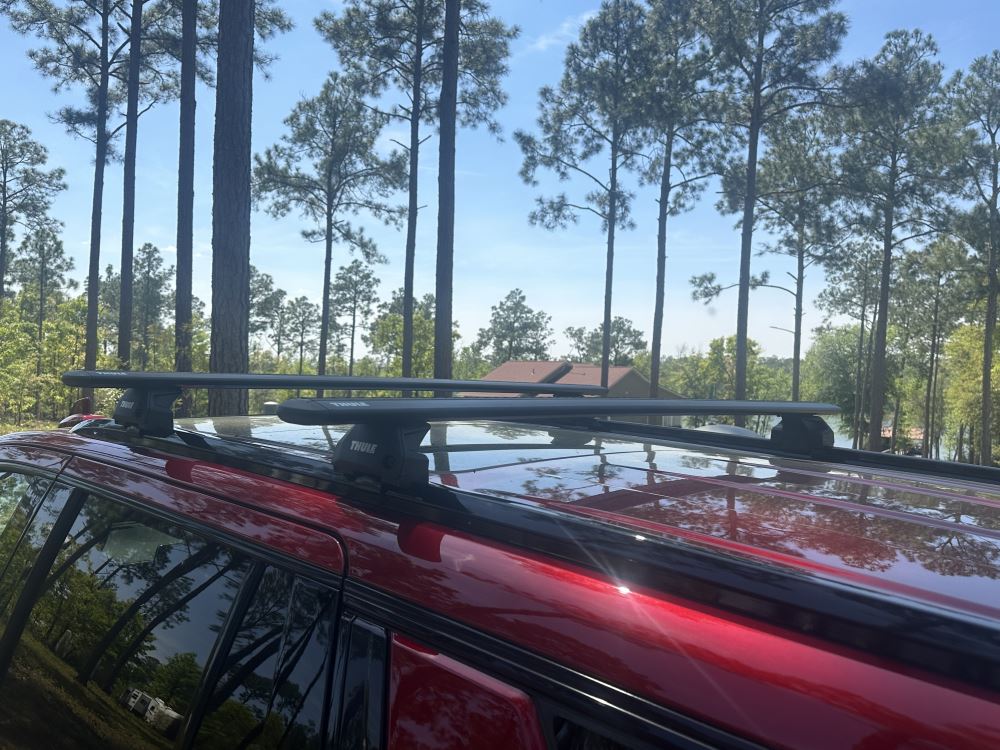
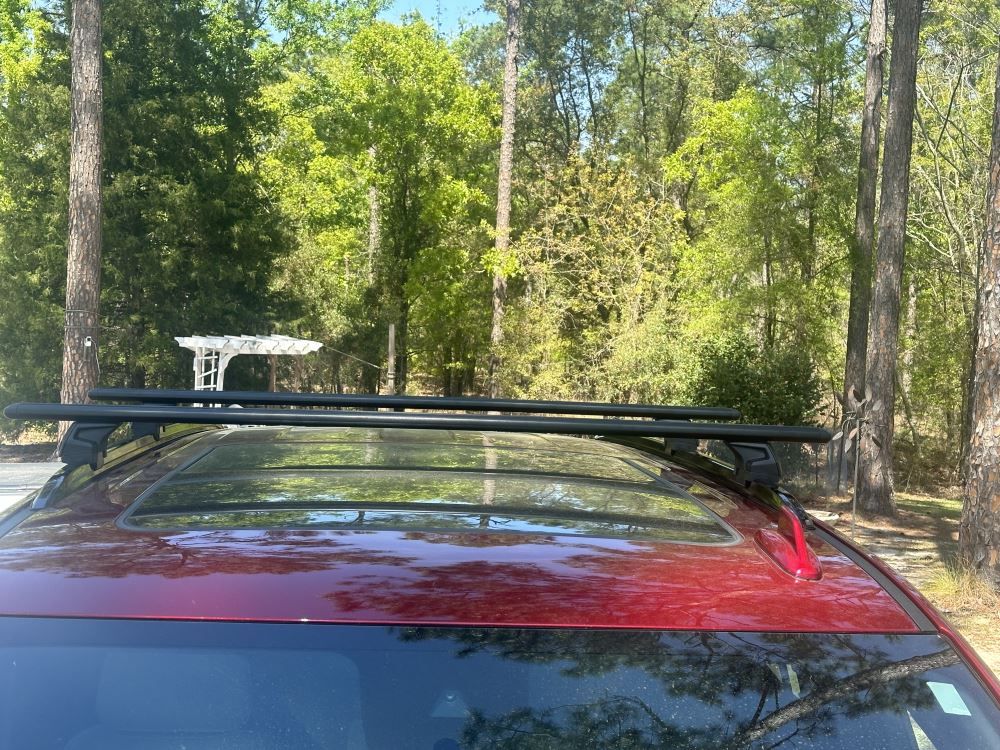
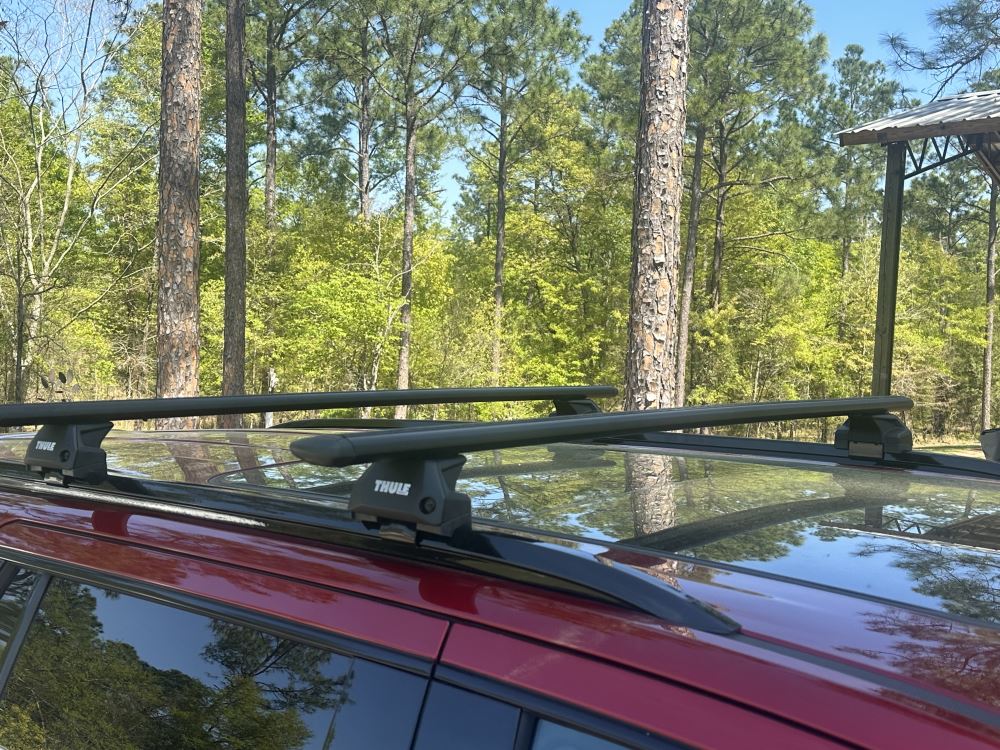
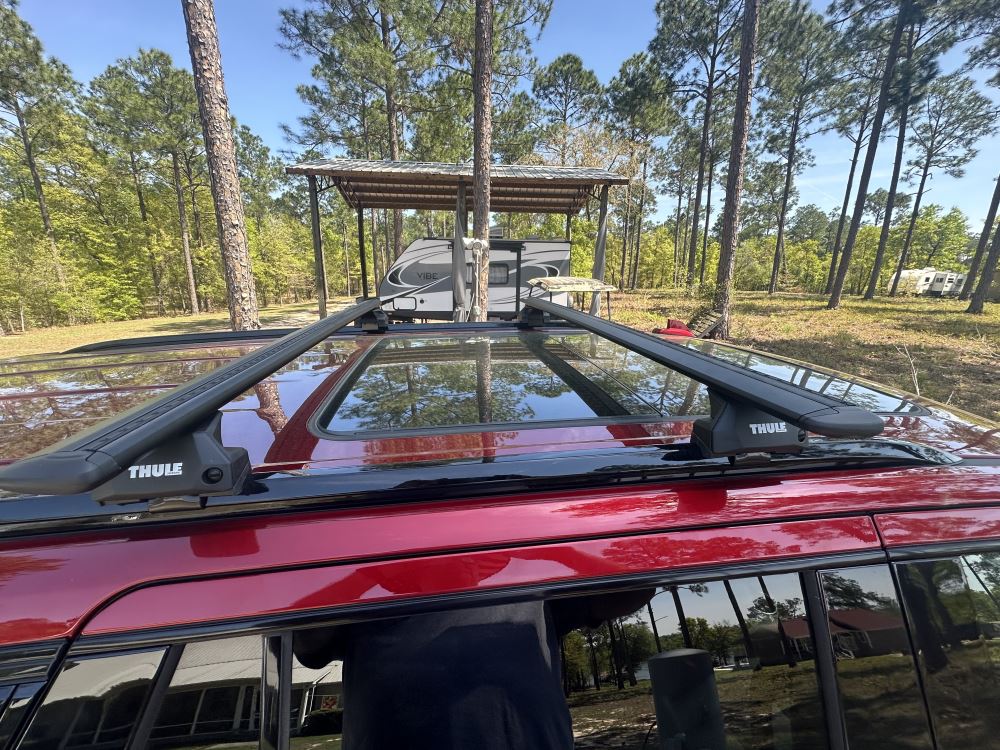
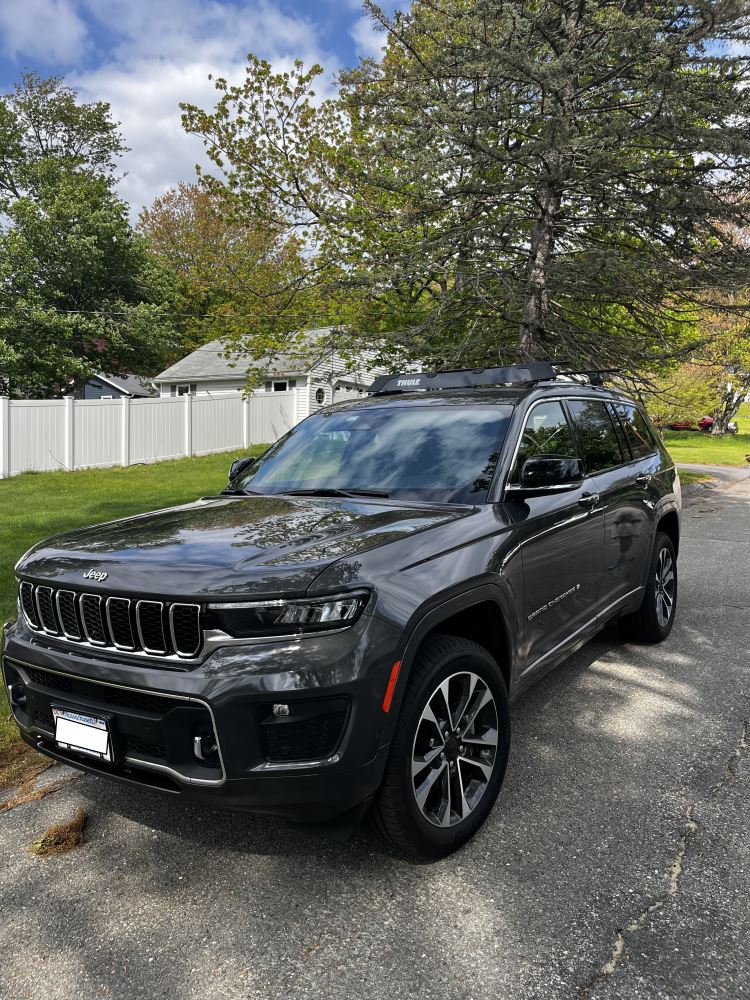
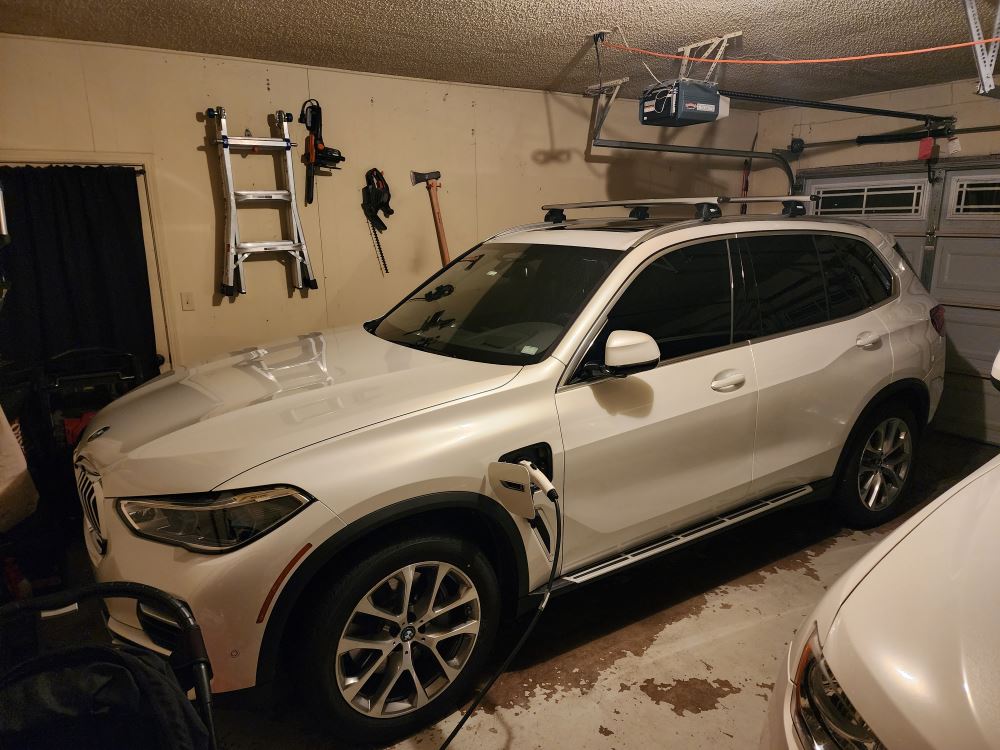
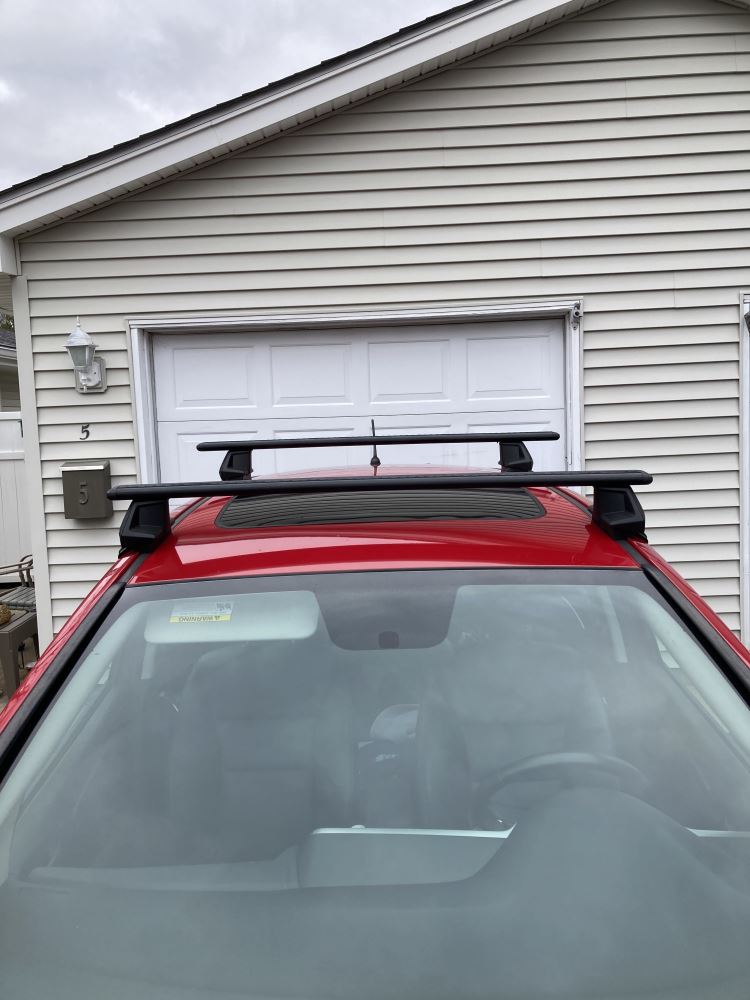

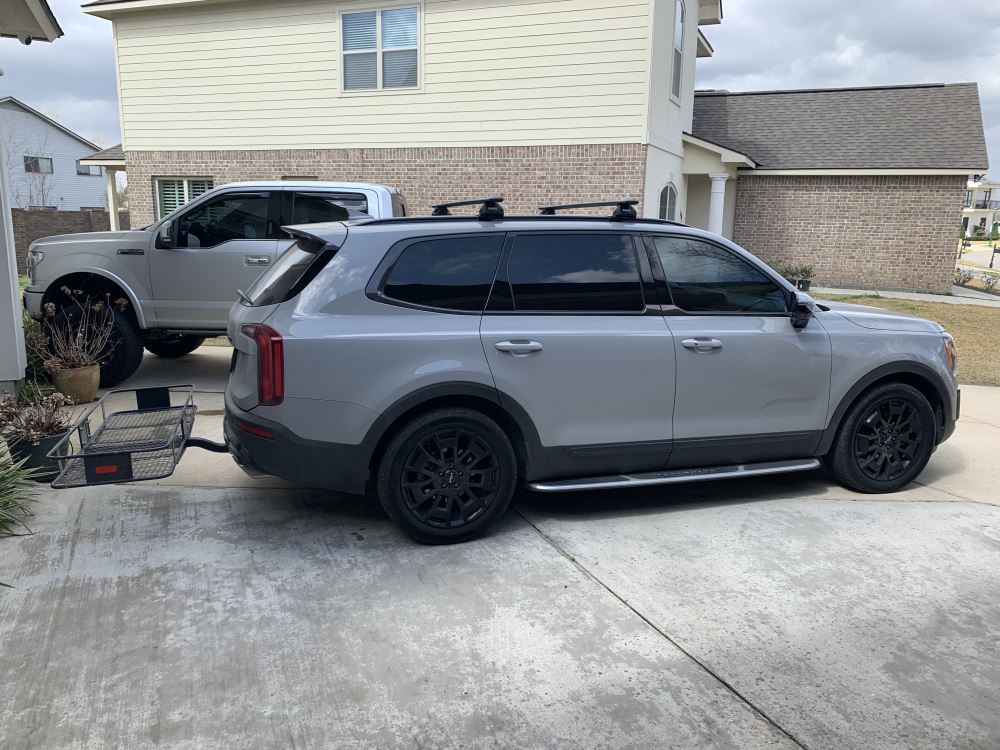
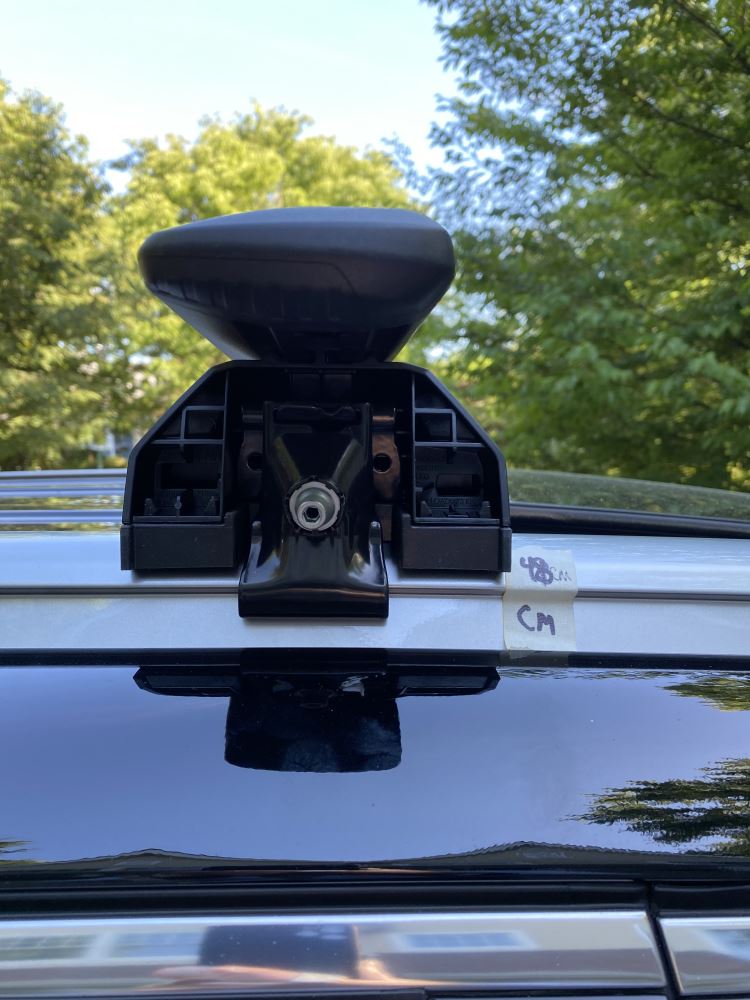
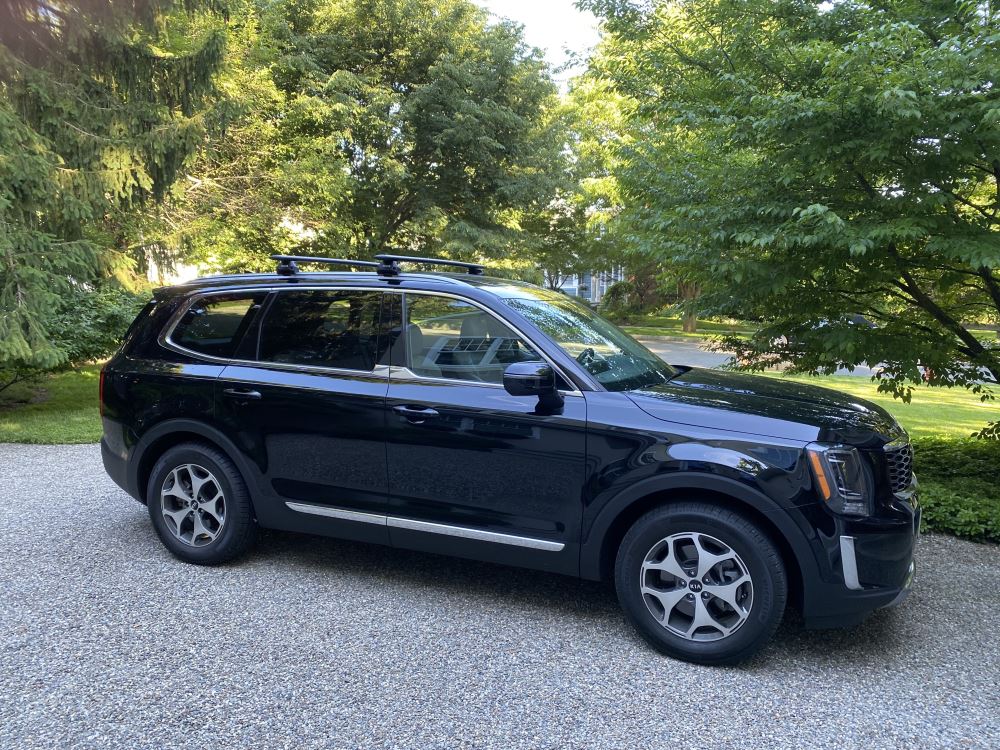
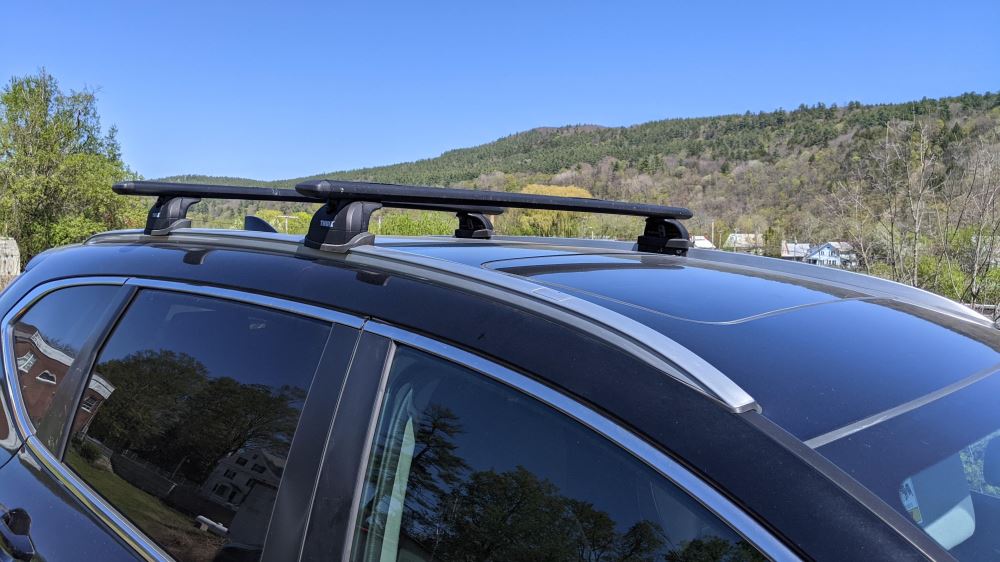
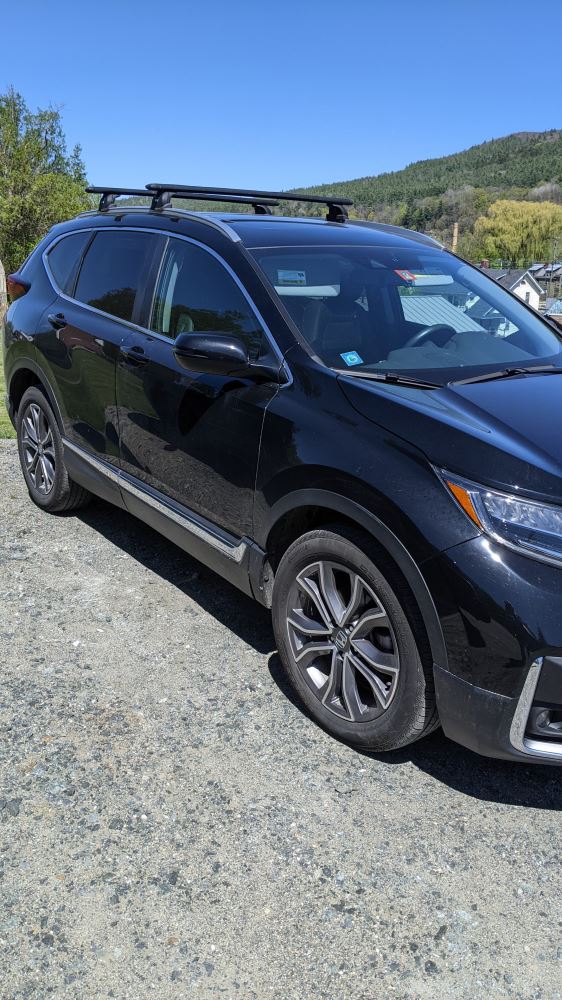
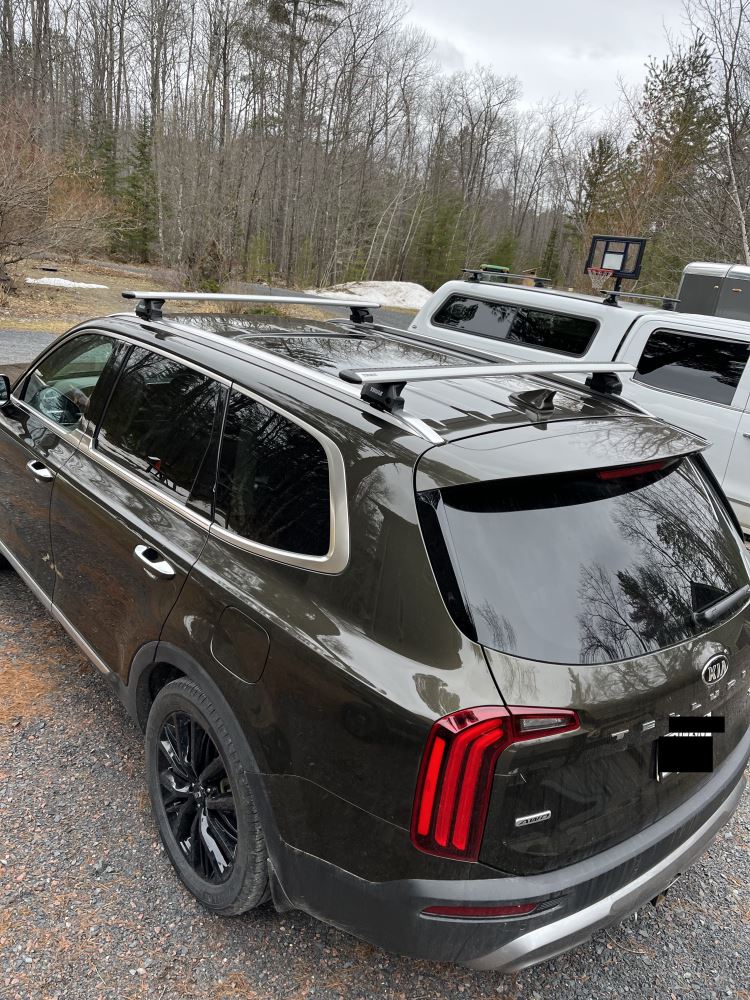
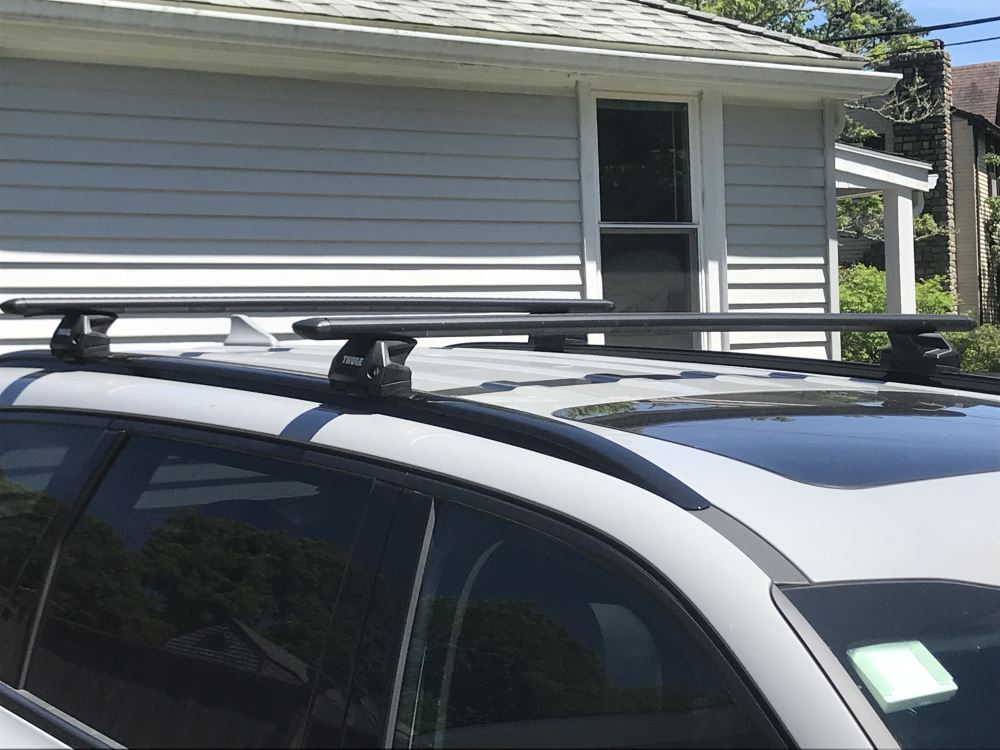
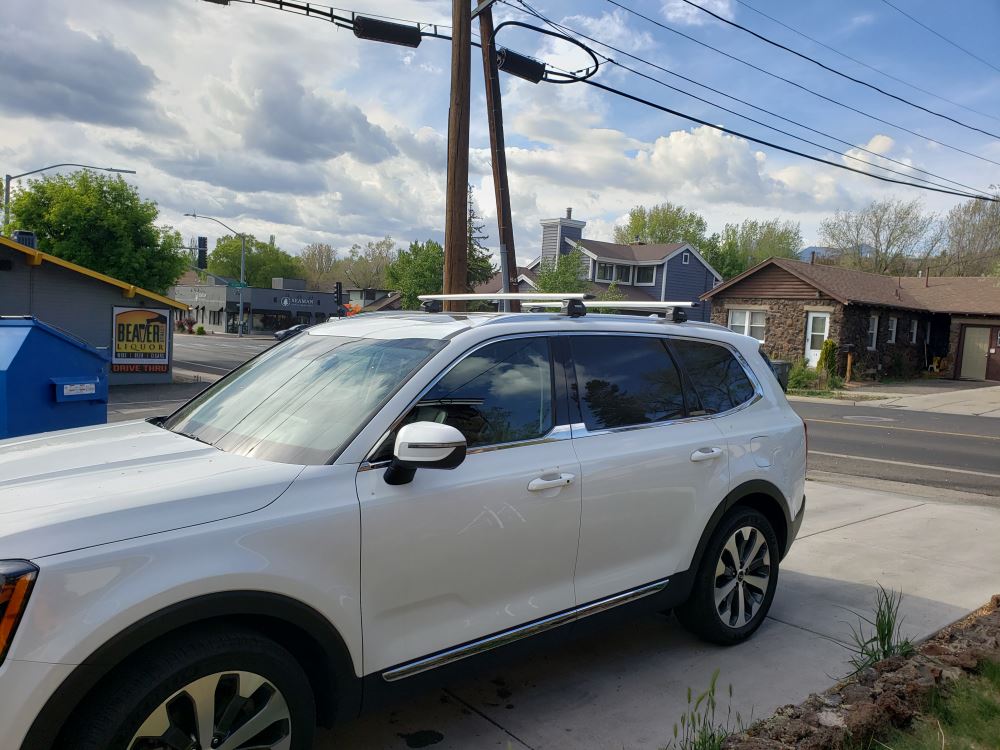
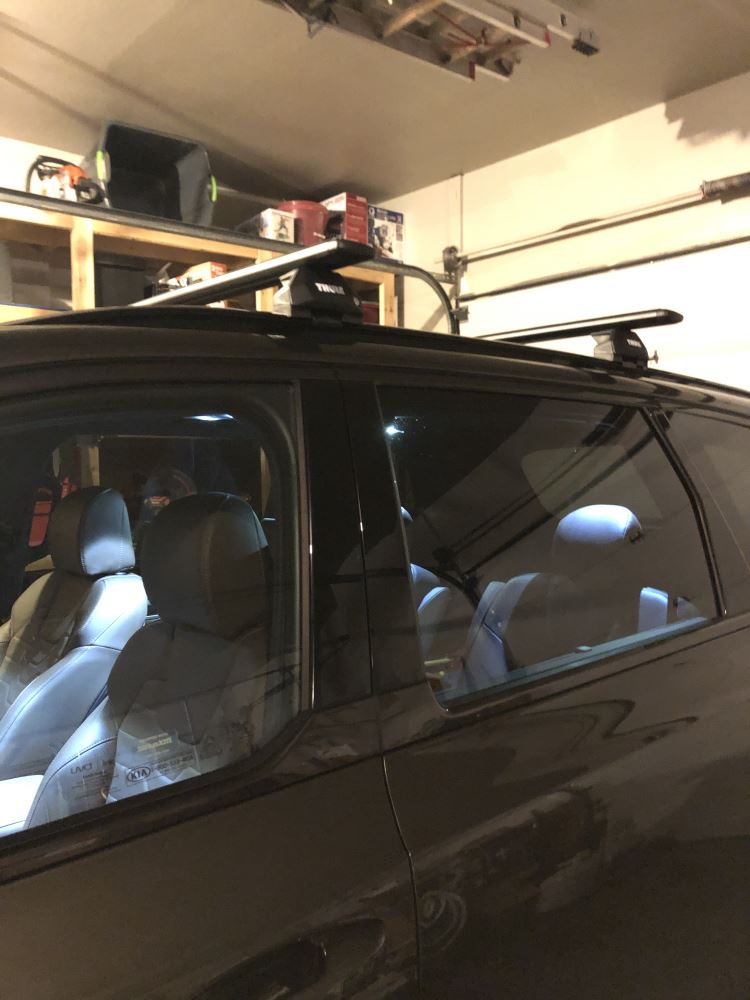
When you're logging highway miles with gear on top, quiet matters. The Thule WingBar Evo crossbars are built with an aero-style shape that helps reduce wind noise and drag. Split rubber strips in the top channels seal around your accessories, cutting down on vibration and whistling while you drive. The result is a smoother, quieter ride even with a full load up top.
Some racks make you trim rubber strips before adding mounts, but not this one. The WingBar Evo’s split strip design lets you slide channel-mount accessories right into place—no cutting required. Once mounted, the strips close back around the hardware to keep wind and weather out. It’s quick, clean, and keeps the bars ready for whatever gear comes next.
Whether it’s a kayak for the river or a cargo box for a road trip, this setup gives you options. The aluminum crossbars work with both channel-mounted and clamp-on accessories, so you can use the carriers you already have or mix in new gear later. With a 165-lb weight capacity (always stay within your vehicle’s roof load limit), you have plenty of room to bring along what you need for the weekend or a long haul.
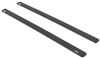
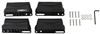
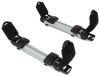
These 47" long bars are made from aluminum for strength without unnecessary weight. They come in black for a clean look that fits in anywhere and hold up against heavy use over time. The full system includes 2 WingBar Evo crossbars, 4 Evo Flush Rail feet, and a custom fit kit for secure installation on your roof rails. Add Thule One-Key System locks (sold separately) if you want extra theft deterrence for your rack and mounted accessories.
 Alternate Instructions
Videos are provided as a guide only. Refer to manufacturer installation instructions and specs for complete information.
Hi, Matt with eTrailer. If you have a 2024 Jeep Grand Cherokee 4xe, and you're looking for something that's gonna look nice on your roof and allow you to carry a lot more accessories when you're going out and about, especially for those more recreational uses, then the Thule Roof Rack is gonna be a great option for you. So, let's check it out. And what I really like about a roof rack is, if you have anything that is longer or larger, your roof is a perfect spot for it, because if you can't fit it inside your vehicle, or on the back of your vehicle, like in a cargo carrier, then your roof's gonna be a much better option, especially if you have anything like skis or a kayak. Now, you could always use the trailer, but the trailer is gonna extend the footprint of a vehicle by a lot more, while this is just gonna keep it all in one spot. Now, what I like about this one particularly is it's a really easy installation, and it looks nice on a roof compared to some other options out there.
But let's break down what comes with your kit. So, it's gonna be in three parts. Up top, we're gonna have our 47-inch crossbars. Beneath that, we're gonna have our tower, and underneath that, we're gonna have our fit kit. So, starting with the very top, these crossbars, like I said, are 47 inches, they will work with a wide variety of different types of accessories, and that's gonna be because of the type of shape we have.
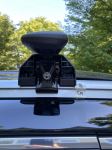
This is an aero shape to help it be more aerodynamic, to help reduce wind noise. And something that's gonna help reduce wind noise is gonna be this rubber strip that's built in. And what this rubber strip is protecting is our T-channel. So, let's say you have a type of accessory that won't fit around here very well, or you wanna place it right at this tower, then you could put a accessory in through this T-channel instead. And what's nice about this is, to really access that T-channel easier, We actually have this end cap built into here, so you can mount your accessory via this point.
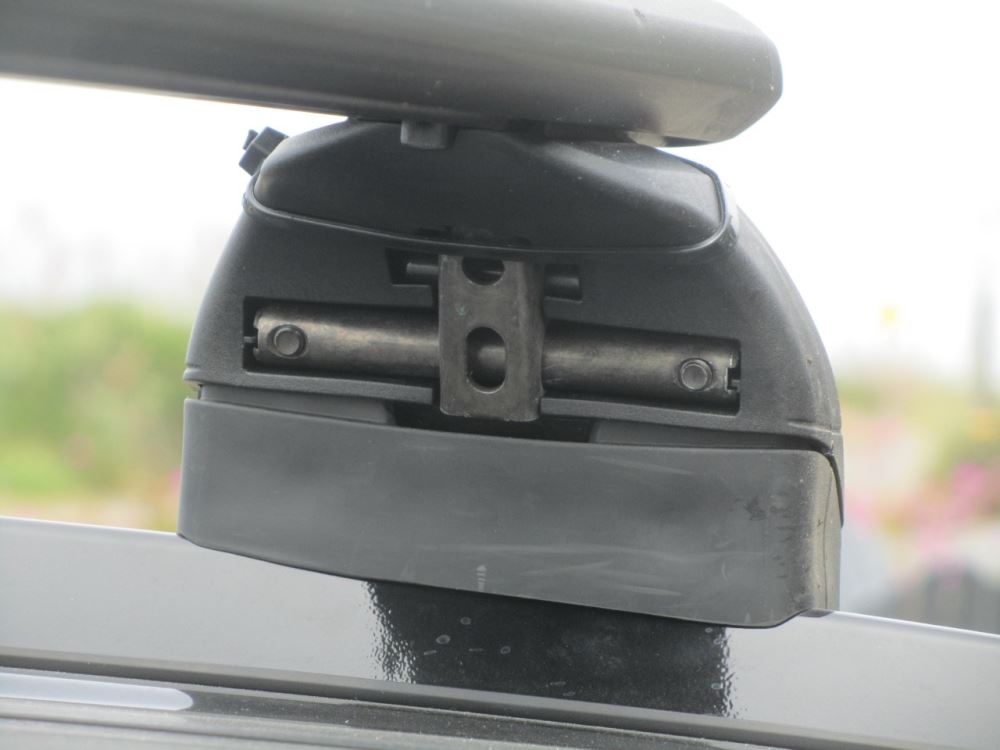
A lot of other ones, you actually have to remove that end cap completely. And if you go below that, we're gonna have the tower. This tower roof, it's pretty easy to use, we will have this plastic lock core right here, you can actually get that traded out to have a metal lock core, you can find that on our website. But I'll remove it for now. (cover clacking) And you notice, underneath here, there's not a whole lot going on.
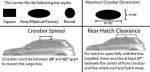
Now, the way this is held in place is just via one bolt, so that makes that installation really easy to work with, especially if you do plan on taking this off your roof. And really kind of talking about that fit kit now, all it's really gonna consist of is a clamp on either side that's held in place with this nut, and then we're gonna have this rubber pad at the bottom. Now, I'm not the biggest fan of how our fit kit is working, (cover clacking) since we do have this little gap underneath there. In some cases, that could create some wind noise, or some whistling, but the main thing I don't like it for is it's just not a super-flush look, and I just wish we'd made full contact with our rail. Let's see how this is gonna sit on top of your roof. So, the first measurement I'm gonna get is gonna be the over the height it adds. Going from the highest point, being these rails, if we measure the top of our crossbar, that is gonna be about four-and-a-half inches, which is actually pretty low-profile compared to some other options out there. So what I'd recommend doing is, same total height of your vehicle, your crossbar, or anything on top of it, to make sure you don't hit anything, anything like a garage. Now, let's get the distance underneath your crossbar. Now, if you do plan on having your sunroof open, that will take up some of that space. And right now, we're gonna have a little bit under three inches, still plenty of room for most accessories. If you have any bulky clamps, I actually recommend just putting that sunroof down, because with it down, we're gonna have more like almost four-and-a-half inches, which should be plenty for most accessories. Something else to consider is gonna be the overhang. And as you can tell, we don't have a whole lot here. This is gonna be pretty limited, so even if you had anything smaller, like a ski carrier that doesn't have very large clamps, that's probably not gonna fit right here. But that's part of the reason why we do have that T-channel here at the top, so we can get anything that we want closer to the end of the vehicle, anything like skis or a bike carrier. Now, when it comes to weight capacity, you're gonna be able to haul quite a bit up here, and what's probably gonna be your limiting factor is gonna be your roof itself. So what I'd recommend doing is just finding that out in your owner's manual, and then going from the lowest rated component. Overall, I think there's gonna be a pretty great option, for the reasons I said earlier, it's a really easy rack to work with, and it's just gonna look nice on your roof. Now, if I was gonna compare it to anything else, the Rhino-Rack Roof Rack is another great option, and really, I think it's gonna grab onto your rails a little bit better, as far as when it comes to aesthetics. Now, when it comes to the rest of the rack, I think this is a better looking one when it comes to the towers and the crossbar. But this one's also gonna be at a much more premium price range. So it's really gonna depend on what type of look you want, and what's in the budget. But when it comes to the installation, both of them are gonna be really easy to put on your roof, and if you are curious about that, just stay tuned, we'll walk you through the process. To start off this installation, I'd like to lay everything out. Now you'll also notice, I already have my front crossbar installed, but it's gonna be the same process for either side. I will say, you will have to remove a couple tabs, just make sure you keep these handy and don't lose them. But our kit is gonna consist of a few parts. So, at the very front, we are gonna have our crossbar. Next to that, we're gonna have the hardware for our fit kit, that's gonna come in a few parts. Then we're gonna have some other smaller bolts that will attach to that. After that, we're also gonna have our towers. Now, you will have one included tool, it's gonna be this Allen key, with a built-in torque device. And I recommend grabbing a few things, one being a measuring tape, and the other one being a flathead screwdriver. The first step I like to start with is gonna be removing these tabs. Now, if you have a flathead or a trim tool, you can easily remove these, it doesn't take very long. Now, if yours are a little bit more worn, a not as new vehicle, then that might be a little bit more difficult. If you don't have these, just make sure you get a wire brush, and kind of clear this out, because there could be a lot of grime stuck in there. And with those removed, we can move on to putting our brackets on. This is what the bracket's gonna look like, and we're gonna want it in this orientation if it's on your driver's side. Notice how this comes in some This should be hanging over your rails. And what we're gonna do is line up the two holes on each end with those openings, and grab these included bolts from our kit, and thread those in. I'll just start hand-tightening mine to begin with. Now, when you are installing these on the rear side, you will notice there is another set you can use, but that's gonna be a little bit more of a narrow crossbar spread. If you do have accessories that do use more of a narrow crossbar spread, then that's gonna be a good point to use. If you don't, then I'd recommend using the ones that I'm using. And with those hand-tightened, we're gonna grab this other included tool, this is gonna have that more of a star shape to it. And we're gonna tighten it down completely from here, just enough for it to be pretty tight, where you can't tighten it anymore. And then we'll repeat that same process on the other side. Now we're gonna move over to our towers. So, with your tower, we're gonna flip that around. You're gonna notice we have this exposed bolt, and we're gonna start installing our fit kit. Now your fit kit will be labeled with A, B, and C. That's gonna be the order in which you install them. So, we're gonna start with A, and that's just gonna make sure you have these tabs that go inward to your tower, and that bolt goes through that center opening. Then, when I grab B, they're gonna have these rubber tabs underneath it, that's gonna go underneath the tower. And we wanna make sure that the front of A hook is in front of that rubber pad, just like that. And we're actually gonna hold off on installing C, 'cause I'm gonna do that once this is on our roof. Before we get this on our roof, we need to make sure we install our towers to our crossbar. We're gonna start by flipping this crossbar over. That's gonna reveal this tab on our end cap. We're just gonna press in on it, and remove this. Trick is the wiggle this as you do this, to remove it. And with our tower, you're gonna notice we have three tabs on top. Those tabs are gonna go in that channel, and we wanna make sure it's in the orientation with all this hardware facing out away from the center of the crossbar. Those tabs go right into this channel right here. Just like that. Then you'll grab your end cap and reinstall it. (cap clanging) And then repeat this on the other side. And what we're gonna do from here is make sure we get this on our roof correctly. And what I mean by that is, put it on in the right orientation. So we are gonna have a thicker side, that's gonna be the one in front of us, and the thinner side, where it tapers off, is gonna face behind us. And then we're just gonna roughly place this on a roof. It doesn't have to be perfect at the beginning, we can adjust it later on. We're just gonna line it up here, and then move it as need be. Before I tighten anything down, I wanna make sure this is even on both ends, and we're sitting kind of perfectly on those metal brackets. What we're gonna do from here is make sure we don't have too much overhang, like I have right here, and that's just gonna consist of me just kind of tapping on one side until this looks about even. And from here, we're gonna grab those C clamps, the same one that we had earlier, but this time we're gonna install it. So the way this is gonna install is, you'll notice we have an opening right here, that opening is gonna match up with the end of your A clamp. Best way to do this is put it in at an angle, and then I'm just gonna push up against it. And you're gonna see that we have that bolt sticking through. Now, sometimes that can be a little tricky to get lined up, so what I'll do is kind of push this little nut here, and then angle, and I'll kind of grab on, and then I'll start to hand-thread it. And you just kind of hand-thread that until it gets tight. You wanna make sure that this clamp is getting underneath the base of this. If it's on top, it won't clamp down. And then you're eventually gonna grab your Allen key, and we'll tighten this down the rest of the way. The best way to do this is kind of go back and forth so it tightens properly. I've already done that a few times with mine, so I'm about near the end now. (Allen key clicking) And you're gonna start to kind of hear this clicking. (Allen key clicking) Just like that. That's gonna let you know it's all the way tightened into place. And from here, we're just gonna put our end cap on. Really, you just push against there, it'll be good to go, and then you can lock this up. Afterwards, I think it's a good idea to just come by and give this good shake test, make sure it's not moving. It's feeling pretty sturdy, so we should be able to take it out for a ride now. But that's just a look at some of the features and the installation of the Thule Roof Rack on our 2024 Jeep Grand Cherokee 4xe. I'm Matt, thanks for watching.
Ratings & Reviews



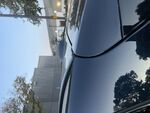
Do you have a question about this Roof Rack?
Info for this part was:
At etrailer we provide the best information available about the products we sell. We take the quality of our information seriously so that you can get the right part the first time. Let us know if anything is missing or if you have any questions.




























Thank you! Your comment has been submitted successfully. You should be able to view your question/comment here within a few days.
Error submitting comment. Please try again momentarily.