


 Arrives before Christmas
 To see if this custom-fit item will work for you please tell us what vehicle you'll use it with.

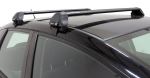
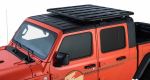
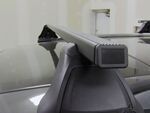
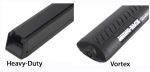
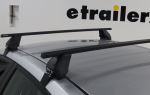
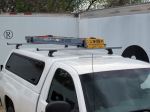
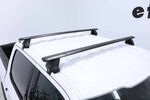
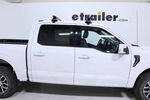
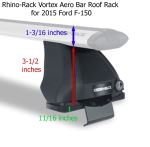
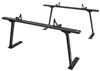
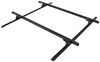
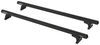
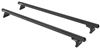
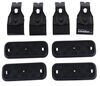
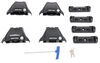
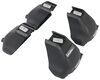
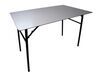
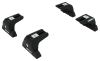
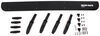
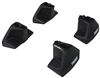
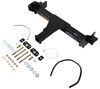
These heavy-duty, aluminum crossbars work with Rhino-Rack legs to create a sturdy roof rack. The square bars have top channels for mounting Rhino-Rack contractor-grade accessories. Installs on your vehicle's naked roof.
Features:
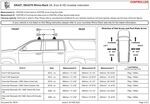
Specs:
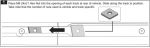
 Alternate Instructions
California residents: click here

1 of 6 items I ordered all 6 came in quickly. Easy install, good price, customer service followed up and kept in touch
Easy to assemble. Instructions for install was very helpful and had no issues.
Good product..simple install...wish the instructions were not in mm
Installation went well. Had one of the 4 locks that does not work.
Great shipping
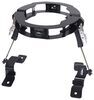
A real clean mounting clamp.
The product works great and went on to my bracket awesome and attach it to my car great
Fast shipping and great product
Easy to install and easy to use. Great set of clamps.
Instructions were clear, measurements were accurate, and the assemblies are solid. All the posted photos showed exactly what to expect.
Very good product. Excellent customer s ervice

Works pretty good. Thanks for carrying this item
Great product, great price, great customer service.
Hard to get through onvv by the phone due to extremely long wait times but once I finally got through, was able to order what I wanted.
The Rhino rack I ordered is decent. However it arrived without all the pieces needed to assemble. I contacted etrailer and they wanted pics of the holes in the box ( which I understand they need to file a claim) Unfortunately I STILL haven’t received the required parts 2 weeks later and I’ve moved (why I needed the rack in the first place)
So far so good! Quality seems great! Product is well priced! Fits well on my 2006 Acura TSX. The bends on the legs fit very well into the door jams.
Arrived quickly and came with easy to read instructions. Only took me an hour to set it up, and it works great.
WORKED GREAT AND DIDN'T LEAVE ANY MARKS ON THE ROOF OF THE CAR
Item as described, Very helpful customer service. I highly recommend this company.
Roof rack looks great. Easy to install.
Great product, installation took a while but overall very happy. Staff was excellent. Delivery on time
Great product. Didn't care for the look on a naked roof, but the service team is helping me with a speedy return. Thanks for the great service!
Good quality, great instructions
Product seems very durable, sturdy an rugged, Shipping wasn't bad took about a week to get. However looks like one of my rails was returned an then shipped back to me, the box had someone else's name but scratched out and spray painted, an some of the measurement pieces in the inside where already cut in half. I took the one from the other rail and made it work. Would be a 5 star if that didn't happen. However I would recommend the product overall seems pretty well. This is my first rack I've loaded one box on it and it held it down.
Fast shipping


Do you have a question about this Roof Rack?
Info for this part was:
At etrailer.com we provide the best information available about the products we sell. We take the quality of our information seriously so that you can get the right part the first time. Let us know if anything is missing or if you have any questions.


Thank you! Your comment has been submitted successfully. You should be able to view your question/comment here within a few days.
Error submitting comment. Please try again momentarily.