
Thule WingBar Evo Roof Rack for Flush Rails - Aluminum - Silver - Qty 2


To see if this custom-fit item will work for you please tell us what vehicle you'll use it with.



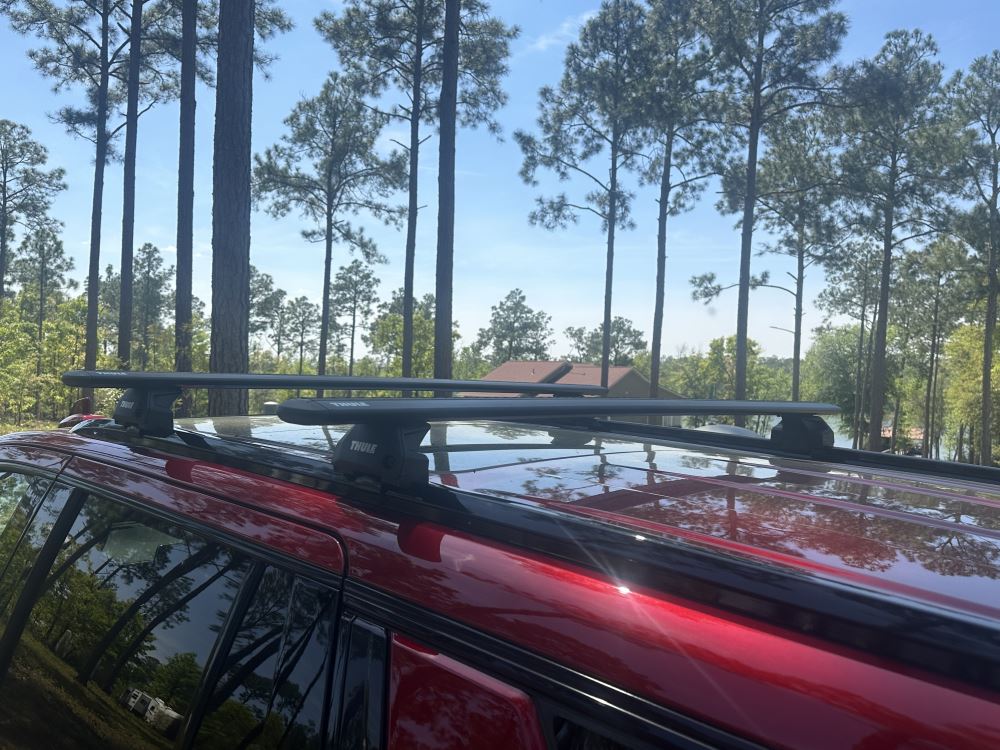
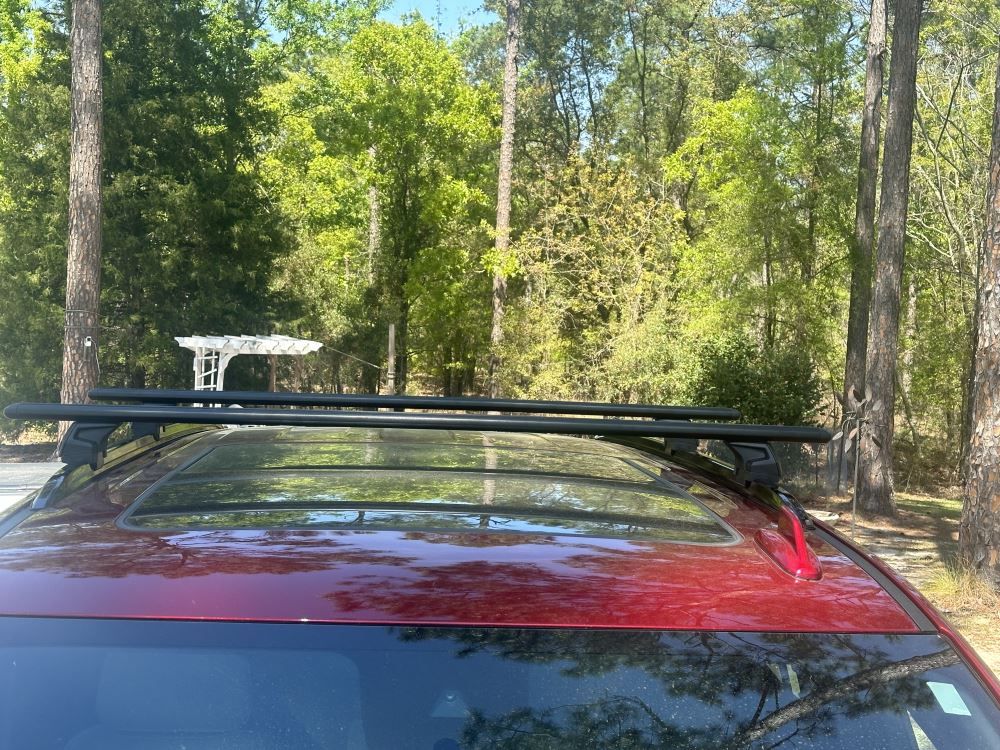
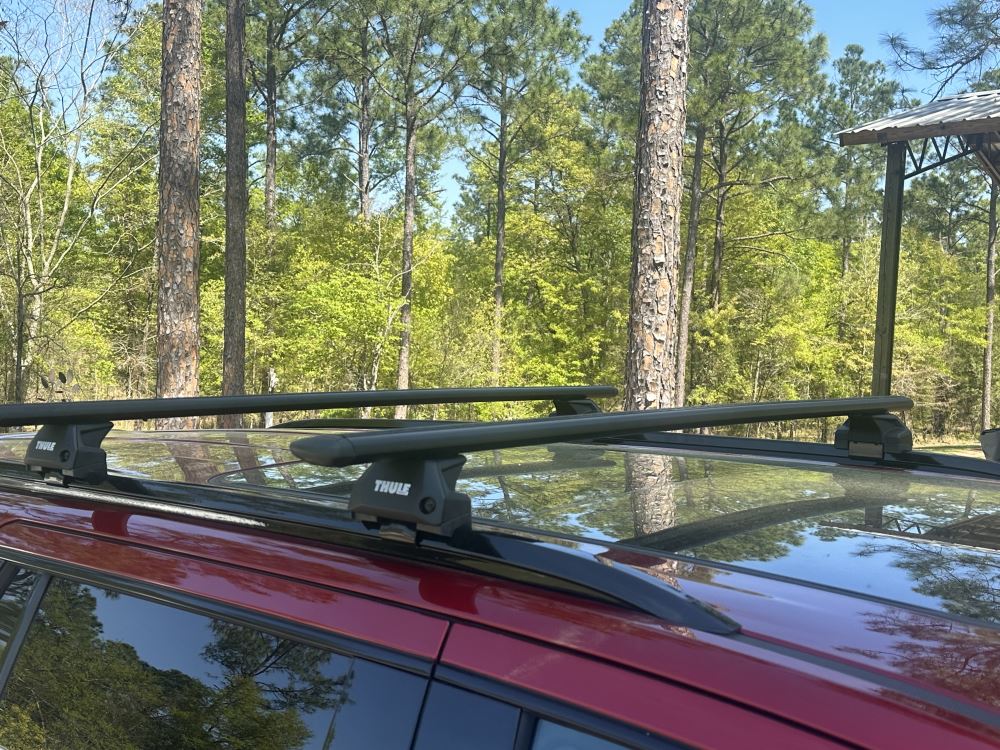
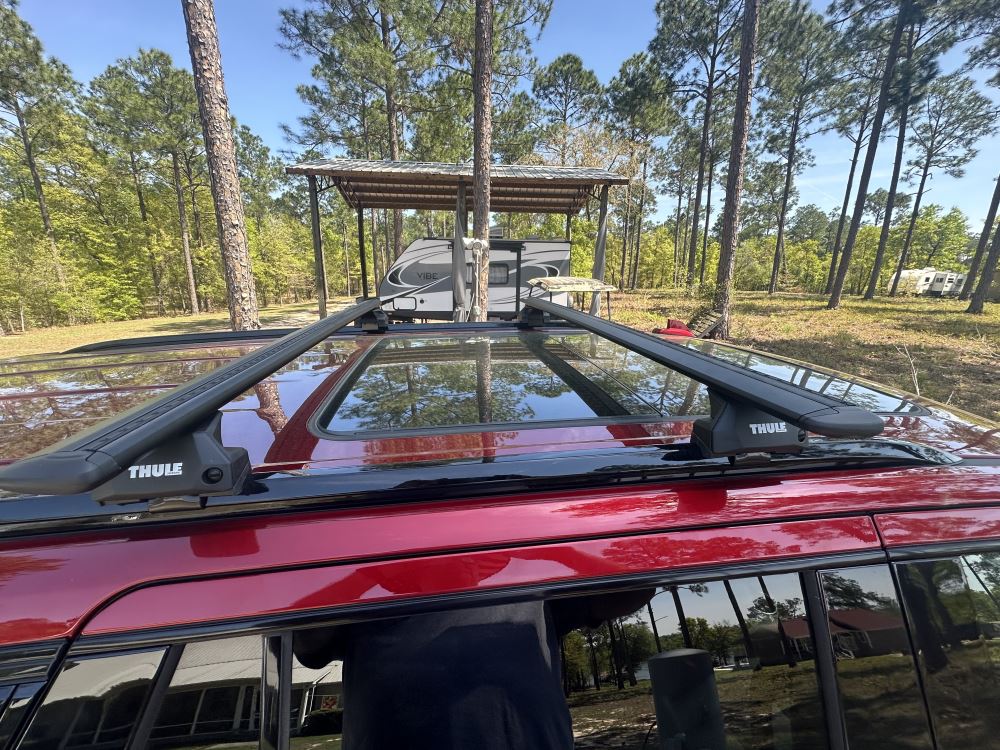
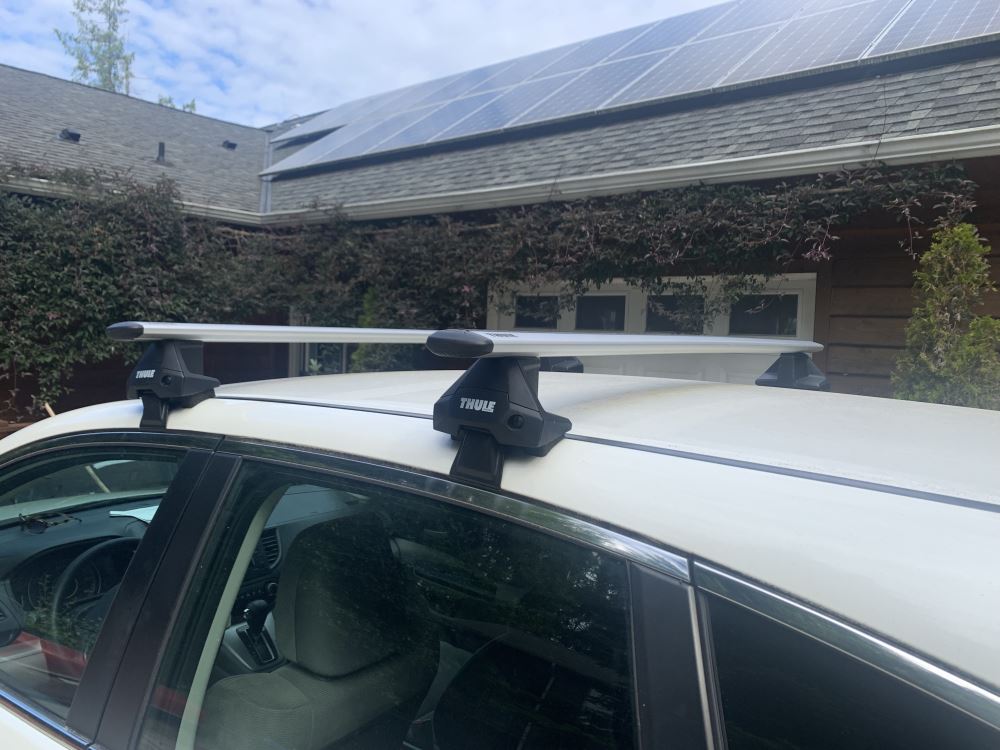
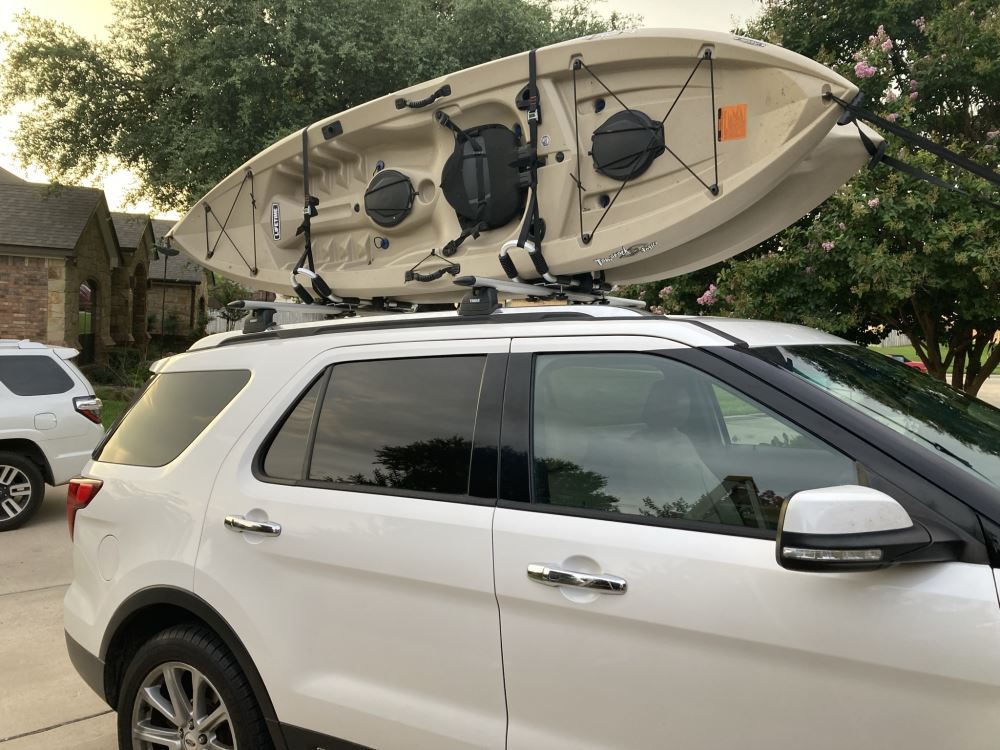
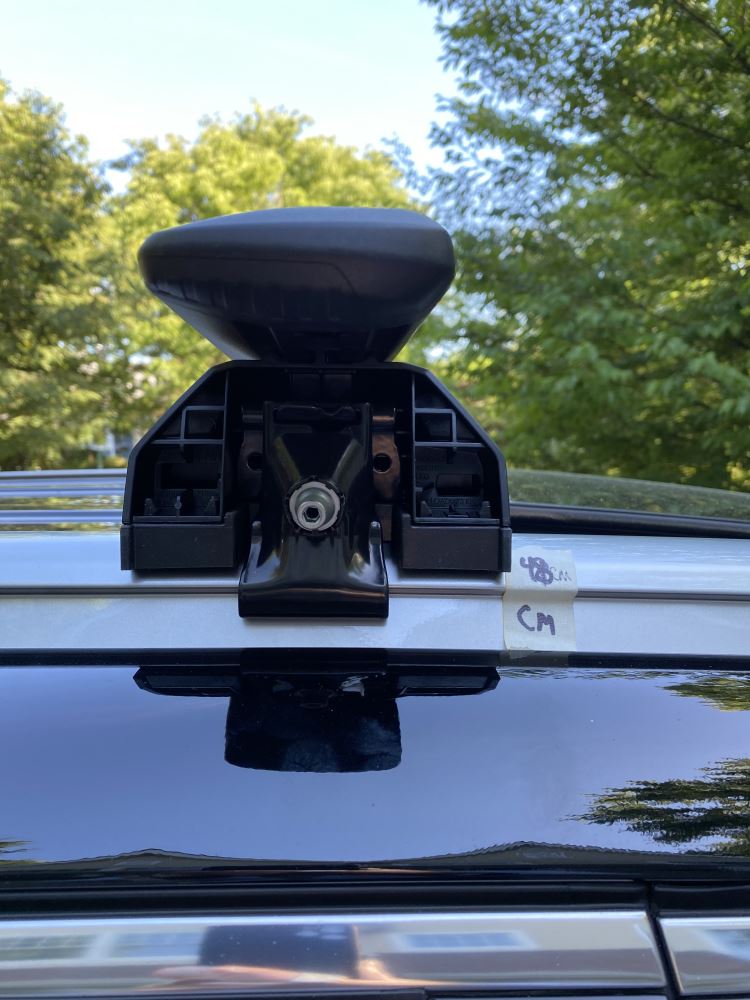
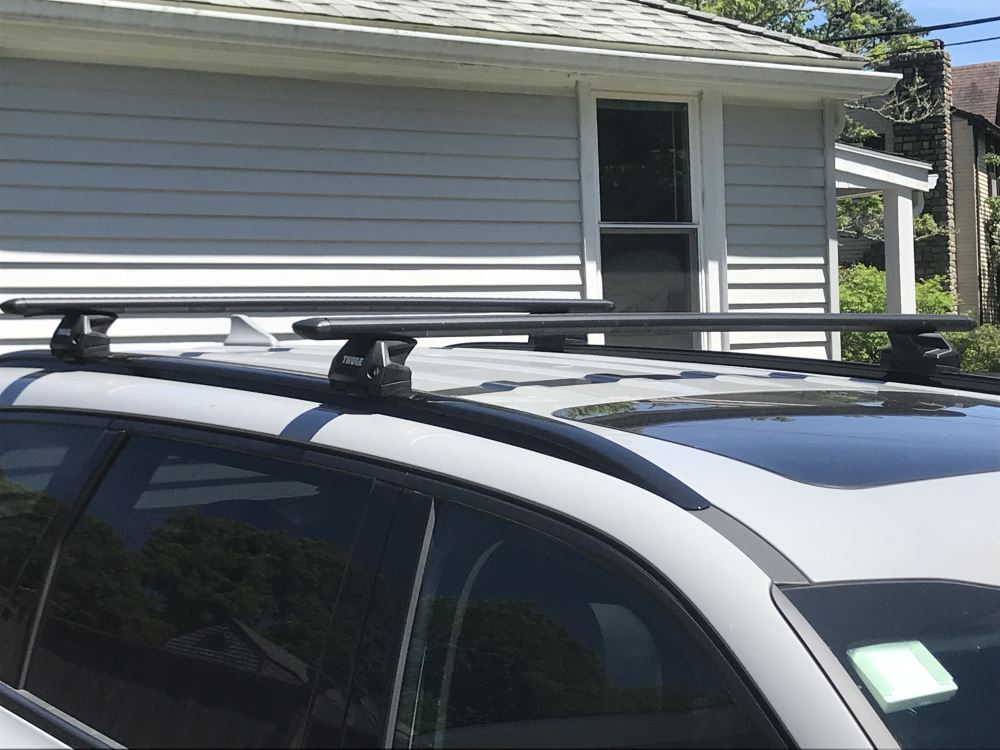
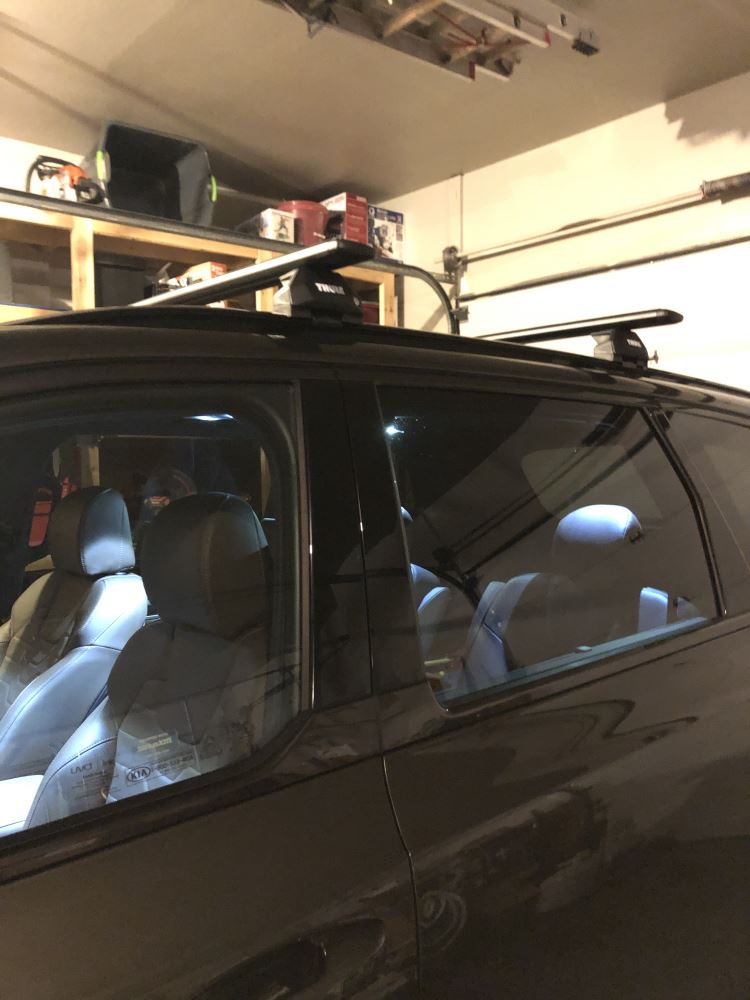
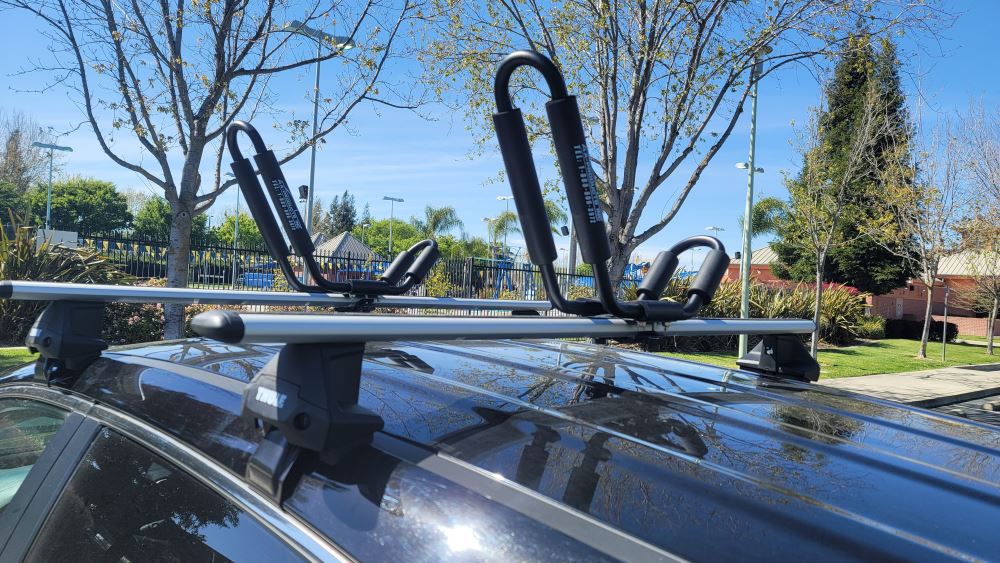
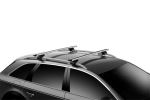
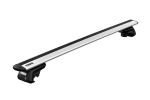
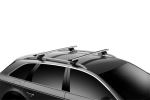
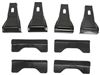
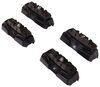
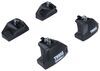
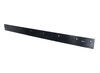
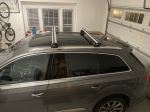
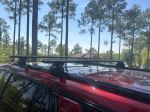
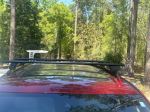
This Thule WingBar Evo system gives you everything you need for dependable cargo hauling. It includes 2 WingBar Evo crossbars, 4 Evo Flush Rail feet, and a custom fit kit. The setup installs to your vehicle’s flush rails for a tight, stable hold. With a 165-lb weight capacity (always check your vehicle’s roof load limit), it’s built to carry your kayaks, cargo boxes, or camping gear securely wherever you go.
Wind noise can make highway drives tiring. The WingBar Evo’s aero-style aluminum bars are shaped to cut through the air more efficiently. Split rubber strips in the top channels help reduce wind noise and vibration while sealing against the elements. You get a quieter, smoother drive even with gear on the roof.
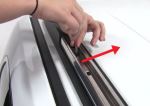
Mounting gear is straightforward thanks to the split strips in the top channels. There’s no trimming required—just slide your channel-mount accessories into place and tighten them down. The design keeps installation clean and fast so you can spend less time setting up and more time on the water or trail.
Whether it’s summer paddling or winter skiing, these bars handle it all. They’re compatible with most bike, watersport, snow, and cargo carriers. The top channels accept channel-mount accessories, and the bar shape also works with clamp-on mounts. That means one rack can serve multiple needs without changing setups for each activity.
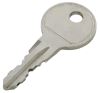
You can upgrade this rack with Thule One-Key System locks (sold separately) to help deter theft of the rack and your channel-mounted gear. It’s an easy way to add security when you leave your vehicle unattended at a trailhead or campground.
 Alternate Instructions
Videos are provided as a guide only. Refer to manufacturer installation instructions and specs for complete information.
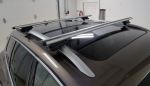
Hello neighbor, this is Curt with etrailer and today we're gonna be taking a look at the Thule WingBar Evo Roof Rack and we're gonna see how it fits and how it installs on our 2025 Jeep Wagoneer. Now, very often when we're planning for a trip, we're gonna run into those situations where we're gonna have gear that either won't fit in the vehicle or we just don't want riding in the vehicle with us. There are options for rooftop cargo such as roof boxes, roof baskets, kayak carriers, ski and snowboard carriers, all sorts of things that can be mounted up there as an alternate to using something in the hitch like a basket or cargo carrier or even a trailer. A lot of times what that's gonna do is just increase the footprint of the vehicle. It's gonna make it more difficult to park and maneuver the vehicle. And frankly, for a Wagoneer it's a pretty big vehicle as it is.
So being able to store something on the roof has a lot of advantages. Now the Thule WingBar Evo is a aero style crossbar, which means that it has this kind of ovular shape, it's gonna make it a lot more aerodynamic. So when you're traveling down the road you won't get that extra vibration and therefore you won't get that road noise. It'll be considerably lower compared to your traditional square or round bars. It is an overhanging bar, however, it does not come out significantly from the tower.
So the clamp mounted accessories it can use on this, you're gonna probably have to stick in between the towers. However, the T slot that we have up here at the top it's accessible right here through our end cap, that you're gonna have the full 53 inches of bar space to be able to use. These are also gonna have a 165 pound weight capacity. However, you always wanna double check your owner's manual and see what the roof cargo capacity is for the vehicle itself. If that number is lower than the 165, that's the capacity you're gonna have to go with.
You'll have to go with whatever number is lower. Now let's get up on the roof and take a few measurements and see how it's fitting on the Wagoneer. Now the Wagoneer has these flush rails, so the mounting points that we have for our roof rack are fixed. We're not gonna be able to maneuver these closer or further apart. And there's also a third mounting location further back toward the rear of the vehicle.
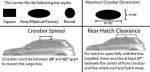
However, you won't be using that on a two bar setup. If you we inchesre to purchase a third bar and put it up, that would be where you would put it, or it's meant for those larger platforms and larger baskets that can install up here as well. But while we're looking at our WingBar Evo here, the first measurement that I want to take is what is my crossbar spread. So I'm gonna measure from the middle of my front bar to the middle of my next bar, and we're at 29-1/2 inches. And the reason that number is so important to know, every rooftop accessory has a minimum and a maximum crossbar spread that it can be used with. And at 29-1/2 inches, that to me, puts us kinda right in the sweet spot. Most of those measurements need to be between 25 and 35 inches. So being at 29-1/2 I'm not too worried about finding rooftop accessories that are gonna go with this setup. The other thing I'm gonna take a look at is how much height this is actually adding onto our vehicle. And this is gonna add another five inches of height to the top of it. So if you're concerned with roof clearance, take your overall vehicle height, add five inches, and then the height of your accessory as well. And you'll know what kind of rooftop clearance you actually have. Underneath our bar we're gonna have 3-1/2 inches of clearance, which is more than enough room for those clamp mounted accessories to reach around. And the other measurement that I want to take is I had mentioned that we don't have much room here on the overhang for those clamp mounted accessories. We're gonna be limited to what we could do inside the bars. So just if we want to know what that measurement is, that's gonna leave us with 45-1/4 inches of bar space to use those clamp mounted accessories. Now, installation, as I said, is fixed. There is a custom fit kit that specifically goes onto these flush rails. So stick around and I'll show you exactly how we got this roof rack on the roof of our Wagoneer. So with the installation, our first order of business is going to be to put up our mounting brackets. There are four mounting bracket locations. There's two on the passenger side. We have one here where we'll be installing a bracket. We have one at the second row, and then on the driver's side, it's the same position directly across from these. So if you've got a trim tool or a flathead screwdriver, go ahead and grab that and we're gonna pop these plugs out to start. Then we're going to take our bracket, which is gonna look just like this. We want basically the rail here to go in where this cavity is with the open side on the outside and the plate of it right here. We're gonna have two bolt holes here that'll line up with our holes there. And we're gonna find in our fit kit these bolts right here and an Allen key that goes with them. This is a security tool, so that's a measure against anybody coming along and taking your rack off of the rails. So we're gonna start by just threading a couple of bolts in and getting them started. Now I am tightening them down by hand. It's just a little bit easier to do than this Allen key. They are pretty close to the roof line, so getting a complete turn on this is a little bit difficult from the jump. Now one of the things that I did notice when putting some of the other brackets on is if I go into tighten one of these bolts, it is an oversized hole that the bolt goes through. So what I notice is if I overtighten it, one side just kind of pops up a little bit too high. So as I tighten these down, I'm also putting a little bit pressure over the top of them to make sure that they go down flush. And when I get 'em hand tightened pretty well, I'm gonna go ahead and grab my tool at that point, since I don't really need to make complete rotations with it, and I'm gonna go ahead and tighten them all the way down. And once all of our brackets are installed, we can move on to assembling our towers. Now all four towers use the same parts. They could all be assembled at the same time. So what you'll do is you'll take your tower here. I'm gonna go ahead and remove this nut, and the clamp parts are gonna be stamped for us, okay, so we're gonna have parts stamped with an A with a B, and with a C, and they're gonna go on in that order. So I'm gonna take this part stamped A, I'm gonna put it in so that the bolt threads through this hole in the middle and these two tabs go into these portions here up on top. It's gonna go in just like that. Now I'm gonna hold that in place and turn it over on its back. I'm gonna take part B, which is this rubber foot pad, and I'm gonna get this installed as well. Now it's important that this back end of the A clamp make sure that that's going over this middle section of your rubber foot pad. We're just gonna press that down into place till it's flush. Then I'm gonna take the C portion and I'm gonna put this on so that this part up here, this tab goes through it and this hole in the middle, the bolt will go through it. So I'm gonna put the tab in there, bring it down over the bolt, and then I'm gonna replace this nut on there as well. Now, I'm only gonna really loosely thread it because I want to have as much of this clamp available to go on my mounting bracket up there, and once that's all assembled, we could get it onto our crossbar. To do that, we're gonna go ahead and depress this tab here and remove our end cap. Then there's this slot up here and these T fittings, we're just gonna slip that on, just like that. And at this point we could just replace the end cap and we're ready to get it up on the roof. So I'm gonna go ahead and send this across over there to my passenger side, just kind of, I don't need to seat it perfectly, I just need to get it in the right neighborhood. On this end, I'm gonna go ahead and this one I am gonna go ahead and seat really well. Now the cavity underneath our foot pad fits pretty perfectly over this mounting bracket. So I'm gonna get that on there and I'm gonna make sure this front portion is gonna be able to reach underneath there and see, it'll sit down on it really nicely once it's in the right position. I'm just gonna give a few turns of this bolt just to make sure it doesn't slide around on me as I kind of maneuver a little bit. And I'm gonna repeat this process over on the passenger side. So at this point, what I'm gonna want to do is measure my overhang. I could slide this bar back and forth a little bit, but what I'm looking for is to get an equal measurement as far as how much this bar is overhanging on the driver's side and the passenger side. I wanna adjust it until that actually matches up, and once I get it to a point where it's matched up on both sides, we can go ahead and get these completely tightened down. Now one of the things is, is as you're tightening this bolt, simultaneously it is clamping down on our mounting brackets to secure it there. It's also tightening down on the crossbar itself to keep it from sliding back and forth. Now to get this tightened down completely, Thule does provide us with a tool to do that, and it is a torquing tool, so it's gonna let us know when we've got it tightened enough. We're gonna hear a nice loud pop just like that. Once you hear that on both the driver and the passenger side, everything's tightened down accordingly. I like to give it a good shake test, make sure nothing's shifting back and forth. The vehicle is moving, but nothing on my roof rack is. So now for the last step, which is to put on our tower covers. Now before I put my cover into place, I just wanna mention something about it. Out of the box Thule is going to give you these plastic lock cores, these can be locked and unlocked with a flathead screwdriver or with a coin like a nickel or something like that. But if you really want that added security, I would highly recommend you take advantage of Thule's one-key system. Thule's one-key system is gonna allow you to buy metal lock cores with the keys to go with them, and you can get them keyed alike to other Thule accessories. So if you have a Thule roof box that you like to use or a Thule bike rack that you like to use, you can actually request that the locks for these be keyed-alike to those. That way you don't have a key chain full of Thule items. You don't know what goes with what. If it's got a Thule lock, you're gonna have the key to go with it. But in order to get this up here onto our tower, there's these two tabs you see here. They're gonna go in right there at the bottom, and it's just gonna kind of click on into place from there. Then you could, in our case, take our flathead screwdriver, get it locked. Now everything's good to go. We can get our roof rack loaded up and head out on our adventure. So that's really it for the installation. Pretty simple process. The most difficult thing is actually getting up there to be able to do it all, but the position of this roof rack to me is perfect. They've got it in a perfect spot to where you could just stand right up here in your door threshold. You're right in between the bars getting perfect access to your cargo and your rooftop accessories. But if you still have questions about the Thule WingBar Evo and about how it fits on the Jeep Wagoneer, go ahead and leave those questions in the comments below. We'd love to answer those for you. It'll help you and other neighbors just like you to make the best decision for yourself. Once again, this is Curt with etrailer. Thanks for stopping by.
Ratings & Reviews

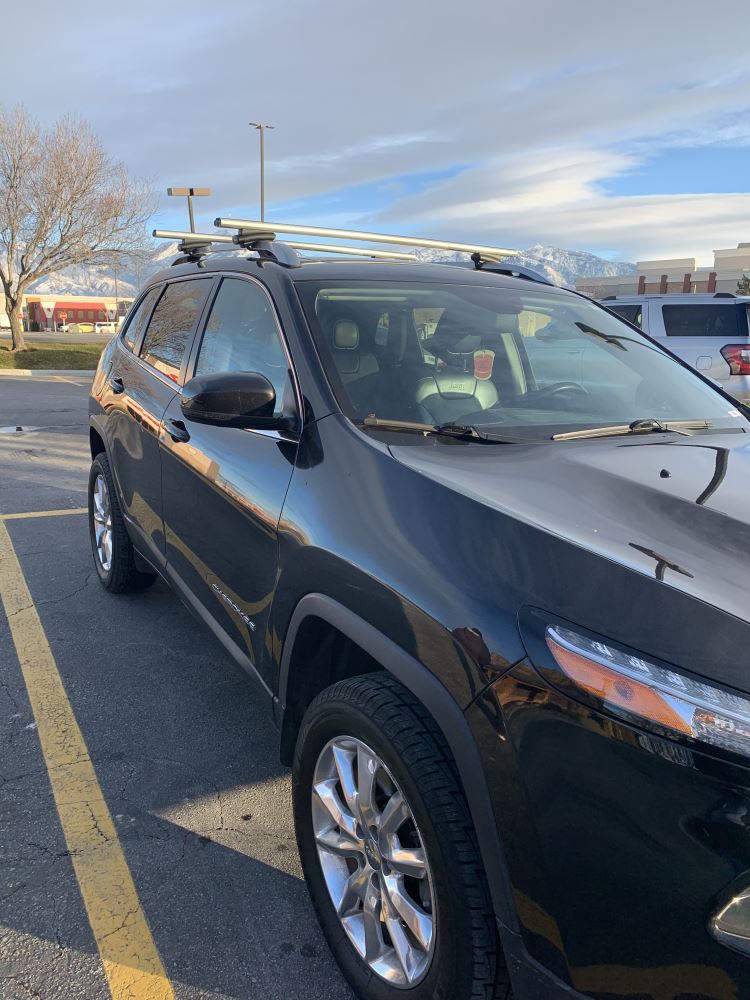
Good quality and easy to set up on my 2016 jeep Cherokee! Happy with the new cross bar setup!
Thule products are not the cheapest but they are just so well engineered it brings a smile to your face every time you assemble them. I have 7 year old aero blade bars and bought these foot packs (and fit kit) for a new car. Taking off the old feet off the bars was flawless - every part, whether plastic, rubber or metal is still perfect after 7 years of use and shed storage.
Etrailer were fabulous as usual - initial phone consultation to confirm feet will fit old bars and then quick online ordering etc.
This was the part I needed to add Thule kayak lift to my roof rack. System costs a fortune, but all is well made and works great.
etrailer was the only place that was able to provide a solution for me! I have a 2022 GLC Benz with panoramic roof. I spent many $$ for Benz’s own cross bars. They looked great…integrated with the roof seamlessly. But I couldn’t open the panoramic roof! MAJOR FAIL!!
etrailer customized a set of Thule cross bars that not only work with my panoramic roof but are quieter and look even better than the Benz product. MAJOR AWESOME to etrailer. Now listing my Benz cross bars on Craigs.
An excellent product, like all of Thule's components. I would caution customers to be sure that these bars will work with the attachments you plan to use. Some require adapter kits, which might not be needed on a different style of bar. Etrailer's customer service is very helpful & has very responsive experts to answer all questions.
Car: 4 door Civic sedan
Bought this as a set along with a set of locks. They did not have the locks in stock, so when I went ahead of canceled that portion of the order, they were able to process and ship it out the next day. It took roughly 1 week for it to arrive.
Following the instructions they provide you with was fairly simple, there was a QR code scan for a video that you can watch as well. I assembled this along with ski carriers that I had as well. I did struggle a little bit with the spacing I needed to fit my snowboard, but it wasn't too much of a hassle.
After assembling it, I was impressed with how it looked and also how stable and tight it was when I was trying to shake it around. As for the test drive, I was very impressed with how there was no wind whistle and they did not fall off (peaked at 70mph).
Overall, I would say it's definitely worth it to buy a good quality cross bar set. And more importantly it was worth it to purchase it from a retailer that does a good job processing and shipping your order without any issues!
I really love my roof rack I got from this site. At first, I was having a heard time trying to figure out the right fit for my 2017 Acura MDX. I did a research only and watched videos on youtube. I even purchased the same thule roof rack from [online vendor] but it wasn't the right fit. When I made my way to this site, they not just have the right recommendation, but they also have the right parts for my vehicle. If I ever needed anything for my vehicle and they have it on this site, I will have no trouble getting it from here. I am a happy customer and I just wanted to say thank you!
Thule makes great products
And etrailer makes it too easy to get when needed.
Superb experience with etrailer.com. From order to delivery in 2 days. All components in perfect condition and very useful video links to help assemble and mount. I am very impressed by the overall customer experience so far given by etrailer!
Solid crossbars for my 2018 4Runner. Didn't notice any lag or noise on the freeway.
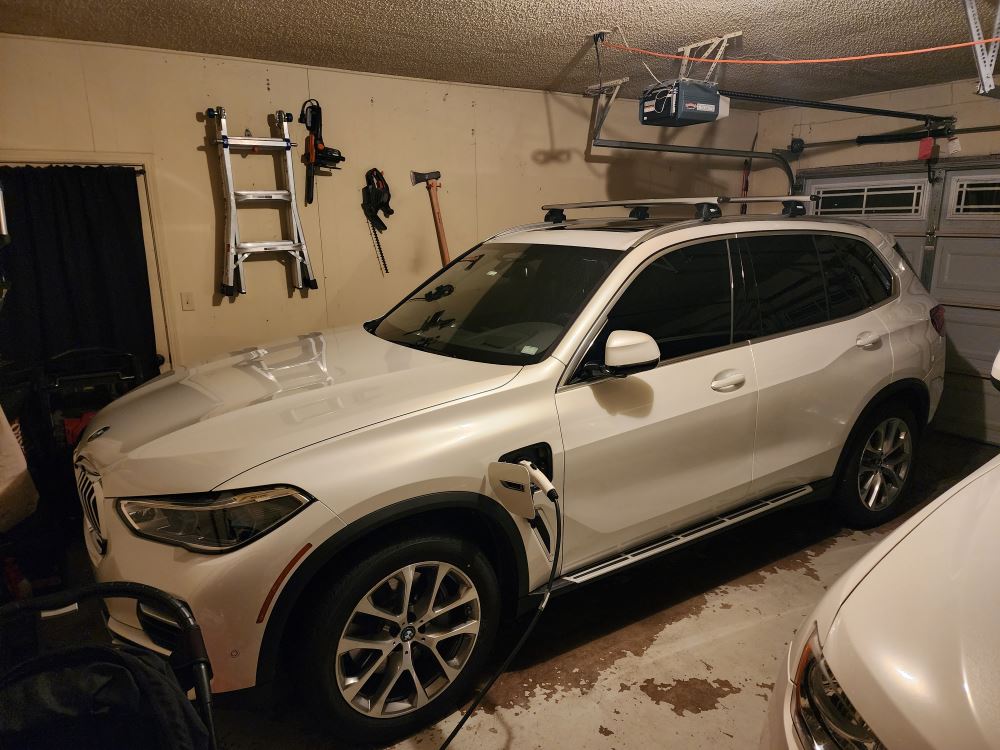
etrailer.com was excellent to do business with. Their website is informative, complete and easy to navigate. Phone service to help confirm availability of my product and their general knowledge of their products was impressive. Product arrived on time and in good shape. Their order tracking system is also very good. I’m very pleased with the Thule Wingbar Evo 135 racks For my BMW X5 with flush roof rails. They are super sturdy, solidly mounted and look good on the vehicle. Mine will be mainly used for surfboards and SUP’s. The assembly and installation was a breeze. The included written instructions would have been sufficient for a seamless installation but I also watched one of many YouTube videos that demonstrated very clearly every step of assembly and installation for this specific set of racks.
Love the racks!! I highly recommend etrailer.com for your roof rack needs.
I ordered the Thule WingBar Evo Crossbars - Aluminum - Silver - 50" with the Evo Flush Rail Feet for Thule Crossbars - Flush Side Rails and the Fit Kit for Thule Evo Flush Rail and Edge Flush Rail Roof Rack Feet for my 2020 Mazda CX9. I appreciated the product selector to make sure I was getting all the correct parts. I was happy with the products, but I did run into an issue where 1 of the rail feet had a defective bolt which required a replacement. I was very satisfied with etrailer's customer support, and how well they worked with me to get the part replaced quickly. I'm giving this a 4 start only because of the hassle of receiving a defective one initially
I love my new roof rack! It looks good, works great, and the video link attached to the email made installation a breeze! I highly recommend this rack.
Easy to assemble and install. Love the way etrailer packages everything you need and they all are correct for the vehicle you are mounting them on. Once installed they appear very strong. Installed on a 2023 Chevy Tahoe and did not interfere with the sunroof.
Very pleased with order. Shipped fast, not damaged, all parts accounted for. Easy install, very sturdy, and attractive design. Slight wind noise but that was expected compared to not having a roof rack.
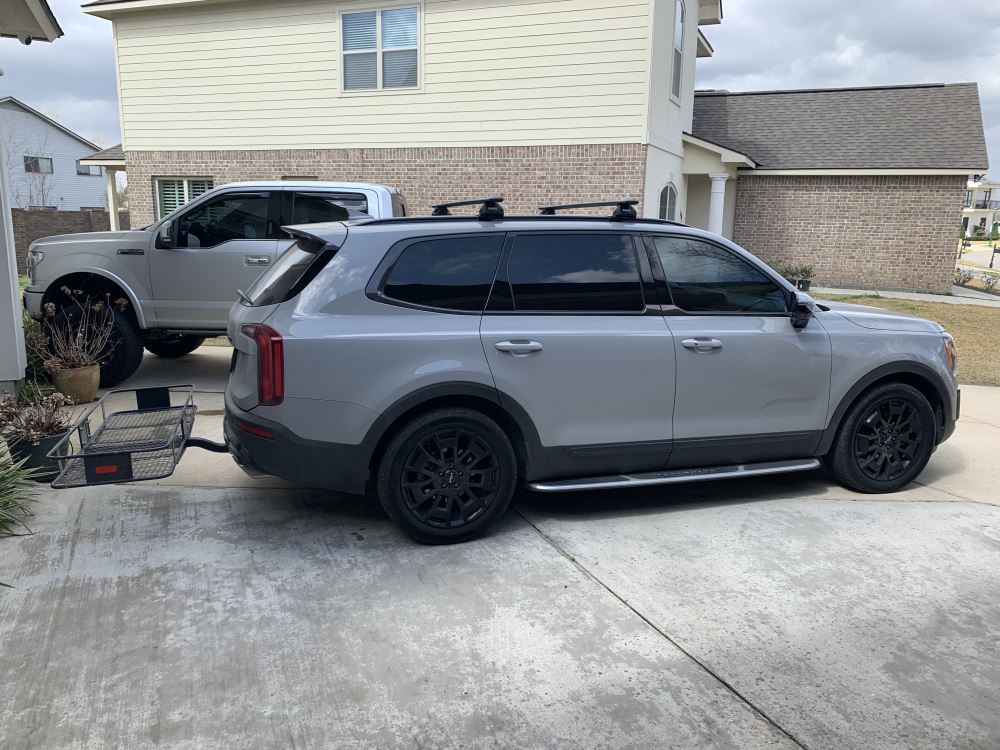
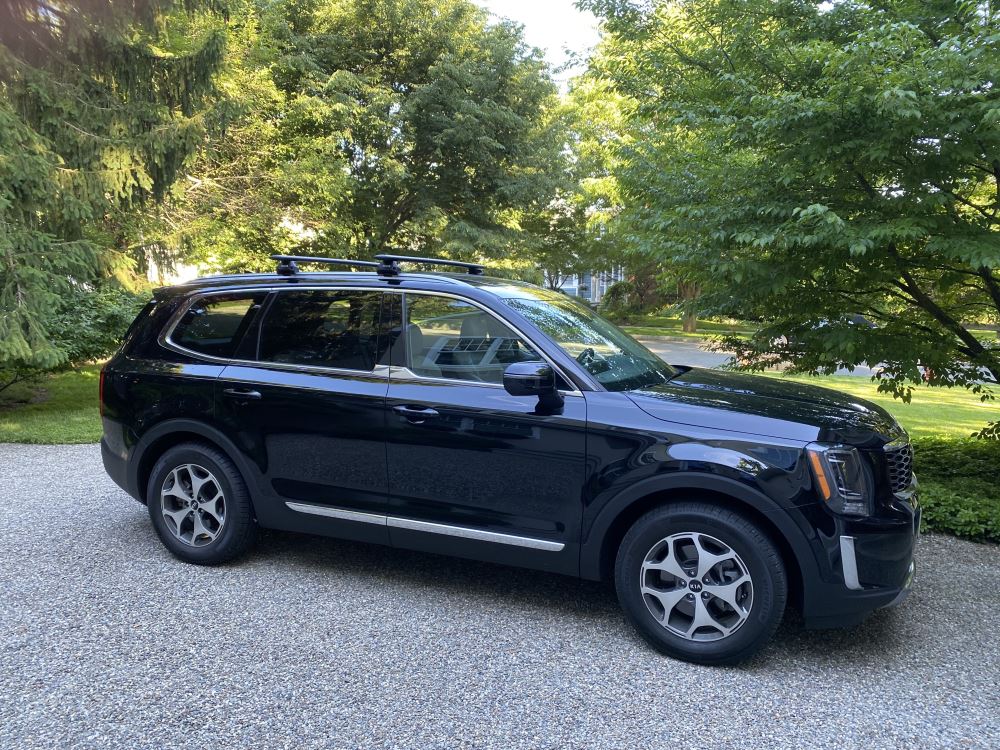
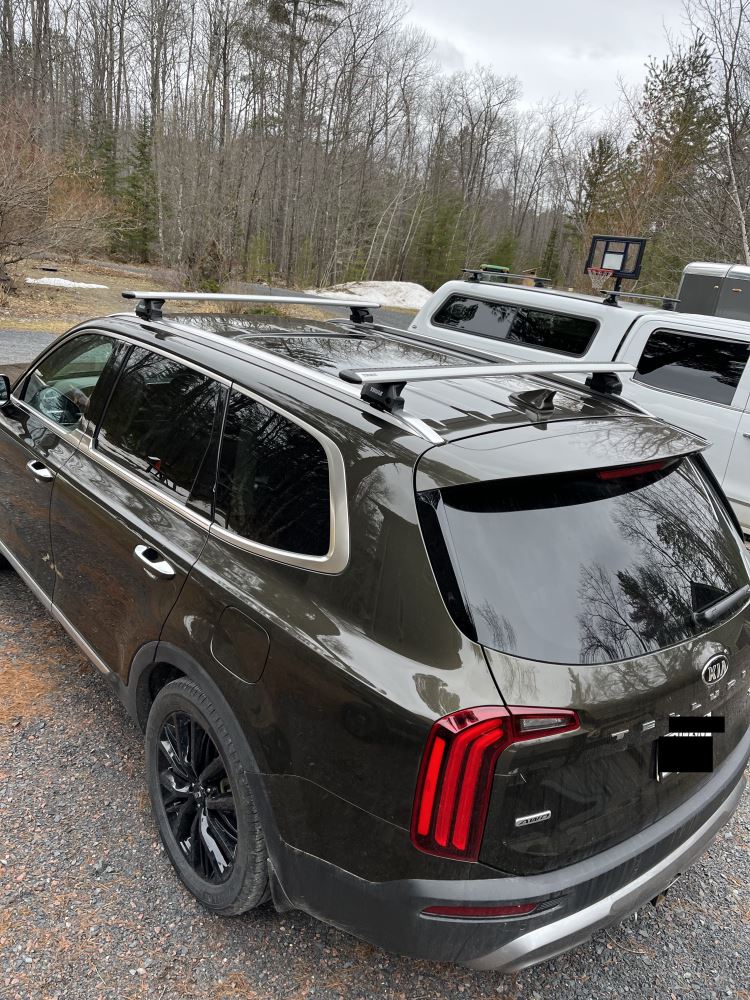
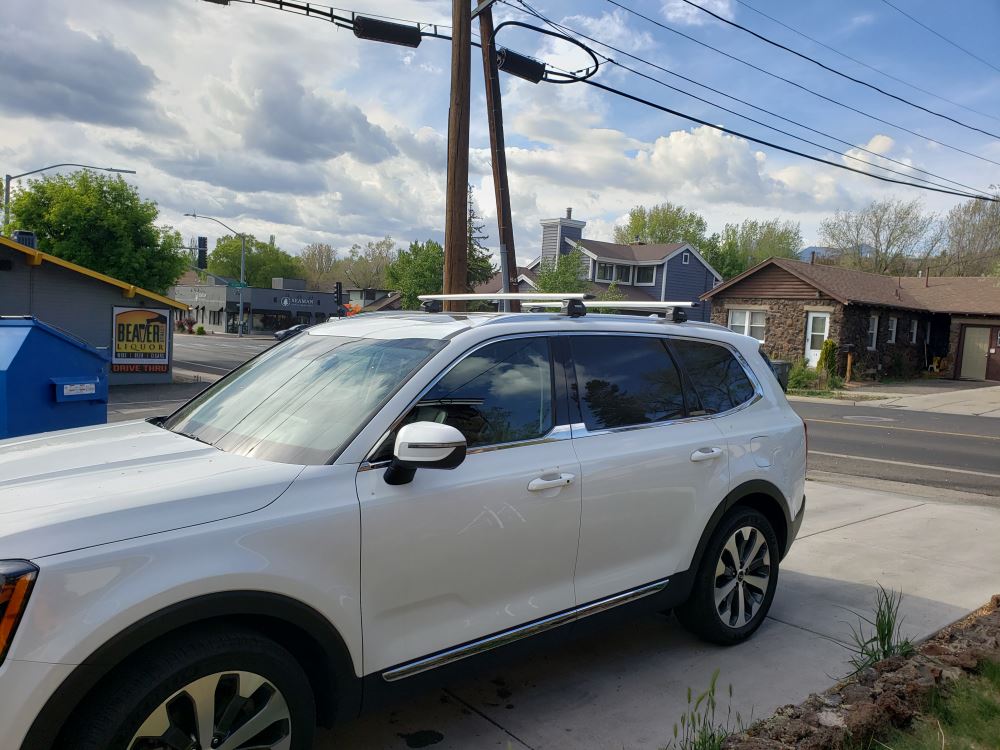
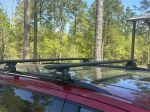
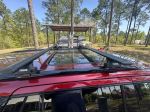
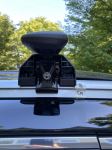
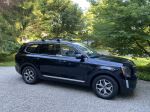
I’ve had it on my 2021 Kia Telluride now for a few months and it works great. When I was mounting the forward bar, I opened the sun roof to make sure I was comfortable with the roof window and bar clearance.
Rock Solid and good looking. Expensive but worth it!
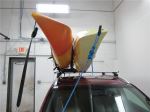
I’ve had my Thule roof rack for a year. It’s sturdy and easily handles two kayaks. Love it!
Thule Rack looks awesome on my Kia Telluride. Products took a while to get to me because they were on backorder but it's not etrailer, they were on backorder everywhere. I messed up one of the pieces of rubber while installing and etrailer sent me a new one at no charge. Definitely recommend etrailer.
Website is easy to use & is better at putting together the correct package than Thule’s site.
etrailer had all the parts in stock for my 2020 Kia Telluride.
Payment process was simple.
Received periodic updates from staffer on my order & could actually reply if needed.
Installing the roof rack went well. Estimate start to finish was about 2 hours. Found it best to really examine each diagram in Thule’s step by step instructions to get it all right on the first try.
Hardness part of the installation was getting the crossbars installed at the proper distances. A tailor’s soft measuring tape & some masking were great aids.
Etrailer has the BEST customer service bar none!
Thule has great quality and trailer is a great place to order from, highly recommend both!
It took me a VERY long time to figure out what I needed to mount my Hullivator on my 22 Subaru Outback Limited. I bought the wrong parts on round 1, and finally after 2 yrs of frustration, asked AI what I needed. I don't entirely trust AI, but it got me on the right track. I asked the 'chat' person on etrailer about the AI suggestion, and the gal who helped me, Autumn, said the feet part was correct, but to use these feet and the TH37CE fit kit. I ordered immediately. Today was the day. Of note, the fit kit has specific parts for the front and rear passenger and front and rear driver side. Pay attention to the photo directions. The parts are different for each side. On my Outback, they mount at 69cm apart on the Subaru rails (folded in) on the Thule Wingbar Evo 55" bars. The cladding and design of the Outback roof system leaves much to be desired, but this worked and I'm looking forward to FINALLY using my Hullivator.
Perfect fit. Easy to install. Excellent customer service and prompt shipping. These guys are great!! THANKS JEREMY!!
Do you have a question about this Roof Rack?
Info for this part was:
At etrailer we provide the best information available about the products we sell. We take the quality of our information seriously so that you can get the right part the first time. Let us know if anything is missing or if you have any questions.




























Thank you! Your comment has been submitted successfully. You should be able to view your question/comment here within a few days.
Error submitting comment. Please try again momentarily.