
Curt T-Connector Vehicle Wiring Harness with 4-Pole Flat Trailer Connector


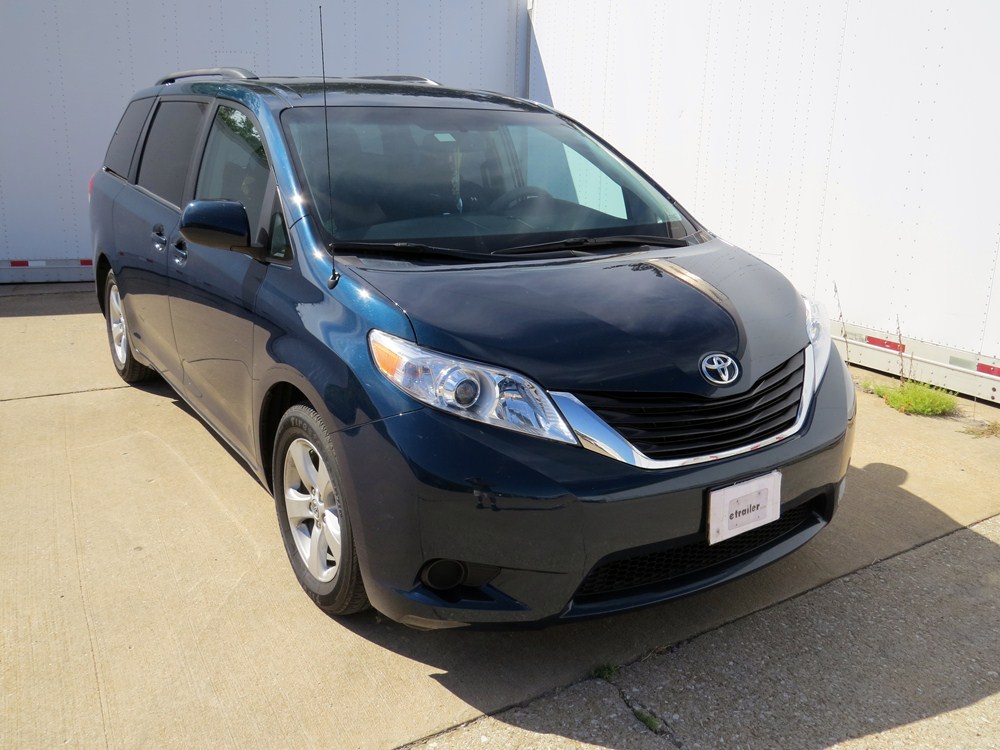
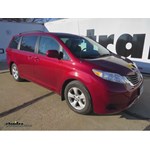
To see if this custom-fit item will work for you please tell us what vehicle you'll use it with.


Thank you! Your comment has been submitted successfully. You should be able to view your question/comment here within a few days.
Error submitting comment. Please try again momentarily.


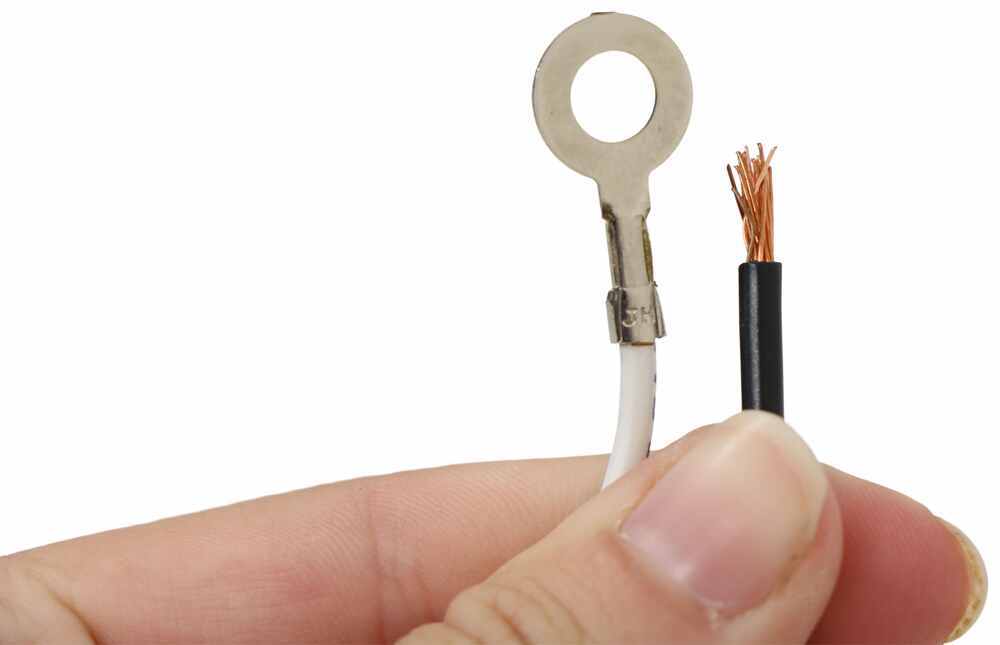
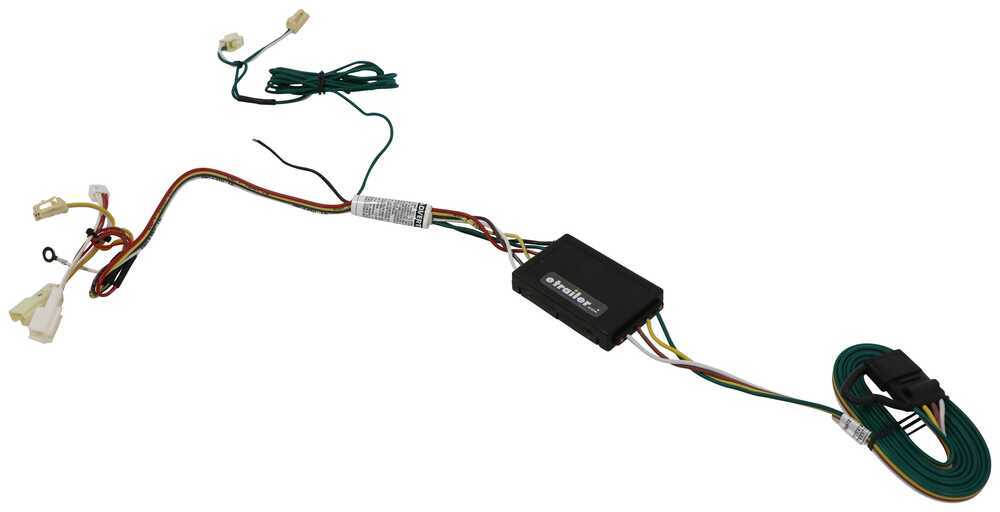
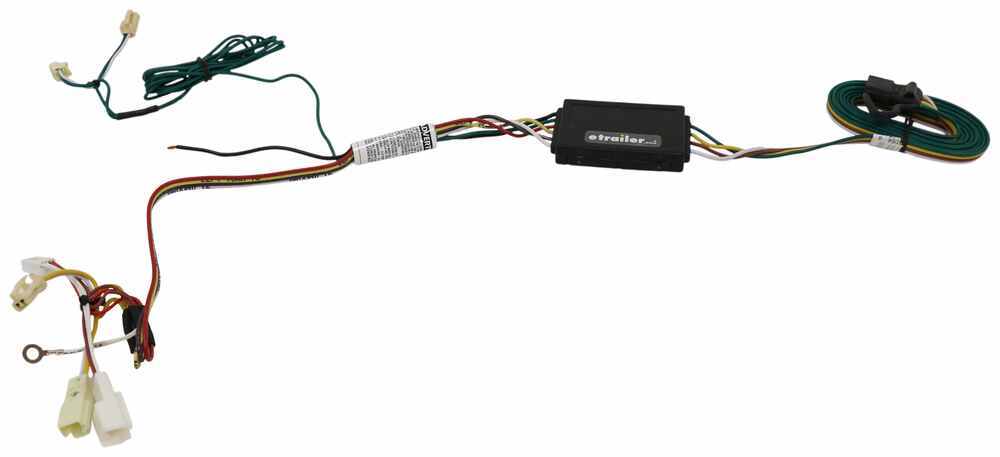
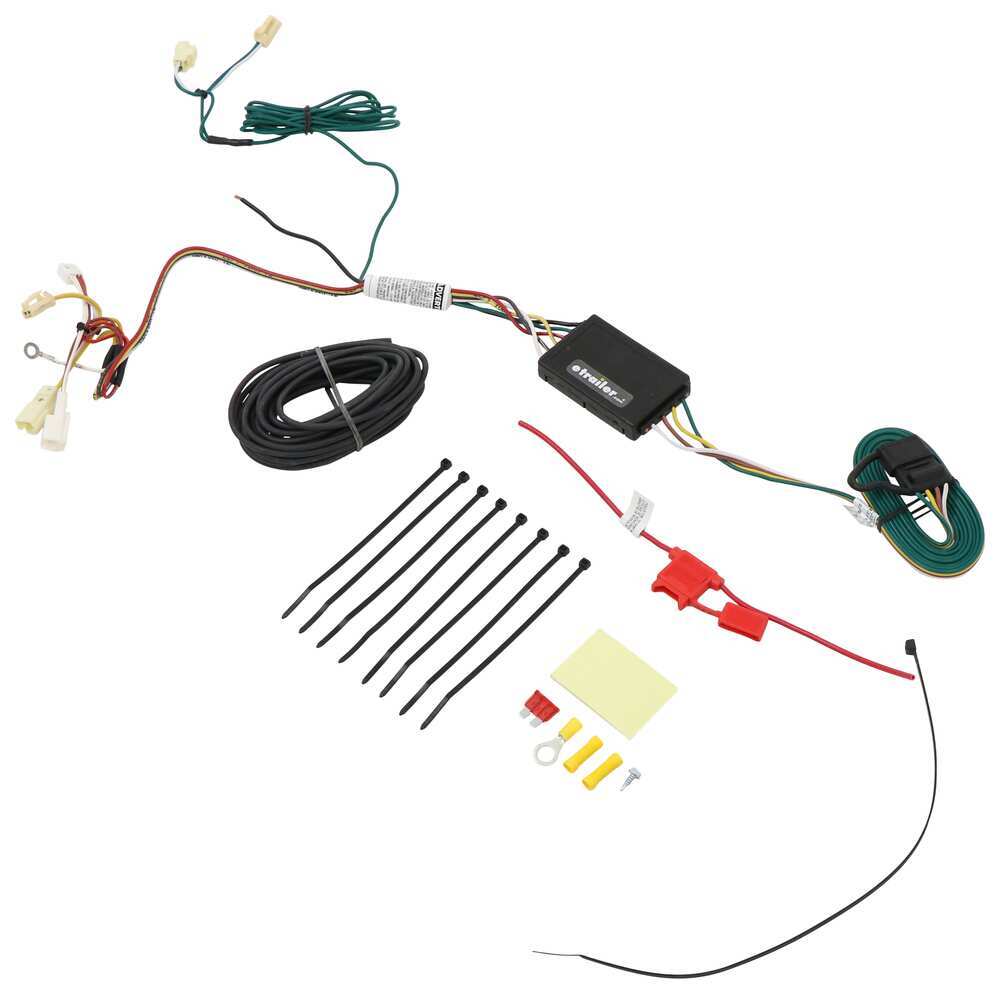
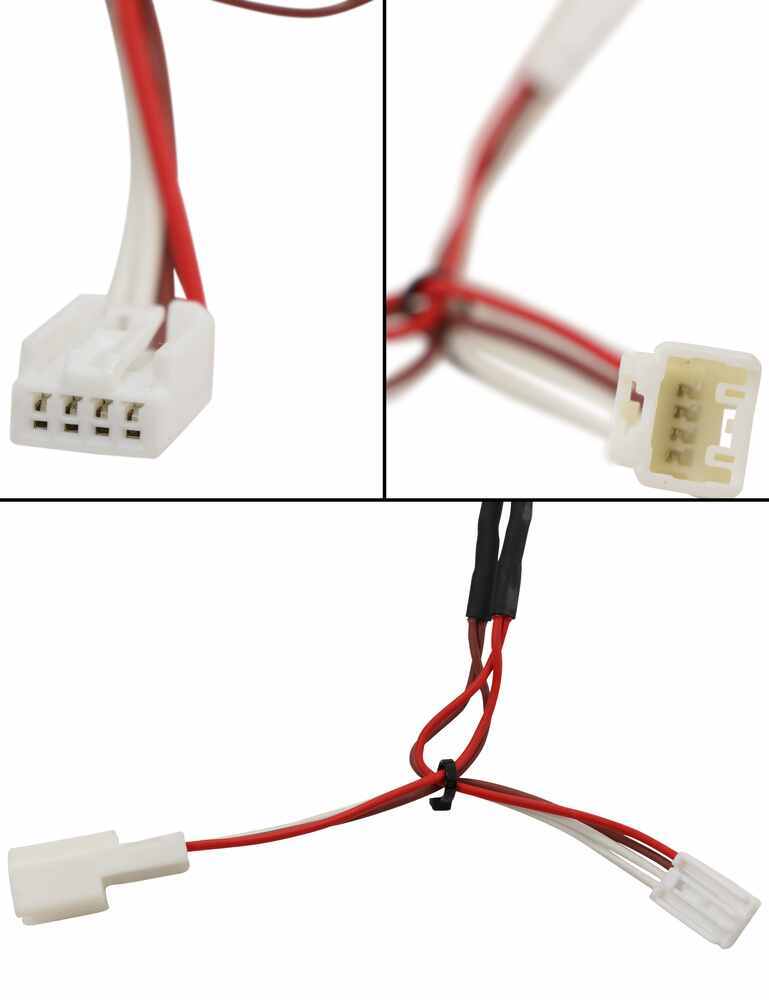
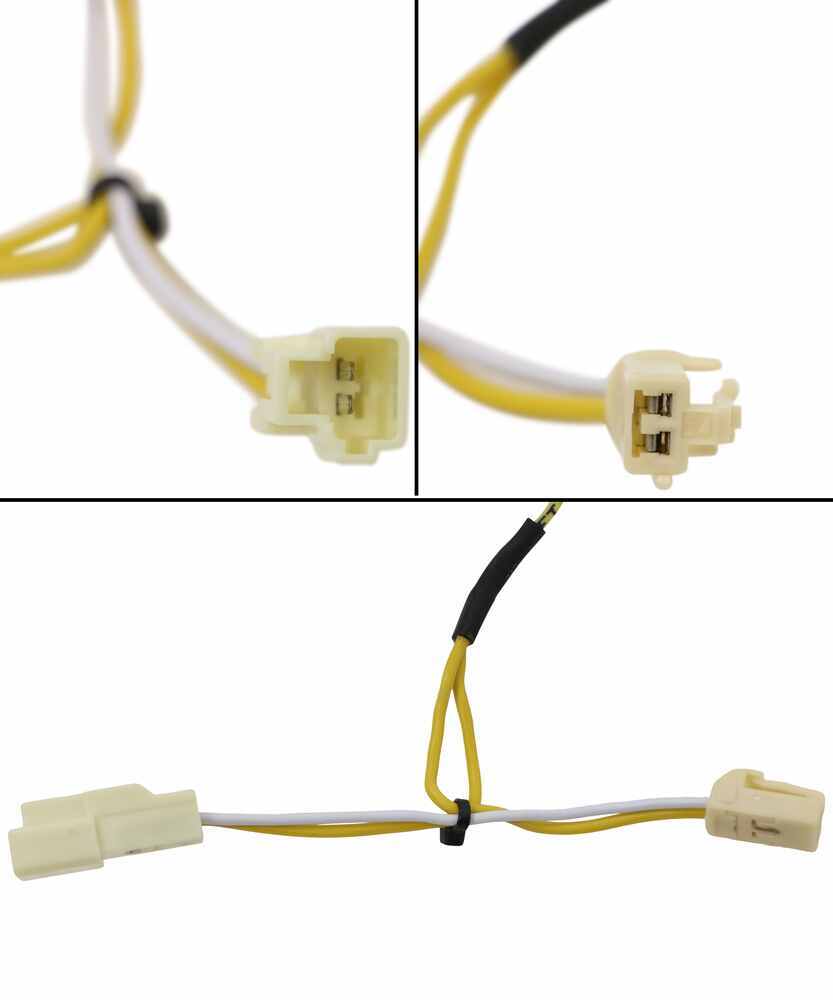
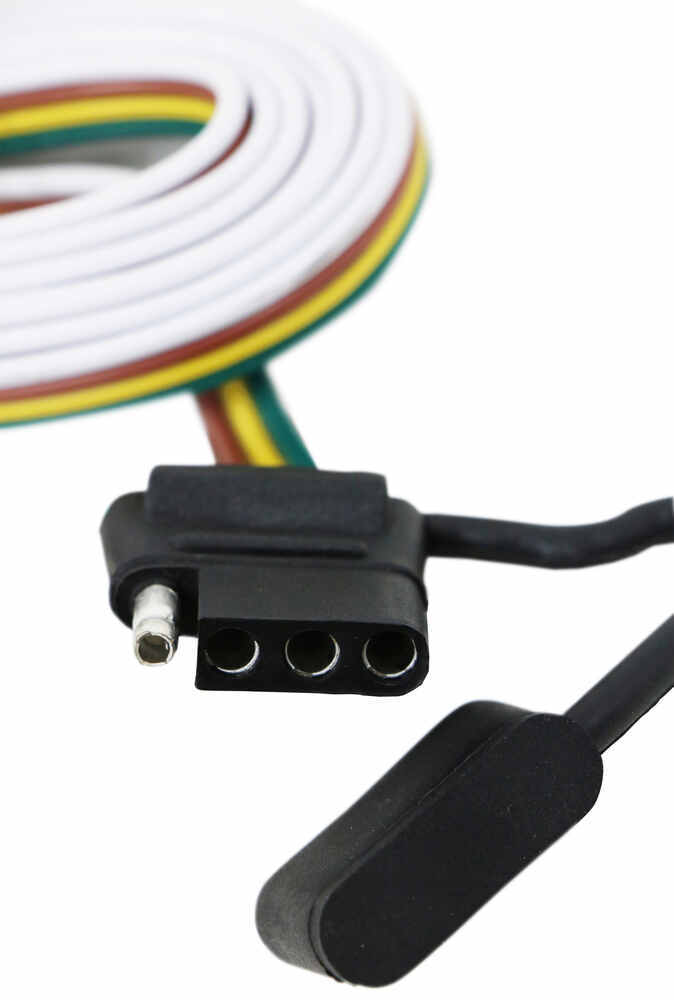
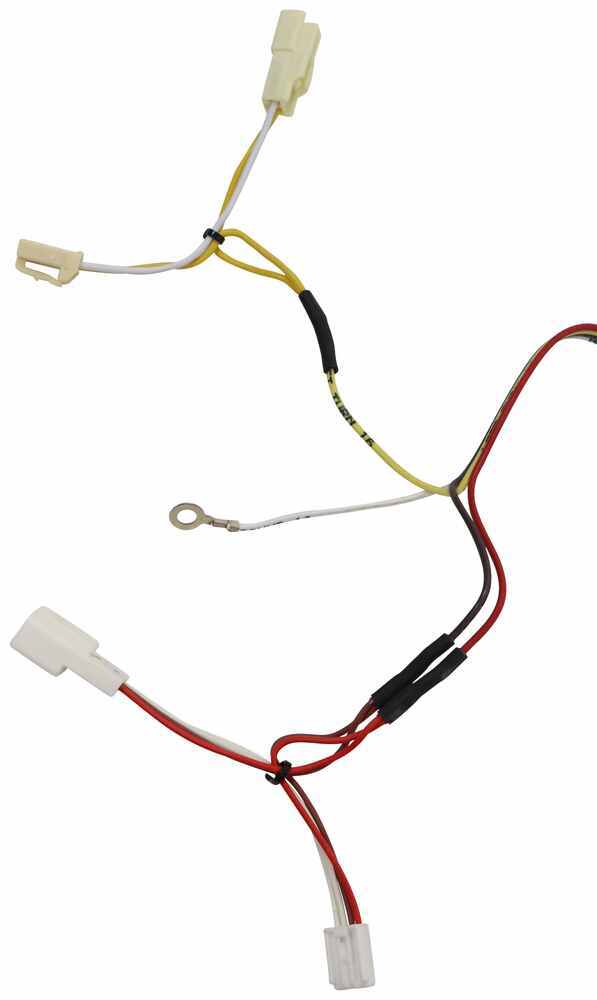

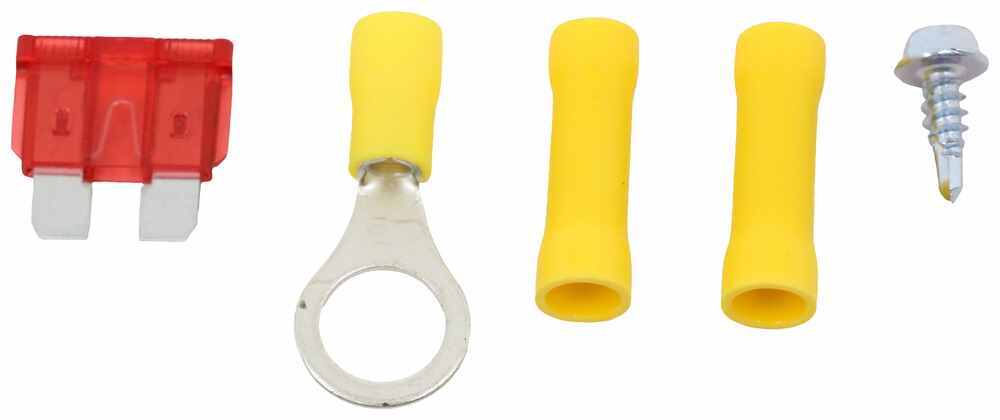
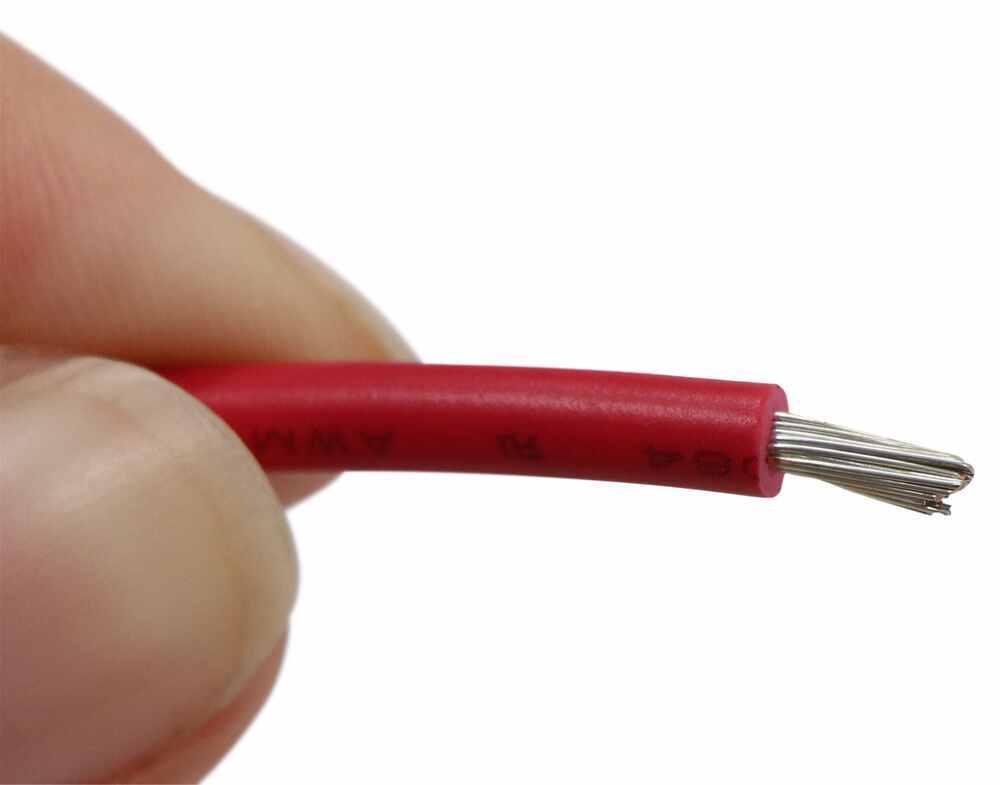

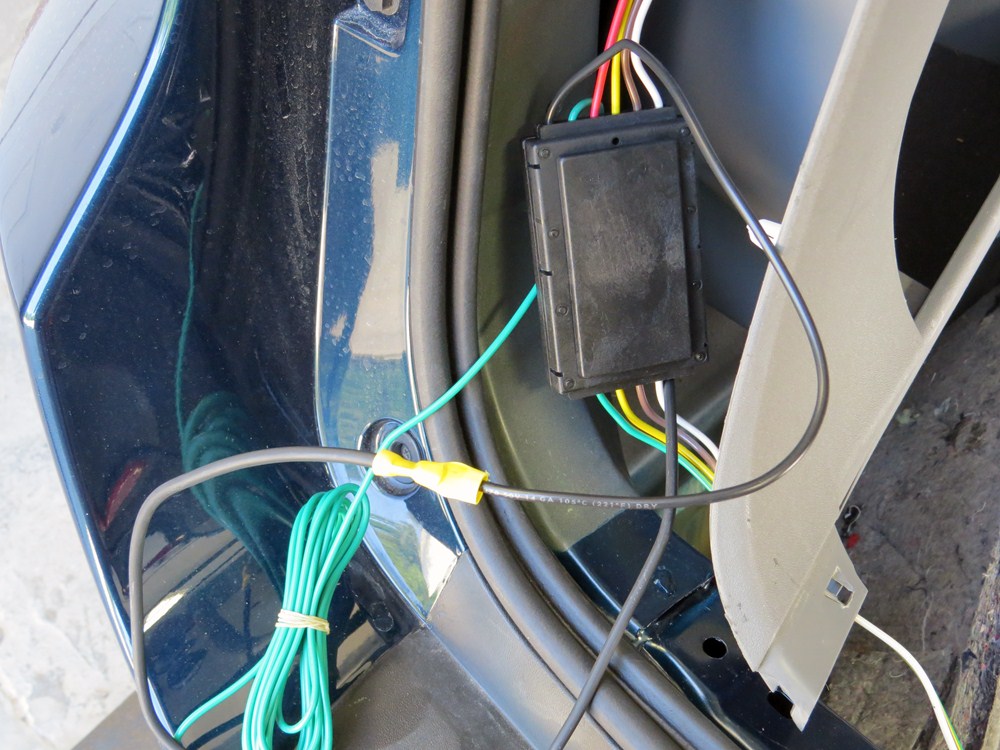
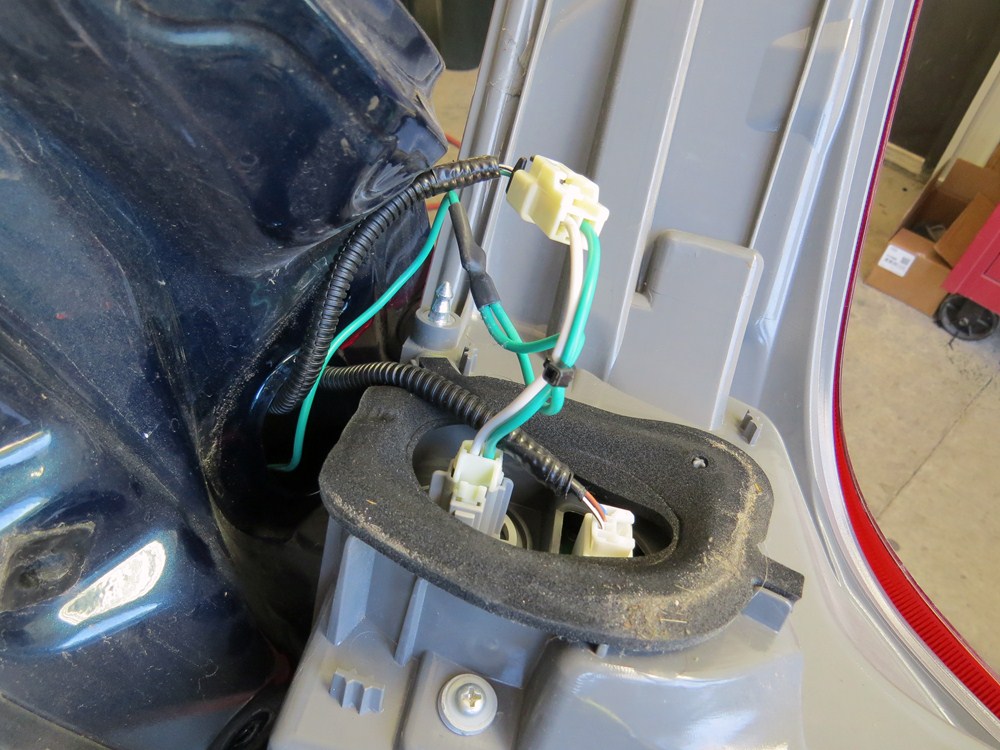
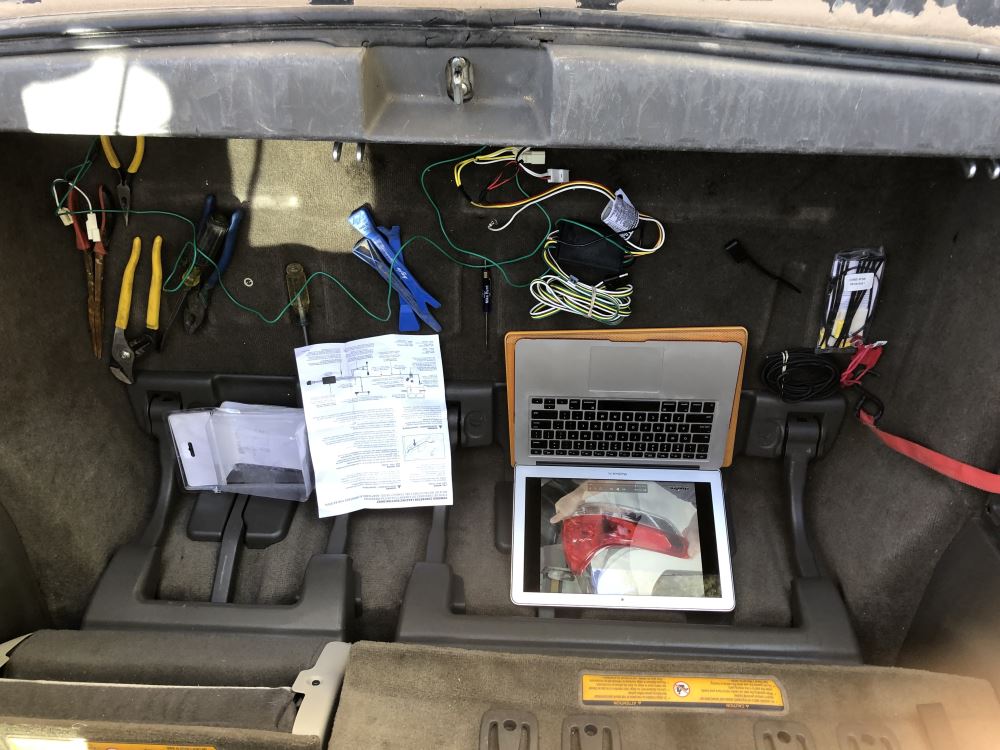

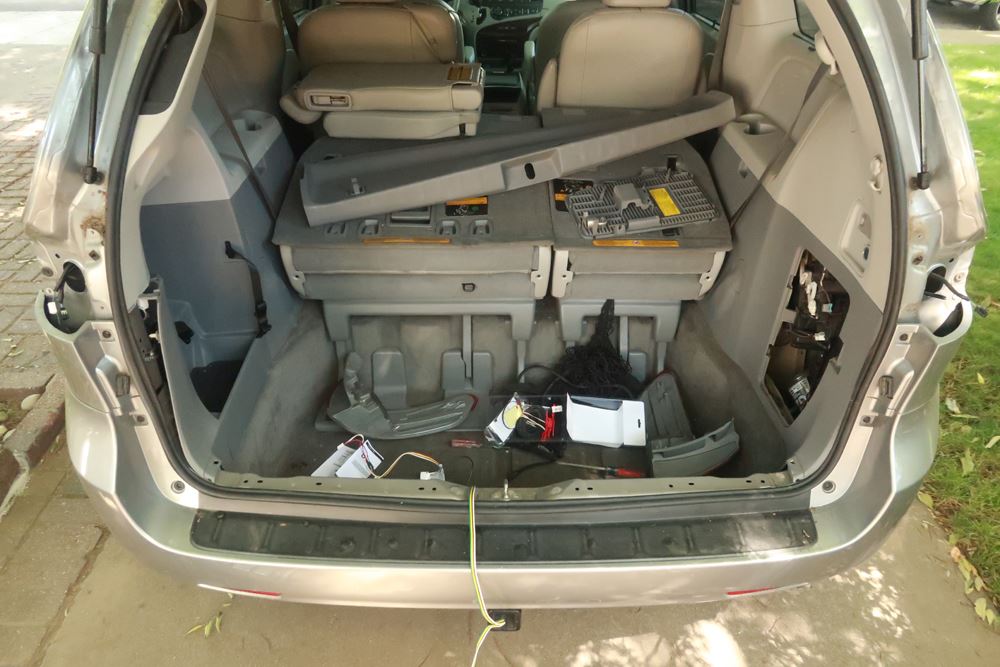
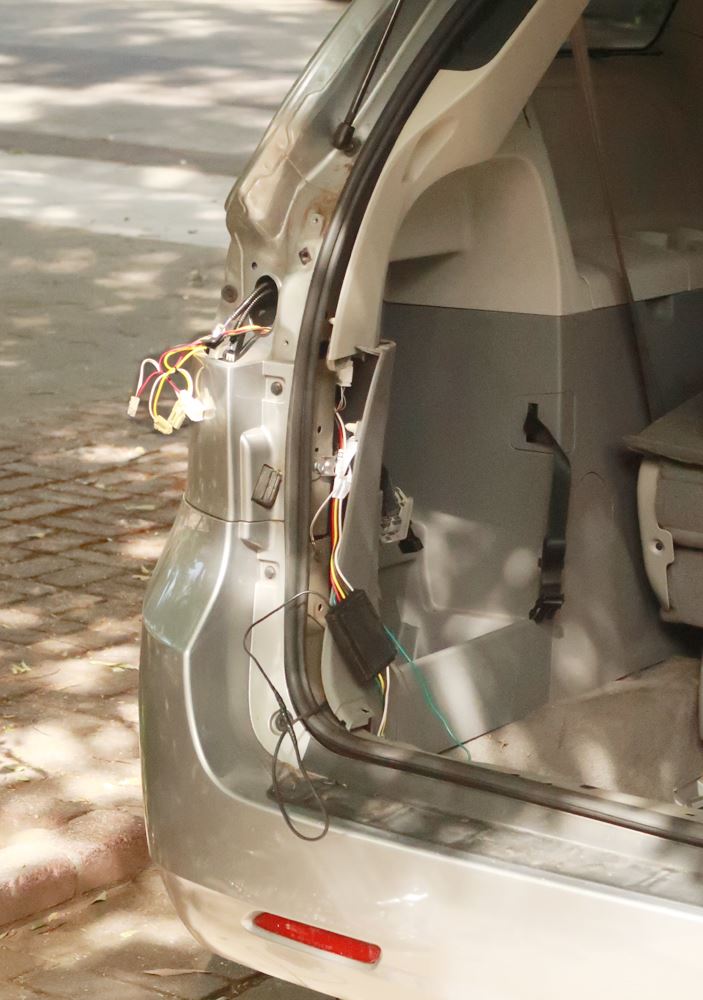
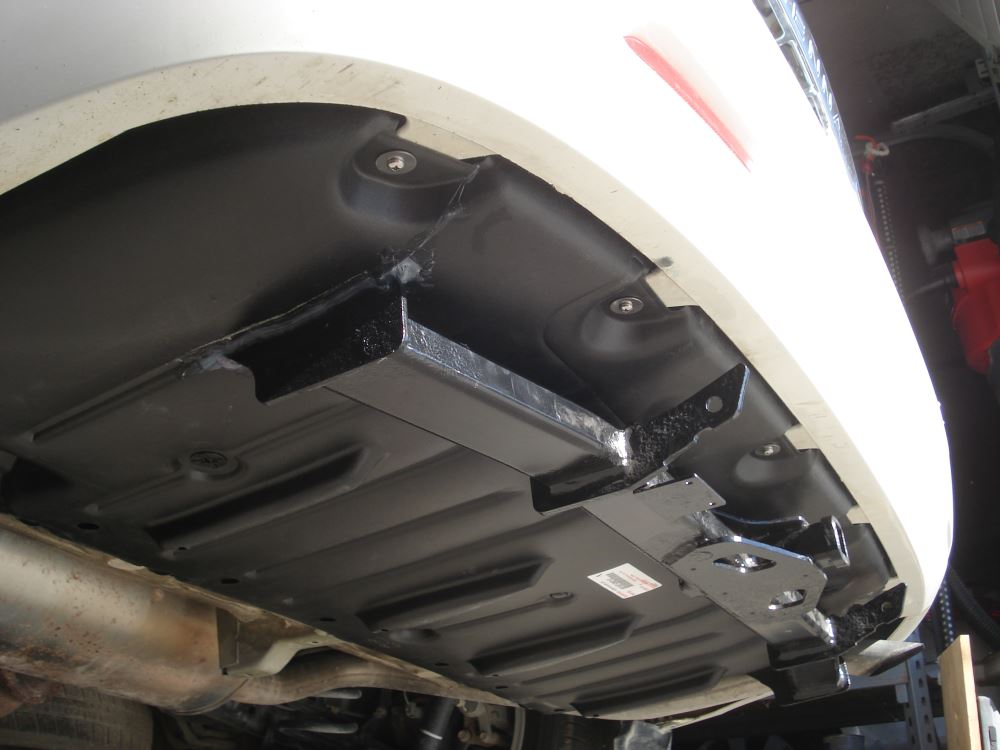
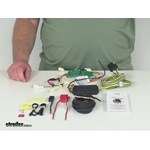
Quickly and easily install a 4-way trailer connector on your vehicle with this custom harness. T-connector plugs directly into existing wiring. Powered converter reduces strain on wiring system and is made using SMT to ensure superior performance.
Features:
Specs:
Installation
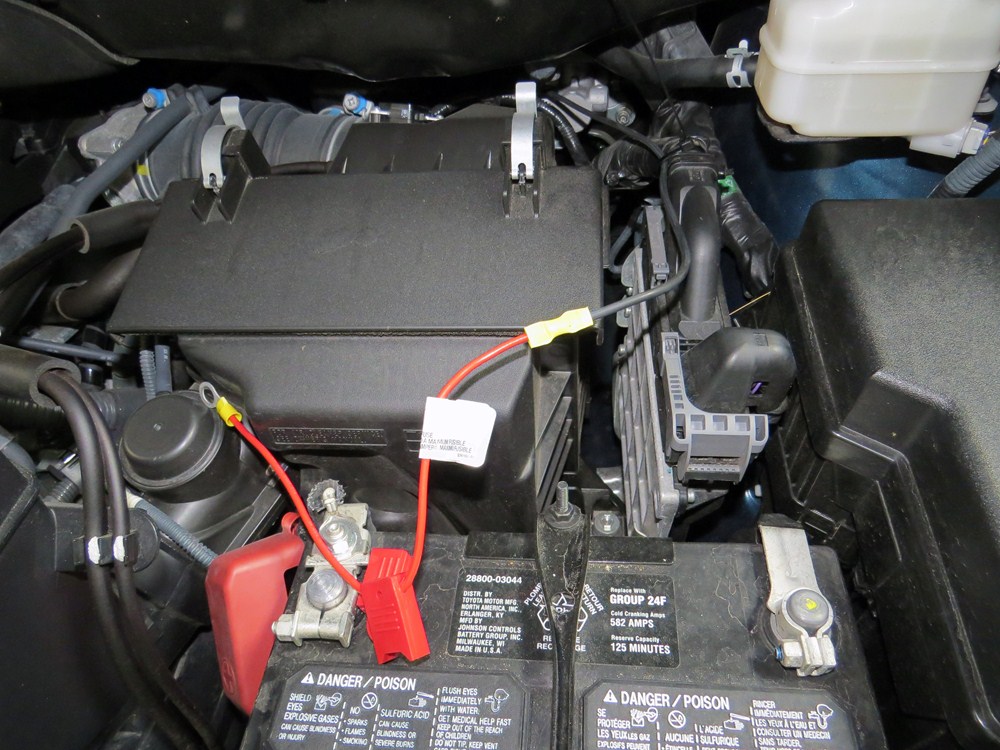
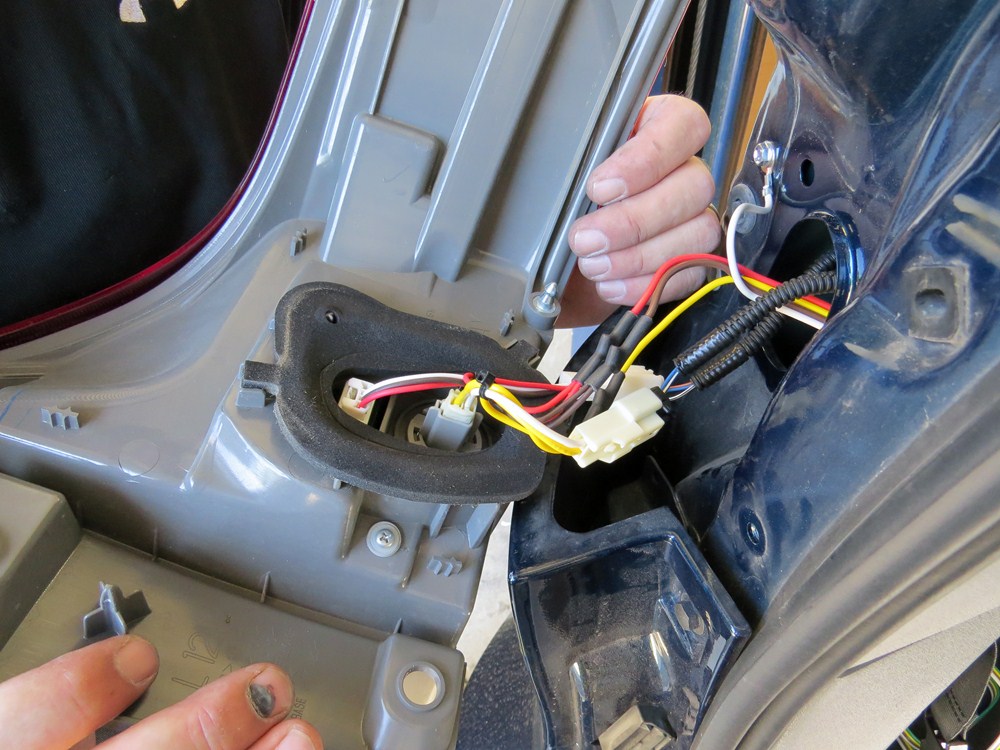
This custom-fit T-connector plugs into your vehicle's wiring harness, which is located behind the driver's-side and passenger's-side tail lights. You will have to remove the tail light assemblies to access this harness. Once you've plugged in the T-connector, run the hot lead up to your car battery. Connect the lead to the included fuse holder, and then connect the fuse holder to the positive terminal on your battery.
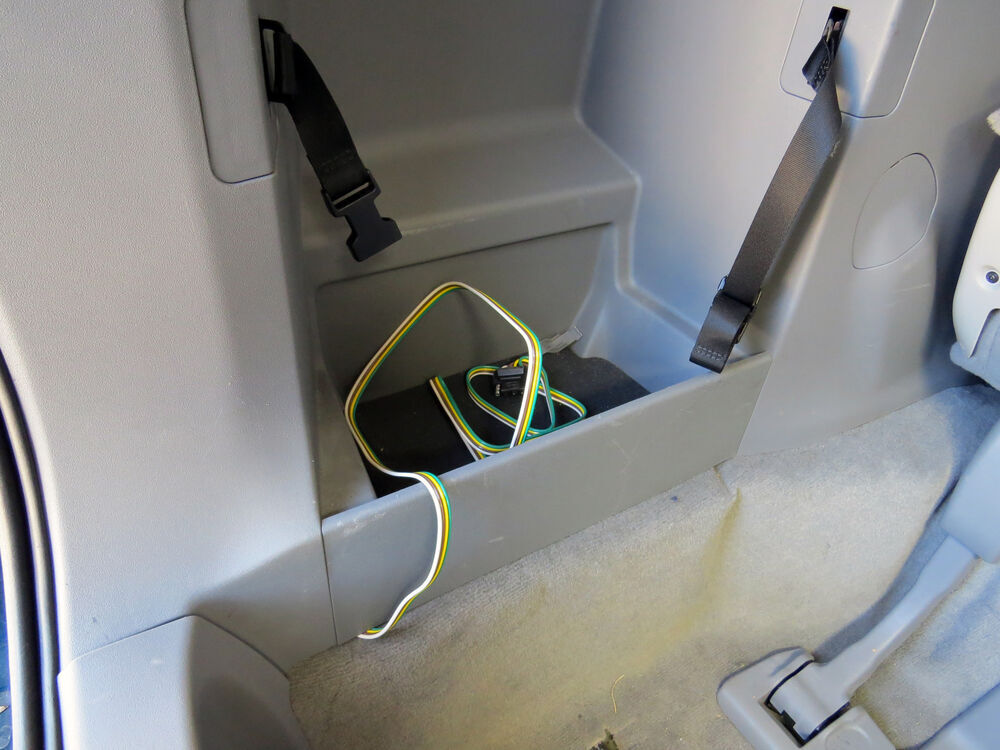
Once installation is complete, the 4-way connector will be stowed in an out-of-the-way location within your cargo area.
It is recommended that you use a small amount of grease on all electrical connections - the plugs on your automobile and the 4-pole connector itself - to help prevent corrosion.
A tail light converter is built into this T-connector. This converter is a circuit-protected, battery-powered unit that bypasses the electrical routes that are used by a basic wiring harness. As a result, there is virtually no draw on your tail light circuits.
Because most trailers run on a two-wire system - wherein the brake and turn signals are carried on one wire - the separate brake and turn signals from your vehicle's three-wire system need to be combined so they are compatible with the wiring system of the trailer. This converter combines the brake and turn signal functions of your automobile so that they run on one wire to properly activate your trailer's tail lights. Note: This will not affect how the tail lights on your vehicle operate.
Curt builds each tail light converter using surface-mount technology (SMT). This method of construction involves soldering electronic components directly to the surface of a printed circuit board. SMT eliminates the need for leads, which are used in older through-hole technology. The result is a circuit board that is smaller yet provides more routing area and that offers superior performance, reliability and durability.
Circuit boards constructed using SMT have been shown to perform better under rough conditions with excessive vibration than those made using the through-hole method. And where would vibration be more likely to occur than in towing applications? Curt converters also produce less heat, leading to increased durability and longer life. In addition, lower levels of resistance ensure better performance, especially for parts that operate at higher frequencies.
Each Curt circuit board is made using high-quality components that are pieced together in the most technologically savvy fashion, leading to greater predictability and reliability in functioning.

California residents: click here
Customer Satisfaction Score:
88% were satisfied with this product
12% of customers were not satisfied
Ratings & Reviews

Product installed easily and works great!
Saved over a hundred dollars.
Thanks.
Easy to install and is working fine. The extra wiring is placed on the drivers side rather than the passenger side as shown in the video.
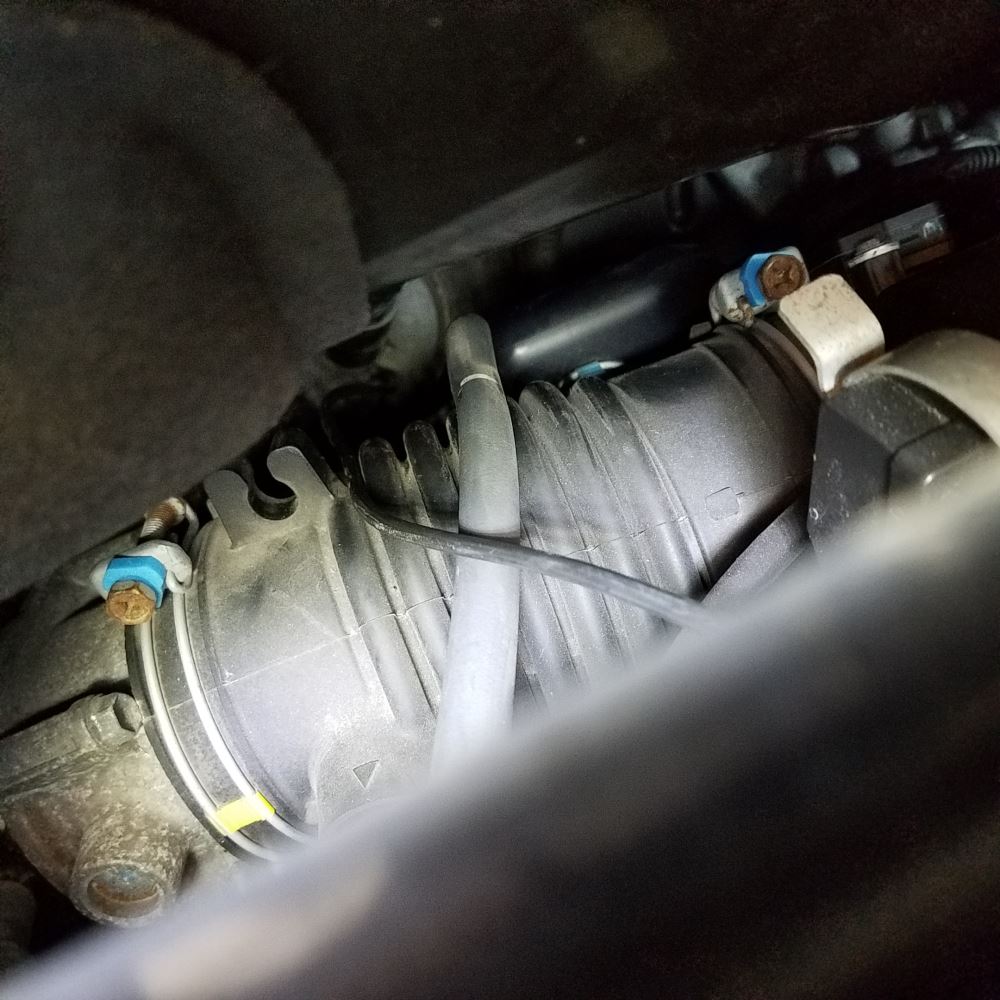
I'm very pleased with this wiring harness. I just used it all week last week with a hitch mounted cargo carrier and did not detect any issues. The install was pretty easy. I have the 8-pasenger sienna and the install worked exactly as shown in the e-trailer video. The only place where I made any changes is I actually routed the power wire to the battery through the interior of the vehicle. The large grommet in the firewall where most of the wiring passes into the interior has a small (separate) opening at on the bottom side. This opening was a perfect size for the black power wire in this kit. Many of the trim pieces along the bottom of the driver interior were easy to remove to feed the wire through and those that were not were easy to slide the wire under to hide it. I highly recommend routing the power wire through the interior. If you search youtube there is a great video of installing this harness on a 2020 sienna and he shows how to route the wire through the interior. I've attached a couple pictures of the wire passing through the grommet. They aren't great but hopefully somewhat helpful.
The wiring harness was easy to install, although it definitely took me longer than expected because I opted to route the power wire internally. If you ever update your installation instruction video, I would suggest that you show how to do that.
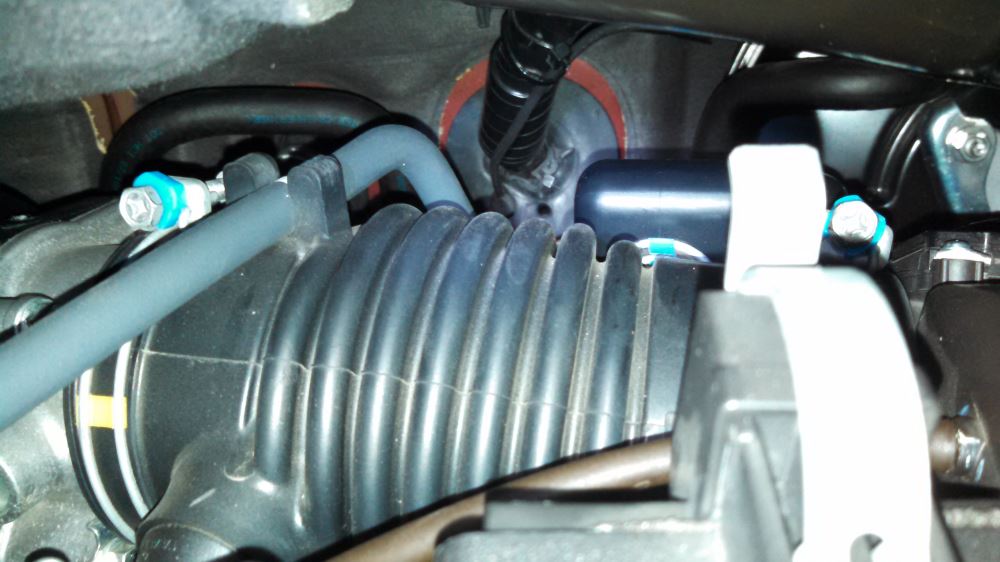
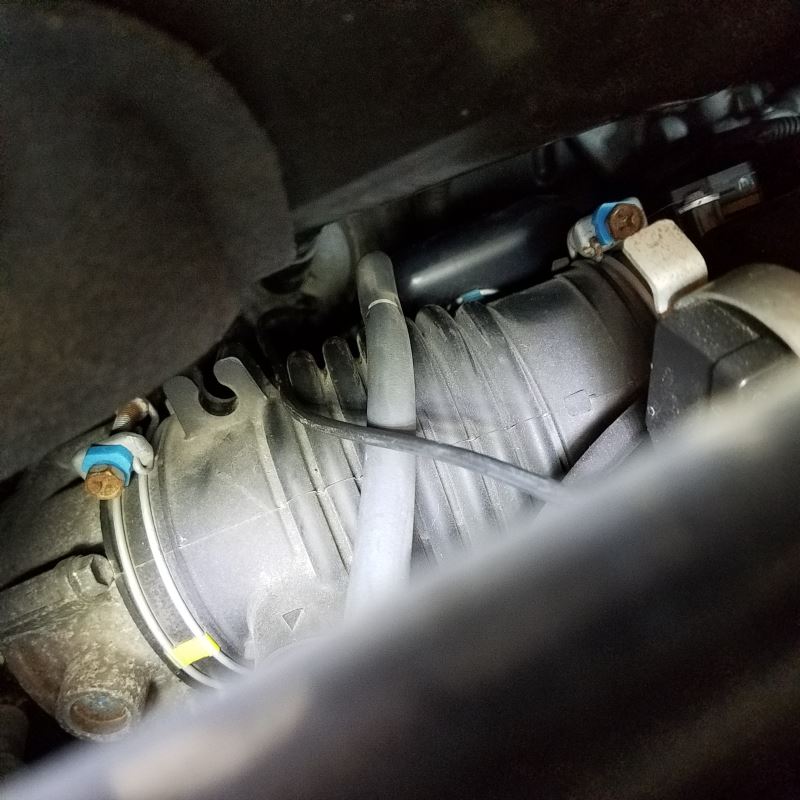
What worked for me was using a wire coat hanger to poke through the rubber wiring grommet from the engine compartment (see other reviews with pictures...the text below is the context that makes those pictures make sense). If you're looking from the engine compartment, it will be barely visible on the firewall if you're looking just above the air intake flex tube where it passes from right to left between the air filter box and the engine. There will be a small circular indentation on the bottom of the rubber wiring grommet, and if you poke a coat hanger through there, it will emerge on the inside firewall above the brake pedal (you may need to move a donut-shaped piece of internal firewall insulation around the bundle of wiring passing through the grommet out of the way first). Just securely tape your power wire to the coat hanger, and you'll be able to pull it back through the grommet into the engine compartment.
After that, you can make your connections to the battery, remembering to carefully review the wiring diagram in the instructions (because I forgot to directly connect the fuse to the ring terminal). Then, route the power wire behind the driver-side trim in the footwell and along the bottoms of doorframes, all the way to the rear driver-side, where you can connect it to the wiring controller box.
What took me the longest was figuring out how to get the power wire through the grommet. Once I found some instructions on the internet, it was (relatively) quick and easy. Even with the delays, it took me about 5 hours.
One additional suggestion if they ever update the video: make it clear which wires go to the left and right taillights, even for color-blind people. The left side has two T-wire connectors, which you plug the wiring into, and then into the taillight. The right side has one T-wire connector, which only one of the taillight wires plugs into, and then into the taillight, leaving the other wire alone. It took me several watches to figure that out.
I also suggest buying a $5 tester from Harbor Freight to confirm that your wiring is done correctly. It's the same size as the trailer wiring plug, so you can keep it in your glove box in case you ever need to confirm whether a trailer light problem is with your van's wiring or with the trailer's wiring.
Overall, great product, easy install (with the above information), and it worked great.

Buying a hitch from etrailer was the most useful thing I did last year. Before buying the fire harness kit, I would recommend removing one of your tail lights to confirm the connection is the same as the one on the wire harness kit that you intend to buy. etrailer is great with returns, but the process will slow you down a week
Victoria H.
3/19/2025
That's good to hear we were able to help you get this sorted out Michael! We appreciate you taking the time to share your insight.
I ordered the Curt trailer wiring harness for my 2014 Toyota Sienna after watching several online videos for different products. I was impressed by the quality and thoroughness of the etrailer product and instructions. Ordering was easy and the package arrived quickly. Installation pretty much went exactly as the video described. I kept the instruction video open on my computer and watched it segment by segment as I progressed to be sure I wasn't forgetting anything. I'm always a little nervous about breakage when removing interior panels, but because of the clear instructions there weren't any problems. (I used a large flat pry-bar for a panel tool) I expected the most difficult and time consuming part to be running the wire under the car to the battery, and it was. But mostly because my floor jack stopped working and I had to use the vehicles scissor jack. But it was pretty easy to find a safe route forward for the wire. All in all it took me about half a day to do the job, and when I was finished and I tested the lights, everything worked perfectly! My first impressions of this product when shopping on line was that it would be of good quality, and I feel the same way after installing and working with it. It's solidly made and the plug and play connectors are really easy to install and a good solution for a solid hook up. Now if only my trailers lights worked that well!
A little bit of work to install but works great and was a very clean install.
One day late but all is well.
Worked as expected. Ran power wire through electrical bushing in fire wall, then under door thresholds with other vehicle wiring.
Not only works perfectly, but included the wiring needed. As the newer cars do not have a fat wire supplying 10 amps or so to the rear of the car, per the instructions, I just added one.
Well, I got it done. :D I reckon that's good. The video guide was great. The wire for the power to the back was long enough, I cut off a whole 3" which felt a little close.
There is only one thing about this kit that I DON'T love and that is the way that power to run the system is acquired. The easy installation is by unplugging wires from the tail lights and plugging them into a T connector. The T is then plugged back into the tail lights and the wiring to the lights is done. Tuck everything behind the trim and it's beautiful.
However, to get power to run the lights the kit requires that you run a "hot lead" to the battery. It suggests you run it under the car where there is exactly zero other wiring. Why? Because it is a bad place for wires, even the heavy and well insulated wire included with the kit. This is the downfall of the kit.
A better way would be instructions for running the wire inside the car instead of outside. I didn't do that, either. In MY case, I stole power from the 12V power outlet in the right rear panel near where I wired into the right turn signal. I changed the trailer kit fuse from the 10A included to a 5A to be sure I wasn't overloading the 12V outlet circuit that was clearly labelled 10A max. It works just fine on my utility trailer and my boat trailer. Each has only one turn/brake and one running light on each side and 5A is just enough even with incandescent fixtures. If I had more lights, I'd switch them to LEDs to keep the current requirements under 5A.


Rachael H.
9/25/2017
It is strongly recommend to run the 12 volt power wire directly to the vehicle battery. The 12 volt accessory circuit was not designed to support the additional load of a trailer wiring harness. A wiring harness must have its own dedicated circuit directly to the battery. We have seen many instances where customers have tapped into a 12 volt accessory circuit, like a car lighter socket, and the harness failed. We have also seen instances where the accessory circuit on the car failed in addition to the trailer wiring harness. Also, this will typically void warranties both with the wiring harness and on the vehicle. For more help with routing the wire, see this helpful article found at: https:/www.etrailer.com/faq-Routing-a-Power-Wire.aspx
Jed

9/21/2018
One year out and Im totally satisfied. Everything just WORKS every time.
Note that the harness for a 2013 Sienna is different than shown in the 2012 Sienna video. I am not sure why, but everything is reversed.
I would consider the trim removal tool to be mandatory on a DIY - will definitely help protect the trim. Also, a long flat bladed screwdriver will be handy for separating the lower driver-side trim, from the upper. There is a tab that needs to be released.
The paper instructions that came with the unit were pretty poor - especially in contrast to the high quality video of the 2012 Sienna.

Patrick B.
3/27/2014
The video we have is for the Tow Ready harness designed for the Sienna. Though the harnesses install very similarly, the converter box mounts in difference locations. With the Curt harness the box mounts behind the driver side tail light. The Tow Ready kit, part # 118498, mounts the box inside the passenger side jack storage compartment in the cargo area.
Printed instructions with the harness are fair at best, video on the etrailer site is invaluable, although the product for my model Sienna 2013 installs on the opposite side from the video, so transformer is a bit tougher to place. Have purchased several items from etrailer, always great customer service!
Len
6/9/2014
All is working great, will certainly shop again when looking for trailer related items, and will enthusiastically recommend etrailer to anyone needing the same.
Worked as advertised. Plugged right in to existing tail/brake light plugs. The only part I didn't like was running the power line up to the battery, but there wasn't really anything they could have done to make that any easier. After a year of using it, I haven't had any issues.

Ima K.
7/17/2020
Still working as good as day one. I only use it about 10 times a year for towing a small motorcycle trailer, but havent had any issues. I can always just plug it in and go.
I did not install the wiring harness, however I was not advised by the installer of having any issues or complaints installing the harness and to my knowledge the harness is working fine because the trailer is now being pulled.
Jimmy
11/16/2018
The wiring harness continues to be very dependable, a quality product.
I’ve been using this wiring harness for a year now. It was easy to install following the detailed instructions sheet. It has worked great without any problems. If you need a wiring harness this is the right place to get one.
Mike
3/12/2021
Its been a year and still going strong. This item is built to last.
very happy with this product, simple to install. Thanks etrailer.
On my 2013 sienna, I ran the power wire inside not under as
suggested.
Juan T.
4/28/2014
The company service was great and the item was as described. This is not a bad review or anything but it took me 6 months to use it for the first time just to find out that the signals where indicating the wrong turn. I guess that all I have to do is fix the wires.

I love the hideaway aspect...this hitch goes up under the plastic shield under the Sienna - only the receiver shows. So far it hasn't rusted. In MN the salt and chemicals put on the roads makes trailer hitches pretty ugly after 3 or 4 years. Not a fan of powder coating. Nothing beats a full epoxy primer and catalyzed enamel - not sure what is on this hitch as they call it a "coating" but for now its good. Unfortunately, the Sienna is not a vehicle you can really tow much with. The suspension is wimpy and there are no aftermarket air shocks available. So I actually haven't used the hitch except to hang a bike rack on it.
I finally got around to installing this wiring kit. As others have said, installing the power wire from the battery to the back of the van was the hardest part. I went down the passenger side, there was a wiring harness with rubber grommet behind the glove box that I was able to sneak the wire through. There was just more crap I'd have to wade through on the drivers side at the firewall. Then I popped the plastic rocker panel covers off and laid the new wire next to existing ones. An electrician's snake was VERY helpful to snake it over the rear wheel area and I added about 6 feet of wire to get to the driver's side, behind the trim panels (they pop off also). I hung the control box behind the trim panel, there is plenty of room for it. The new trailer plug wire comes out cleanly in the little gap between the seats folded down and the back of the van, everything else is hidden. The way that you unplug the light and insert these plugs into the existing wiring is a beautiful thing. I installed the unit and it all worked. I recently bought this van used, it's our second Sienna. This one came with a trailer hitch but we think it was only used for a bike rack - there was no evidence of wiring for a trailer so that's why I had to go this route. I just ordered "air bags" for the rear springs, I know from experience that they help with towing a lot.
Avoid this kit and get the Tekonsha wiring kit instead! Installation for this Curt kit is much harder than it needs to be due to the need to place the controller box on the left side of the vehicle. Prying back the interior trim panel is difficult and doesn’t leave you much room to work with. The control box for the Tekonsha kit goes on the right side where there is a very convenient access door and plenty of room to work and mount the box.
I’m not sure if it’s bad luck on my part or due to the convoluted install location, but one of the wires on this kit got pinched, eventually causing a short a few months later, blowing the fuse for the turn signals. I’m glad I got the Tekonsha kit to replace this one as installation was a snap and the possibility of punching wires seems much lower than with this Curt kit.
All went together just like the instructions except for the power lead, I had to splice in a two foot extension to reach the battery area on the Sienna. Perhaps, I didn't follow the shortest path, but I was careful in avoiding hot or moving areas. Also, I dropped the power lead down from the left side tail light assembly to access the underside. Just wondering, could I have tapped the 12V 120W power located near the right rear corner of the van? I know it's only hot when the ignition is in the on position.
Patrick B.
10/30/2014
Tapping into a power source at the rear of the vehicle is not recommended. Not all of them are only hot with ignition. Furthermore, its usually unknown exactly what else is on those circuits so a short on the trailer would overdraw that whole circuit taking out whatever else is on it. Perhaps most importantly, is the goal behind the power wire itself. The idea is to separate the power draw for the trailer lights to its own feed. This protects the vehicle. If you splice into another power source rather than running that wire as a dedicated feed, youve defeated the purpose.
I bought this along with a new hitch. It was easy to install though it did take a while to find a good path for it. The install video said to leave it in the trunk and just pull it out when you need it. I instead routed it through one of the plugs in the undercarriage so that it could hang by the receiver. All in all this worked well until I did a little minivan off-roading that messed up my connector a bit, but if I had to do it again I do it the same way. No messy wires hanging out in the trunk this way. Keeps the wife happy.
So everything was fine until about a month ago. I had lost one side of my vehicles turn signals. Once I pulled the fuse for the wiring kit it was no longer a problem.

Mike L.
8/7/2018
According to Curt, theres been an internal short in the converter box, which is what is causing the problem you mentioned. The vast majority of the time, when a taillight converter shorts out its been caused by a short circuit somewhere in the trailer wiring or a damaged trailer connector on the vehicle or the trailer. Id recommend closely examining the trailer wiring, beginning at the trailer connector and working your way back to each lamp. Look for pinched or broken wires or loose connections. Check for cracked or worn wire insulation that would allow the copper conductor inside the wire to short out on the trailer frame. Ill link you to a help article on troubleshooting trailer wiring which will be helpful.
Helpful Links
One year later I'm extremely pleased with this purchase. I often chuckle when I see stock hitches and the whole thing is visible while mine is neatly tucked under with everything hidden except for the 2" receiver. 10/10 have recommended etrailer on many occasions to friends and family for their service and know-how. Since installing my hitch I towed a pop up camper 1500+kms and do frequent trips to the dump or my local dirt and gravel yard for supplies. Love it!
Info for this part was:
At etrailer we provide the best information available about the products we sell. We take the quality of our information seriously so that you can get the right part the first time.































Daniel
7/28/2021
After using the wiring harness for a year its still working out well for me. I just used it last week with a cargo carrier and the lights were still working well. Ive used it about 4 times this year and when its not in use it tucks nicely into the 8th seat compartment so its not really in the way during normal use.