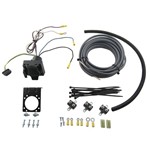
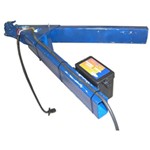
Command Electronics license plate lights keep your tag visible when you replace or relocate it on a camper, cargo carrier, or spare-tire mount. They wire to your running light circuit; just mount, ground, and connect the power lead, and check polarity. Some include license plate hardware, while mounting hardware is not included, so bring fasteners that fit your trailer.
They can be bright enough to be noticed in daylight. After wiring, power the running light circuit and confirm visibility before finalizing. Aim the light toward the plate and secure the bracket firmly to reduce vibration that could shift the beam.
No, non-submersible styles can stop working if submerged because they aren't sealed for water. If the bracket sits where it goes underwater, choose a submersible option instead. For any install near water, inspect seals and position the light to minimize splash exposure.
Yes, they work well for relocations on carriers or spare-tire mounts. Secure the bracket where the plate is clearly visible and not blocked. Tie the light into your running light circuit and confirm the plate is lit when your lights are on. Double-check polarity.
Often the license plate hardware is included, but mounting hardware may not be. Check what's in the box and be ready with appropriate bolts or self-threading screws for your surface. Ground the wire to clean metal and use a sealed connector on the power lead.
Yes, they can work well as replacements on campers. Verify your bracket's mounting pattern and space before installing. Plan to mount, ground, and connect the wire to the running light circuit. Check polarity during hookup to avoid a no-light issue.


 Filters