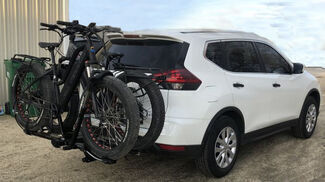
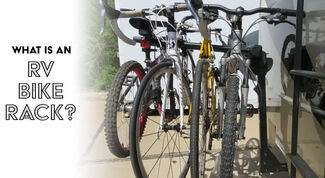
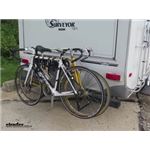
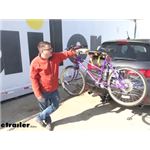
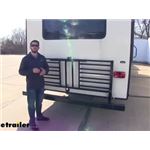
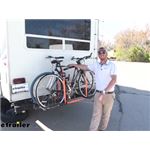
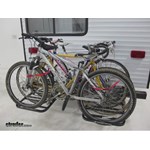
Head out with bikes loaded and your truck bed free. These RV and Camper Bike Racks mount to an RV bumper rack for quick setup, and adding a few bungees or straps helps keep everything snug. For better clearance and fit, you can place the receiver above the bumper, watch for handlebar contact with the coach or spare tire, and plan tie points so bikes don't ride too low on steep driveways.
Yes, but pick racks built for trailer use. Some bike racks aren't designed for a travel trailer and won't hold up to the extra movement at the back. Verify the rack is approved for trailers, then check your bumper style and space for mounting. If your trailer lacks a hitch, some systems use a bumper-mounted receiver to run a hitch-style rack.
Mounting the receiver on top of the bumper can help increase clearance. Watch approach angles—some setups place bikes low and they can contact the ground on steep entries. If you're seeing contact, raise the mount position if possible and recheck tire and frame clearance to the bumper and body.
Use extra bungees, ties, or ratchet straps to snug everything down. Pool noodles or padding on frames and rack bars help protect paint. Add a strap over a tire to reduce sway. Check handlebar clearance to the RV wall and pad contact points. If tie points are limited, plan your strap routing before the first trip.
It can, depending on bike and rack position. Handlebars may contact the RV housing, and a spare tire might need to be moved, which could cover the plate. Test-fit and adjust bike spacing, pad any contact spots, and confirm the plate remains visible. If brackets feel too tight to adjust, take time aligning them before final tightening.


 2 Bikes
 3 Bikes
 4 Bikes
 RV and Camper Bike Racks Parts or Accessories
 Filters