


To see if this custom-fit item will work for you please tell us what vehicle you'll use it with.


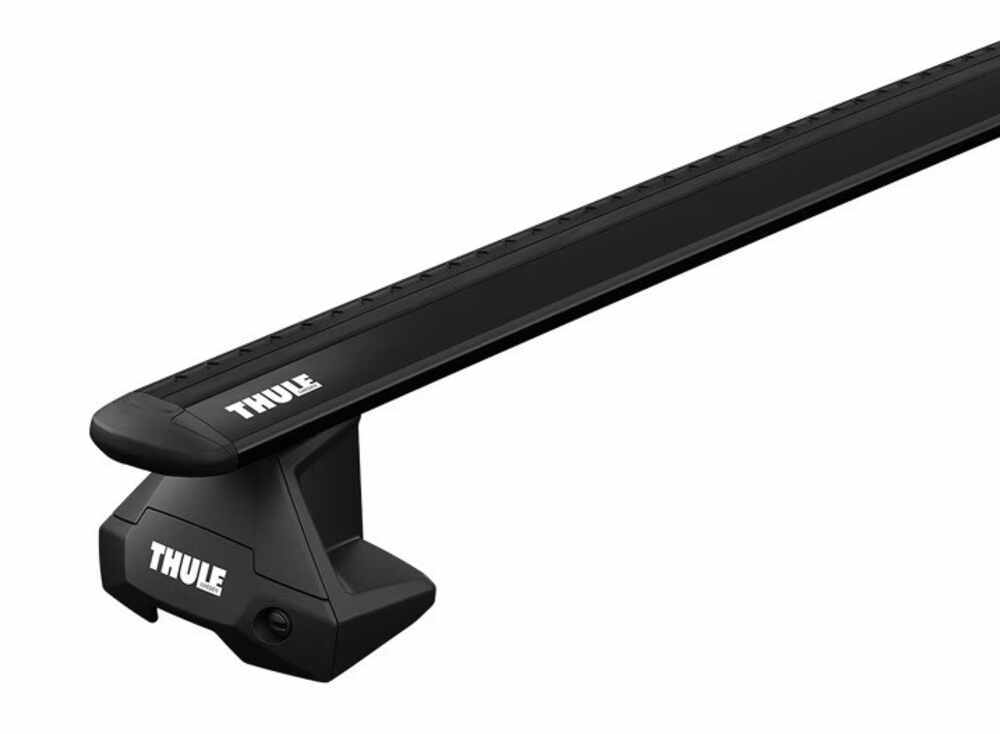


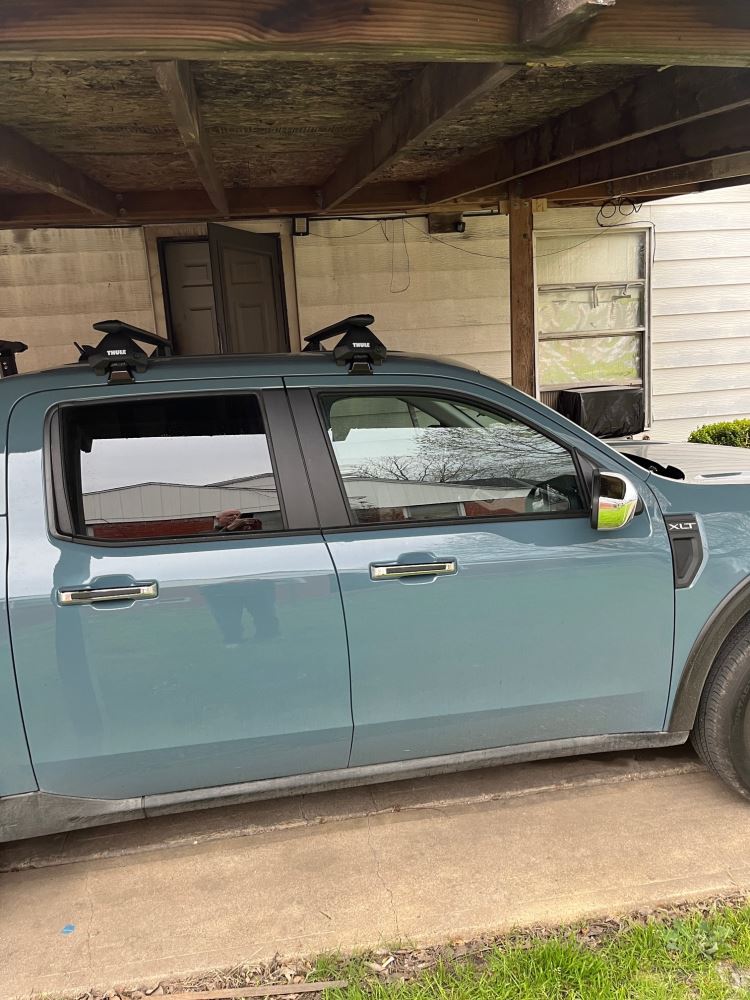
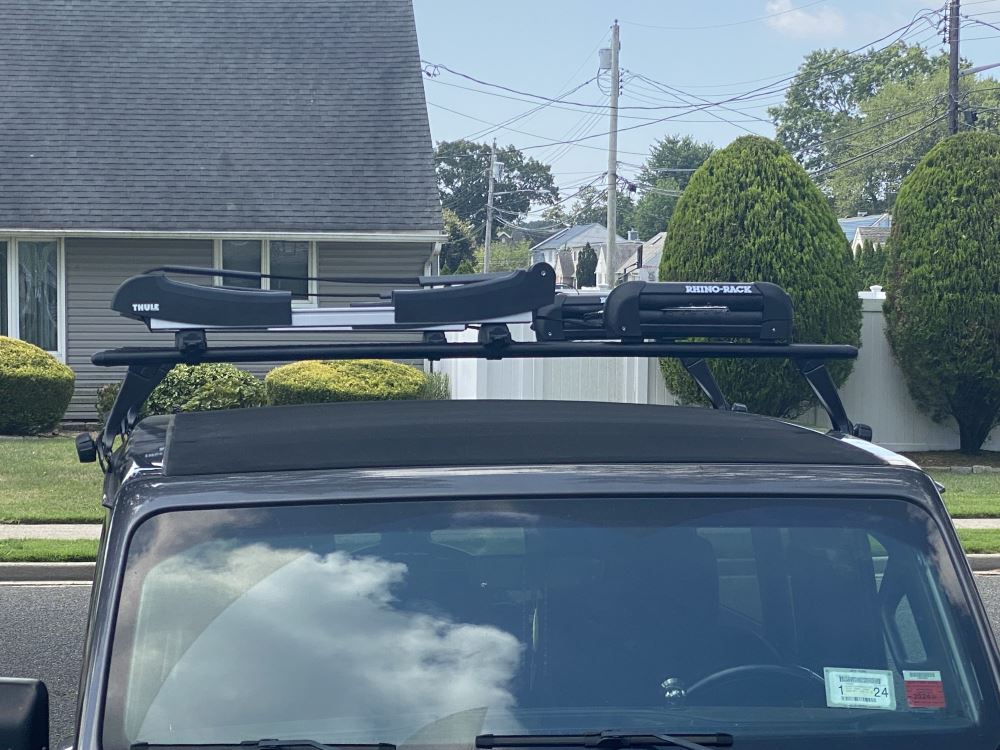
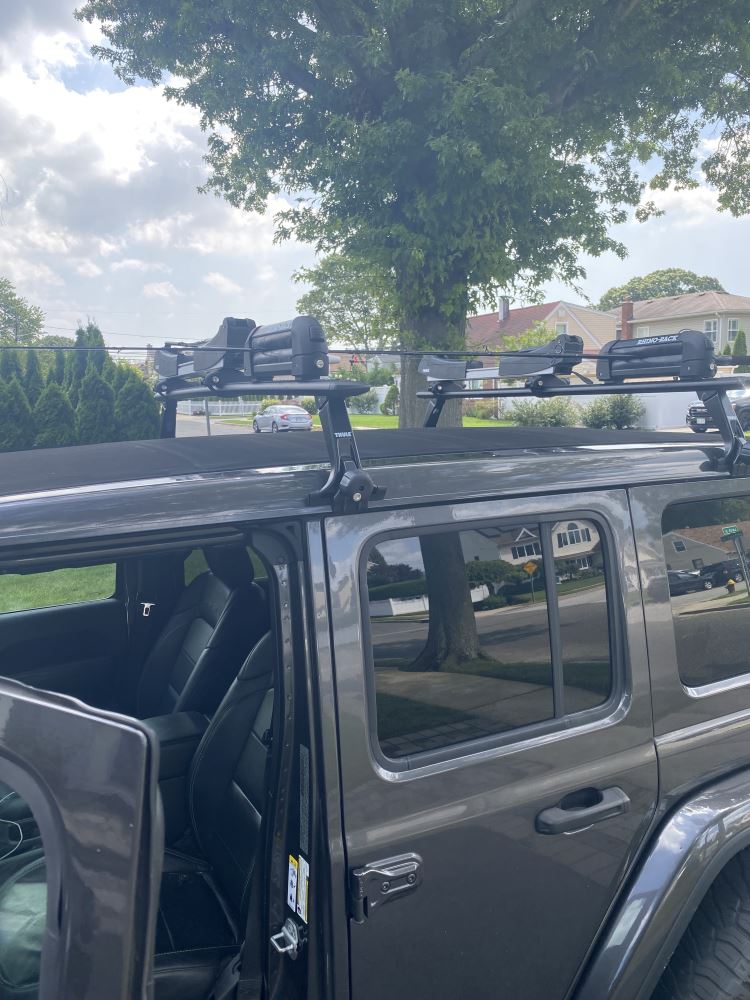
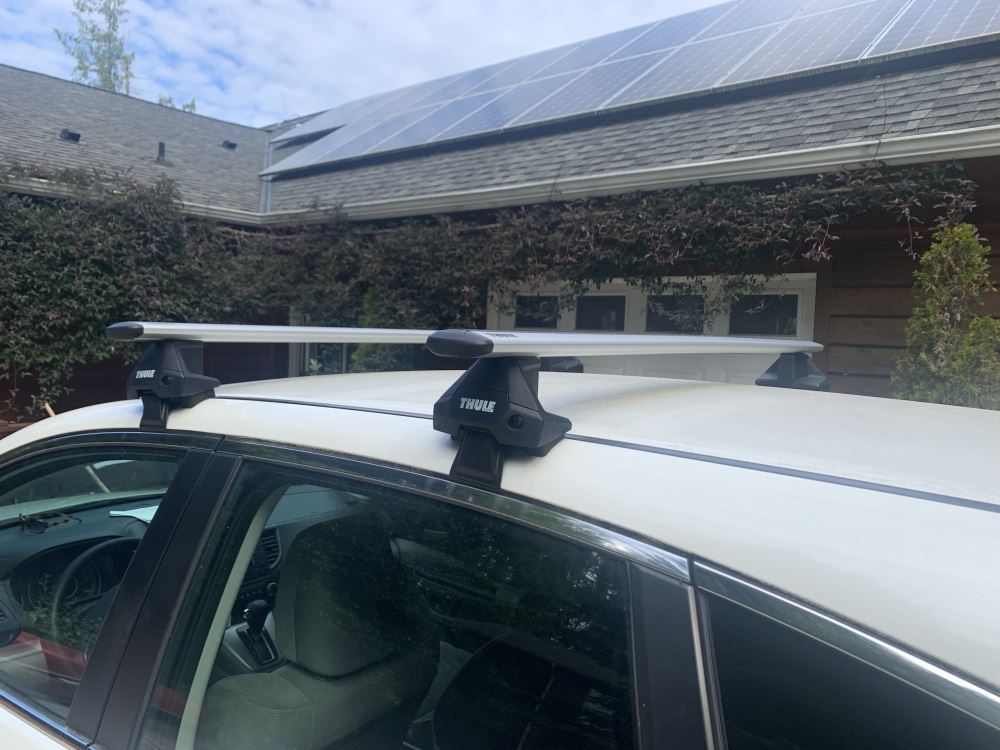
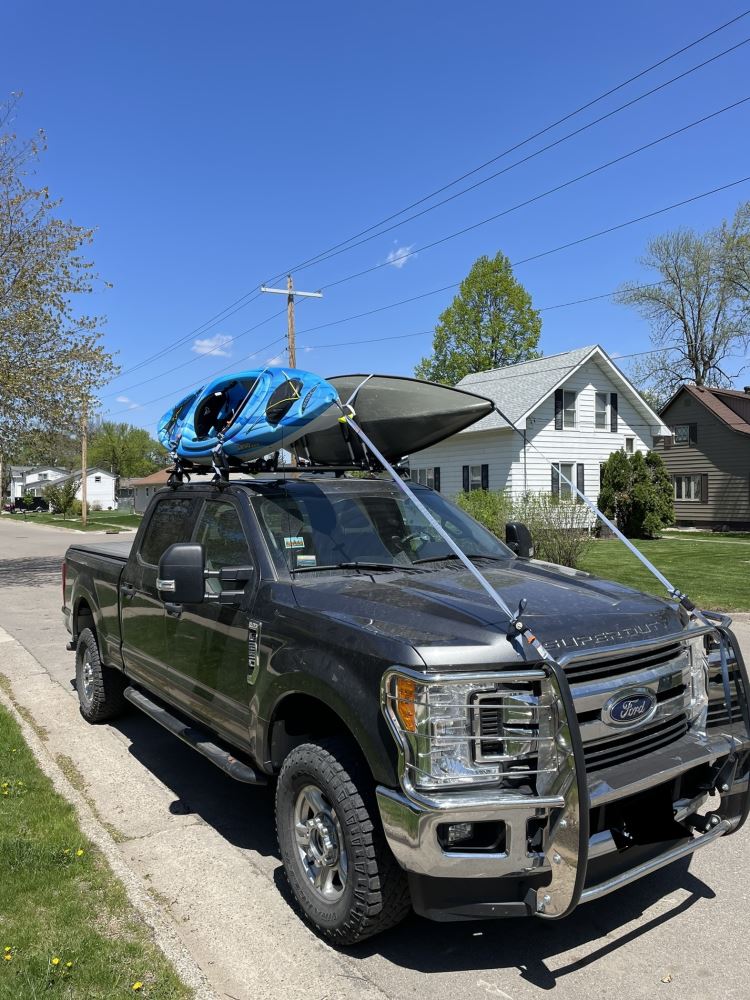

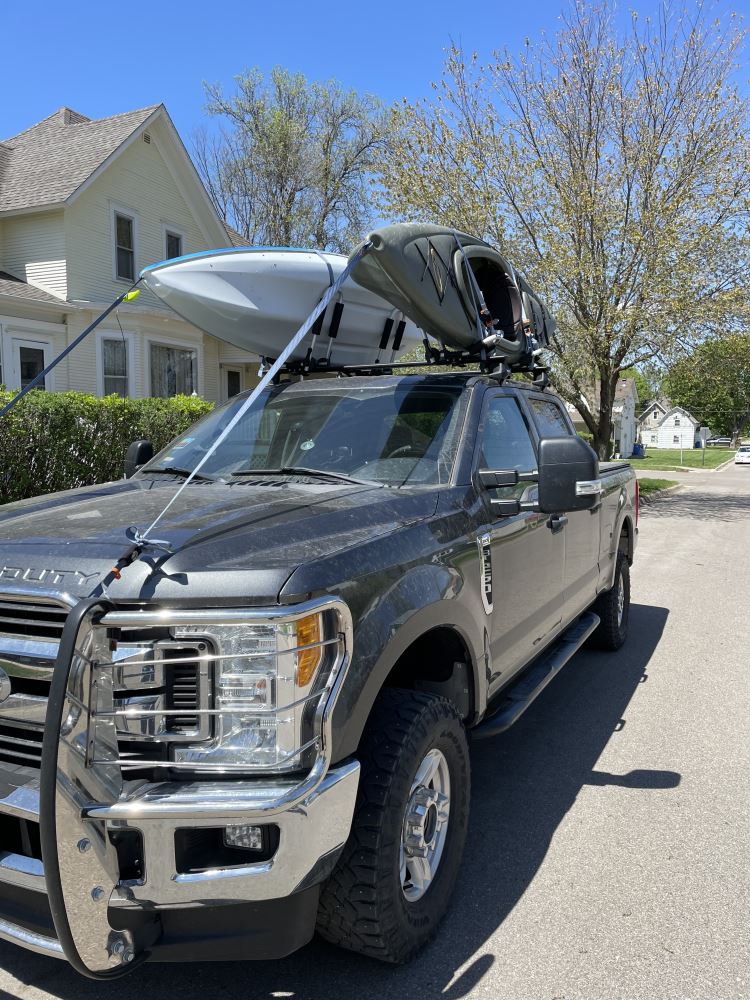
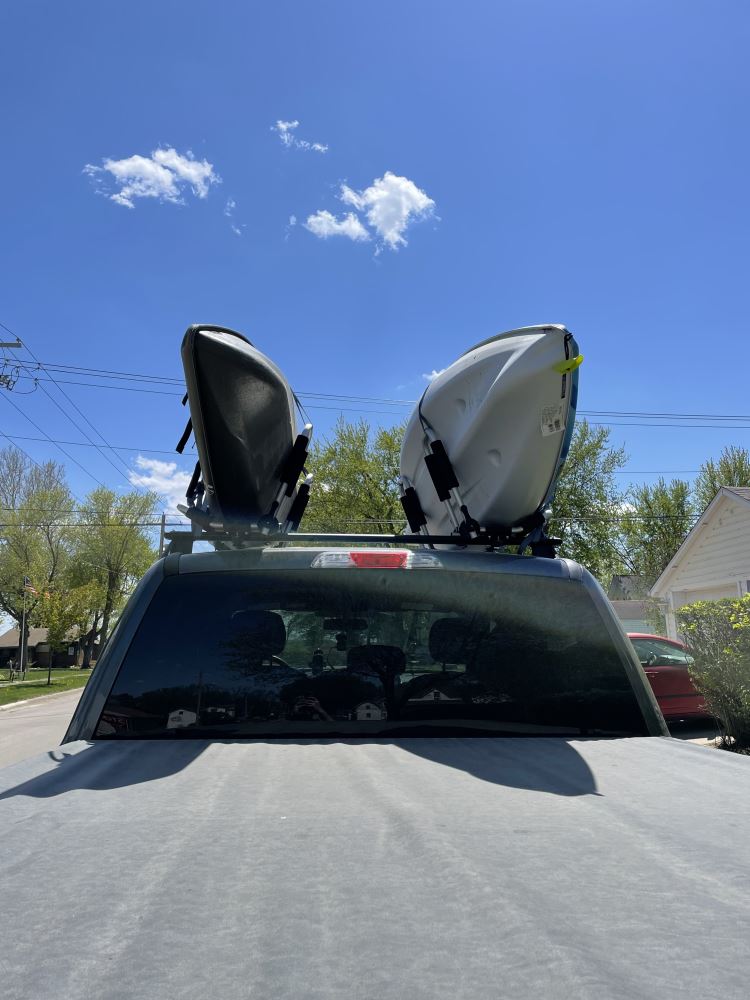
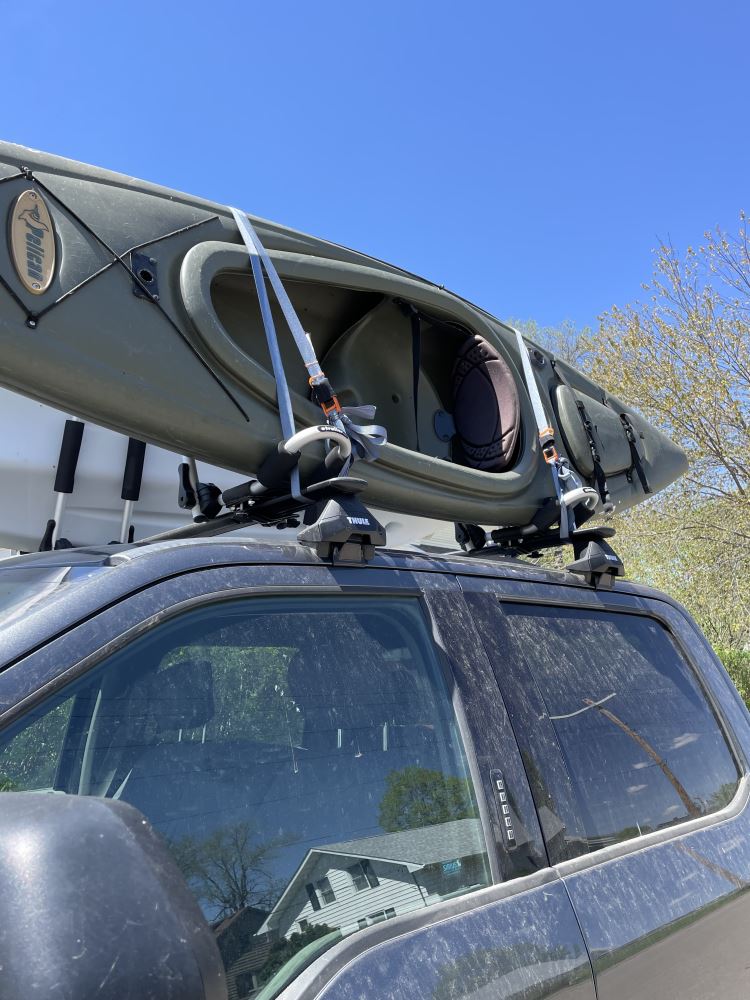
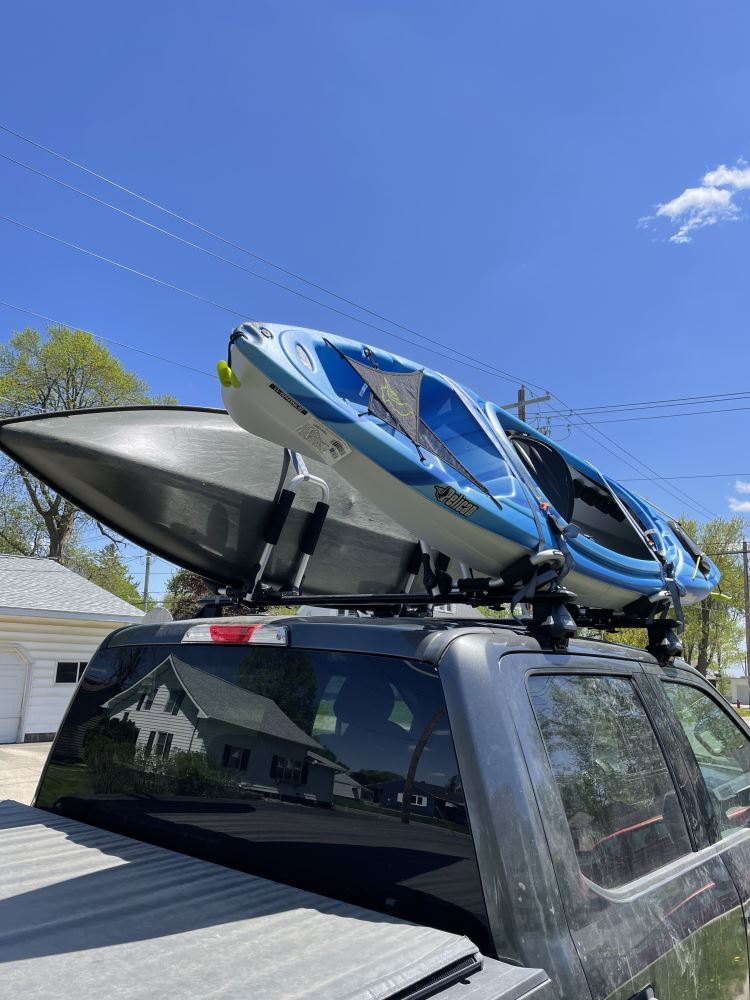
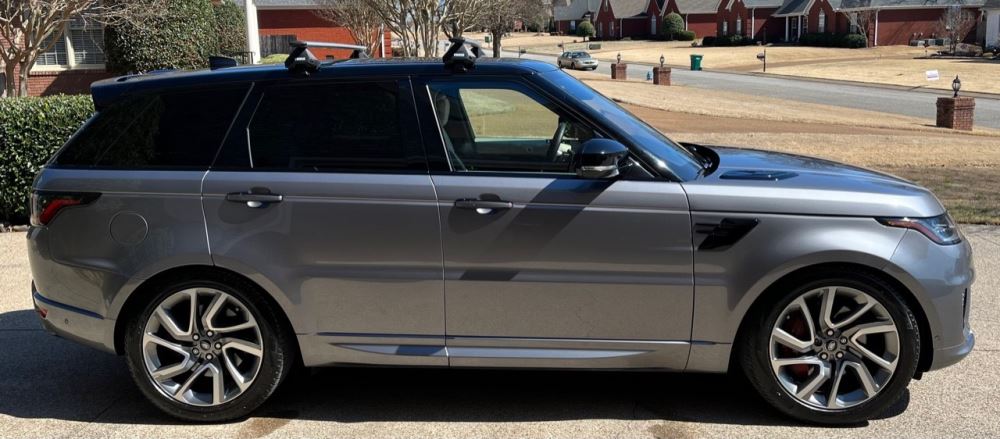
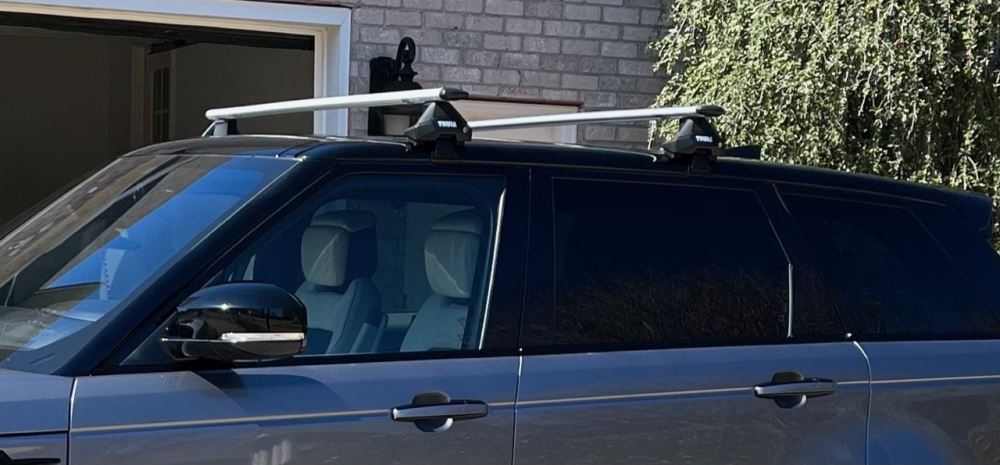
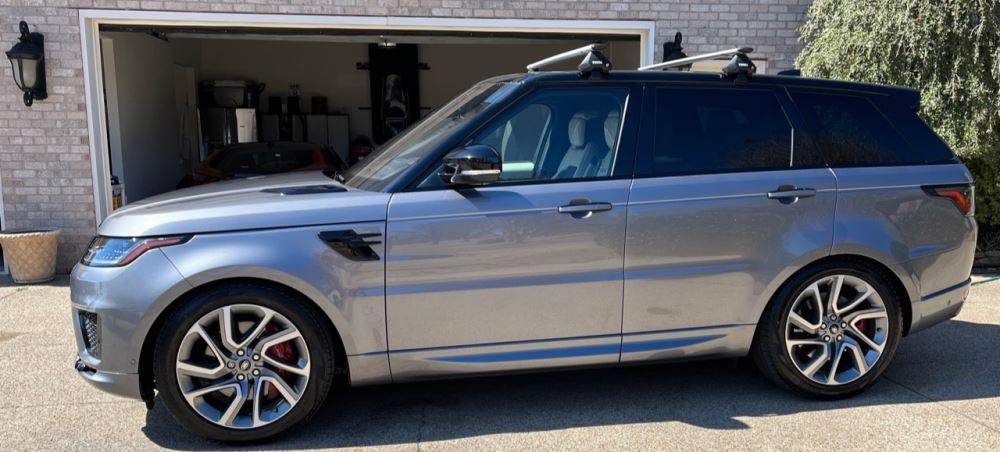
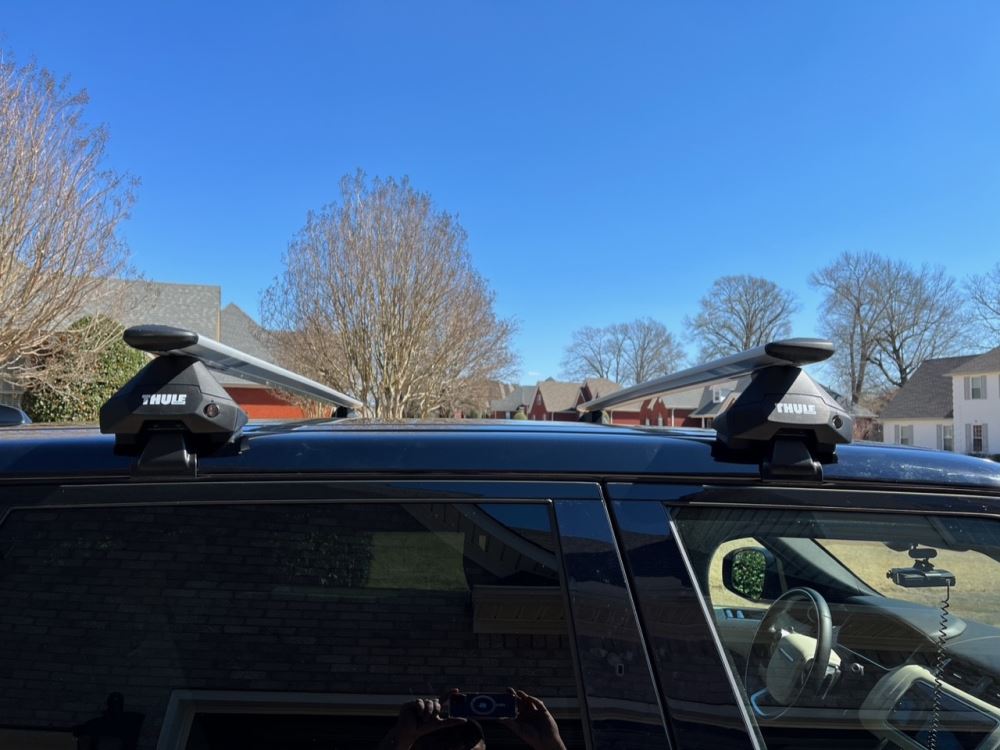
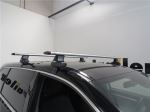
Driving with a roof rack doesn’t have to be loud. The aerodynamic shape of the Thule WingBar Evo helps smooth airflow over the top of your vehicle, keeping wind noise and vibration to a minimum. The top channels have split rubber strips that close back around your accessories, sealing gaps that can whistle at highway speeds. You get a quieter ride whether you’re heading to the lake or across the country.
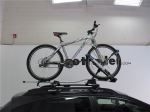
These crossbars are built for versatility. The top channels and bar profile work with both channel-mount and clamp-on gear, so you can use your existing bike racks, kayak carriers, or cargo boxes without issue. It’s a simple way to haul everything from paddleboards to camping gear using the mounts you already have.
Some racks make you trim rubber strips before mounting accessories, but this setup skips all that. The split-strip design lets you slide mounts straight into the channel without cutting or measuring. The strips settle back into place around the mount, keeping the bar sealed and looking clean while saving you time on install day.
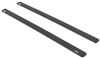
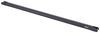
These aluminum crossbars may look sleek, but they’re made to handle serious weight. With a 165 lb capacity (always follow your vehicle’s roof load limit), they’re tough enough for kayaks, tents, or cargo boxes packed for long trips. Each bar measures 60" long x 3-1/8" wide x 1" tall and keeps its strength without adding bulk to your roofline.
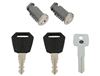
You can add Thule One-Key System locks (sold separately) to secure both the rack and any channel-mounted gear. It’s an easy upgrade that helps deter theft when you leave your setup parked overnight or at a trailhead after unloading your kayak or bike.
 Alternate Instructions
Videos are provided as a guide only. Refer to manufacturer installation instructions and specs for complete information.
Hi, Matt with etrailer. If you have a 2024 Ram 1500 and you wanna carry maybe a little bit additional items with you that maybe you can't fit inside your bed, then the Thule roof rack is gonna be a great option for you. So let's check it out. Now it is important to note that we do have a naked roof option today. Now if you're in an odd situation where you have maybe a flush or a raised rail option, a good way you can check is if you have some sort of rail over here that you can grab onto, then you have one of those other options. If it's pretty much flat up top, then you have a naked roof option.
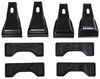
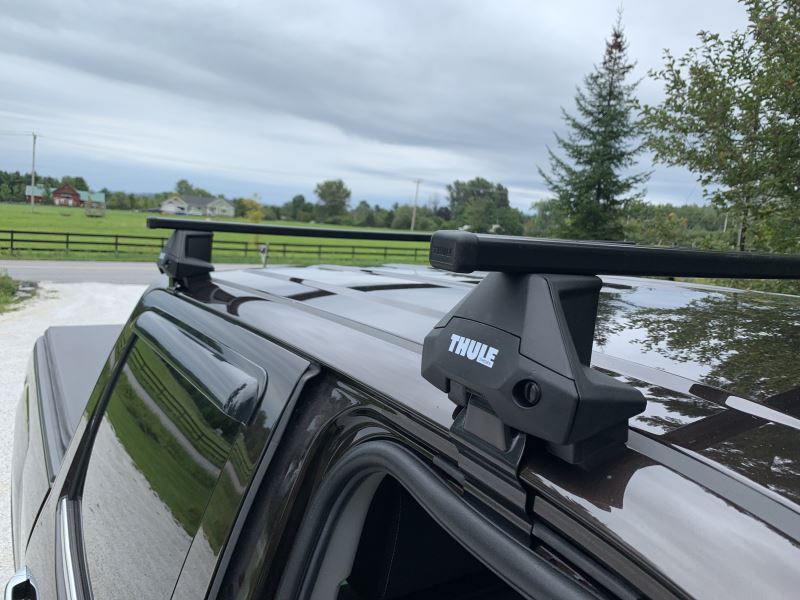
You can also plug in your vehicle's information into our fit guide to find the right fit for you. And this kit is gonna be made up of three parts. So up top we're gonna have our 60 inch aero crossbars. Then we're gonna have our towers, and then we're gonna have the fit kit that attaches it to your roof. So looking at that crossbar, we're gonna have this aero design to it.
That aero design is gonna help it be more wind resistant to help reduce that wind noise. Something else that's gonna help reduce wind noise is through this weather strip at the very top of it. What this weather strip is doing is protecting this T channel so no debris can get in there. And what that T channel is for it is for those T channel accessories. And what I like about this design is at this end cap I push up on that, you can load those accessories in from here.
A lot of times you actually have to remove the end cap completely. This just kind of helps take out an extra step. And these crossbars will work with most type of accessories. And we're also gonna have an additional T channel underneath. We actually have this tab that's built in to cover that up.
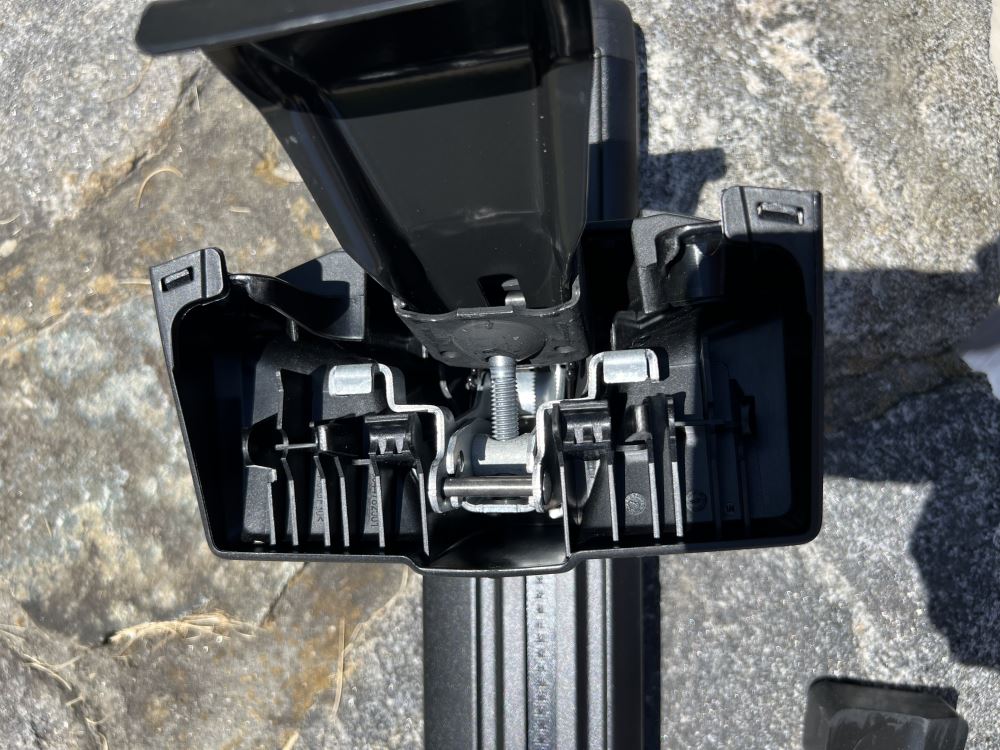
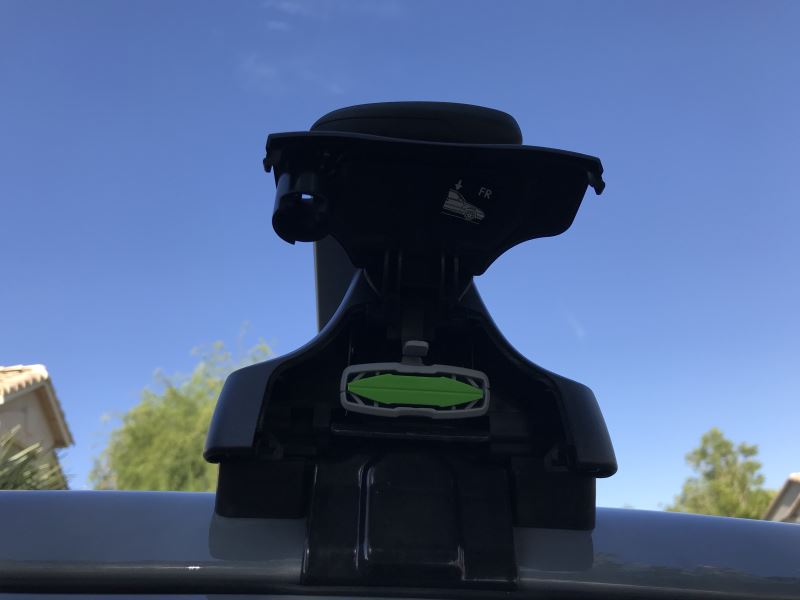
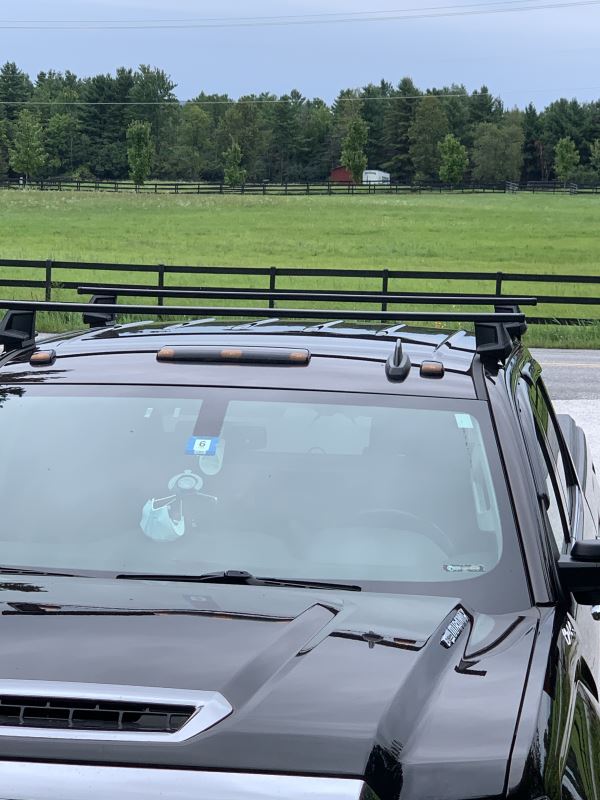
And what this is for is to attach your towers too. And with that tower we're gonna have this end cap. This is actually gonna protect and cover up all the components that tighten everything into place as a pretty simple design, all we had is a bolt that cinches everything together. So what I like about that is, is one bolt to tighten everything, not too many steps. And this cover is gonna help cover everything up, make it look a bit cleaner. And if you notice we have this circle plastic core right here, that's really just a placeholder if you wanna get a metal locking core later in the future just for some additional security. And that's gonna connect to our fit kit. That's gonna be two parts. There's gonna be this clamp right here and this rubber pad. And what I like about that is this rubber pad's gonna make sure we don't scratch anything up. And this clamp's gonna really grab into the inside of our gutter. I open up our door, you can see a little bit better right here and we're getting a pretty good fit right now. If you look here, there's only a little bit of a gap. If I adjusted that a bit more, I'm sure I could get rid of that. But that's really just grabbing onto the side of our vehicle, kinda grabbing onto this little divot we have at the top. And today I am really liking the fit we're getting from the Thule roof rack. And taking a closer look at that tower, if we remove this end cap, we'll notice we have all the hardware that cinches everything together. And this is really a simple design. What it's gonna be is just one bolt in here that grabs on and tightens everything, but you probably don't wanna look at that all the time. So we have this cover to make everything look a bit cleaner and it also doubles as a security feature. So right now we only have this plastic core right here. You can get that traded out later on for a metal locking core just for some additional security. Now looking at that fit kit, there's gonna be two parts. There's gonna be this clamp and this rubber pad at the bottom. And taking a closer look at that clamp, I'll open my door. It's just gonna grab onto our gutter right here. We're getting a really flush fit today and that's gonna transfer over to our rubber pad. This rubber pad isn't gonna scratch everything up and we are getting just a slight gap right there. But I'm sure if you work at it just a little bit longer, we could take out a lot of that. But for being a fit kit, I think this is doing a really good job and it looks really nice on our roof today. Now we're gonna get a few measurements. So the first one I'm gonna get is gonna be the overall height of that. That's gonna be about four inches, which isn't too bad. That's actually pretty low profile. But what I recommend doing still is just taking the total height of your vehicle, your crossbars, and if you have anything on top of that, include that too so you know what areas you can make it under. A spot to really think about would be a garage. Now if we get the distance underneath, that's gonna be a little bit over two and a half inches. So if you have some really bulky clamps that's gonna be pretty close to your roof and you might make contact or it might just be a little bit more difficult to use those clamps. Something else to really think about is if you do have a center roof on your truck, if that spans up, it could make contact with the clamps, but definitely keep an eye on that. Something else you really think about too is what a lot of people do with roof racks on trucks is they actually kind of make a platform out of this. So what they'll do is get some roof racks up here and then they'll get a ladder rack for the back and try to make sure everything's like level. And that's gonna really help with those really long loads and really make the truck look a lot nicer too. Now we can check out what that overhang is gonna look like and we're not gonna get a whole lot. So that does have some pros and cons. So the pros are it's gonna look a little bit nicer on top of your roof, a little bit more like custom fit. And then it's also gonna be less likely to bump your head on here. So if you we inchesre climbing up to really work on something on top of your roof, not gonna be likely to hit your head on that. Now the downside is gonna be if you have any carriers like a ski carrier or a kayak carrier, you're not gonna have a whole lot of room to put them there. So you're probably not gonna have that ability. So you're probably gonna have to put them further in on your truck, which is gonna be kind of a reach. So definitely just keep that in mind. And as far as how much it can hold up here, it's gonna be pretty sturdy. And what I actually recommend is just checking what your roof is rated for and then going from the lowest rated component. But in my opinion, I think this is a great option if you're looking for something that's gonna look pretty clean on top of your roof and it's gonna be able to help you carry all those additional items because while the bed is great for those heavier items, this is gonna be great if you have anything longer that you can't fit inside your bed. Now if you're looking at other options for the Ram, there's gonna be a ton and something to think about is gonna be how we have this slight bend in the front of the truck. It's not too much and I think this is still pretty leveled, but if it's maybe not level enough for you or you're a little worried about it, then I'd recommend checking out the Yakima roof rack. There's gonna be a few options for that, but they actually have mechanisms built into the towers to adjust how this crossbar lays so you can get a really even fit across and you can actually get that even with an HD crossbar too. So if you need something a little bit more heavy duty, you can do that too. But this is gonna be a lot easier to install at the end of the day because with the Yakima towers you're gonna have to tighten down a few bolts. This is just gonna be one on each side. If you are curious to see what this process looks like, just stay tuned and we'll walk you through it. To begin our installation, I'm gonna lay everything out. You probably noticed too, I already have my rear crossbar installed. It's gonna be the same process. There will be a slight difference with the pads that we do use, but I'll address that later on. But what we're gonna have at the moment is gonna be a 60 inch crossbar. We're gonna have the towers and their end caps, we're gonna have these two clamps and the bases as well. I also recommend grabbing a tape measure so you make sure everything's even and you will have an included tool. What I like to start off with is gonna be putting on our towers to our crossbar. So I flip mine upside down to reveal these channels underneath. And what you wanna do is remove this end cap. That's gonna be a tab right here. I'm just gonna press on it, grab this and just wiggle it off because it is on there pretty tight. So after working it off, I can just put that to the side and start putting this on. Now if your end cap's still on, just make sure you remove that. And to put this on, you'll notice we're gonna have this bolt at the top. This bolt and this plate have to go into this channel. But if I just tried to come over here and push it in, it won't work. What you have to do or what's gonna help you a lot is you're gonna find that we have this middle bracket on the back of it. I'm gonna grab that, the housing itself, squeeze it and that's gonna lift up on that bolt. Once I've done that, just squeeze, push down, push in a bit, making sure this middle bracket is facing on the outside of our crossbar. Then I'm gonna repeat this process on the other side. Now I recommend checking where your crossbar is in relation to how it's gonna sit on your roof. So what I mean by that is just lift up on it. Then what I recommend doing is making sure that when you hold it like this, you have this thicker side facing in front of you and there's thinner side facing behind you. The reason is is because you want it to sit in this relation on top of your roof. Once you've established that, then we can figure out where our clamps and our pads are gonna go. 'Cause I said, like I said earlier, each one of these pads are gonna have a different number on them. So we want to check our instructions, make sure we know what number is gonna go on your driver's side. Once you've found that out, make sure you put it on the correct tower and just really just gonna seat in place lining up with the contours of that plastic pad. And once you've got that done, then I recommend only using one clamp. All the clamps are gonna be exactly the same. And the way I'm gonna do this is I'm gonna put the clamp on the side of the vehicle that I'm gonna be on and I'll explain that a little bit why when I put it on my vehicle. But when you do this, you wanna make sure these hooks are facing in towards the center of the tower. You're just gonna press on it, push down a bit, plan a little bit of pressure until you hear a click. Once you hear that, try to pull up on it and if it doesn't come out, you know you're good. Now we can put it on top of our roof. And I already put the rubber pad on the other tower too. So now both have those rubber pads on them. I'm going to open up my door and just kind of roughly place it on there. And like I was saying earlier, I wanted to put that metal hook just on one side 'cause if I try to put on both sides to begin with or before I put on my roof, I have the chance of scratching up my roof. I don't wanna do that. So it's easier to control the one that I'm on the same side it says. I'm just gonna kind of roughly place it like this. It doesn't have to be perfect right now because we still have a lot of adjustments to make. Now first thing we wanna do is make sure this tower is in the right location on top of our roof. So what I'm gonna do is measure from the front of my windshield to the front of this crossbar. And what I like to do for that is I kind of roughly gain where the front of that crossbar is gonna sit, measure here and look over to the side of this roof and make sure it's in the right location. If it's not in the right location, all we have to do is simply scoot this back some or pull it forward some too. And then after when I'm done with this, then I'm gonna go over to the other side, do the same process, and then I'm gonna put my clamp on. Now the next step is gonna be checking for two things, we wanna make sure that our base is sitting flush on this gutter here. So what I'm aiming to do is notice how we have a lip right here in that base. I want that to grab on to the beginning of this kinda divot right here. So I'm just gonna reput that down. You notice that looks a lot more flush, much better. The second thing I wanna do is just check our overhang. Now I already know I have too much overhang on one side, but show you what I mean. I'm just gonna measure from the end of our tower to the end of the crossbar. Then we're gonna check the other side to make sure it's even. But once you do have to adjust it, it's nothing too crazy. You can try tapping on it. Sometimes that will work. But what you probably are gonna have to do is just lift up a bit, squeeze on that metal bracket and your tower and readjust where this sits. And then I'll just hit that come by, push this over a tad bit and then adjust the other side. Now I'm gonna grab that included tool and we're gonna find that we have a bolt inside that bracket. I'm gonna tighten that down. And what I'm doing here is making sure it's tight enough just to make contact with our gutter. I don't want to pull too tight because that's gonna give us an uneven fit. It's gonna pull too much from one side. So once that's making contact, maybe with just a little bit of resistance, then I'm gonna go over to the other side and repeat that same process. And after when both sides are tightened down, I'm just gonna go back and forth until this is completely tightened on our roof. And the way you're gonna be able to tell if this is all the way tightened down is once you keep going at this, you'll eventually hear in that click. That's that torque device in this letting you know it's torqued down to its specification. You're just gonna put on this end cap now. Make sure you lock it up in place. And what I like to do is just give it a good shake test, making sure it's not moving at all and it feels pretty good. I like the way mine fits today. So one other thing I'm gonna do is underneath this crossbar there's gonna be these little tabs and I'm gonna push that in because there's gonna be a little bit of a channel there and if I leave that exposed, wind's gonna be able to get in there and create additional wind noise and I wanna reduce that as much as possible. So now that you have the front crossbar fully installed, it's gonna that same process for the backside, there will be a few differences. You will be using different bases specified in your instructions and to get that distance between them, you'll reference your instructions for that too. But that's just gonna be the measurement from the front of your front crossbar to the front of your rear crossbar. And just make sure you do your little pull test on that as well and make sure it feels pretty good. But at this point you can load up whatever gear you have and hit the road. That was just a look at the installation and some of the features of the Thule roof rack on top of our 2024 Ram 1500. I'm Matt, thanks for watching.
Ratings & Reviews



Do you have a question about this Roof Rack?
Info for this part was:
At etrailer we provide the best information available about the products we sell. We take the quality of our information seriously so that you can get the right part the first time. Let us know if anything is missing or if you have any questions.





























Thank you! Your comment has been submitted successfully. You should be able to view your question/comment here within a few days.
Error submitting comment. Please try again momentarily.