
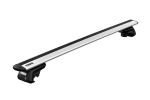
Thule WingBar Evo Roof Rack for Flush Rails - Aluminum - Black - Qty 2


To see if this custom-fit item will work for you please tell us what vehicle you'll use it with.


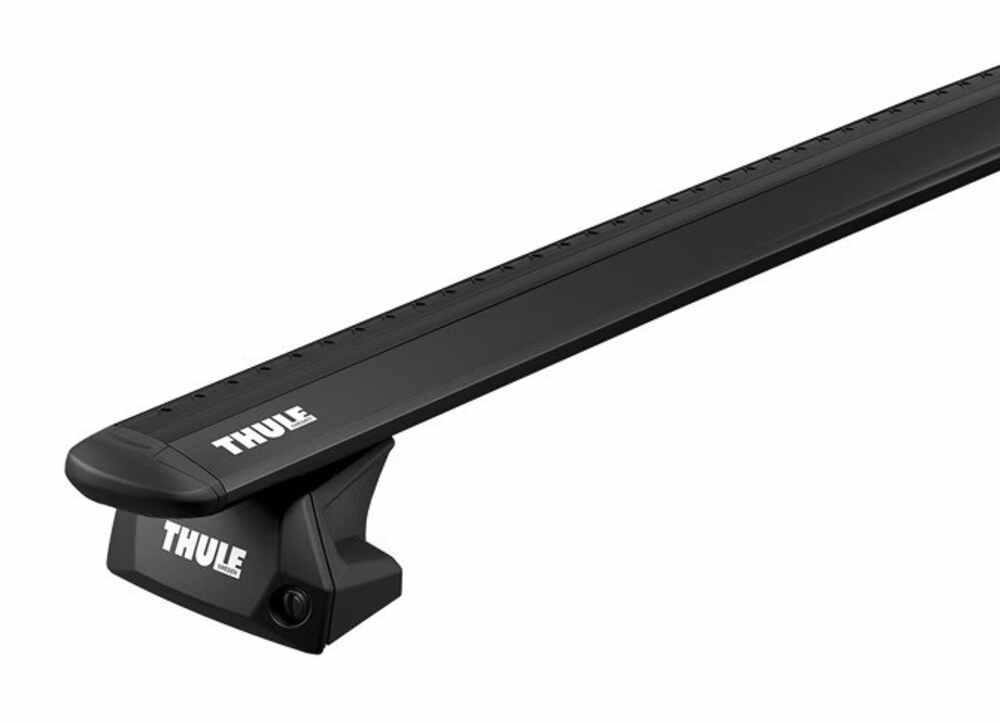


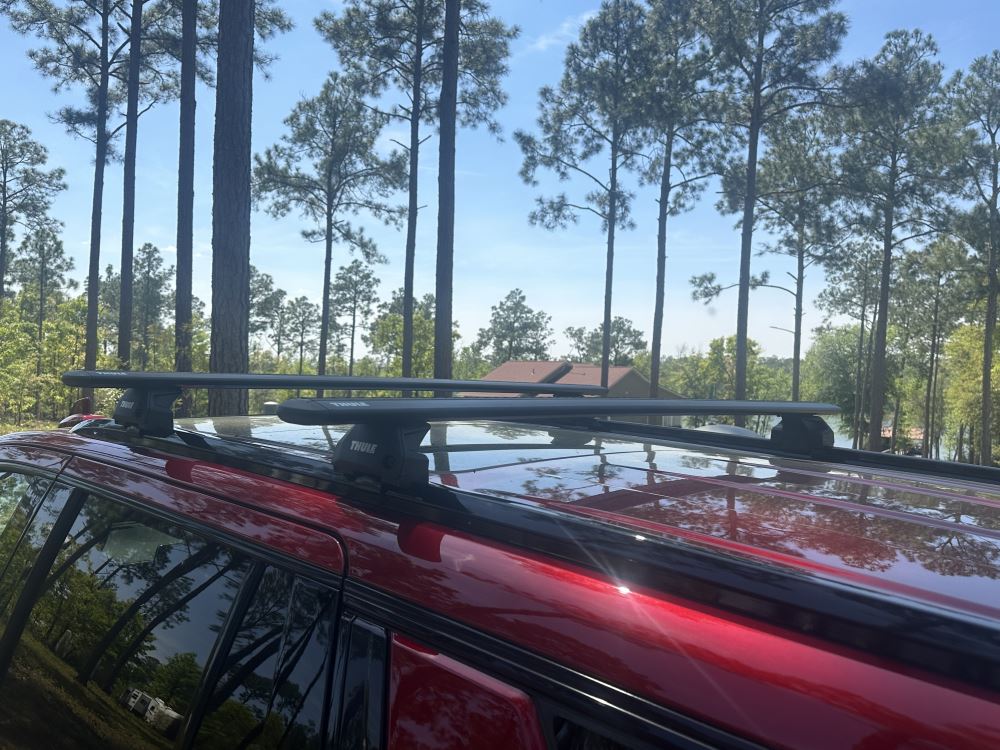
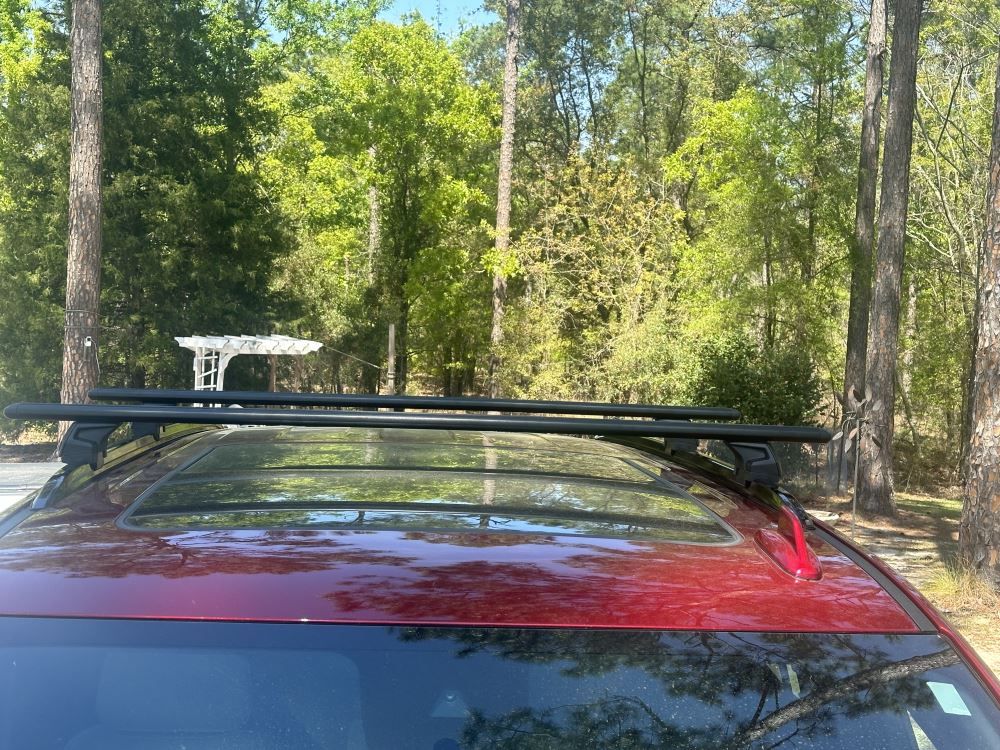
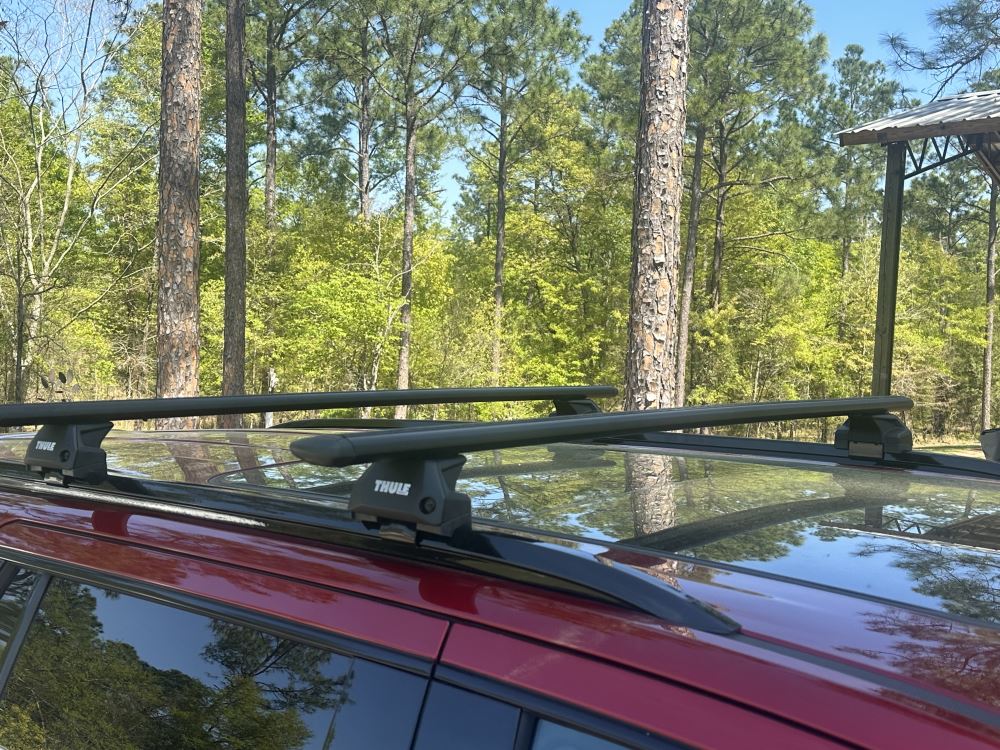
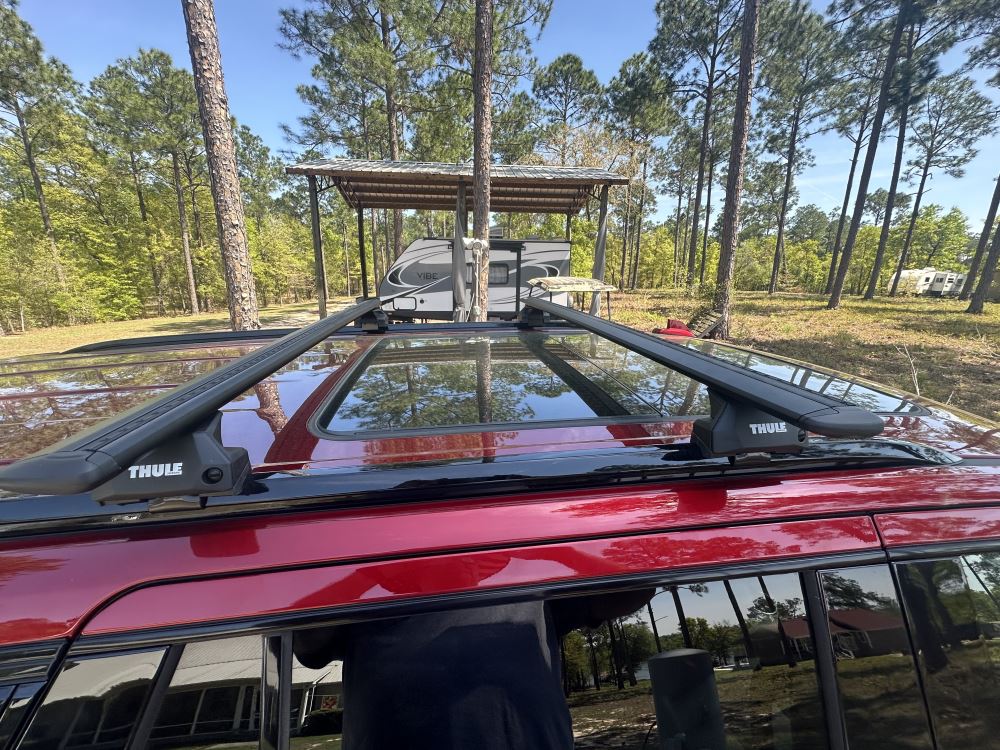
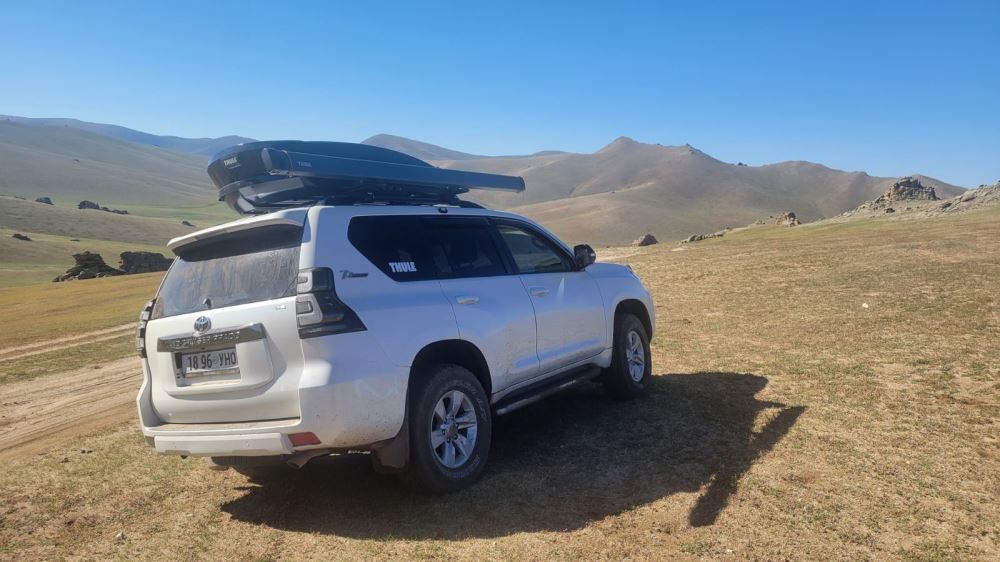
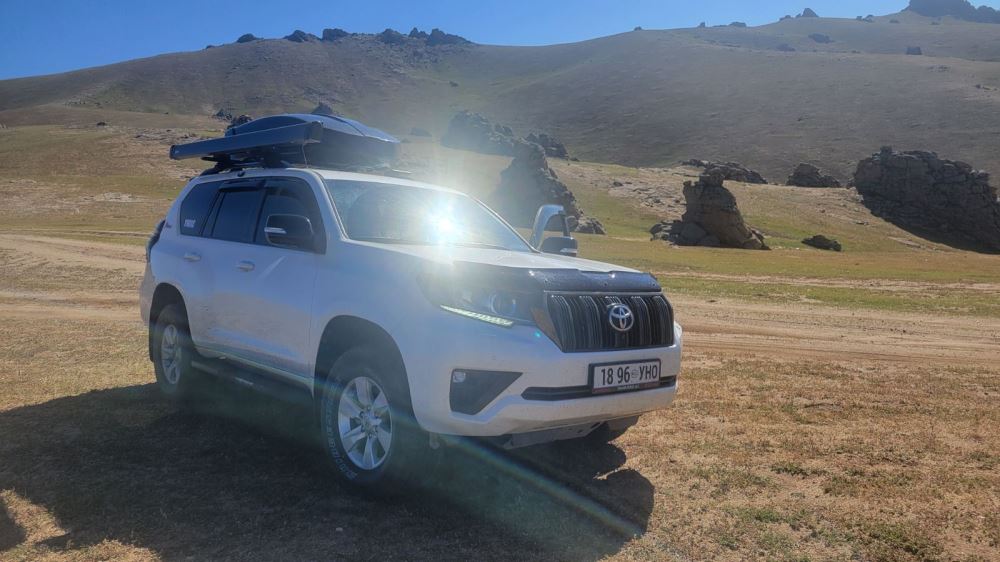
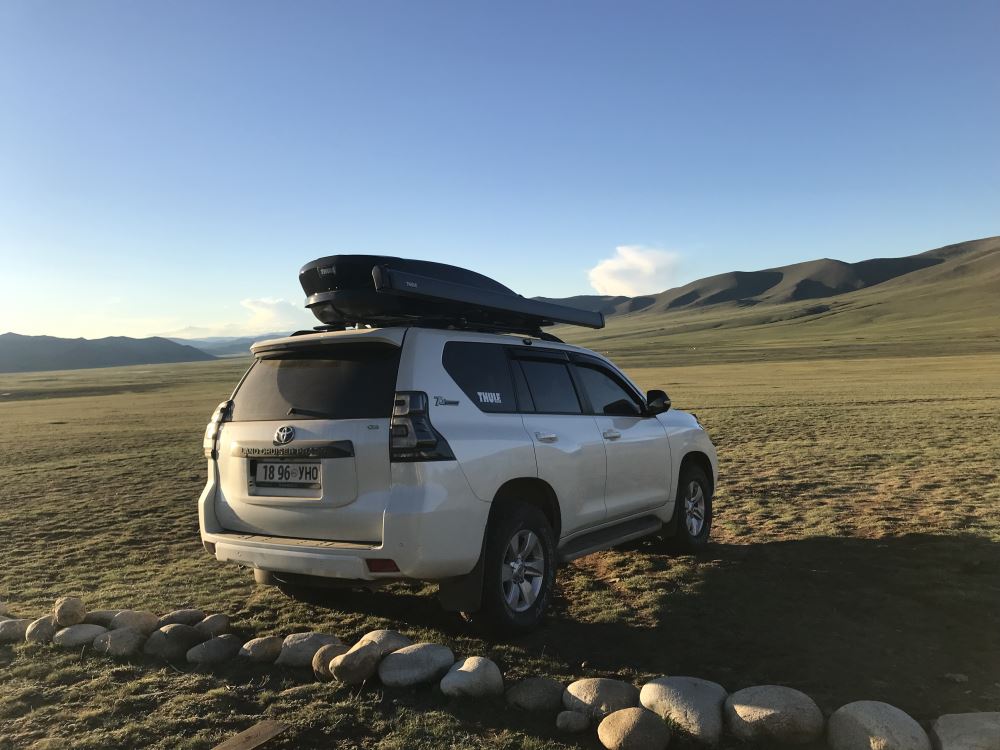
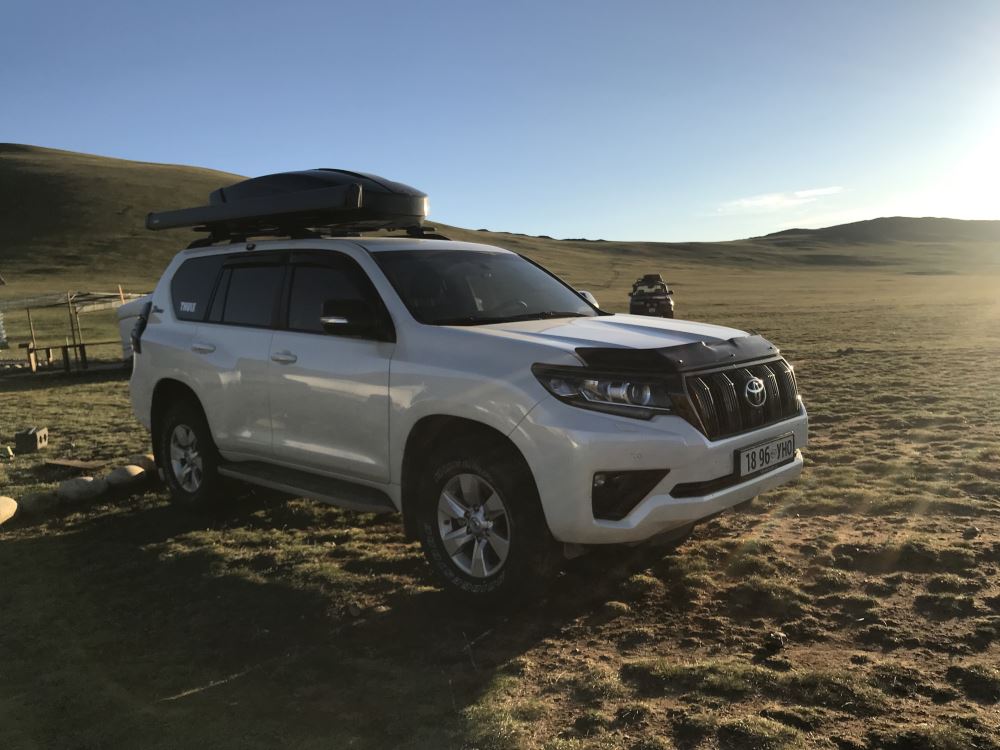
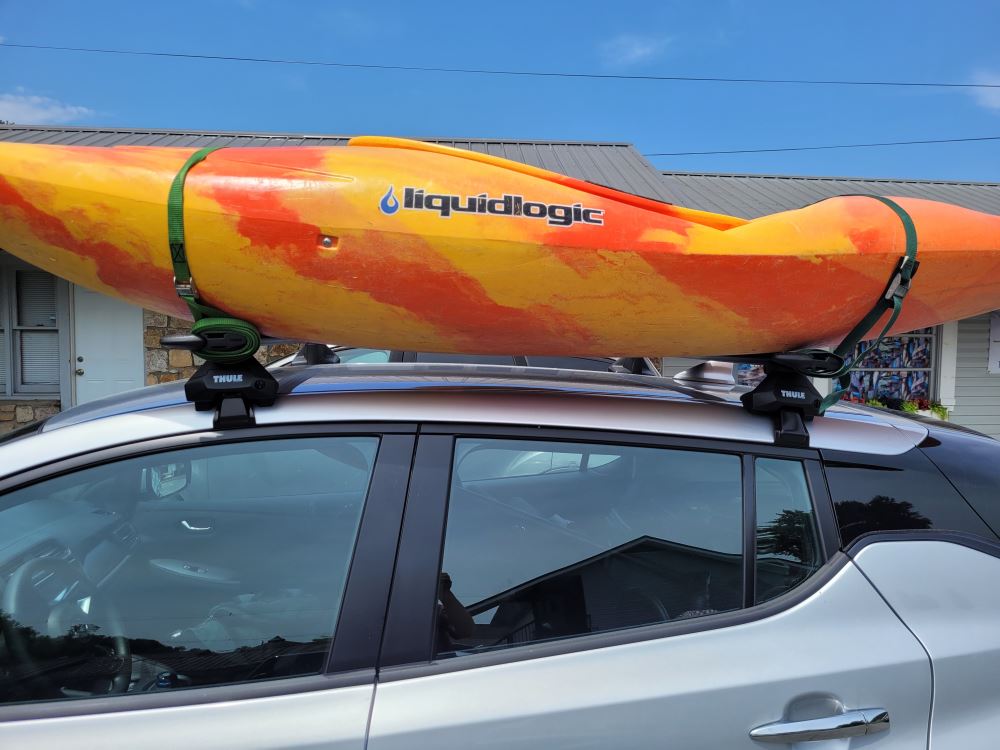
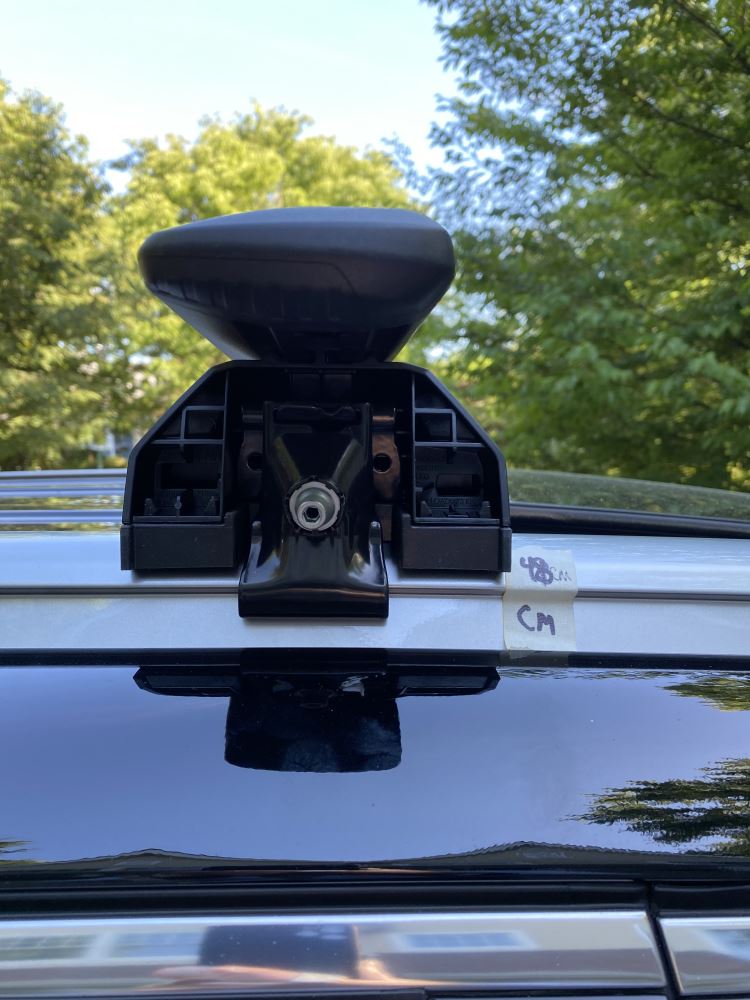
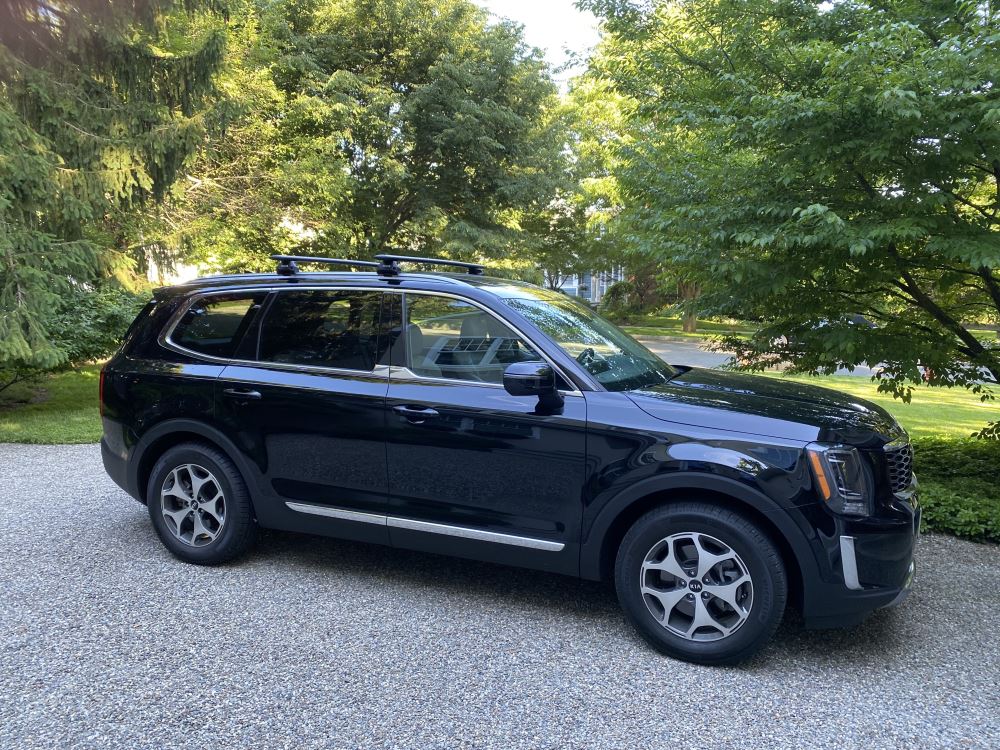
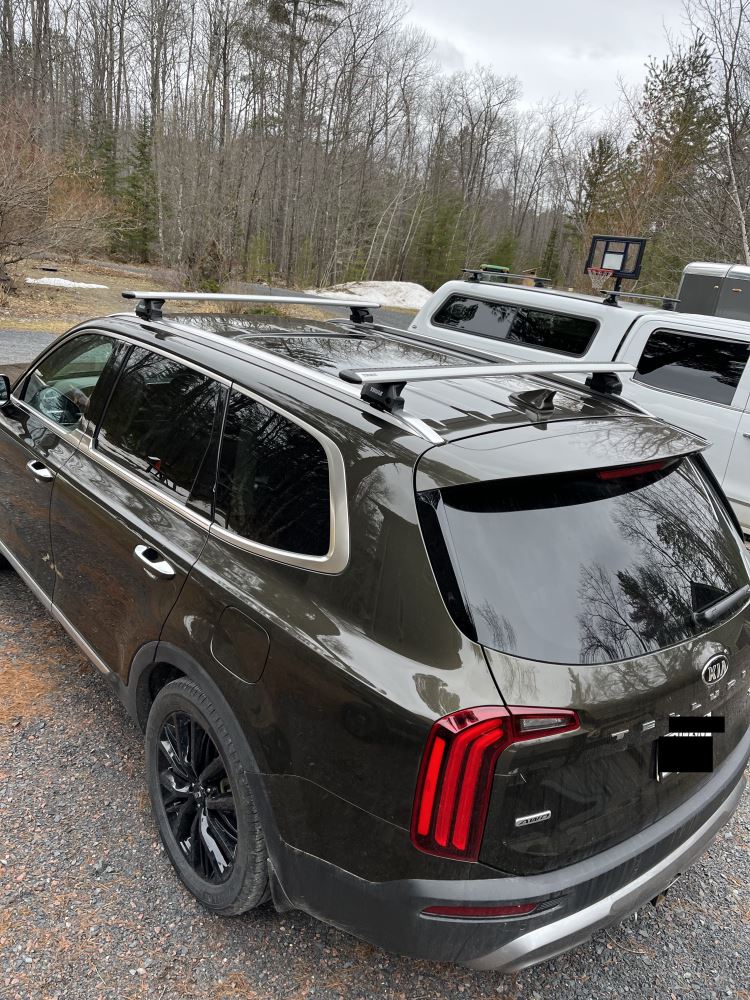
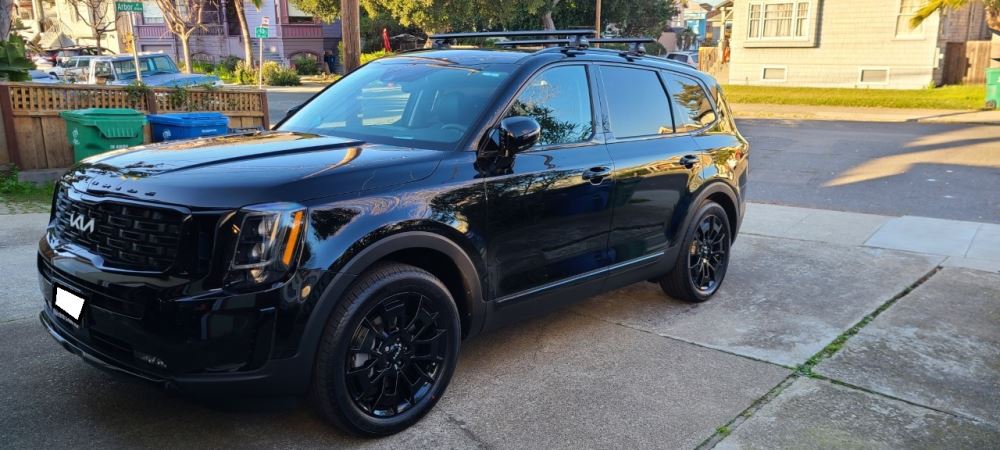
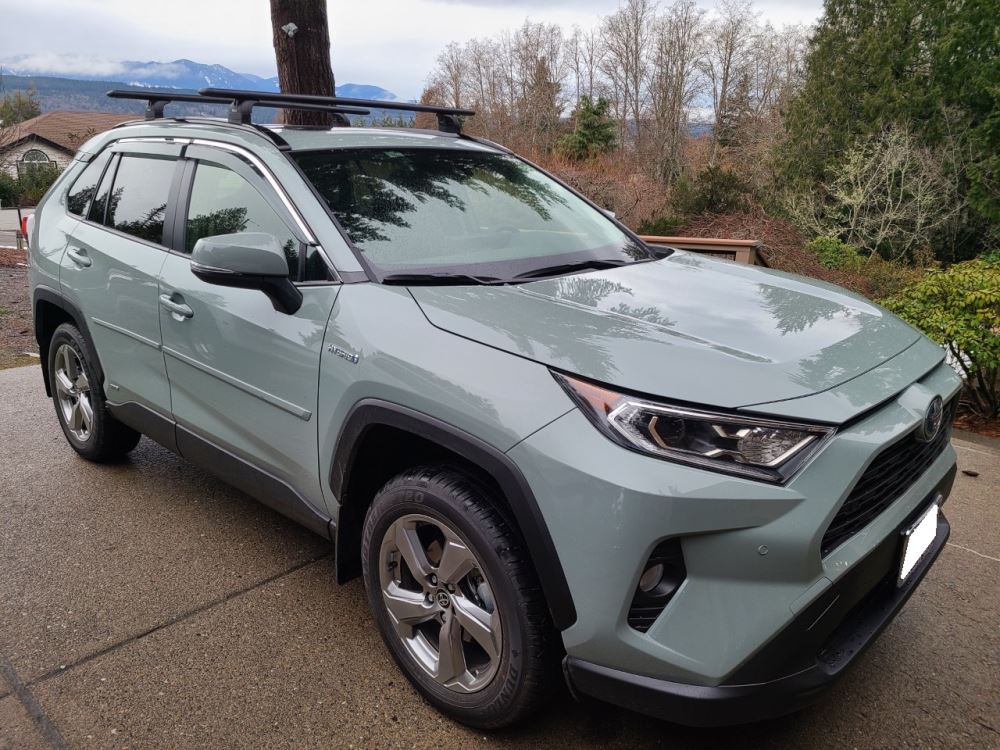

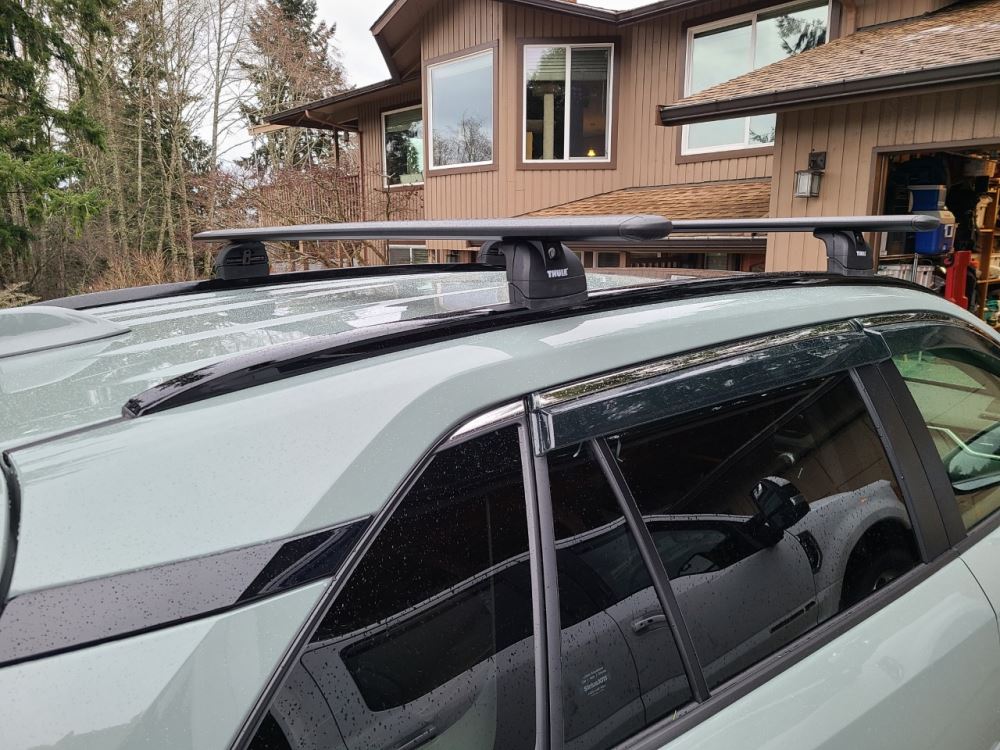
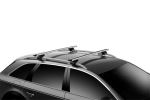
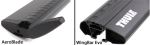
When you’re cruising with kayaks, cargo boxes, or camping gear on the roof, wind noise can be a real distraction. The Thule WingBar Evo crossbars are built with an aerodynamic shape and split rubber strips in the top channels that help cut down on vibration and whistling. The result is a smoother ride and a rack that feels solid and stable even on long highway drives.
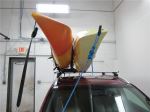
No matter what kind of trip you’re planning—paddling, skiing, or camping—these bars are ready to carry your gear. The Aero-style design lets you mount both channel-mount and clamp-on accessories without any fuss. That means it’s easy to swap between a cargo box, kayak cradle, or ski rack without needing separate setups.
Some crossbars make you trim rubber strips to fit your mounts. These don’t. The top channels have split strips that let you slide accessories right into place—no cutting required. The strips then close back around the mount to help seal out noise and keep airflow smooth while you drive.
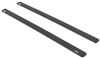
You can count on these aluminum bars to carry heavy gear securely. Each bar measures 53" long x 3-1/8" wide x 1" tall and supports up to 165 lbs (always stay within your vehicle’s roof load limit). The sturdy construction gives you confidence when hauling canoes, tents, or extra luggage across town or across country.
If you want extra peace of mind when parking overnight or leaving your gear at the trailhead, this rack works with Thule’s One-Key System locks (sold separately). It’s an easy way to deter theft of both the base rack and the accessories mounted in the top channels.
 Alternate Instructions
Videos are provided as a guide only. Refer to manufacturer installation instructions and specs for complete information.
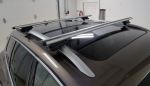
Hi, everyone, I'm Evangeline right here at etrailer. Today we're taking a look at this Thule roof rack right here on our 2023 Land Rover Discovery. If you are looking for a super sturdy base so that you can carry around all kinds of fun things like roof boxes or kayaks, this is definitely gonna be the one that I first recommend. But first, let's talk about the Discovery and its roof. So you'll see this flush and raised rail combination up here. and it might be a little confusing trying to figure out what is the best fit for your vehicle.
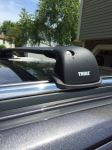
So here etrailer, when you put in your year, make, and model, we have a fit guy that shows you all the confirmed fits for your car. Some of them clamp around the rails, some of them secure in different ways. So with this Thule kit, what they do is they secure around the rails, and you can actually install it wherever you want depending on what you wanna carry. Of the roof racks that clamp around, this is one of my favorites. Look at that custom-fit design for the rubber that goes around to the top of your rail.
And then you also have metal clamps that secure around the front and the backs, making that very sturdy system where you can trust this carrying a lot of weight. And with the Discovery, you have two sunroofs that we get to take a look at for measurements. For the rear bar, if you put it over that rear roof, you'll have about 3/4 inches of space underneath. For the front bar, you'll have even more clearance at around four inches, maybe 4 1/4 depending where on your roof you measured. That's a lot of clearance.
Now, if you have super large clamps, you might get a little bit less clearance, but this will still fit for most things. You can still carry your accessory and open up your roof. Here you can see our clearance for our front sunroof, so you can see that come up. And then underneath the bar, you still have all of that space. In fact, this would be about a similar amount of space as you would have for the rear bar where everything lines up.
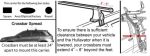
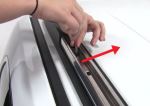
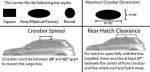
And based off of experience, 'cause I too have a sunroof and a roof rack, while the bars don't really affect the experience of that sunroof, my accessories definitely do. For example, if you have a large roof box, then you might lose out on that sunroof experience, or the wind will hit the roof box and shoot straight into the car. So that's just something to be mindful of when you have different accessories loaded up. You also wanna be mindful of your height of the bar. For example, what we have here, top of the roof to the top of the bar is 5 1/2 inches. If I was to carry skis with extra tall bindings, I would make sure I have clearance for those bindings and I'm not scratching up the roof. If that's the case, you can always get accessories with extra height. And where you set up your roof bars, well, that's totally up to you. You can get what we call a crossbar spread. So crossbar spread is from the center of one bar to the other. Where I have a set up is 32 inches apart, and that's a really versatile number for most types of things, roof boxes, bike racks, ski and snowboard carriers, you name it. If you find that what you wanna carry specifies a certain crossbar spread, then go ahead and slide those bars over to get that fit. The Evo system does have slightly longer bars, which gives you more bar space to clamp things around, but you also have the option of channel-mounting your items. When you flip over that end cap, you can then mount things in that track. Now that's gonna be helpful 'cause then you don't have to worry about clamp arounds clears, and then you can fully utilize all of the crossbar. The owner of this vehicle actually asked for my recommendation for a roof frack, and this is the one that I recommended because it's very similar to the roof frack I have on my own car. I love that flush rail design and how Thule does it, where they clamp around those rails and they have such a custom fit. It looks great, but it also works really well on the Discovery. We saw things like the clearances and how much space we had underneath the bars, so we we inchesre still able to use the sunroof. For the owner of this vehicle, where he's going on a long road trip, he's bringing his dogs with him, and he wants an extra cargo space on top of the vehicle, this is gonna be the perfect base for his setup. If you have a similar story, I'd love to hear all about it. If you send in a review and a picture, maybe can inspire some other people along the way who are looking for solutions similar to yours for their own adventures. And if you're curious about how this gets all installed, well, stick around. Now getting your roof rack put together might seem a little complicated at first because there's a lot of little parts, but it's actually very simple. Now what you do need to do the first time is set up your crossbar. So I already installed the rear crossbar, and then we get to install the front crossbar together. With your crossbar, you're going to have these rubber strips. So what you actually need to do is you need to split those rubber strips apart so that you get two separate pieces. The piece with the arrows pushes in where it aims or points towards the front of the bar, which is gonna be the thicker part of the bar, and then the flat rubber piece will go on the back of the bar where the Thule logo is. So just push those in with your thumb all the way to the end of the crossbar. When you're done with that, flip your crossbar over and then insert these measuring pieces. They're gonna have a little on the inside just to give them tension, and then this will be how you can mark your measurements for where your towers go, or just cover up that space to prevent wind from coming through. For the towers, you're gonna have A, B, and C parts that go on there. So A is going to look like this with the hooks that fits into the tower, and then you have your bolt going through. You're gonna secure that with pad B, which fits into place with those little tabs. And then, finally, C hooks onto that tab from A. And then you're gonna have these nuts that will secure all the pieces together. Just thread those on loosely for now. This then slides on through that bottom channel of the crossbar and then just pop that end cap on to secure it into place. Now we will have this rubber strip here as well to fill up that gap on the side of the tower. I do not install that part yet just because I want to confirm how much space we will have when we have this on our roof. So don't forget to put that rubber piece in there when you're done with everything. With both sides set up, you can now carefully lift this onto your roof. Now this is a lot easier with a second person, but it's totally doable on your own. You're just going to lift everything onto the rails. And then where you put it on the rails is totally up to you. Where I personally like it lined up is right where the pillar of the car is, so that's between the front and the rear door. I also like it where it's good a distance away from the other bar. In our case, 32 inches. And then you wanna make sure this is evenly distributed, meaning you want an equal amount of length on each side. So what I do or how I measure for that is just from the tower to the bar, let's say, about 2 1/2 inches. If that number's gonna be the same on the other side, then you're at a good length. With everything looking good, we're then going to start tightening down. Now just double check that everything is lined up. I love how the rubber pads fit around the grooves of the rail, the back clamp is flush against the back, and then our front hook here hooks around the lip of our base rail. I like to just tighten down by hand at first on both sides. And then once everything is touching with the hooks, I then go at it with our torque tool and continue securing this bolt. A good rule of thumb whenever I install roof racks is I like to evenly tighten them down. For example, I'll get one side to about halfway secured, and then I'll go to the other side and I'll go to maybe about 75%. Then I'll go back and forth. That way I'm not pulling the whole system one way. Now this isn't as big of a deal compared to some other roof racks that have hooks around the doors, but it's still nice just to make sure everything's properly down. This tool is a torque tool, and it's set to a specific tension, so that when you tighten down on those nuts and bolts, once you get to the proper tightness, you'll hear it click like that. Now I like to hear it click twice, like a gas cap, and I always double-check all four towers every now and then to make sure they're all clicking and they're all tightened down. There are kids going to have these plastic lock cores. You can always upgrade 'em to metal ones, if you want to. These are what I have on my roof rack. I use a flathead screwdriver to turn them around. To install 'em the first time, see how there's little tabs inside your end cap You want the part of your lock core that has this little button here. That's going to line up with those tabs. And from there, you simply push on through. You can then use that flathead screwdriver to turn it to the open position. The end cap then pops into your tower. (end cap popping) Hear it click like that. Then get your flathead screwdriver and then turn that lock core to the lock position. That way as you pull on the end cap, there's zero give and it doesn't come off. So do this for all four towers. And don't forget to put those rubber strips on the ends of your crossbars. If you notice any wind or any whistling, just double-check those pieces underneath. Another thing I like to do is hold onto this tool. I keep it in my glove box or my center console. That way if I needed to remove this roof rack or just double-check that it's tightened down, I'm always ready. That's gonna be it for the install. Hopefully this helped you out with seeing how this roof rack looks, works, and installs on your 2023 Land Rover Discovery.
Ratings & Reviews

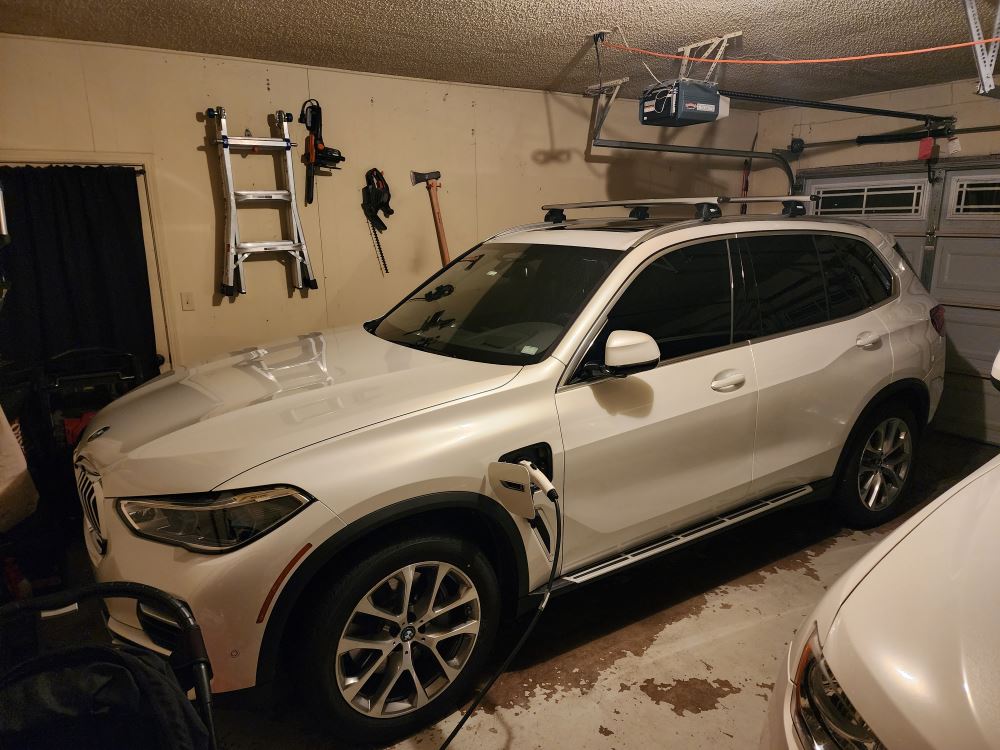
etrailer.com was excellent to do business with. Their website is informative, complete and easy to navigate. Phone service to help confirm availability of my product and their general knowledge of their products was impressive. Product arrived on time and in good shape. Their order tracking system is also very good. I’m very pleased with the Thule Wingbar Evo 135 racks For my BMW X5 with flush roof rails. They are super sturdy, solidly mounted and look good on the vehicle. Mine will be mainly used for surfboards and SUP’s. The assembly and installation was a breeze. The included written instructions would have been sufficient for a seamless installation but I also watched one of many YouTube videos that demonstrated very clearly every step of assembly and installation for this specific set of racks.
Love the racks!! I highly recommend etrailer.com for your roof rack needs.
I ordered the Thule WingBar Evo Crossbars - Aluminum - Silver - 50" with the Evo Flush Rail Feet for Thule Crossbars - Flush Side Rails and the Fit Kit for Thule Evo Flush Rail and Edge Flush Rail Roof Rack Feet for my 2020 Mazda CX9. I appreciated the product selector to make sure I was getting all the correct parts. I was happy with the products, but I did run into an issue where 1 of the rail feet had a defective bolt which required a replacement. I was very satisfied with etrailer's customer support, and how well they worked with me to get the part replaced quickly. I'm giving this a 4 start only because of the hassle of receiving a defective one initially
I bought the Thule Evo Roof Rack to transport my kayak on my Lexus 300H. Thule will advise you on their website that his particular rack is not right for a Lexus 300H (i.e., they don't make a roof rack for a Lexus 300H); it is really for a Camry, but etrailer told me that is worked, I trusted them and they were correct. After all, a Lexus sedan is really a fancy Camry, but Thule will not acknowledge this point. It works great. Thule makes a solid product.
These bars are light weight and easy to set up. However, the measurements in the directions were not right to fit them to my vehicle, and they were really difficult to adjust once the bars were on the roof. They seem to be snug on the roof and working well, I did a test drive yesterday at varying speeds and they are secure. They don't cause any unpleasant noise - you'd forget they were on there.
It is great. I love appearance of the Thule roof rack that I install today.
Easy to assemble and install. Love the way etrailer packages everything you need and they all are correct for the vehicle you are mounting them on. Once installed they appear very strong. Installed on a 2023 Chevy Tahoe and did not interfere with the sunroof.
I had to warranty the bars because the rubber strips that seal the attachment channel would not stay attached.
Blew off on the highway. Poor design.
Thule warranty is awesome, They sent me 2 new sets. Still wouldnt attach securely.
Thule sent me a new set of bars.
I already bought some square bars.
I dont even want to use the wing bars. I want aerodynamic profile not the rubber strips.
Very pleased with order. Shipped fast, not damaged, all parts accounted for. Easy install, very sturdy, and attractive design. Slight wind noise but that was expected compared to not having a roof rack.
Rock Solid and good looking. Expensive but worth it!
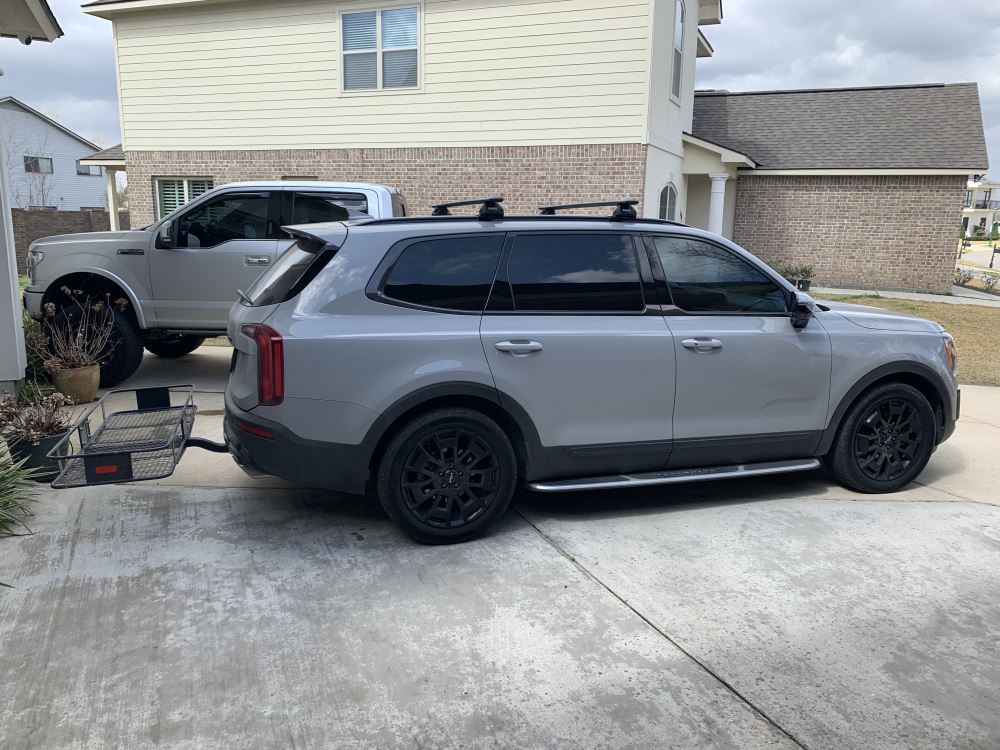
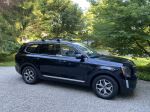
I’ve had it on my 2021 Kia Telluride now for a few months and it works great. When I was mounting the forward bar, I opened the sun roof to make sure I was comfortable with the roof window and bar clearance.
Same great design and quality of Thule bars, but this one was missing one of the four end caps. Fortunately, I have extras from other bars, but it could have been a real problem. Also, no instructions with the bars. You apparently have to buy all the attachment pieces with it to get instructions?
Items arrived later than expected despite cancelling an month long order due to waiting stock on a different set up that was in stock. Once it arrived the box was all torn up and the person that delivered it just dropped it in the garage with the boxes spilling out of the bigger box. Love Thule products, etailer and the shipping supplier not so much,
Thule Rack looks awesome on my Kia Telluride. Products took a while to get to me because they were on backorder but it's not etrailer, they were on backorder everywhere. I messed up one of the pieces of rubber while installing and etrailer sent me a new one at no charge. Definitely recommend etrailer.
Overall solid product. The little rubber strips that fit into the top bar are relatively fragile, I installed them, pulled one out to trim about 1/8 inches of excess length and the strip deformed such that it never went back in correctly. Fortunately etrailer had replacement strips.
The feet are very sturdy and nice to put a strap around. The instructions didn't match the picture of what I was buying because they had a 28in gap between the front and the back feet but I actually needed more like 4 ft. so you can see I used something more like what the picture of a Leaf setup was on the etrailer website. The instructions were a little bit unclear about how the ridge on the bottom of the feet are to sit in the channels on top of the car but on the back rail I had to set the feet way outside the channels anyway. Still seems to be pretty solid
Thule is an excellent product and the fit on my 2017 Chevrolet Colorado is perfect. The good people at etrailer were super helpful in getting the correct fit parts to me as quickly as possible, especially during a tough year for all. I’ve found my Thule racks to be the perfect tool to take our kayaks on our adventures!
I’ve been searching for a set of crossbars for my 2021 Crosstrek. After looking at several different companys,, I decided to go with etrailer.com and get the Thule Wingbar Evo Crossbars and Evo Raised feet. Ordering was quick and shipping was even faster! Installed them in about an hour with no issues. I love the way they look, and the construction is solid. Shout out to the staff for doing a great job and for the great communication from placing the order, confirmation, updates and shipping the order. You will not be disappointed!
Website is easy to use & is better at putting together the correct package than Thule’s site.
etrailer had all the parts in stock for my 2020 Kia Telluride.
Payment process was simple.
Received periodic updates from staffer on my order & could actually reply if needed.
Installing the roof rack went well. Estimate start to finish was about 2 hours. Found it best to really examine each diagram in Thule’s step by step instructions to get it all right on the first try.
Hardness part of the installation was getting the crossbars installed at the proper distances. A tailor’s soft measuring tape & some masking were great aids.
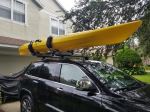
I've always trusted Thule bars. I have an old Xsporter on my truck that works really well and it has held up over time. I needed to get a Thule rack for my Jeep Grand Cherokee and found that etrailer had all the parts I needed specified for my model. That was one of my favorite things about the site. No need to search around for the different parts to attached onto the factory rails. Once I received the rack and components, it was really easy to install. I pretty much watched the etrailer videos before hand.
I have the older Hullavator 897XT to haul my kayak in. With the WingBar Evo, I found I needed to get a slightly longer bolt (6-1.00 x 30), which I got from the local Ace hardware store, to attached the Hullavator support bracket to the WingBar. Once I got those bolts set up, I was on the water with the kayak the next day.
Talked to the customer service a few times and they are great friendly people. And I can understand what they are saying.
53” Thule bars fit our 2021 RAV4 Hybrid! Most people appear to be using 47” bars for the 2021 RAV4 with flush roof rails, but that’s smaller than I wanted. I sometimes carry a sheet of plywood, or a kayak plus a cargo box, and wanted a wider rack for that. I had heard that upsizing to the 53” bar was potentially not possible because the mounting slots on the bottom of the bar may not accommodate the rail locations relative to the bar length. ETrailer helped me out with some dimensions, so I bought the 53” bar knowing it would be close. There is only about a quarter inch of play on either side on the rear bar, but it fit (the front bar had more play, since the towers are a bit further apart at the front).
I’m SO happy with the result! Now I can carry what I want on the rack, and have room to spare! It looks pretty good too!
Thule has great quality and trailer is a great place to order from, highly recommend both!
Reliable and durable
It took me a VERY long time to figure out what I needed to mount my Hullivator on my 22 Subaru Outback Limited. I bought the wrong parts on round 1, and finally after 2 yrs of frustration, asked AI what I needed. I don't entirely trust AI, but it got me on the right track. I asked the 'chat' person on etrailer about the AI suggestion, and the gal who helped me, Autumn, said the feet part was correct, but to use these feet and the TH37CE fit kit. I ordered immediately. Today was the day. Of note, the fit kit has specific parts for the front and rear passenger and front and rear driver side. Pay attention to the photo directions. The parts are different for each side. On my Outback, they mount at 69cm apart on the Subaru rails (folded in) on the Thule Wingbar Evo 55" bars. The cladding and design of the Outback roof system leaves much to be desired, but this worked and I'm looking forward to FINALLY using my Hullivator.
Perfect fit. Easy to install. Excellent customer service and prompt shipping. These guys are great!! THANKS JEREMY!!

Do you have a question about this Roof Rack?
Info for this part was:
At etrailer we provide the best information available about the products we sell. We take the quality of our information seriously so that you can get the right part the first time. Let us know if anything is missing or if you have any questions.































Thank you! Your comment has been submitted successfully. You should be able to view your question/comment here within a few days.
Error submitting comment. Please try again momentarily.