
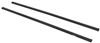
Thule SquareBar Evo Roof Rack for Raised Rails - Steel - Black - Qty 2


To see if this custom-fit item will work for you please tell us what vehicle you'll use it with.


Thank you! Your comment has been submitted successfully. You should be able to view your question/comment here within a few days.
Error submitting comment. Please try again momentarily.


When you’re loading up for a weekend of kayaking or hauling a rooftop cargo box for a long road trip, strength matters. The Thule SquareBar Evo Roof Rack uses galvanized steel crossbars with a 220 lb weight capacity—one of the highest you’ll find. The steel build provides solid support for bulky gear while keeping its shape under pressure, so you can hit the road knowing your load is secure.
Slipping gear can make even a short drive stressful. These square crossbars have a durable polymer coating that helps your cargo stay put and adds a layer of corrosion resistance. That means better traction for kayak cradles, cargo boxes, and clamps—and fewer worries about scuffs or rust over time.
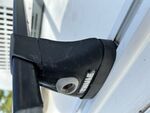
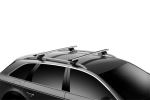
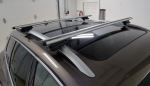
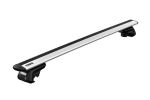
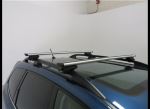
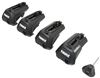
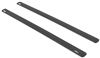
Getting your rack set up shouldn’t take all day. This kit comes as a complete roof rack system with two 50" SquareBars and four Evo Raised Rail feet that clamp directly to raised rails. Everything fits together cleanly, giving you a sturdy base for carriers and accessories that wrap around the square bars.
When you park at campgrounds or trailheads, you can add Thule’s One-Key System locks (sold separately) to deter theft of the rack itself. It’s an easy upgrade that keeps your gear protected when you step away from the vehicle.

Videos are provided as a guide only. Refer to manufacturer installation instructions and specs for complete information.
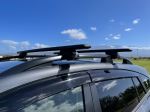
Hi, I'm Daniel with etrailer, and today we're gonna take a look at, I'm gonna show you how to put on the Thule SquareBar Evo roof rack on our 2026 Subaru Outback. If you have raised rails on your vehicle, getting this kit is gonna allow you to clamp these on those raised rails and give you some crossbars. And these are nice because you can put accessories on your roof, like a cargo box. You can put bikes up here, you can put kayaks up here, you can put skis up here. Really, sky's the limit. You can put a ton of accessories on top of your roof instead of in your vehicle.
And this is the square version of this kit, so your bars are going to be square. They're gonna be a lot smaller than those arrow bars. And I personally really like the looks of these. They are really discreet 'cause they are smaller and more rugged looking. Now, this is gonna be a kit for people who maybe want a less expensive version, or you have maybe an older accessory or a clamp-on accessory.
And you know if you get these, your clamp-on accessories are gonna work, no problem. Other people lean towards the square bars is because these are a lot more durable than the arrow bars. They're made out of a steel construction and can support up to 220 pounds. Now, do always check to see what your roof can handle though. For our Subaru, it's gonna pair nicely because this can handle quite a bit.
So, this is gonna be perfect for a rooftop tent when you go out and camp. One slight trade off with the extra durability is you might experience a little bit of wind noise with these. So, if you're going at those highway speeds, just this flat surface is catching a lot of that wind. Now, you might not notice it at all or might not be that bad, but you can always take these off when you're not camping, you don't have accessory up here. It's really easy to take these off.
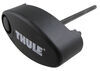
They have a tool that comes in the kit. Loosen these up, just pop them right off. But if wind noise is something that is concern for you, then you can check out the Thule WingBar, and those are more aerodynamic. These bars are adjustable, so you can move these anywhere around on your raised rails to match your exact accessory. But you do have to maintain a minimum distance of 700 millimeters or about 27 1/2 inches. And something else I'll mention is your overhang here. This will be different per vehicle depending on how narrow or wide it is, but it's nice that these are pretty long, so you might have a bit of an overhang allowing you to clamp on accessories like maybe bike racks or kayak carriers a little bit further closer to the edge. So, it'd be a little easier getting those on and off. For end caps here, these are really easy to take on and off. You can use a coin and move this locking core, and then press this button and these will pop right off. Now, this is a plastic locking core for your theft deterrent, but you can upgrade these to metal. And when you have this off, here's the tool I was talking about to tighten these down. So, you can tighten them down and this will actually torque them down for you. It'll click when it's all tightened up. And then you can loosen them up and take them off really easy. Now, I'll get you a couple measurements. So, from the top of your rails to the top of your crossbars, it's gonna be about 2 1/2 inches. So, you can add that to the height of your accessory and that'll help you determine if you can pull in and out of garages safely. And the next measurement's gonna be from the bottom of your bar to the top of your roof. And that's gonna be about three inches. So, that'll help you determine if you have really big clamp-on accessories and if those can clamp on. Now, if you have any further questions about what roof rack's gonna work best with your raised rail, or maybe you don't have raised rail and you're wanting to get options for that, please feel free to reach out, and we'll be happy to point in the right direction. Starting off, we already got the front bar in place on our vehicle. Now, we'll get the rear set up. Let's flip this over, get our towers, and with that bolt facing out, just slide these in. And then, we can put our cap on. (cap thunking) Now, we can take our bar. I'll open the door so I can stand on the threshold. Just lift it up. These bars can go anywhere on your roof, but the spread does have to be 27 1/2 or 700 millimeters apart. And I already got the front one squared to the vehicle by measuring a like point on both sides, got that even. And now, I'm just gonna measure from this one to our rear one. And you do wanna measure your accessory if you already have it, just set it at that. I'll just get both of these even. (measuring tape squeaking) With our bar parallel to our other bar, we can measure the overhang, make sure that's equal on both sides. So, you can move this back and forth so we get that even. (measuring tape clicking) And we want to tighten these down evenly. I'm just gonna snug one side up and I'll go the other side, snug that up, and go back and forth till these are torqued down. The tool that comes in your kit, it will tell you when it's torqued. It'll make a clicking noise to four newton-meters. (lock popping) And finally we can pop in our end cap, use a flathead or a coin, and we can lock up this plastic core. (horn honking) Once you put those caps on, that does it for the look at the Thule SquareBar Evo roof rack on our 2026 Subaru Outback.
Ratings & Reviews


Kevin

6/2/2020
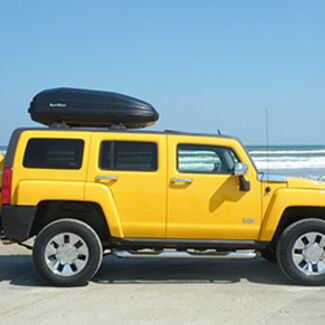
Thule makes a great product. Still enjoying the ease of use and product quality.


Brooke M.
3/31/2025
If you haven't been able to find it, we carry the replacement - part # TH49VW. One of the nice things about Thule is that almost every part is replaceable. :)
Matthew B.
6/18/2020
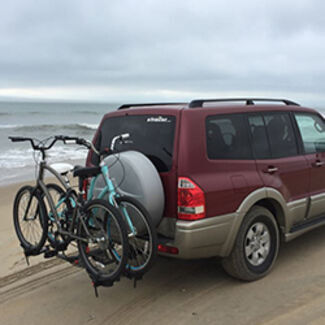
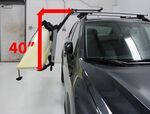
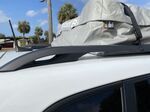
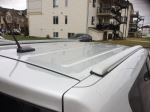
The raised feet help to bring the crossbars up in height so that when we haul our canoe it does not hit the top of the car. We are still enjoying the car now that it is accessorized.
Do you have a question about this Roof Rack?
Info for this part was:
At etrailer we provide the best information available about the products we sell. We take the quality of our information seriously so that you can get the right part the first time. Let us know if anything is missing or if you have any questions.


















Kevin P.
5/13/2022
Still working great after a year.