
Rhino-Rack Vortex Roof Rack for Raised Rails - Aluminum - Black - Qty 2


To see if this custom-fit item will work for you please tell us what vehicle you'll use it with.


Thank you! Your comment has been submitted successfully. You should be able to view your question/comment here within a few days.
Error submitting comment. Please try again momentarily.


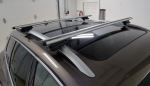
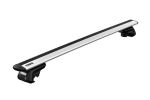
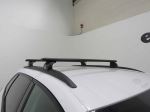
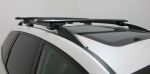
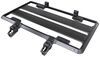
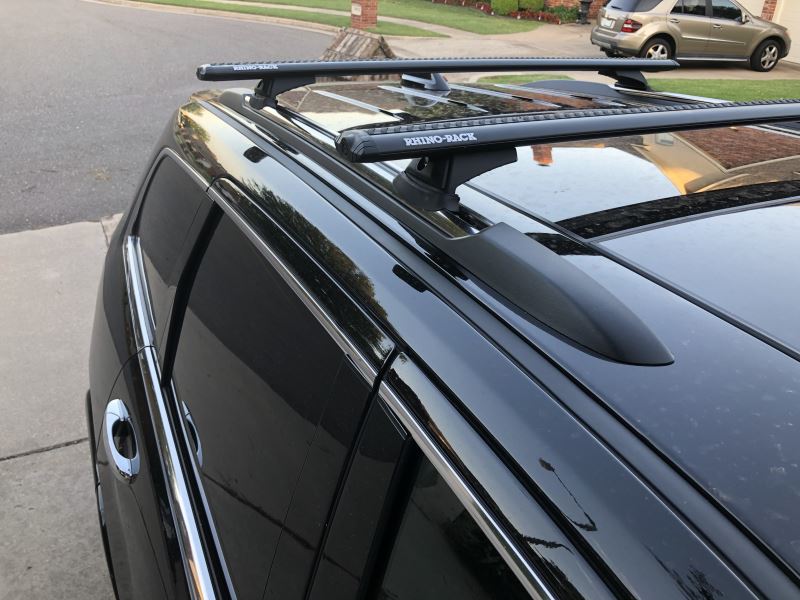
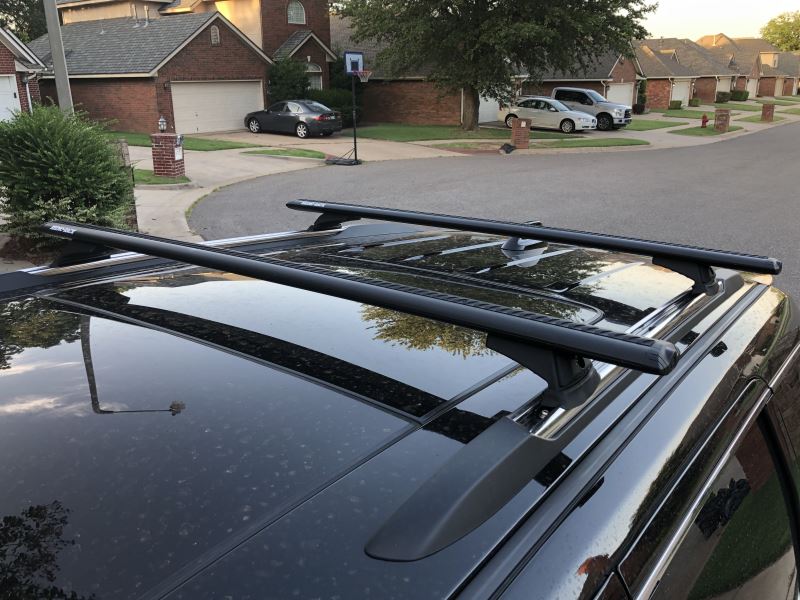
These full-length aluminum crossbars are built to handle heavy loads like kayaks, canoes, or a packed cargo box. Each bar measures 49" long x 3-1/8" wide x 1-3/16" tall, giving you plenty of space to spread out your gear. With a 165-lb weight capacity, you can haul what you need for camping trips, paddling days, or long road adventures without stressing the setup.
Roof racks can sometimes hum or whistle on the highway. The aero-style Vortex crossbars use rubberized strips in the top channels to cut down wind drag and noise so your drive feels smoother and quieter. You don’t have to crank up the music just to drown out airflow over the bars—the design keeps things calm even at speed.
Whatever adventure comes next, these bars are ready. The top channels and rounded shape accept both channel-mount and clamp-on accessories, so you can switch between kayak carriers, ski holders, bike racks, or a rooftop box as needed. They’re compatible with most bike, watersport, snow, and cargo carriers, giving you one setup for all your favorite gear.
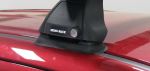
When you pull off for lunch or set up camp, locking features keep the rack secure. The integrated plastic locks in the crossbars help deter theft of channel-mount accessories, and lockable cover plates on the legs secure the rack to your roof rails. If you want even more protection, you can upgrade later to all-metal locks (RRVA-LEC4 - sold separately).
The strong aluminum build resists corrosion and keeps weight low while maintaining rigidity under load. It’s backed by a limited lifetime warranty on the crossbars and a 5-year limited warranty on the legs—proof that it’s made for years of hauling gear through every season.

Videos are provided as a guide only. Refer to manufacturer installation instructions and specs for complete information.
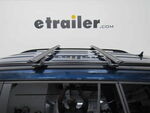
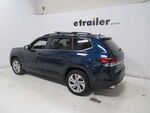
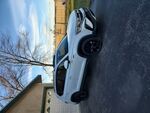
Hey everyone, I'm Evangeline right here at etrailer. Today we're taking a look at, and I'll show you how to get installed, this Rhino-Rack roof rack system on your 2024 Volkswagen Taos. If you have a Taos and you wanna carry around, let's say a large cargo basket or cargo box for more space, or you wanna carry around some kayaks like my friend did with her Taos, you may need a roof rack similar to this one or exactly like this one for those adventures. Let's go take a look. And since you have raised rails, there's a lot of different options. Rhino-Rack definitely sits there as the sporty, long lasting, lots of accessory roof rack options, but because of the curve of the Taos, it is very important to be intentional about where you put your roof rack.
'Cause you're gonna see some different measurements all throughout. So upfront you're gonna have less overhang, about two inches here, and then about four inches there. But that's because of, even though they're 49 inch long bars, they're gonna have different lengths because of your rail system. So overhang is where you attach your items if you want them on the outside to make it easier to reach. With a Taos being on the shorter side as a vehicle though, you wouldn't need as much overhang as if it we inchesre a taller SUV.
And speaking of taller, the Taos I've noticed has rails that sit a lot closer to the roof compared to other cars, which means you don't have as much space underneath your crossbars. So if I we inchesre to measure from underneath the crossbars to the roof, I have less than two inches. So my recommendation here is either only use accessories that have strap style clamps to go underneath or take advantage of the channel mounted system where you can just lift up on the vortex and then mount things through the channels. Where your cargo is gonna sit is from the roof to the top of the bar, around three inches of height. So be mindful there too.
If you have large bindings or large accessories, try to get some of our accessories here at etrailer that give you that extra height so you don't scratch up your car. If you we inchesre to go the route of a channel mounted accessory, you have locking end caps and an included tool, you turn that key, pull out that end cap, and then lift up on this vortex strip. So this is something that you'll have to remove to slide your accessories through and then cut up and then fit back into place so that you have less wind noise. There will also be a measuring strip underneath, which we don't have here today since I put this on a bunch of different cars. So that's something that will be very helpful for the Taos with its low clearance to keep things up and off of the roof.
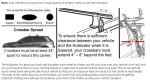
And then when you're all done installing it, you just put the end cap back in. The perks of having a raised rail though, means that you can put your crossbars pretty much anywhere on those rails. So if you have accessories that require a shorter crossbar spread or a longer crossbar spread, you can adjust. So crossbar spread is measured center to center. I currently have ours at 29 1/4 inches just because that's a really good number to shoot for. It fits a lot of things. But if you wanted to bring it further apart, you can push this as far as 42 1/2 inches of crossbar spread. Another thing that I recommend people doing is to be mindful of where they put this, just so that if you are a taller person and you're walking around your car and getting into the seat, you're not whacking your head on a longer crossbar. With the 49 inch bars, probably not gonna be an issue, but I am also not a tall person, so I don't know. To get your roof rack set up, it is very simple. Now, the very first time you get your crossbars, you are gonna have to install the vortex strips. You do this by just pushing them into the channels of your roof rack and you may have to cut off the end to size, but there will be some extras there. And now you have your crossbars. Then you go ahead and you get your towers. So these towers, well they just slide into the bottom channel of your roof rack. It's gonna look like that. And then what I do is I actually put the end caps on, knowing fully well I'll have to take them right off right after. So that way when I go and lift the towers onto the roof, in case the towers push off towards the side, the end caps keep them in place. Now put this onto your rails. Where Well anywhere you want. I like to aim for the pillars or the spot between the two seats as a good starting point. Once you have it in the exact same spot on both sides, you can then adjust the bars so that you have an equal amount of overhang on each side, and then go ahead and take your end caps off. You have to keep this unlocked so that you can tighten down the roof rack with your included tool. With that all done, just give it a good old shake to make sure everything is in place and then go ahead and put the end caps on. Now you will have this blue Rhino-Rack key that you'll turn on the end to secure those end caps. If you we inchesre to purchase the Rhino-Rack metal lock cores, we have packs of them available here at etrailer. You could also switch out those plastic cores for those metal lock cores. Both are very secure. One just has a metal key instead of a plastic one. And once all four towers are secured with their end caps, that's it. That's the installation for your Rhino-Rack roof rack. You're now ready to load this up with all kinds of gear, hit the road and enjoy your adventures. Hopefully this video was helpful for you. You just saw this Rhino-Rack system on a 2024 Volkswagen Taos. My name is Evangeline and I hope you enjoy this journey.
Ratings & Reviews

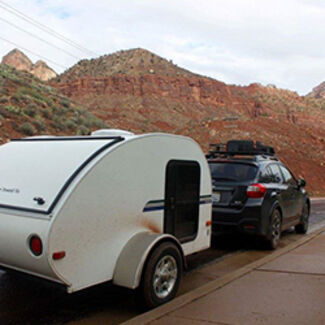
Roseanne

8/12/2015
Its still attached to my car and still doing its job. I did lose an end cap and had to order 2 as a pair . I dont remember the amount but the were expensive as replacementsespecially since i knew it would happen

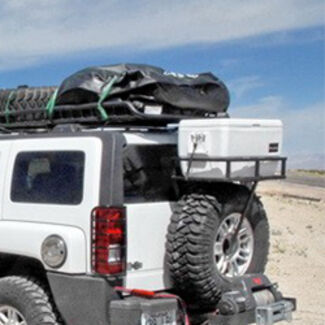
Jerry
3/20/2026
Still happy. Theres a whistle, but you can fix it with a bit of foam insulation in the bottom of the rail.
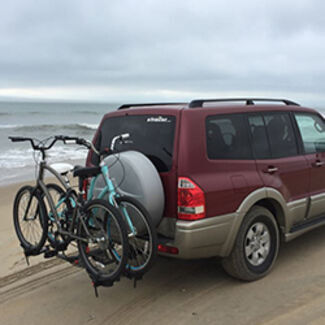
Mindy
6/29/2023
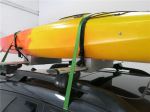
Oh well if it was still on my car I would be happy but Back in August last year comming home from MT hit the right wind picket and the entire rack came off my car and messed up both sides of my back door jam metle on the top. Needless to say the $500 dollars I spent and put in my car just blew away. Though my kayaks were still attach to the holders. So make sure after long drives you tighten up. Drives and vibration can loose em stuff. Now I’m out of a car rack and can never put one back on.
Do you have a question about this Roof Rack?
Info for this part was:
At etrailer we provide the best information available about the products we sell. We take the quality of our information seriously so that you can get the right part the first time. Let us know if anything is missing or if you have any questions.
















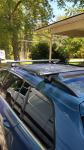
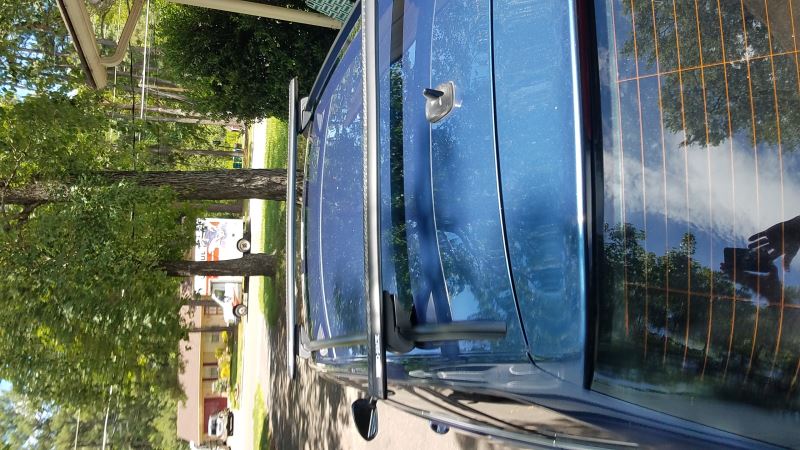


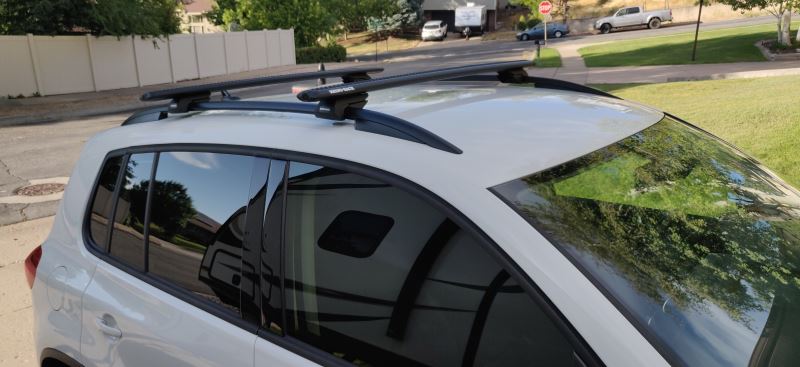
















Mark
8/20/2020
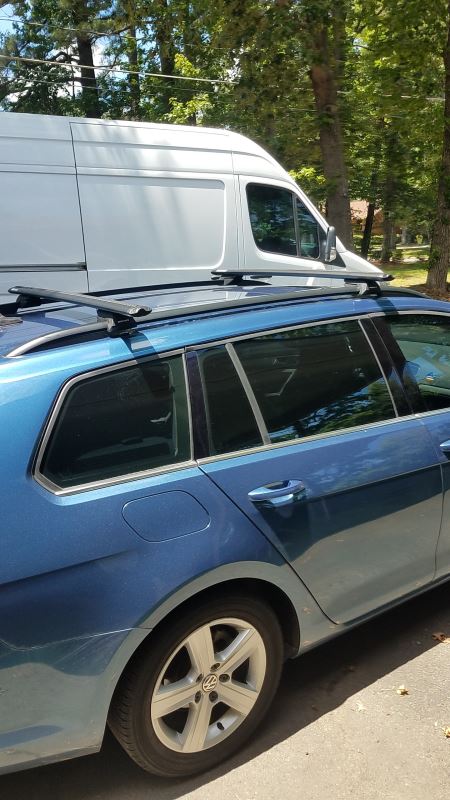
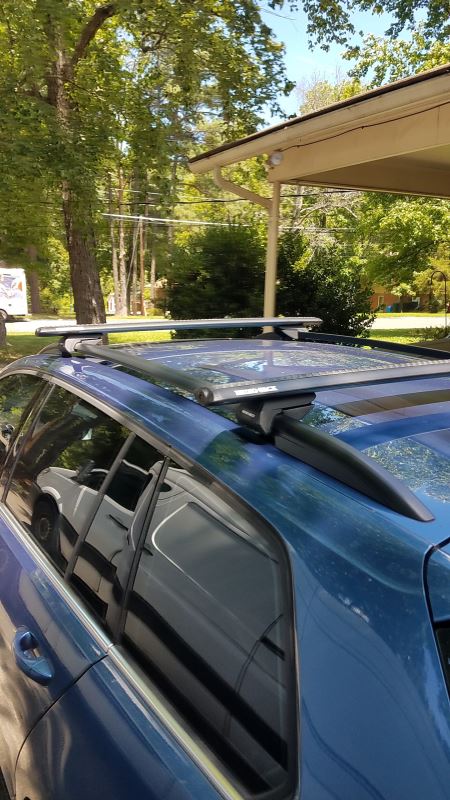
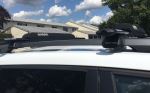
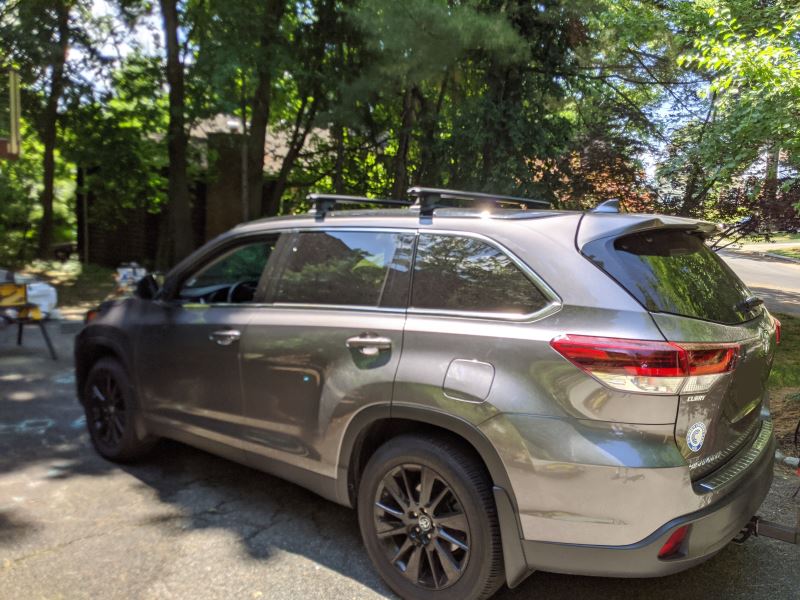
Still rock solid after a year. Very happy with the Rack. My daughter has used it from time to time over the past year when something wont fit in her car, and shes had no problems with it at all.