


To see if this custom-fit item will work for you please tell us what vehicle you'll use it with.


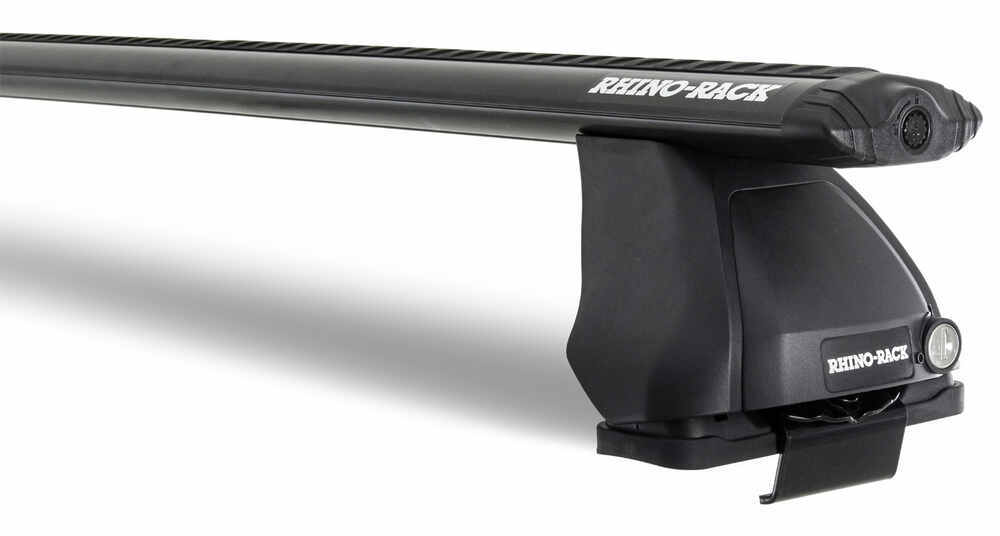


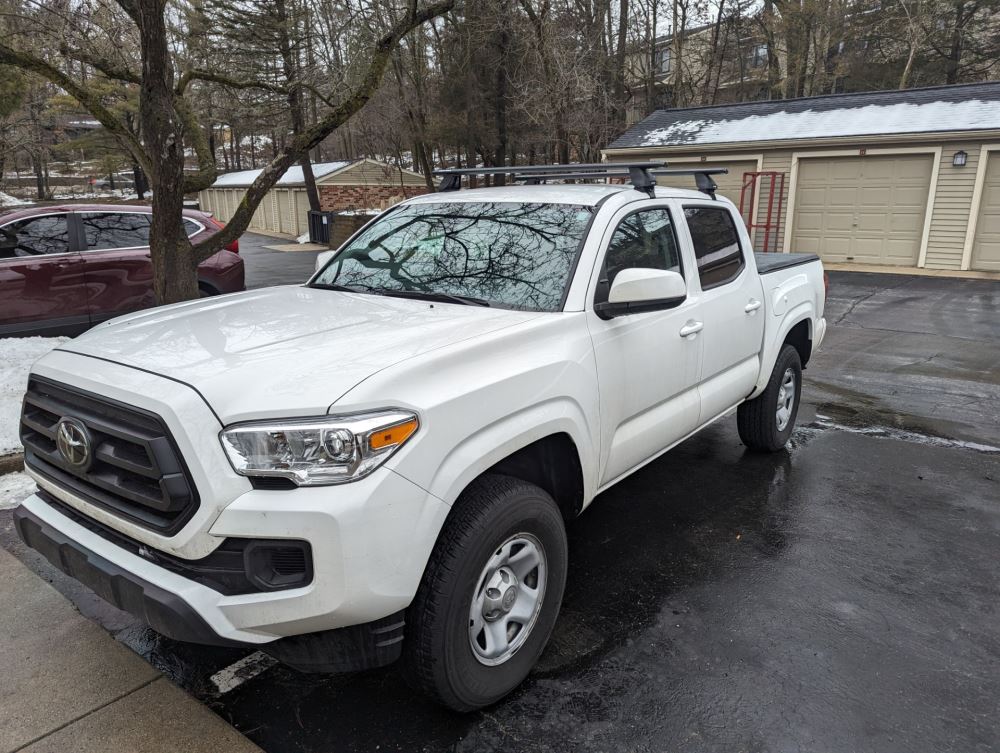
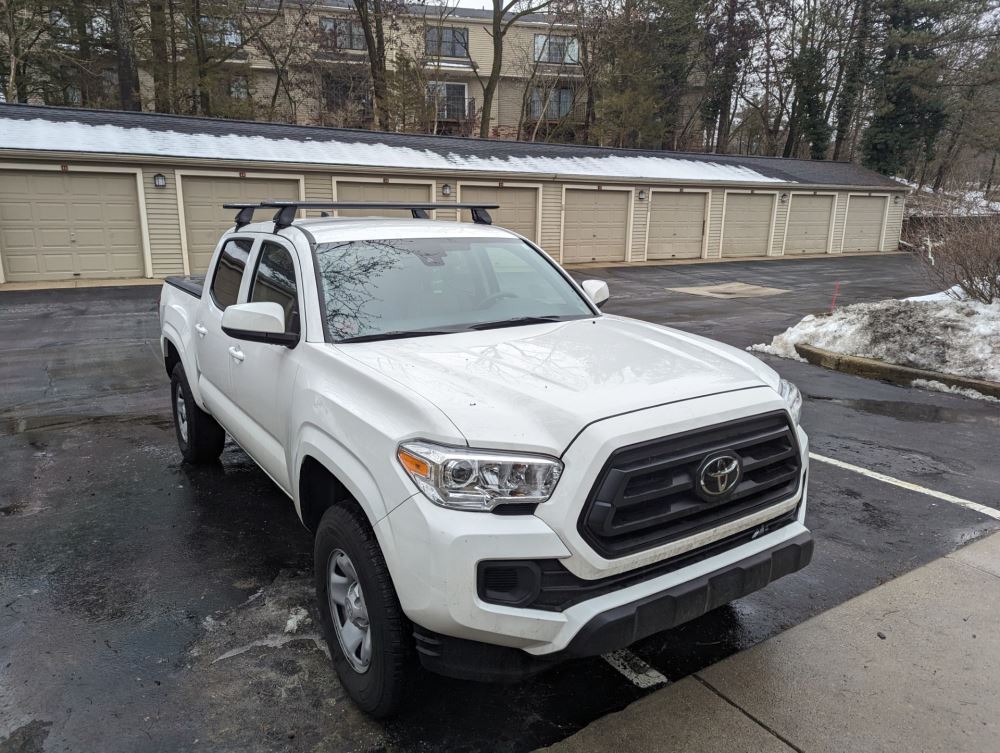
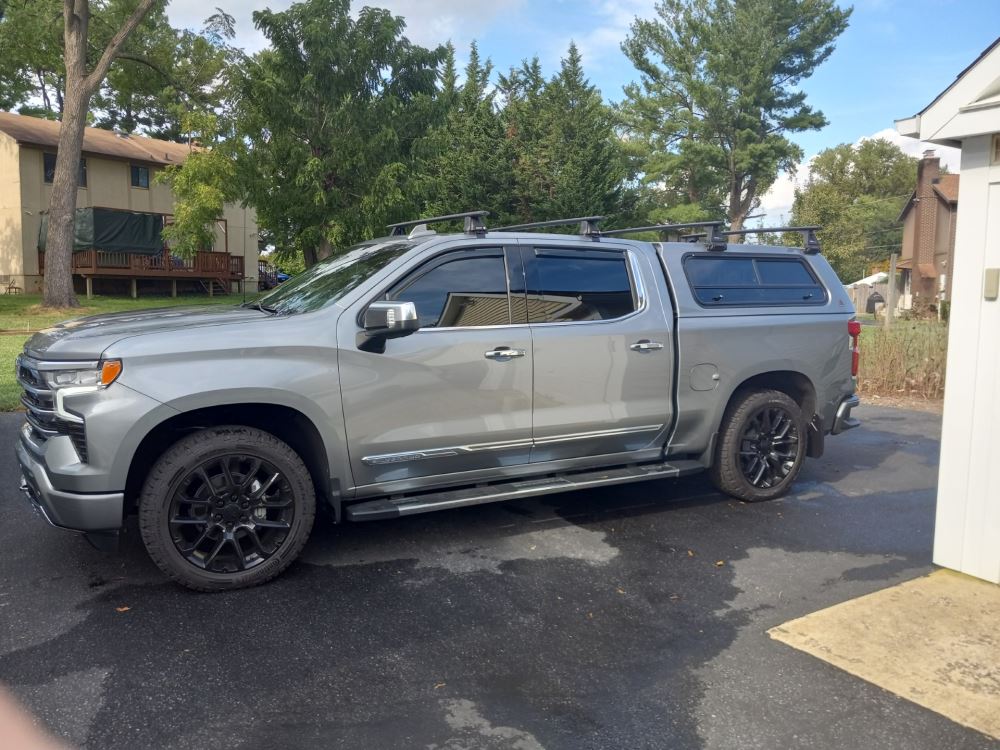
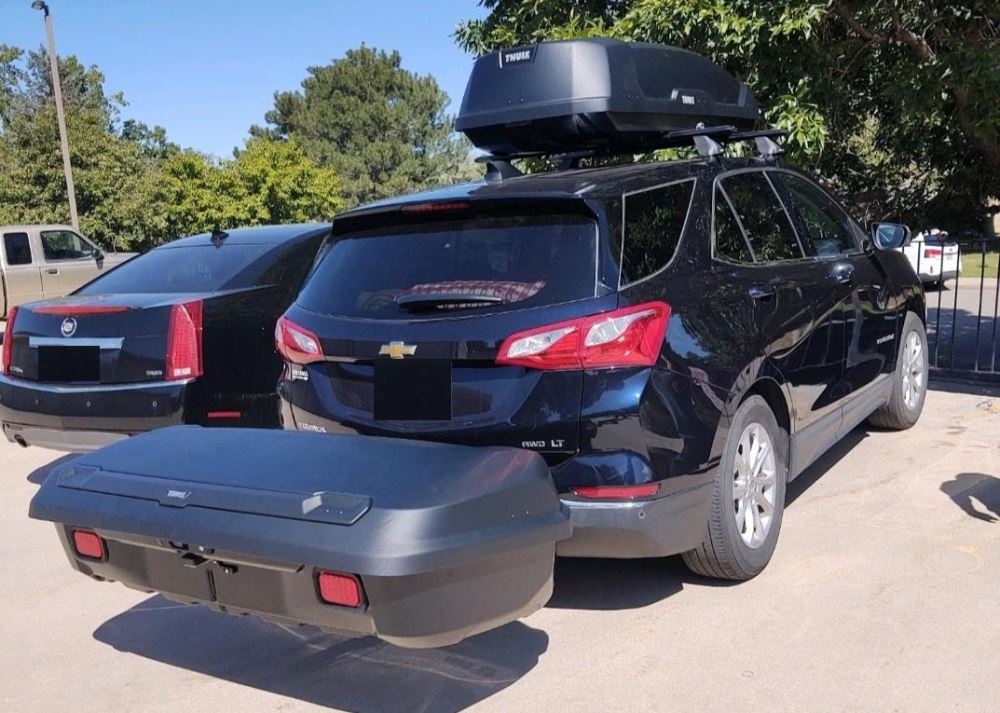
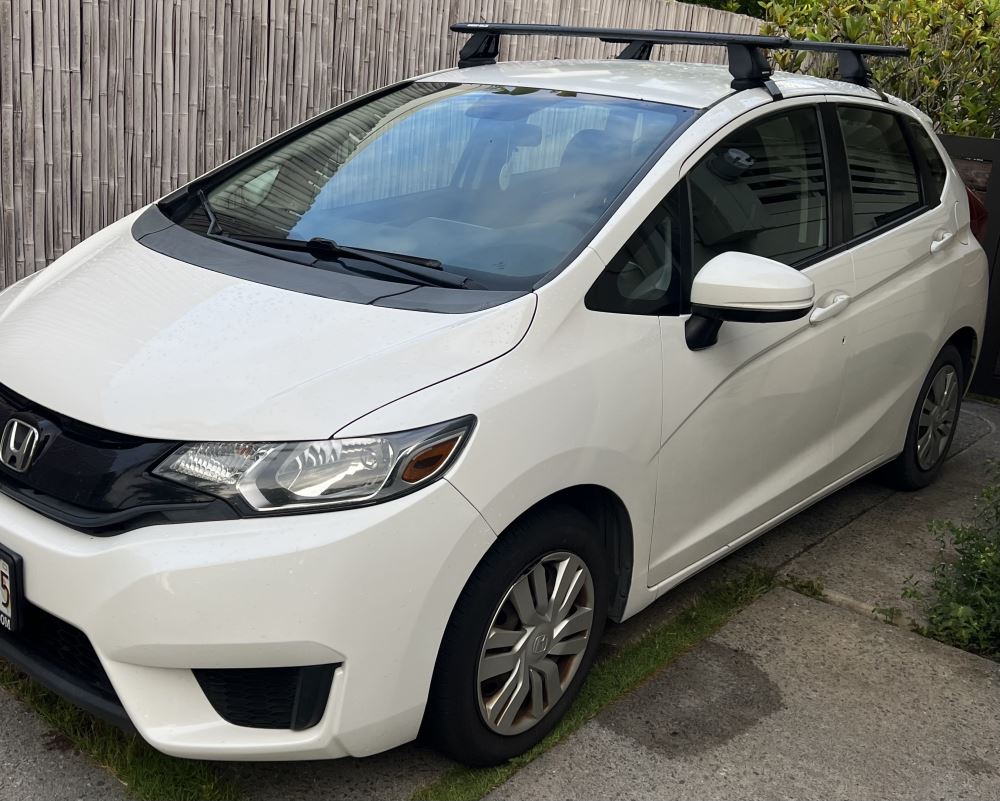
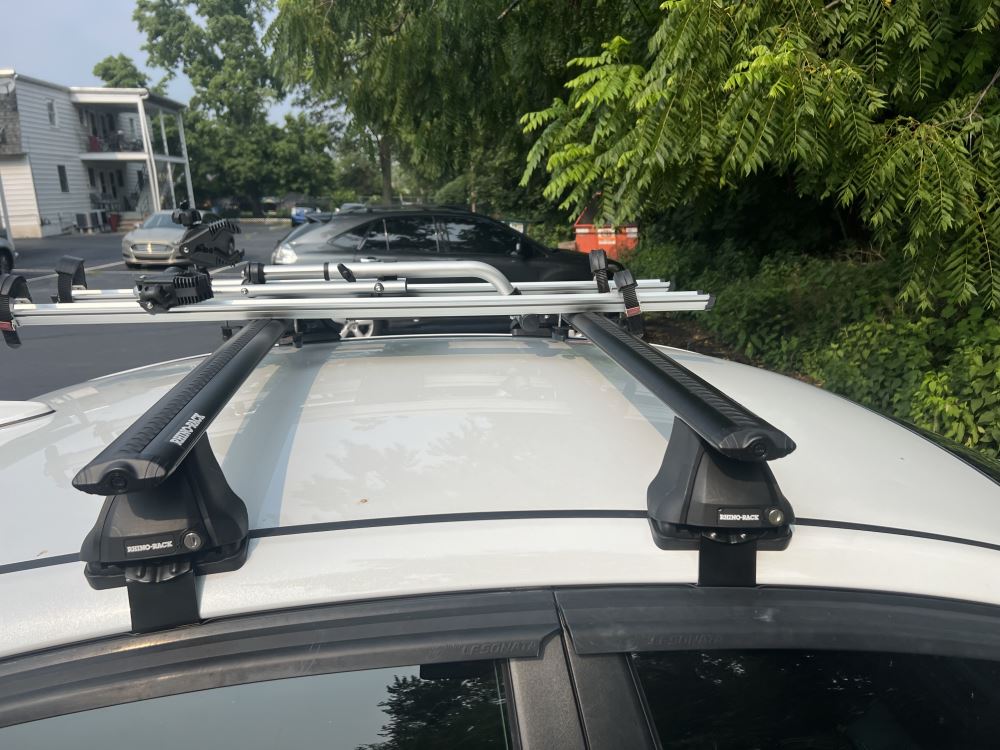
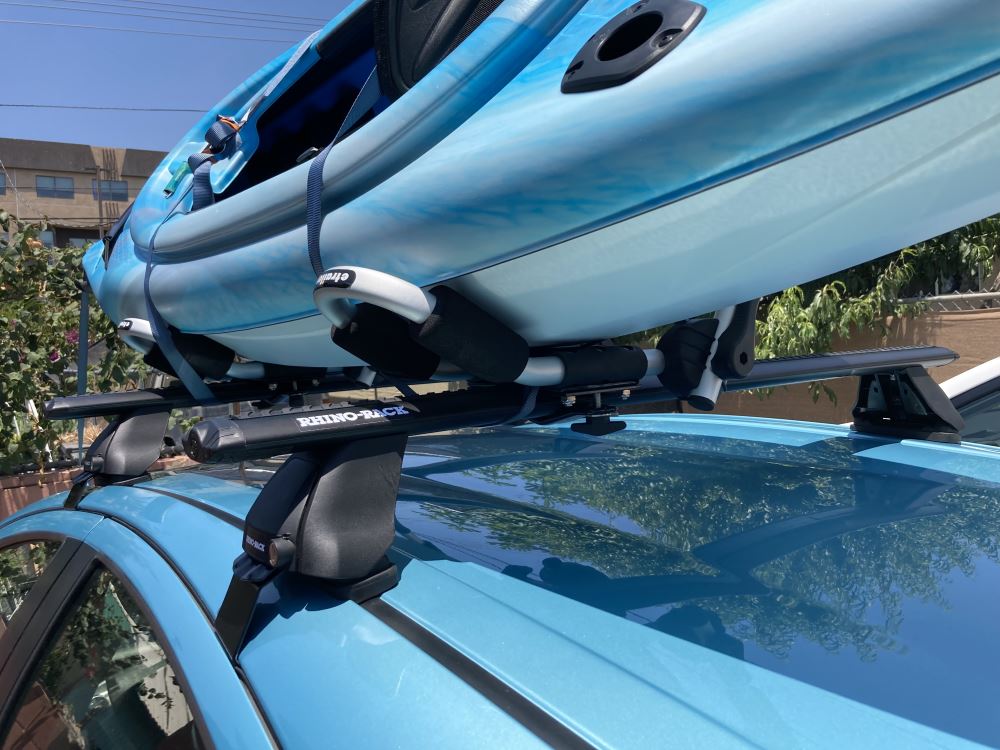
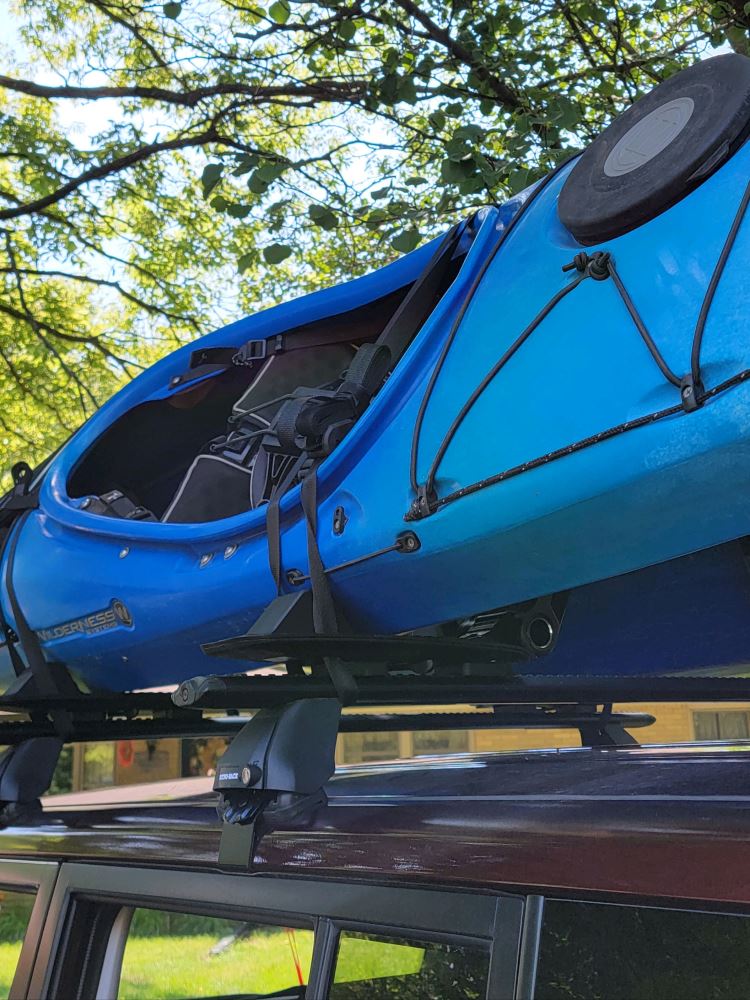

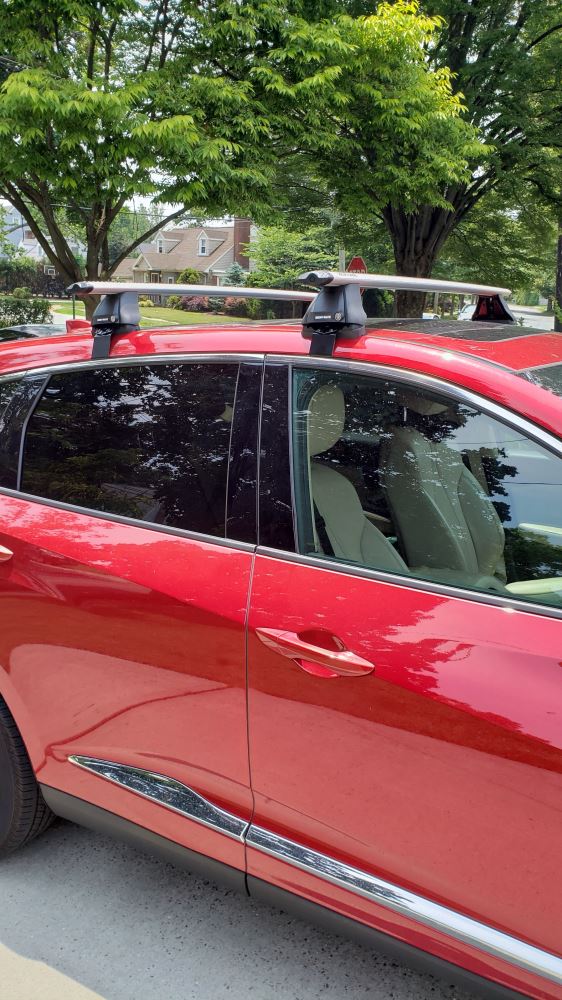
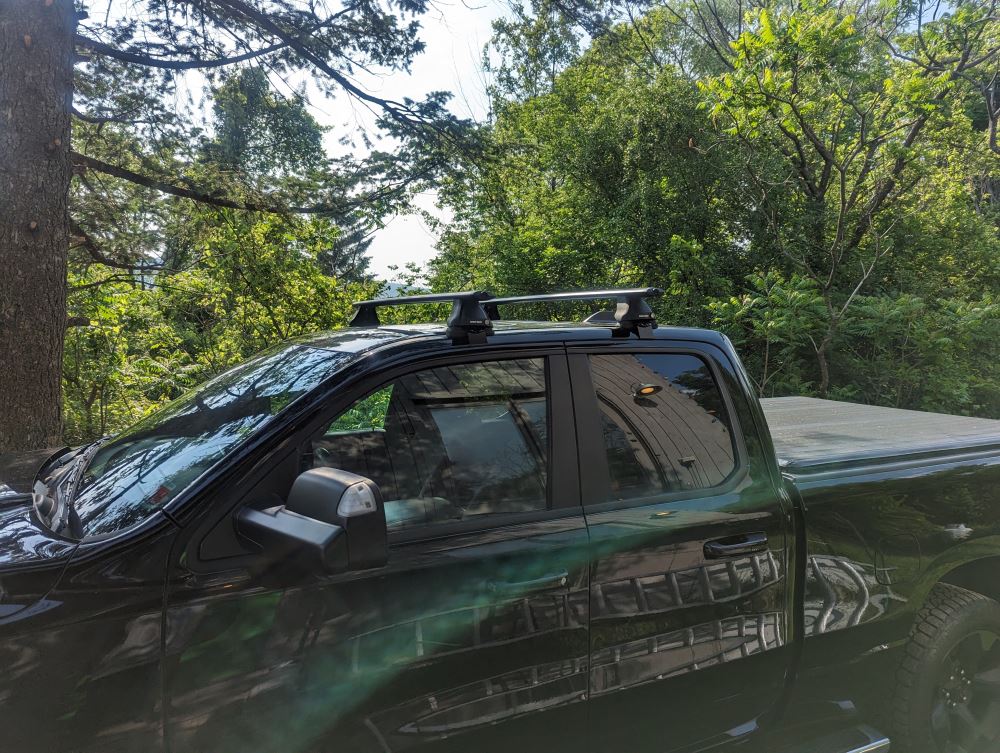
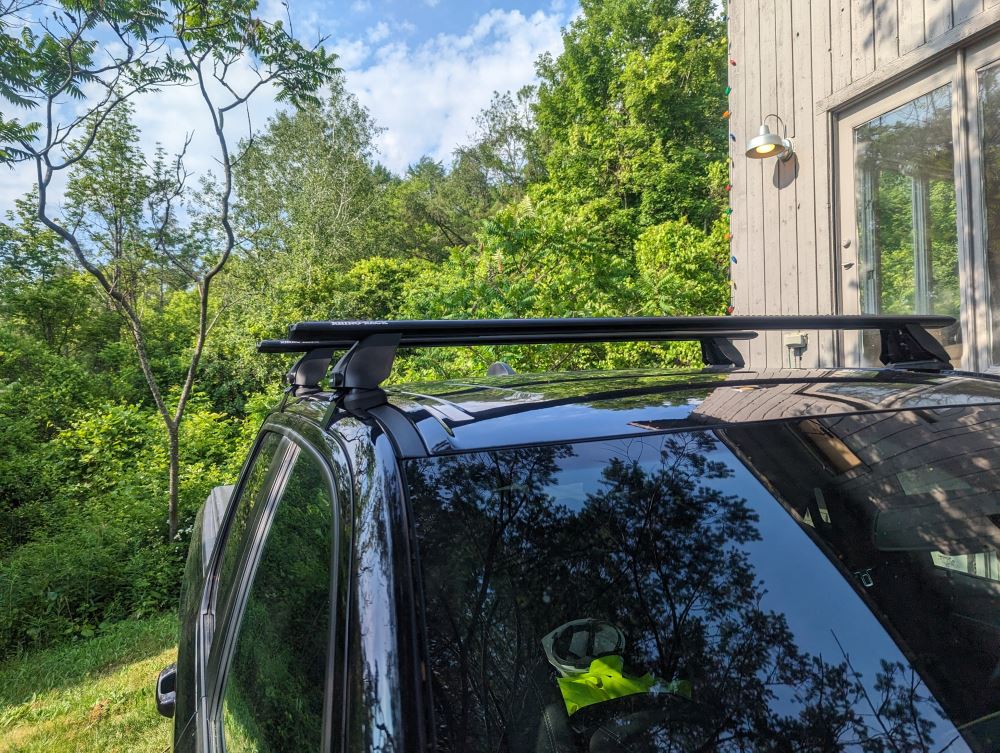
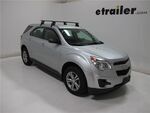
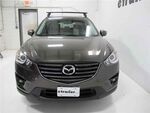
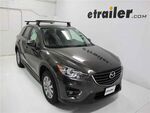
This setup takes the guesswork out of hauling your gear. The Rhino-Rack Vortex Roof Rack includes two 46" aluminum crossbars, four 2500 Series legs, and a custom fit kit—all built to handle up to 165 lbs while keeping cargo stable. Whether you’re loading kayaks, cargo boxes, or camping gear, the sturdy aluminum construction gives you solid support trip after trip.
Long drives can get loud when air moves over flat bars, but these aero-style crossbars are shaped to keep things quiet. The rubberized Vortex strips fill the top channels to help reduce drag and whistling. That means less humming on the highway and more time enjoying the ride.
No need to pick one style of mount. The crossbars work with most bike, watersport, snow, and cargo carriers that attach in the top channels or clamp around the bars. You can go from hauling a kayak in summer to a ski rack in winter without changing your setup.
Security matters when your gear is on the roof. Integrated plastic locks in the crossbars deter theft of channel-mount accessories, while lockable cover plates on the legs secure the rack itself. For even more protection, you can upgrade to all-metal locks (RRVA-LEC4, sold separately) for added peace of mind.
The black aluminum bars resist corrosion and wear while keeping weight down. Each piece of the system is backed by Rhino-Rack’s strong warranty—limited lifetime on the crossbars and five years on both the legs and fit kit—so it’s ready for years of hauling duty.
 Alternate Instructions
Videos are provided as a guide only. Refer to manufacturer installation instructions and specs for complete information.
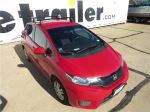
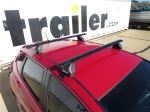
Hi, it's Jesse with etrailer. Today we're going to be taking a look at and I'll show you how to install the Rhino Rack Vortex Aero Roof Rack Kit on our 2017 Honda Fit. Adding a roof rack to a car like the Honda Fit makes a lot of sense as it's a smaller car, doesn't have a lot of space for storage in the back. So it gives you the ability to add on maybe a roof box or a bike rack or a kayak carrier or something like that. The kit will come with the crossbars, which are 46 inches in length, and they're this aerodynamic shape which will cut down on wind noise and wind resistance, along with the rubber weather stripping, which also is designed to cut down on wind noise. And you will have to cut that to fit.
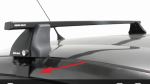
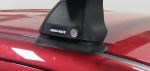
They are removable in case you have any accessories that will fit into this channel. And our end caps here, these are replaceable in case you had a channel mounted accessory that you wanted to lock in. There are metal versions of this available. Attaching our crossbar to our roof here is our 2,500 series feet or towers. These are a plastic molded design.
They do lock just to keep everything secure. You'll just unlock it, pop the cover off, and there's your bolt that tightens everything down. Then attached to our tower is our fit kit, which comes with the plate, the rubber pad. Then our clamp, which is also rubberized, just to ensure that you're not gonna scratch the vehicle. As far as weight capacities go, that will depend on not only the roof rack and the whole kit, but also your manufacturer's rating of the roof.
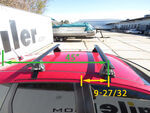
So just be sure to double check your owner's manual, see what your roof of your rated for, and just go off the lowest number there. A couple measurements to keep in mind with this rack. The crossbars themselves will add about four and three quarters inches of height to the vehicle, and then from underneath the crossbar on the bottom to the roof is three and a half inches. So just keep that in mind for any clamp accessories that you might have. That should be plenty of clearance for those.
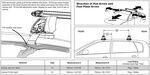
Something to consider when adding an item to your roof is if the sunroof has clearance. So we always double check. This one has plenty of clearance, both going back and also in the tilted position. As far as install goes, with a naked roof design like we have today, it does get kind of tricky. You just have to be precise with your measurements and take your time. If you need a little help setting yours up, feel free to follow along and I'll show you how we did ours. Now to begin our install, as you can see, we already have the front crossbar installed on the vehicle. This rear one will install essentially the same way. So before we begin, I just have all of our parts laid out in front of me. Starting here with the crossbar. We have our tower. We have our plates, our pad, clamps, and our measuring tools. This is a good idea to have. It's just a measuring tape key, our other lock key and the torque wrench. The first step of our install is to take our crossbar, you'll notice the Rhino Rack sticker there. That's gonna be facing the front. So this will be our right front. Flip it over. And we'll need to take our key, get that quarter turned and that should slide out. And then do that with the other side. We'll set those end caps aside for now. Now you may have to loosen this up just to give you enough room to slide this in with this side facing out. Slide both sides in. Now we need to take some measurements. Once we have our towers slid in, it's a good idea to put your end caps back on just to make sure that these towers don't slide out while we're working with it. Slide 'em back on and lock 'em. Now for your width measure measurement for the towers, you're gonna measure from the inside here to the tower. It does come with these cut to length strips. We're just using this rack for demonstration purposes, so we're not gonna use that. We just have a regular tape measure. So we will measure from the inside. Just remember we're on the rear tower. Those measurements are different. Once we have that lined up where we want it, we'll tighten this down. The measurements in the instructions may not be perfect and things can kind of move around when you're tightening 'em down. So when you tighten these towers down, it's a good idea just to get it tight enough to where it won't move around on its own. But if you need to, you can slide it around. So I'll just loosen this up a little more. That way we can make any minor adjustments, and then once we have that figured out, we'll take it back off and tighten these all the way down. Next step will be to install our plate here. This arrow just needs to face the outside. So we'll take it, line this up with this, and it should just push on. Then for our pad, we need this arrow facing the front of the vehicle. So this is gonna be the left side. So it needs to go this way. While you're installing this rubber, some of these are a really tight fit, so it might be easier just to pop that plate back off, kind of work your way around the edges. Just remember your orientation of everything. Pop it back on. Now we're ready to go to the vehicle. At this point, we're ready to rest our crossbar assembly on top of our car. For now, just kind of eyeball it because we're gonna make our measurements here. So for the front one, we're gonna base where the rear one's positioned off of that. For this front one, we just go off of measurement A in our instructions, and that's from the edge of the dorsal to the center of this clamp here. Then for our rear, it'll go off the middle. And then find about where the middle of this clamp will be and use measurement B for that. So I'm just a little far forward, get that lined up, and then I'll jump over to the passenger side and do the same thing. Once you're happy with the way your towers are positioned, you can go ahead and tighten it down. I've already done that with ours. At this point, we are ready to install our clamps. So first we'll have to take off this cover with our key. We will unthread this bolt. Set that aside for now. And we'll take our clamp. We'll have to kind of peel back the molding because you wanna mount the clamp on the actual metal of the vehicle. Get that there. And then you'll kind of have to work with this, moving that threaded block around. Get that bolt threaded on all the way. And we will tighten it down until the curved end of our torque wrench comes flat. Now we've got all four of our towers torque down, we can go ahead and put our final cover on. It just slides in one way, then snaps down, and then we'll lock it. Once everything's installed, I like to give it a nice shake just make sure nothing's moving around at all. Otherwise, that's gonna do it for our install of the Rhino Rack Roof Rack System on our 2017 Honda Fit.
Ratings & Reviews

The rack was shipped within a day of order and delivered on the expected date. I got email updates with the order confirmation and shipping information. Etrailers provided excellent customer service. The web site allowed me to select the product with confidence that I was getting the right rack for my 2015 Subaru Legacy.
Assembly and installation were easy using the provided instructions. It probably took about 45-60 minutes to complete. I especially liked the measuring strips that Rhino provides. It makes setting the foot width on the bars painless.
I have not used the rack yet, but it's a solid mount and I do not expect any difficulties. It also looks good on the car.
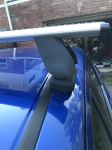
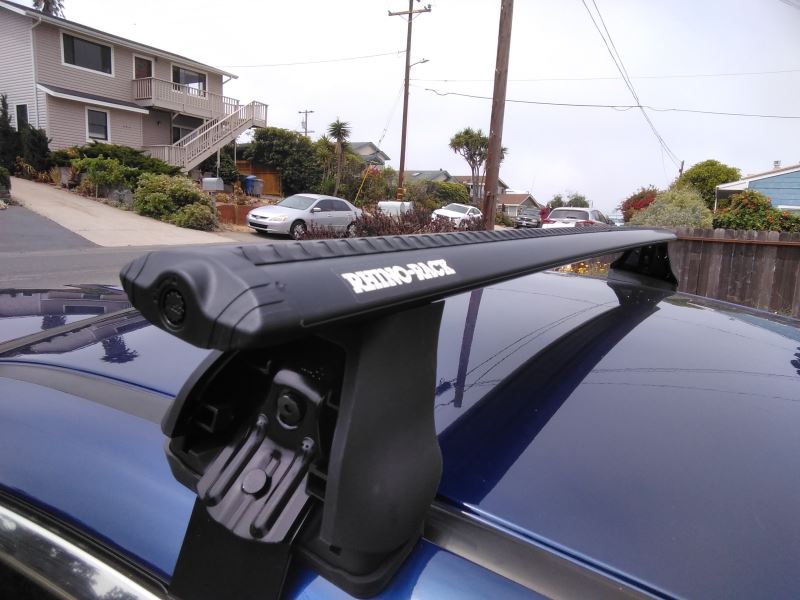
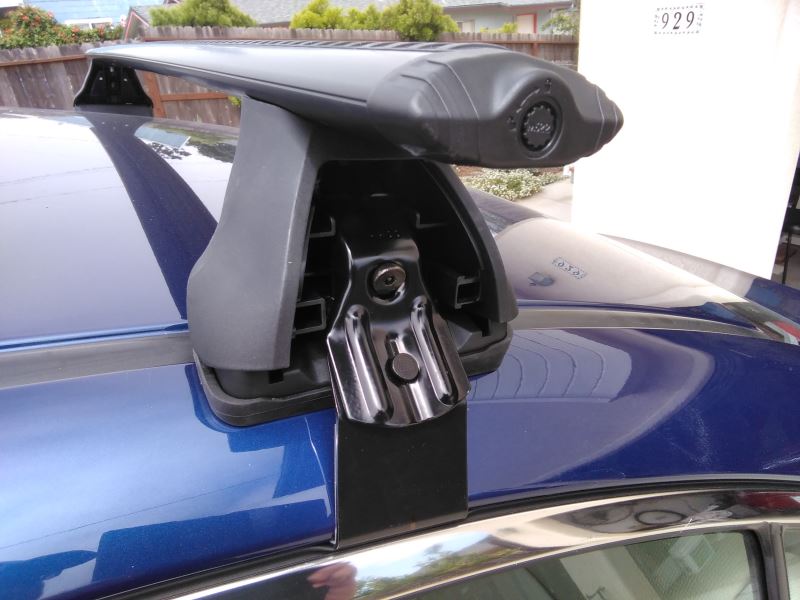
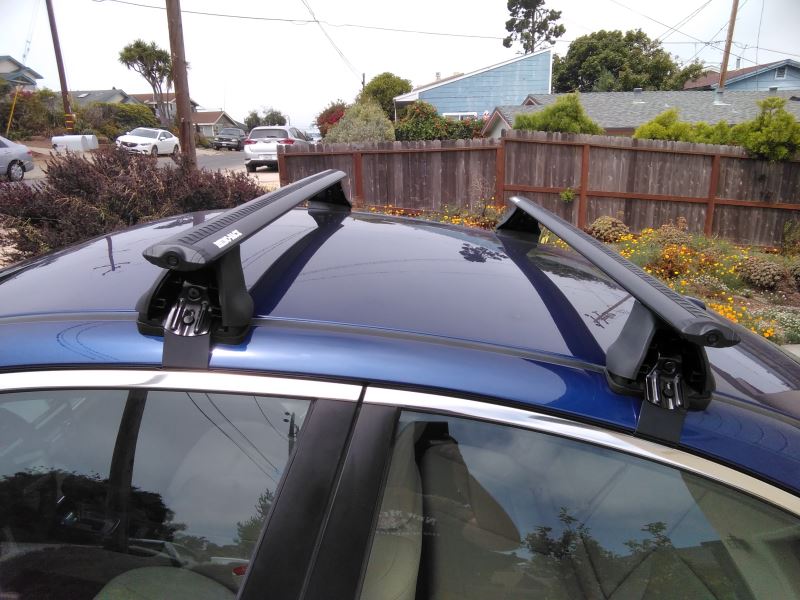
I purposely left the cover plates off in the pictures so the clamp mechanism was visible.
I purchased Rhino-Rack Vortex Aero Crossbars with Rhino-Rack 2500 Series Legs (RRRLKVA) and Fit Kit (DK284) for my 2020 Honda CR-V EX Hybrid. The rack was easy to assemble and took about an hour. The only tool not supplied that you need is a sharp knife or scissors to cut the rubber strips to length. Once assembled, the installation took about 30 minutes, making sure to measure accurately for placement. I used blue painter's tape to initially mark the locations. I then placed the white marking arrows (supplied) to align with the marks on the tape. I then removed the tape, placed the racks aligned with the arrows, and tightened the clamps.
This product seems well made and engineered (I'm a retired mechanical engineer). Kudos to Rhino-Rack and to etrailer for selling it.
Oh ya. awesome low profile rack. Making it look real nice, just order a wind fairing to lower the wind noises.
I decided on the 65” instead of the recommended 59” for my 2018 F250 Crew. Before I did I called etrailer to confirm that the crossbar would be ok using the custom DK Fit and Rhino Rack 2500 series legs. The guy confirmed and I placed the order. Everything does fit and quality is great but all I received was measurements using the 59” bar. Something is different between these two bars and etrailer couldn’t help me out.
I figured it out myself and determined the bracket distance on the bar so it fit properly.
Rhino Rack should offer the proper bracket measurements for all 3 Areo Crossbars ( 59, 65 and 72 ) as they pertain to Ford F-250 “17” and up. They all fit - as bracket is in the same spot on the truck.
Great quality solid rack. I’d give 5 star if it wasn’t for this
Been wanting to get a roof rack for my small Honda H-RV suv for some time now. Finally decided to pull the trigger on one and opted for this Rhino rack system.
Watching the etrailer install video and following the manufacturer's instruction, the front rack went on easily and perfectly. However, the rear track turned out to be a very long process. Why? Because I thought the manufacturer's measurements for the rear was an error. After the rack was assembled, it didn't seat into the roof channel at all. It appeared to be well short. So, I proceeded to use my mechanical ingenuity to get this rack to fit on my own. After a lengthy span of time and numerous adjustments, I'd come to realize that the manufacturer's measurements were correct. The footing did not sit perfectly until the unit was fully tightened against the vehicle. Live and learn.....once again.
The rack is absolutely solid, and looks very clean and sharp on top of the H-RV. I could not detect any additional noise while driving, even at highway speed.
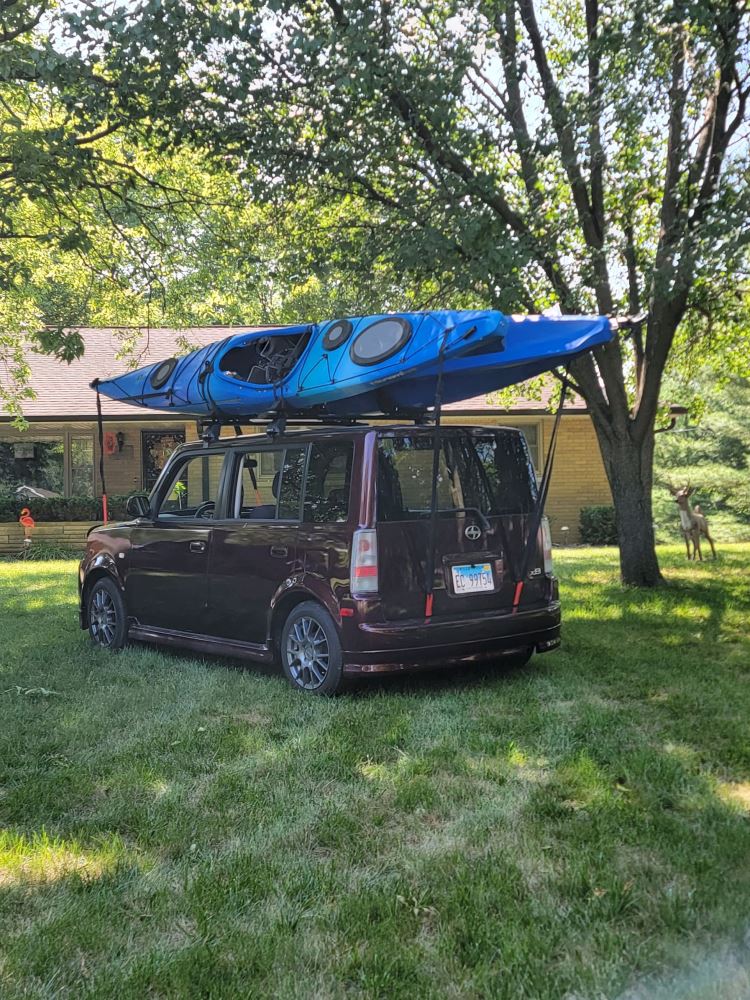
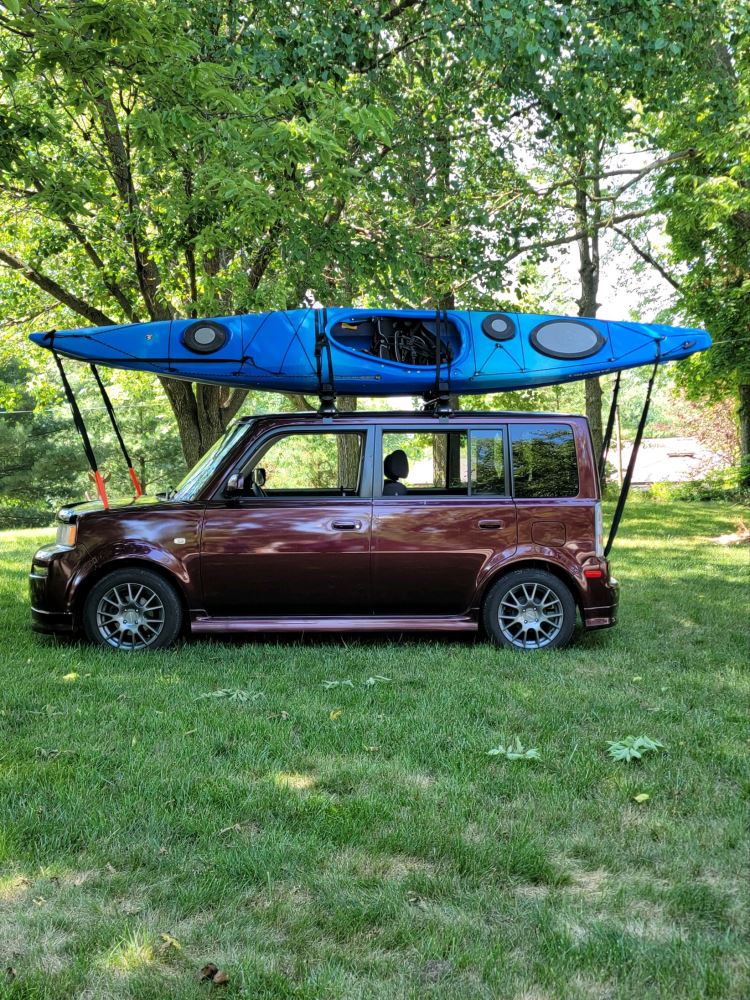
The main purpose of this roof rack was for transporting my recreational kayak. I was not aware that these bars had a rubber strip running along the entire top of the bar. This turned out to be perfect for the kayak. Now, I didn't need to buy a specific kayak cradle. The kayak, one strapped down, is held absolutely secured to the rack.
I am very happy with this product! Once again, etrailer comes through perfectly with another of my order. Prompt service and indepth product info are the reasons why I shop here!
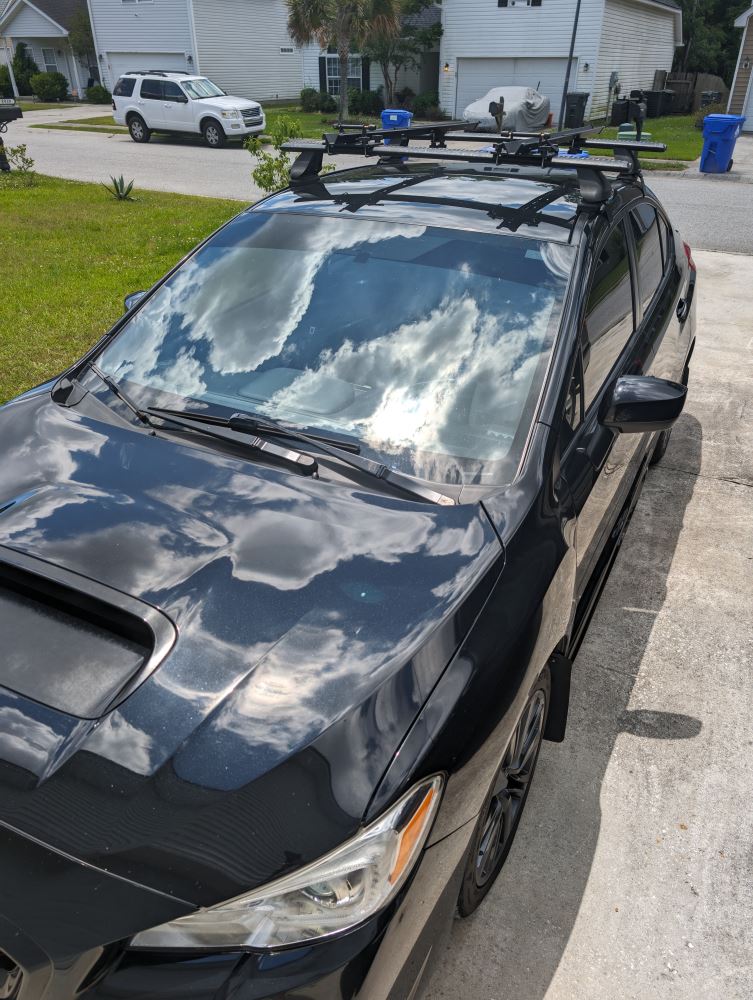
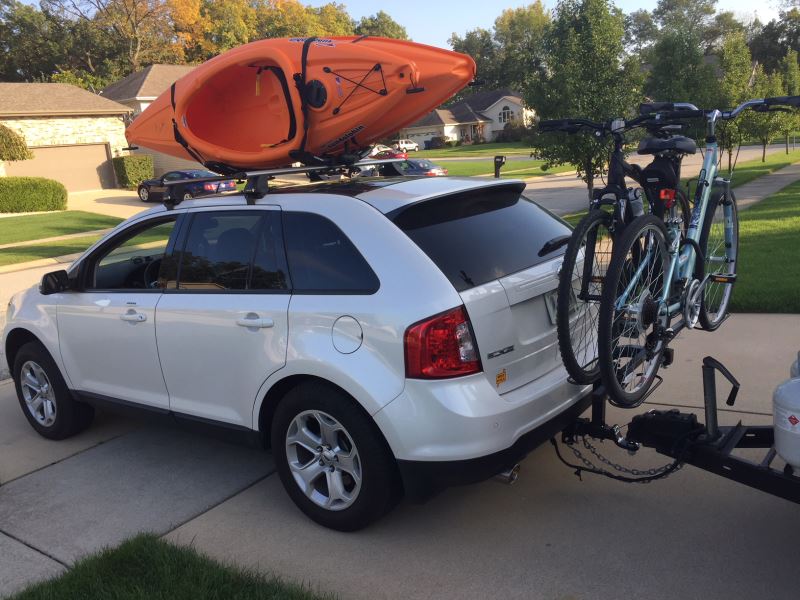
Purchased a Rhino Rack custom fit rooftop system, along with the kayak rack to hold two kayaks and the Swagman rv bike rack. Made several trips and they all work great! Included photos to share.
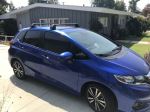
Pretty happy with the rack overall. I only have two issues. First is not related directly to e-trailer or the product. The issue lies solely with the choice of shipper. UPS kept trying to deliver during normal working hours, which means I was not available to receive the product. I attempted to reach out to them and either schedule a delivery for when I was home, or save them the effort and pick it up from a local UPS facility. They were unwilling/unable to reschedule the delivery, and the only way they would allow me to pick it up was by creating a account with UPS, and paying them a fee. They tried three times, ignoring my availability, and ultimately left the product sitting on my porch, where it could have been stolen. I would encourage e-trailer to consider alternative shippers. The other issue I had, was with installation. It seems that the measurements supplied with the rack were not accurate for my 2018 Honda Fit. Luckily, I work in the construction trades, and have countless hours building and modifying performance vehicles, so I was able to overcome the issue by readjusting the positioning of the mounting feet. Sadly, because I had already followed the instructions, and cut the plastic spacers on the underside of the bars, I now have air gaps. I've made the adjustments, and I'm very happy with the fitment and quality at this point.
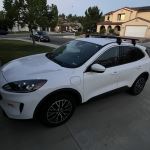
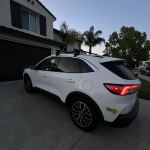
The Rhino Rack is very well made. I installed it my self on our 2016 Ford Escape, but had an assist from my wife to fine tune it at the end. There was no whistling or any other distracting wind noise on our 3,500 mile drive to visit family out West. A Sear's Cargo Box was easily mounted to the Rhino Rack and it remained centered and secured at western highway speed limits plus. The included locks on the roof mounts were the selling point for me. The Rhino Rack remained securely mounted to the roof with no additional adjustments or tightening being needed. Great Product. Donna P. @ etrailer was super with the order.
This roof rack works great! At first I was skeptical about putting a rack on my IS250, but it couldn't have turned out better. Paired with the Yakima Highroad, I can easily transport my bikes around without worrying about anything coming loose while driving. The installation instructions for the legs and bars are pretty straightforward. Takes about 30-45 minutes total to install.
Its been one year since I installed the Rhino Rack crossbars and I have absolutely no issues. The main use is to carry my Kayaks on my 2013 Subaru Impreza utilizing Yakima JayLow kayak carriers. The only caveat is to be sure to properly cut and install the plastic channel inserts (underside) or you will experience an annoying whistling sound. If you're looking for high quality crossbars, I highly recommend these.
I bought this last yr to haul my kayaks on my Toyota camry. Being 5'2", getting them on top of my SUV was next to impossible for me and my daughters. Since then, I have traveled from Michigan, all the way to the west coast with two 13' ft kayaks. These racks have been absolutely perfect in every aspect. I mounted them myself, and checked them regularly to see if they needed adjusted. Not once did they loosen or move. They with stood Traveling with speed limits reaching 80 mph on I84, along with the windy weather on our cross-country trip. My car moved around from the high winds, and the racks stayed put. These racks have by far reached and surpassed every expectation I had when purchasing them. I would not recommend another. Only thing I would recommend is showing installation for both front and back bars, since the measurements are slightly different for both. As I had to figure this out my self, after watching the installation video. Thank you Rhino for providing such a high quality product.
I am getting a bit of whistling at around 15-20 mph, but it doesn't happen all the time and can only hear it if sunroof is open. Do not notice any additional noise compared to no roof rack if my sunroof is closed, even if windows are open. Feels very strong once installed and install is pretty straightforward. Still feel it deserves 5 stars as I believe some noise is expected.
Purchased these bars for my 2017 VW Tiguan because they had the highest load rating. I hope to carry a Tepui Car Top tent on these, and they should be able to handle the load just fine since they are very well built.
Exactly what I needed to replace the factory cross bars to make it easier to take off my roof top tent. Easy to install and secured nicely to the factory rails.
Spoke with Tiffani on the phone and she got me all set and everything that we needed very efficiently! Product went on smoothly and will work excellently for our needs. Now we can travel with our fishing kayak on camping trips!
These racks are great. I looked at so many and finally decided to go with these and very glad I did. The quality is great, not hard to put together, and not too loud. Although, sunroof open would cause bugs to fly in after bouncing off these so don’t do that.
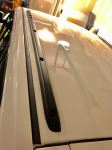
The instructions were clear and the rack installed perfectly. I am impressed with the custom foot mouldings that match my car's contours exactly, and the rack is still as tight as when I installed it 4 weeks ago. I have been using it frequently to pick up 8' lumber for a large shelving project I have underway, and I hope to soon use it to carry my kayaks. The rubber strips on the top hold the lumber so securely I have no worry of having the load slip off the car. The two negatives I have are: (1) the crossbar end-caps consist of 2 locking and 2 slip-ons. I have come out to my car to see 1 of the slip-ons half slipped-off and I expect I will lose one or both of them in short order; and (2) the instructions should put the forward bar at least 1 inch further forward. As you will see in the photo, Rhino's guidelines result in the front bar being higher than the back bar, which results in additional wind pressure on the goods being carried. Finally, I would like to thank etrailer for shipping the product exactly as promised and also for packaging the entire order in an additional box as I requested. I found your service to be outstanding! You are welcome to post my comments and or photo if you should wish to.
First off, ordering and delivery couldn’t have been simpler. The flaps on one end of the box were open but luckily it was on the packing paper end of the box so nothing was lost.
As for installation, I’m a computer guy and while I can get a job done with instructions, it normally takes me well longer than estimated. Not true with this rack... after an initial read through of the instructions it took less than 35 minutes to get it installed by myself.
My ‘21 Toyota C-HR has drill outs for the feet to connect to so no measuring front/back was required which I believe saved a ton of time.
Overall I couldn’t be happier... I head out to pick up m,y kayak next week for the maiden haul!
Installed the Rhinorack system on my 2018 Honda HR-V to replace my Thule Evo system which would whistle at 50mph+. Installation was very straight forward with easy to follow instructions. Rack fit great, feels solid and no whistling or wind noise at highway speed! Highly recommend!
i George from etrailer,
The rack is awesome! Strong, firm hold and nice looking. When doing surveys, I put my ladders on the rack.
I highly recommend this etrailer.
Great bars - very quiet, solidly built, and nice looking. I put these on my Mercedes E350 Wagon. I can fit 4 bikes or a narrow Thule box and 2 bicycles (with pedals removed). Definitely would recommend Rhino Rack.
The Rhino Racks Vortex Aero are solid. My first drive with them was to Brighton Utah from Riverside California. They were not only secure throughout the drive and hard winds, they were also reasonably quiet. On top I attached a Thule Force L 628 roof box and it fits perfectly. The only complaints I have are how difficult it was to install the racks to my fixed points. It took several friends, a mechanic, and two days to get everything right.
Got this for a 2015 Prius. High quality works great. Use their measurements included as a guide and measure everything out yourself before cutting the spacers and when installing. I had to make minor adjustments to make it perfect.
This roof rack works great! At first I was skeptical about putting a rack on my IS250, but it couldn't have turned out better. Paired with the Yakima Highroad, I can easily transport my bikes around without worrying about anything coming loose while driving. The installation instructions for the legs and bars are pretty straightforward. Takes about 30-45 minutes total to install.
Love the bars, I had gotten the other rack parts from different suppliers. I love the look and sleek design of the Rhino Rack. I did the 2500 vortex on a 2016 Subaru Impreza sedan and it fits great and looks even better.
Do you have a question about this Roof Rack?
Info for this part was:
At etrailer we provide the best information available about the products we sell. We take the quality of our information seriously so that you can get the right part the first time. Let us know if anything is missing or if you have any questions.


































Thank you! Your comment has been submitted successfully. You should be able to view your question/comment here within a few days.
Error submitting comment. Please try again momentarily.