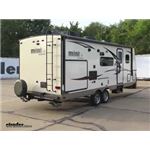
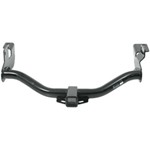
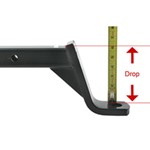
Ready to bring extra gear along on your RV trips. With a 200 lbs TW rating, these hitches work well with RV-rated bike racks or a cargo carrier for a generator or grill. Confirm your bumper is continuously-welded steel and the right size, and plan mounting for proper ground clearance—some adapters are not designed for underneath installs.
Sometimes, but only if the manufacturer allows that orientation. Some clamp-on styles are designed for mounting on top and their bolts are not designed to handle the tongue weight when flipped underneath. Also check ground clearance so the receiver, rack shank, or bikes do not contact the road.
Yes, some mounts allow positioning to one side to work around a spare or ladder. Ensure you still have enough ground clearance and that the bumper structure supports the load at the chosen position. Test-fit the rack or carrier before fully tightening the hardware.
Tighten the set screw or anti-wobble provision after the rack is mounted to help reduce movement. Use the included mounting hardware and properly torque the bolts; check the instructions if torque specs are not listed. If brackets bend or shift, re-check install, weight capacity, and that the bumper is strong enough.
Verify the bumper is continuously-welded steel and strong enough for the weight of the loaded rack. Contact your trailer maker with your VIN for bumper specs. If the bumper is not built for the load, the setup can fail, as seen when a camper's rear bar was not strong enough to support a hitch.
No, clamp-on bumper hitches are not designed for a 3" x 3" tube. Avoid trying to fill gaps or swapping hardware to make it work. Use a standard frame-mount trailer hitch instead when the bumper size is not supported.


 Filters