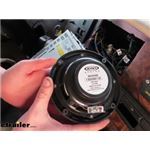
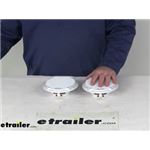
Crisp, fuller sound is an easy win with 6 inch diameter RV speakers. They can drop into factory spots, but match your cutout size, depth, mounting-hole spacing, and hole count to avoid drilling. Some options include grills, while screws, gaskets, or connectors may not be provided, so plan your install.
Yes, they're often an easy swap and can sound much better than factory speakers. Many installs are straightforward and fit existing holes in RV ceilings or walls. Verify your cutout size, hole spacing, and available space behind the panel. Double-check finish or color so the new speakers match your interior.
Yes, you may be able to reuse them if the edge-to-edge size and mounting style match. Check the grill's overall diameter against the new speaker's face and verify the screw pattern lines up. If they don't match, use new grills sized to your speakers. If you need covers, match by diameter and attachment style before installing.
Not all do. Some arrive without mounting screws, a mounting gasket, or electrical connectors. Check the included parts list before you start. If they're not provided, have stainless screws, a suitable gasket to help seal the mount, and the correct connectors ready for a smooth install.
They can be a direct replacement if your cutout and hole pattern match. Measure the cutout diameter and depth, then check the center-to-center spacing of the mounting holes and whether you have 3 or 4 holes. If the spacing is off, plan to drill new holes. Confirm the overall grill size clears your ceiling or wall opening.


 Filters
 RV Speakers Parts or Accessories