


To see if this custom-fit item will work for you please tell us what vehicle you'll use it with.


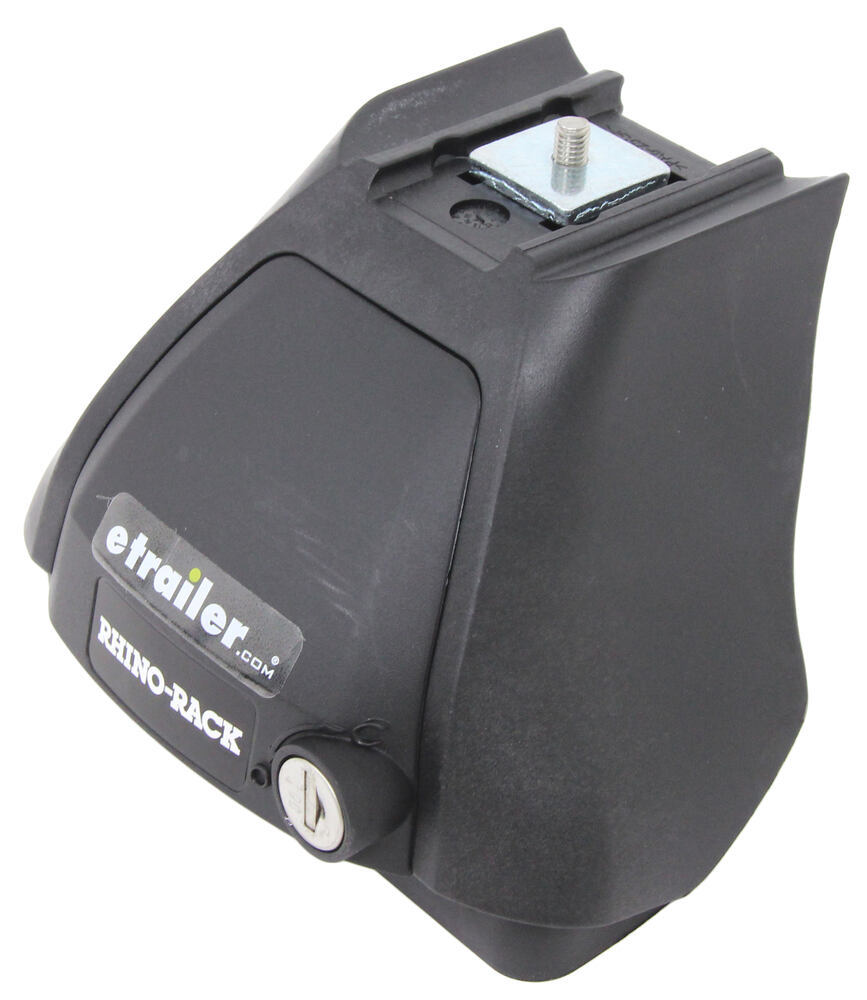
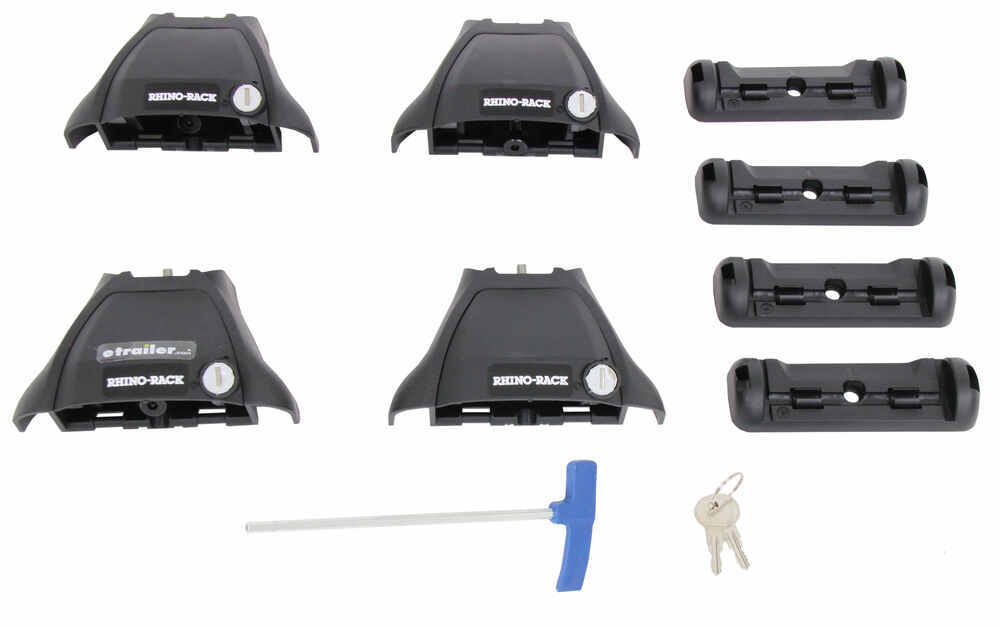


With two 54" aluminum crossbars, the Rhino-Rack Sportz gives you the space to haul what matters—kayaks, canoes, paddleboards, or a cargo box for a long road trip. The full-length bars accept both channel-mount and clamp-on accessories, so you can use your current carriers or add new ones later. It’s built to handle up to 165 lbs, giving you the freedom to load up for water trips, camping weekends, or cross-country drives.
The aero-style design helps guide airflow over the bars to reduce drag and wind noise during highway travel. Dual rubberized strips fill the top channels to block airflow gaps and keep things calm inside the cabin. Whether you're heading to a lake with your kayak or cruising to a campsite with gear up top, you’ll notice how much smoother and quieter the ride feels.
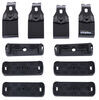
Each of the four 2500 Series legs locks onto your vehicle for added security when parked overnight or exploring away from the car. The cover plates help keep everything in place while giving a clean, finished look. The aluminum build is solid and corrosion-resistant, giving confidence that your rack will hold firm through years of weather and travel.
The included custom fit kit makes installation straightforward on vehicles without factory rails. Once it’s set up, it fits snugly against the roof for a stable base that’s ready whenever you are. You can leave it on year-round or remove it easily when not in use. With its strong materials, aerodynamic design, and versatile mounting options, this rack is ready for all kinds of adventures.
 Alternate Instructions
Videos are provided as a guide only. Refer to manufacturer installation instructions and specs for complete information.
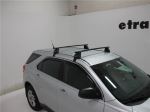
Hello, neighbor, this is Curt with etrailer, and today, we're gonna be taking a look at the Rhino-Rack Sportz Crossbars and we're gonna see how they fit and how they install on our 2024 GMC Terrain. Now, when you're going on an extended trip, there are often times where there's either gonna be cargo that you don't want in the vehicle with you or that just won't fit in there with you and the other passengers, so there's a couple options you have. One, you can use your hitch, pull a small trailer, hitch cargo basket, something like that. The other option you would have is to put it on the roof, which a lot of people consider a better option because it doesn't extend the footprint of the vehicle, making it tougher to park and things like that. So, being able to mount something up on the roof is a really, really handy way to do it. Now, the Rhino-Rack Sportz Bars here are gonna have a weight capacity of 165 pounds.
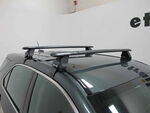
However, you do wanna double-check what your rooftop capacity is for the vehicle in your owner's manual. If it's lower than 165 pounds, you're gonna have to stick with that weight limit. But this is an aero-style bar, meaning it's gonna have kind of an ovular shape that's really gonna help reduce noise as you're going down the road. It's gonna be much quieter than a square or a round bar. It does have an open channel up here at the top, and that open channel is so that you can use some of Rhino-Rack's Zwifloc accessories, meaning they're T-track accessories that you don't have to go in through the end cap like you do with other roof racks.
You can simply drop it into the top wherever you want, twist, and there you have it. But having an open channel might make you think that these are gonna be pretty noisy. These weather strips, though, that they created on the side do a really good job of making air go over that channel rather than across it, making all that extra noise. It's gonna have an overhang style, which is gonna give you extra room to use clamp-mounted accessories. And as long as you're not going over your weight capacity, it might even allow you to put two different accessories side by side.
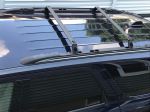
But the number one concern people have with an overhanging bar is, you know, what kinda danger are they in of hitting themselves in the head with it Well, as you can see, it does come out of the top door threshold. It does not, however, come past the foot door threshold. So, generally speaking, when you're getting in and out of a car, you're coming out at an angle. I'm not really too worried about hitting my head on this personally. But if it is a concern, you could always take a look at a roof rack that's overhanging but has a shorter bar than the 54 inches we have here.
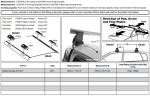
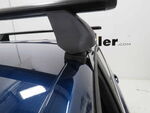
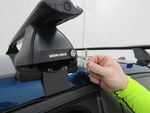
Now, we're gonna take a few measurements to see just how it fits up here on the roof of our Terrain, so I'm gonna grab a measuring tape and we'll go up on the roof and check it out. Now, when you mount these, you are gonna have to mount them in a specific spot up here on your roof, so what we're gonna be measuring out is things like your crossbar spread, which is really, really important to know when you're looking for accessories because every rooftop accessory has a minimum and a maximum crossbar spread. So, what that will be will be the middle of one bar to the middle of the next. It's a measurement of how far your crossbars are apart. And since we're not really gonna be able to move these, it's really important to know what we're working with. So, we're working with a crossbar spread of 28 inches, and honestly, that's kinda right in the sweet spot. Most crossbar accessories fit 25 to 35 inches as far as where their minimum and maximum goes, so at 28 inches, I'm not really worried about not being able to find good rooftop accessories to work with these crossbars. The other thing we wanna take a look at is how much height is this adding to our vehicle So, if we have a concern with low clearance, you know, a garage or something like that, these are gonna add four and a quarter inches to the top of the vehicle, so if you take your vehicle height plus that plus the height of your accessory, you'll know the overall height that you're traveling with and you can watch out for any low-clearance areas. The other thing we're gonna measure for is how much space we have underneath the bars. And underneath these bars, we're looking at three inches, which is more than enough room for those clamp-mounted accessories to get around and be tightened up from underneath if necessary. These are placed a little bit forward on the vehicle. It may look like we have a ton of room going back here, and we do. And really, any rooftop accessories are gonna be able to easily clear that shark fin that we have back there if we have something that actually goes back that far. The cool thing about where they're placed is that if we're standing in the door threshold of our second-row door, that actually puts us right in between the bars, so we have a little bit of a step up to help us out when we're loading and unloading. Now, I had mentioned previously, you know, that there are specific spots as far as where you have to mount these at, so stick around and I'll show you exactly how we installed these on the roof of our Terrain. So, to begin our installation, we're gonna go ahead and lay out what we need. We've got our crossbar here, our towers, our pads for under the towers, our clamps, and our tower covers, along with our key and our Rhino-Rack tool. Now, we've already gone ahead and installed our front bar. And the reason we did that is because where these crossbars are located on the roof are kind of based off of each other. The second bar placement is based off measuring off of that front bar, but we'll be going over all of that momentarily. For now, we're gonna show you how to put together your towers and get them on your crossbars. So, this method is gonna be pretty much the same for both of them, but the parts that you're using are going to be slightly different. So, right here, this will be the right side or the passenger side. And if you look at your instructions, it'll tell you that the foot pad for it is the M415. It's stamped really light right there. On the left side or the driver's side, it's M414, and the reason for that is that these are pitched and angled slightly differently in order to fit exactly where they're supposed to go on the roof. So, we're gonna begin by turning our crossbar over, and we're just going to pull off and remove our end caps. And with those removed, we've got this kind of sliding scale in here, starting small and going greater as we get to the end. We're gonna go ahead and take that out for the moment. We're gonna take our foot pad and our tower here, and these are gonna attach right on the bottom, just like this. What you want to do, though, is make sure that the arrow that's on here is facing toward the outside. So we're just gonna go ahead and clip this down into place. Just kinda push it around all the edges, make sure it goes on completely. And we'll have it just like so. At this point, we're gonna use this metal block here at the top and we're gonna slide it into our open channel with the end cap removed. Now, once we've done that, in your instructions, you're gonna find a measurement to use with this scale. However, we found that it wasn't really quite accurate. On the front bar, it had called for 135 millimeters as far as how far apart your towers are supposed to be. What we found is that it actually fits at 128 millimeters. On the back bar, we're finding that it actually fits at 150 millimeters. So, both of those numbers are a bit different, but the way that you're going to measure it is using this scale here. So, we're gonna start on the smaller end, feed it back in the channel, and then we're gonna line up the end here at that 150 millimeters. We're gonna slide our tower over into place, close the other end right here to hold it in position, and we're gonna use our Rhino-Rack tool to go ahead and tighten it down. And once you have that tightened down, you can go ahead and snip off the excess right here. You're gonna use this scale to help cover up this channel on the bottom right here, and that's gonna help reduce your road noise. Also, make sure you remember to slide this inner part all the way over. And close this off as well to close up any channels. Once that's all in place, you can go ahead and replace your end cap, and we're gonna repeat this process on the passenger side. Now, before we put our rear bar up, I'm gonna talk about the placement of the front bar. So, on the front bar here, the measurement that you're gonna need to take is gonna go from your door seam to the center bolt right here on the tower. And the measurement we're looking for is seven and seven-eighths. So, with that pretty much dead on, we know we've got this in the right spot. Now, this is gonna do a couple of things. One, it's gonna tell us where our second bar needs to go. The other thing, too, is because these rubber pads are really contoured to the shape of the roof, you really wanna make sure it's in the right spot for the best fit possible. Now, the second bar placement is going to be based off of this bolt location here. We're gonna measure 27 and 9/16 inches to where the center of the bolt will be on the towers for our second bar, which we've already measured out, and it's really gonna kinda put us right in this area here, so I'm gonna get my bar up on the roof and kind of around the molding up here at the top for the feet. But once it's up here, I'm gonna get my measuring tape. We're gonna double-check that measurement and we're gonna make sure it's accurate on both the driver and the passenger side, and that's really important because we really wanna make sure that these bars are gonna be perfectly parallel to each other in order to carry your cargo safely. Now that we have our bar in its proper position, we're gonna go ahead and put on our clamps. Now, pay attention to your instructions. It will tell you that there is a different clamp for the front and a different one for the back. The back clamps are gonna be numbered with a 369, the front clamps with a 155, but you'll visibly be able to tell the difference because this clamp is longer because it's got more of the roof up here at the top to come down over than we did up here, so these clamps are actually longer than our front clamps. But in order to get that on, we're gonna go ahead and open up our door here. Then I'm gonna take this bolt and remove it. (bolt rattling softly) I'm gonna go ahead and put my clamp right in through that channel there and underneath, and I'm gonna re-thread this bolt right back in there. (clamp clinking) And this is gonna be the same process over on my passenger side. But once I get it on there, I'm gonna kind of hold it up flush to the edge here and continue to thread that bolt in until I just get it snug. I don't wanna tighten it up because if I tighten it too much, it'll shift the other end from where it's at and I'll just constantly be going back and forth and making adjustments. I just wanna get it into position and tightened up enough that I can get the rest of it done very easily. So, once we have that done on both sides, we're gonna go ahead and grab our Rhino-Rack tool and we're gonna start tightening it through this bolt right here. Now, I'm not gonna tighten down one side completely. What I'm gonna do is tighten down this side a little bit, go over to the other side, make two, three, four turns, tighten that down a little bit, and just do it a little bit back and forth. Again, I don't wanna overtighten one side to the point where it's actually gonna offset what's going on over there and have to constantly make readjustments, so we're just gonna bounce back and forth and tighten down a little bit until we get it all the way done. Once everything's completely tightened down, just go ahead and grab it, give it a good shake, make sure you don't feel any wiggle or movement anywhere in it. And once that's complete, you can go ahead and replace your tower cover. We're gonna use these two tabs here on the side. They'll slot in just like so. And go ahead and open it up and lock it into place. Now, with everything set, we're ready to load up and hit the road. So, overall, really a pretty simple installation. Everything went up pretty easily. I was able to do it on my own without any extra kinda help or anything. The one downside, though, is that those measurements, as far as how far apart our towers need to be on the bars, those we inchesre a bit off, and it kinda makes me wonder if the directions we inchesre maybe made for a shorter length bar. Not really too sure of that. The front bar, we we inchesre able to get really, really accurate at that 128 millimeters. The 150 millimeters that we had back here, we could actually maybe use them just a little bit further apart if we wanted absolutely perfect. They are gonna be perfectly functional where they're at right now, but if I really wanted to be a perfectionist about it, I might bring these out just a hair more and have them fit around this lip just a little bit more snugly. But these aren't going anywhere. These are gonna be perfectly safe for you to travel with as they are. And I also really like kind of the more rugged, aggressive look that these give, so from a style standpoint, that's something that I really like when I see a roof rack. It's something that some people might like on the Terrain, but you know, not necessarily everybody. There are some kind of, you know, cleaner-looking bars that you could put up here. I think the Rhino-Rack Vortex bar is a little bit cleaner-looking than this is if you wanted something that looks a little more refined. But overall, I think this is a fantastic setup for you and your GMC Terrain. And if you agree and after watching this video, you decide to get the Rhino-Rack Sportz Crossbars and put them on your Terrain, you get to use them a little bit, we would love to hear what you think about them, and share them in the comments below. We'd love to hear from you to share with our other neighbors so they can make the best decision for themselves as well. Once again, this is Curt with etrailer. Thanks for stopping by.



Do you have a question about this Roof Rack?
Info for this part was:
At etrailer we provide the best information available about the products we sell. We take the quality of our information seriously so that you can get the right part the first time. Let us know if anything is missing or if you have any questions.
















Thank you! Your comment has been submitted successfully. You should be able to view your question/comment here within a few days.
Error submitting comment. Please try again momentarily.