
Rhino-Rack Vortex Roof Rack for Fixed Mounting Points - Aluminum - Black - Qty 2


To see if this custom-fit item will work for you please tell us what vehicle you'll use it with.


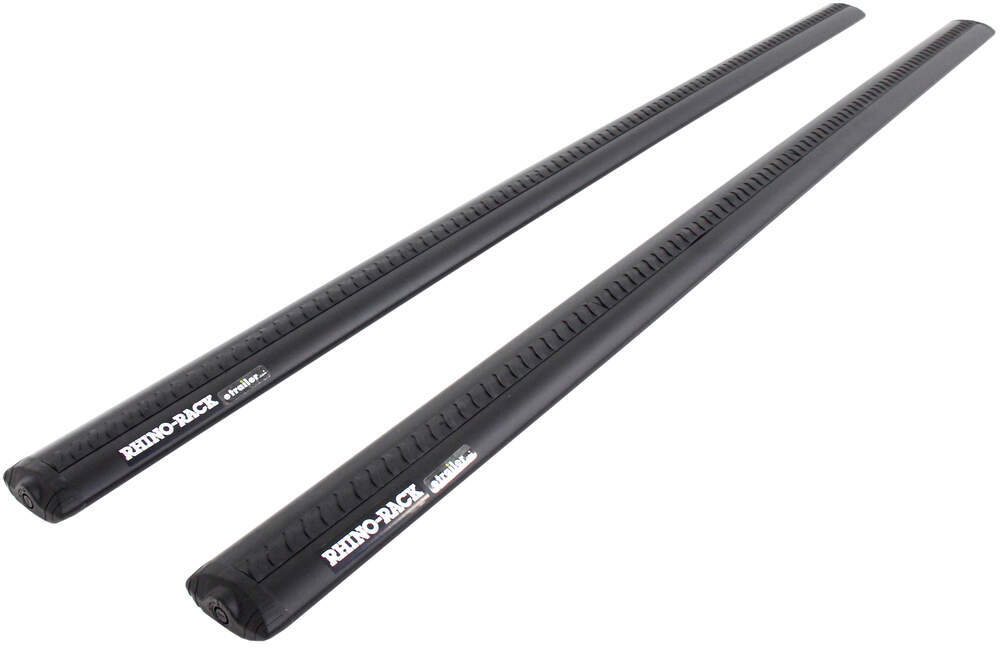


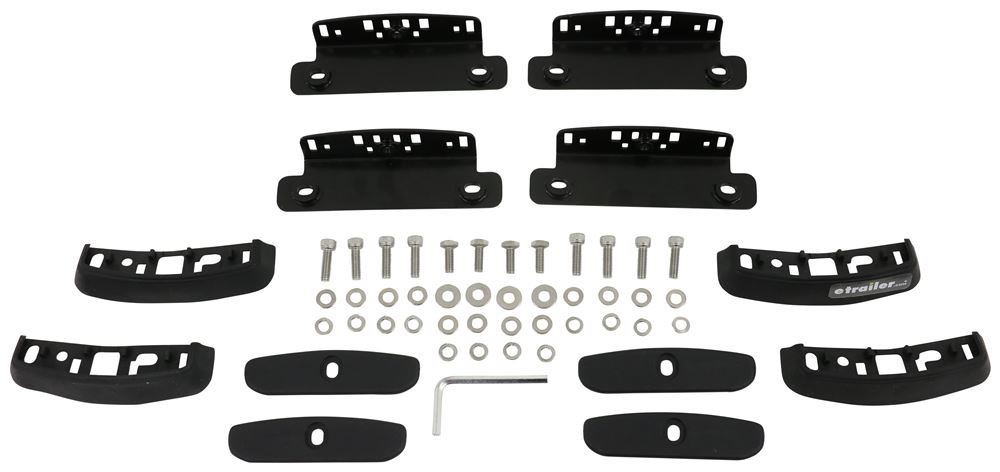
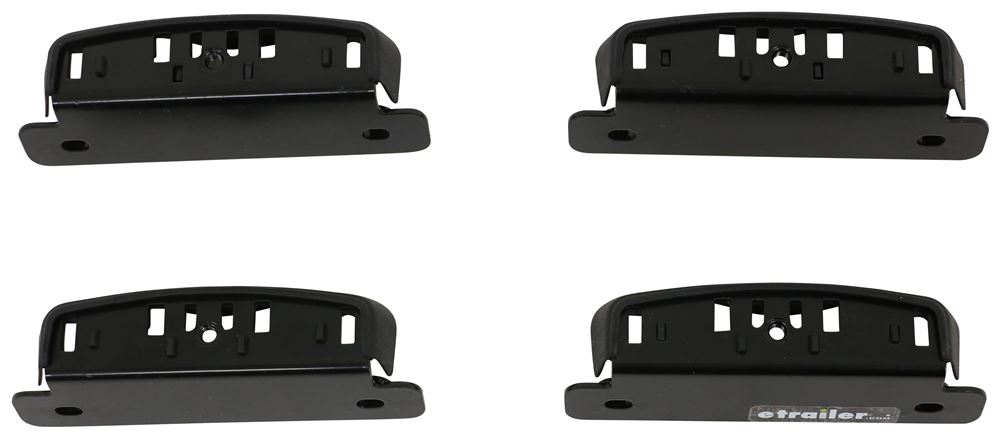
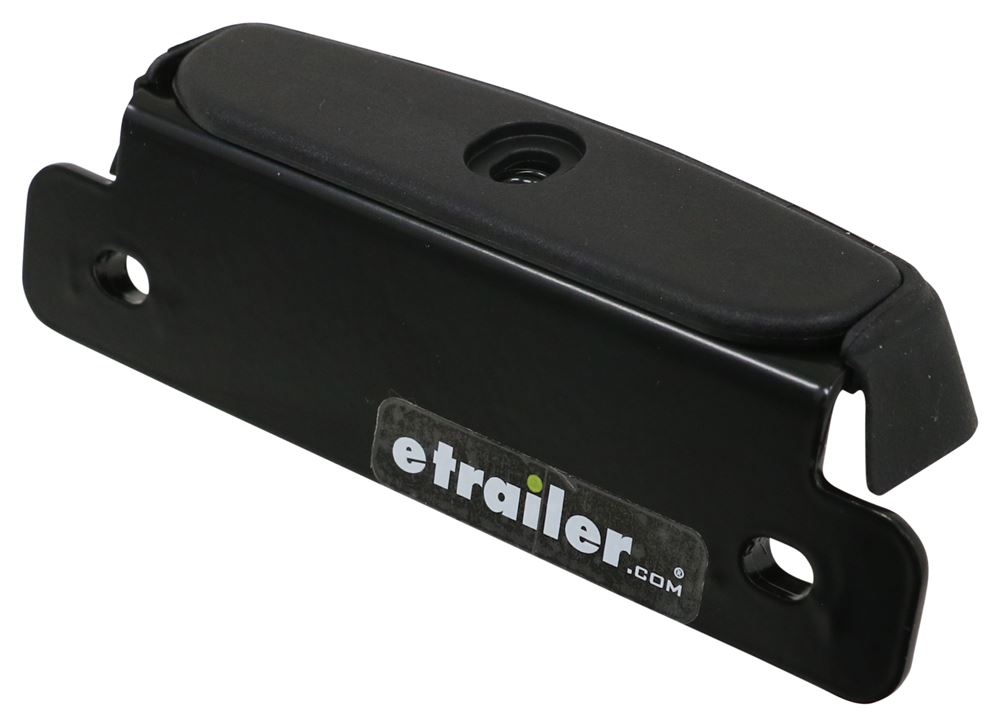
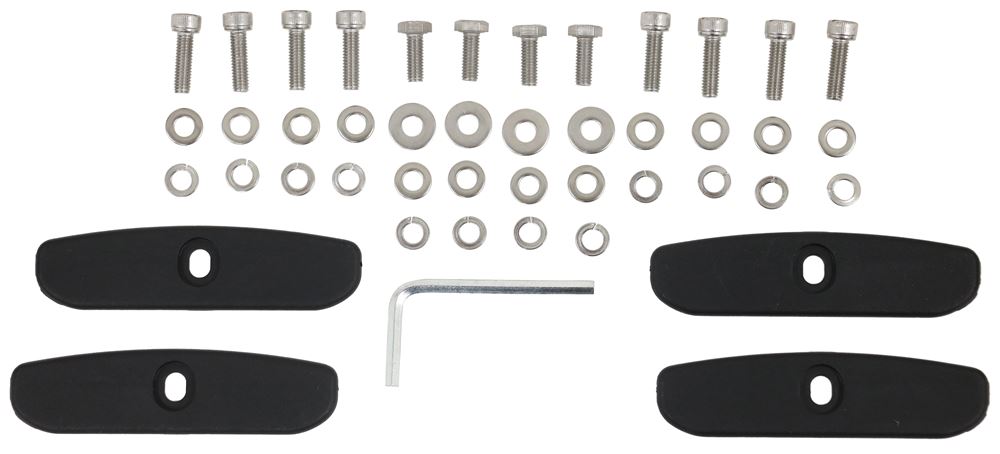
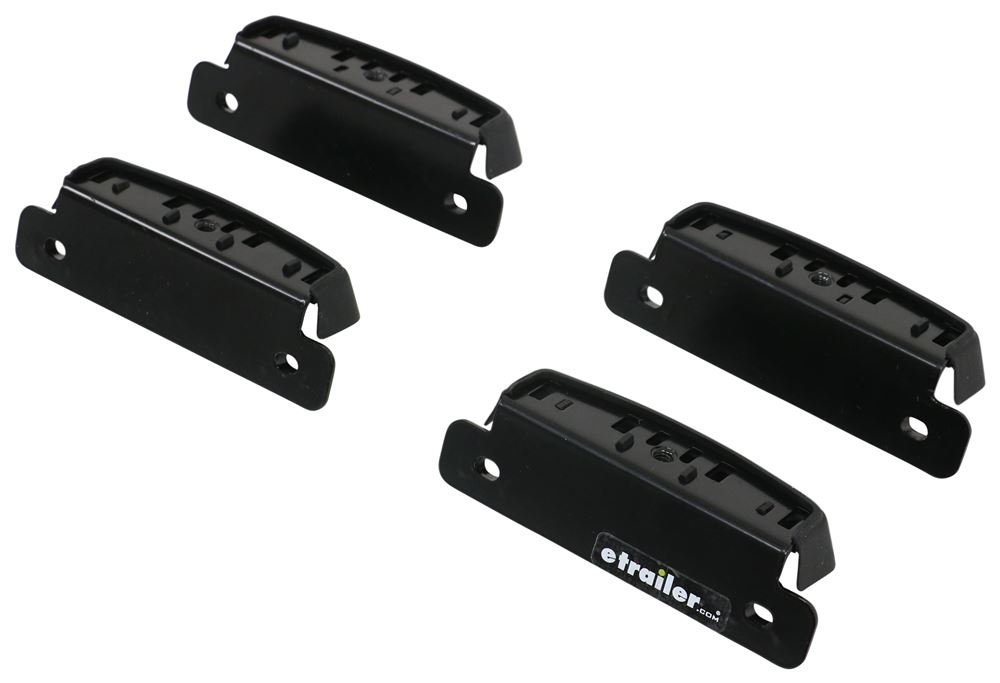

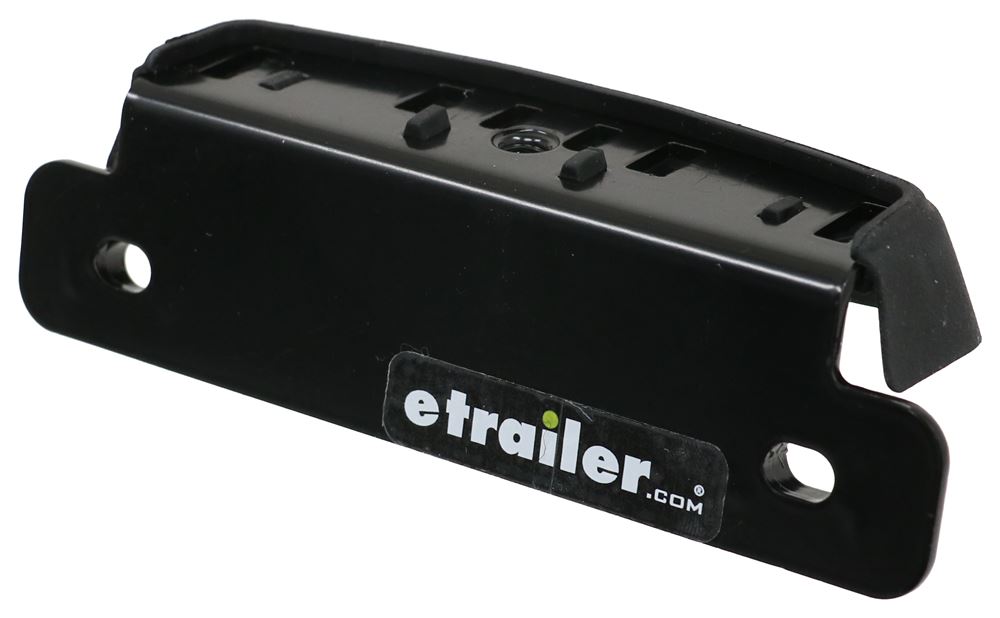


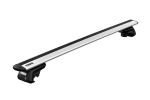
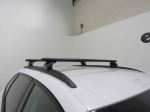
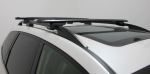
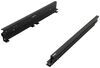
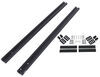
This aerodynamic roof rack lets you carry gear and cargo on your vehicle. Full-length aluminum crossbars provide plenty of space for channel mount and clamp-on accessories. Installs to fixed mounting points on your vehicle's roof.
Features:
Specs:
 Alternate Instructions
Videos are provided as a guide only. Refer to manufacturer installation instructions and specs for complete information.
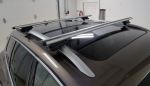
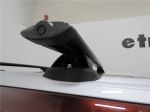
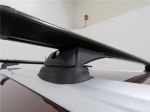
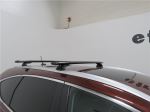
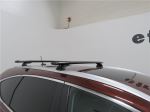
Hey, everybody, Cooper here at etrailer. Today we're going to be taking a look at the Rhino-Rack Vortex Aero Roof Rack System on our 2020 Toyota RAV4. Now, why would you need a roof rack system Well, if you wanna carry around some of those bigger items like kayaks, snowboards, maybe even skis, or need some extra storage space in case our car is full of people, something like a rooftop basket or rooftop box would all be excellent accessories to carry around. But before you get any of those accessories, the first thing we're going to need is a roof rack system like we have here today. Our RAV4 today is going to have flush rails which means that we are going to have the kit that includes three pieces. First off, we're gonna have an adapter from our rails to form the base.
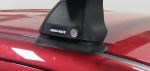
Then we're gonna have a leg that's going to secure down to the base. And then finally, we're going to have our crossbar that secures into our leg. Has this nice aero shape to it here, which really just helps cut down on some of that wind noise that you're gonna have when putting something on top of your roof. In conjunction, we do also have a weather strip here on the top which again just helps cut down some of that wind noise. With this type of weather strip though, if you want to mount any T-track accessories, we are going to have to pull it up and cut out the holes for our T-track accessory feet.
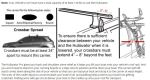
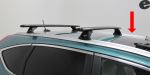
In order to access that T-channel, we actually come here to the front of it where there is this lock with our included key. Our roof rack system is weight rated for 165 pounds, but do keep in mind that our rails and our roof will have separate weight ratings and that we wanna make sure we are accommodating for the lowest component of all three. That way, we're not overloading any of the systems and causing damage to anything on our vehicle or our roof rack. Since this is a fixed point roof rack, we are going to have a crossbar spread of about 31 1/2 inches. And since these cannot move around on our roof at all, that is fixed, and that's going to be the number every single time, but that is more than enough of a crossbar spread to accommodate all sorts of accessories.
The system we have on today does use 49 inch crossbars, which I think is the perfect number for our RAV4 here today because there is a little bit of overhang on each crossbar, which will allow us to use some of those clamping accessories, but there's not enough overhang that you start endangering your head getting in and out of your vehicle. Now our install process is pretty straightforward. The only real snag in it is the fact that there is a bolt on your leg that you're going to have to tighten down, that is on the bottom, so just a little harder to access. Thankfully, we're going to show you the install process and what we found to use as a workaround. Now to start our install process, I like to take all our components and lay them out on the table in front of us.
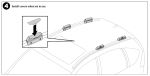
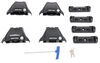
As you can see, we've already installed our rear crossbar. For the front crossbar, steps are very similar, so the steps are gonna be applicable for both. A couple additional tools that I would highly recommend having is something like a shop towel because we're gonna see later, we're doing some very close work on near our roof, a screwdriver, 'cause we're gonna have to pop the plates up on our flush rails, a tape measure for a couple measurements that we're going to need earlier, and then the instruction book actually requires that you get a ratcheting tool to secure one of our parts down later. But coming to our crossbar, we're going to determine the direction using the Rhino-Rack logo here, making that the front of our crossbar. We're gonna go ahead and just roll that over after we install the weather strip. We've already done so because this is not a permanent fixture on the car, so not a step that we have to be too concerned about. Whenever you get the legs for your Rhino-Rack system, they're going to come like this straight out of the box. So the first step we're going to need to do is go ahead and unlock it using our included key so we can expose all the inner workings here that we're going to need later, doing that for both. And then in order to stall the fixed mounting point for our leg, we're going to come down to the bottom where there's a hole here, and then there is a included bolt with some washers that we're going to need to go ahead and feed through the top of that and then take our metal plate right here and screw that down into place. But you don't want to have it too tight because we are going to need to feed it through our crossbar here in a moment. So just doing that for both of our legs here means that they will be ready to install. Your kit is going to come with a measurement strip like this one that we are going to simply go ahead and install into the bottom of our crossbar. And then on your instruction manual, you will receive a certain measurement that will tell you what number that our legs are supposed to sit at and you would go ahead and cut that to leave only that section revealed. Since this is our demo kit, we're not gonna cut that today. We are just going to go ahead and install the feet through onto our crossbar, and I'm going to tighten them down a little bit right now because we'll see later on in our installation that accessing this once we put it onto the roof of our vehicle does get a little tricky, so it's nice to have it semi tightened right now. This space loose enough that we could still move it but tight enough that it's not just totally loose would make it a lot easier for us down the road. Now with our crossbar ready, there is going to be some prep work that we have to do on our flush rails. That's where these are going to come in. There are four different ones in total, each with a unique code. For instance, this one is 2030, this one is 2029, and those have corresponding points on the vehicle that you'll see in the instruction manual. Or you can just go ahead and look at the letters under them. This one is FR or front right, means going to be on our front crossbar on the passenger side, right And this one is FL or front left, means going to be on our front crossbar, left side, or our driver's. So we are going to go ahead and take our screwdriver, pop out the plates and get these settled down into place. Now we just need to go ahead and take our screwdriver and very carefully, pop out these plates, setting that down to the side. You can go ahead and take our block and it does just nestle in here with that arrow facing towards the front of our vehicle, and we're going to take the included nut and tool and just go ahead and tighten this down. After you go ahead and repeat that step on your driver's side, that means our roof's all prepped and we're ready to install our crossbar. Now on our crossbar, we do have these neat little tabs here that are going to nestle into those that we just go ahead and set up. So we're just gonna go ahead and come to the front of our vehicle, reach to the other side until those fall into those holes, and then go ahead and set this down in there. And now we're going to take the steps to secure this down into here. Now you're gonna see one of the reasons that we left our legs here a little bit on the looser side 'cause as we push our crossbar over, we need that to kind of expose the point where our leg is going to sit into our face. So we're just going to simply drop our bolt in there and grab our ratcheting tool, putting that in there and securing this down to the base. Then after you get this tightened down completely, you gotta go ahead and repeat this process on the other side. We can make sure that our crossbar is even between our driver and passenger side. In a situation like this, what I find really helpful to do is to actually bring all of your crossbar to one side, take your tape measure, put it up against your crossbar, and we can see that sitting about at 6 1/2 inches. So we're actually going to pat this side down till it reaches about 3.25 inches and then double check the other side to make sure that it's also at that measurement. Now with our crossbar measurements confirmed, we're going to tighten down our crossbar to the leg. And that bolt is actually on the bottom side of our leg now, that's where our shop towel is going to come in just to make sure we don't deal any additional damage to our roof. Now for this, you can use the included Allen key if you want, or if you have the correct head size for that ratcheting tool that we had to use earlier, you can just go ahead and swap that out and this makes it a lot easier. And this is another reason that we kept those legs tightened down earlier just so that we are not starting from a completely loose point when doing this. It makes it a little bit easier to get into that groove and tighten it down. Last thing we need to do is put all our end caps on. The end cap for our crossbars are going to be this plastic lock core here that use this unique blue key to lock them into place, while our leg crossbar is going to be this end cap which comes with a metal lock core that uses a metal key. Now, if you did want to use a same key system for these, Rhino-Rack does offer a option to swap out these plastic cores for a keyed alike system so you could have one metal key instead of carrying around these two different keys for our crossbar system. After that, we're just gonna go ahead and give it a little bit of a shake test to make sure everything's down and in place. And it seems like everything is pretty sturdy, so that means we're all good to go. And overall, I think on our 2020 Toyota RAV4, it has a really nice clean and sleek look. And we saw it here at etrailer.com. Thanks for watching.
Do you have a question about this Roof Rack?
Info for this part was:
At etrailer we provide the best information available about the products we sell. We take the quality of our information seriously so that you can get the right part the first time. Let us know if anything is missing or if you have any questions.

















Thank you! Your comment has been submitted successfully. You should be able to view your question/comment here within a few days.
Error submitting comment. Please try again momentarily.