
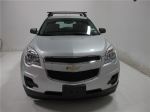
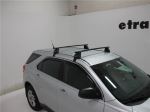
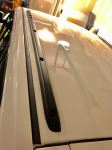
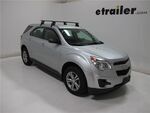
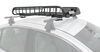
Rhino-Rack Sportz Roof Rack for Naked Roofs - Aluminum - Black - Qty 2


To see if this custom-fit item will work for you please tell us what vehicle you'll use it with.




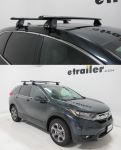
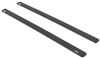
These full-length 54" aluminum bars give you plenty of loading space for whatever gear your trip calls for. Whether you’re hauling a kayak, canoe, or cargo box, the sturdy 165-lb weight capacity keeps everything steady and secure. The aluminum construction adds strength without unnecessary weight, so you get a durable setup that’s easy to handle.
You don’t have to put up with loud whistling when you hit highway speeds. The Sportz crossbars use an aero-style shape that helps guide airflow smoothly over the bars. Dual rubber strips in the top channels reduce drag and vibration while also keeping out dirt and moisture. That means less noise and a quieter ride wherever you’re headed.
From road trips to paddle days, these bars are ready for whatever gear you want to bring along. The top channels accept accessories that slide right in, and the bar shape also supports clamp-on mounts for carriers and boxes you already own. They work with most bike, watersport, snow, and cargo carriers, so you can pack for any season without swapping racks.
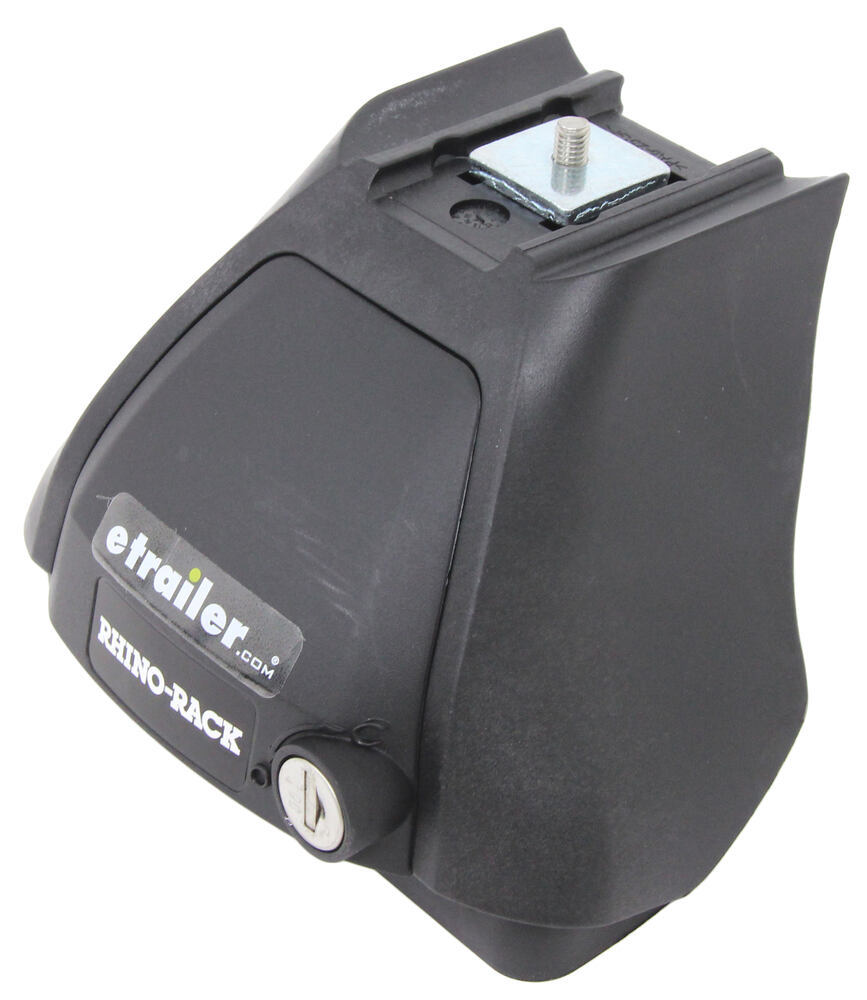
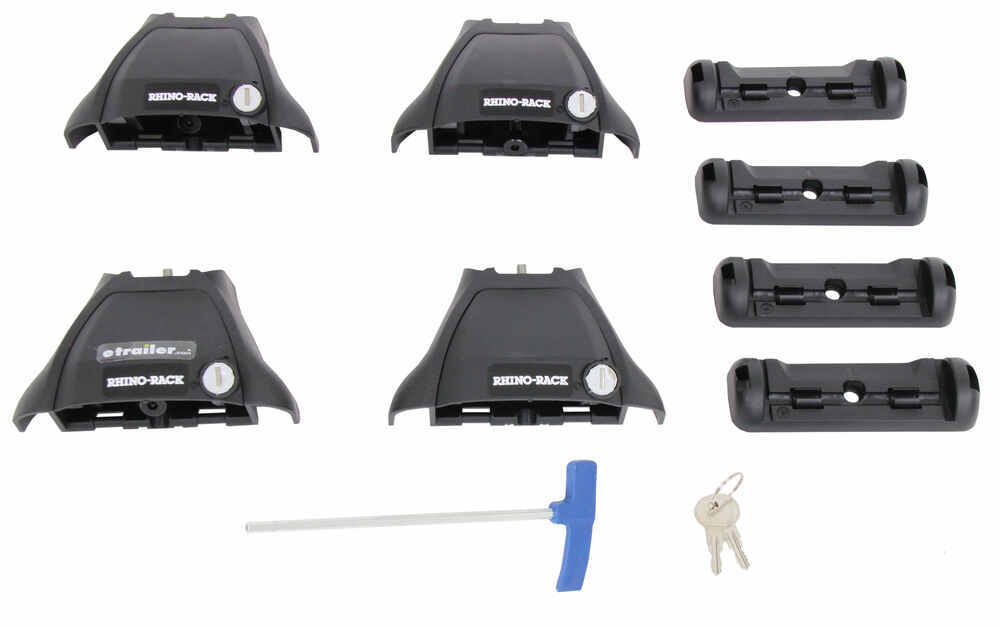
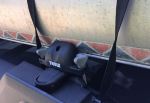
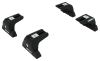
Installing on a bare roof is simple thanks to the included custom fit kit and (4) 2500 Series legs. The setup secures solidly without needing factory rails. Each leg has a lockable cover plate, adding an extra layer of security once your rack is mounted. You get a clean fit that stays put through every mile.
The black finish looks sharp while standing up to years of sun and weather exposure. With Rhino-Rack’s 5-year warranty behind it, this setup is built for long-term use through all kinds of adventures. Load it up, lock it down, and hit the road knowing your gear rides safe above it all.
 Alternate Instructions
Videos are provided as a guide only. Refer to manufacturer installation instructions and specs for complete information.
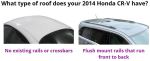
If you have a 2020 Honda CR-V and you're looking to carry around some fun gear like kayaks or maybe get some extra cargo space with a roof box, what you first need is a roof rack system. Today we're taking a look at the Rhino Rack roof rack system for the CR-V and this one specifically has the sports bar kit combo. So this is gonna be extra sporty and really cool with some Zwifloc accessories. So let's go take a look at all that and how it fits. We have here today is what's called a naked roof and that's why our custom kit has these hooks that go into where the door is. If you have a CR-V with raised rails, you'll see this rail up top, then that will be a different kit for you.
So something that may help you out is if you use our fit guide here at etrailer, where you put in your year, make and model, you select the type of roof that matches yours. Then you have all these options for kits that we have confirmed are a fit for your CR-V. We have our sports bars from Rhino Rack and then we have our tower and then we have that custom fit for the CR-V. Now with these sports bars, these are the 54 inch long black bars and I really like the sports bars 'cause they're super cool looking in my opinion, but they're also very versatile for most types of accessories. Now this has a little bit of overhang in the front.
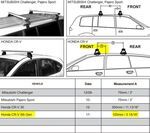
Overhang is when you measure from the tower to right before the end cap and I have about three inches of overhang for the front, a little bit more in the back. What that means is if you have an accessory that clamps around, you can use that overhang and then your accessories a little closer to the side of your car and a little easier to reach or if you needed to really maximize all that space of the bar, you can again use the overhang for that. Rhino Rack did design this for a very specific spot on your CR-V roof though, and that's what's called the crossbar spread. So if you measure from the center of one bar to the center of the other, you'll get about 29-1/2 inches apart and that's really good. That's gonna be on the longer end of still very versatile window of crossbar spread whether you have a roof box, roof basket, carrying kayaks.
I also consider height when I plan around different accessories. So there's two measurements there. The first one is well how much space do we have underneath the bars and the roof So from our sunroof to the bottom of the bar, I have it at around 2-1/4 inches, maybe 2-1/2 and a half inches depending on where you measure, that's gonna be on the low side. So do be mindful of those accessories that may have really large clamps and hardware. They may or may not fit.
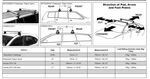
I would go for something more low profile or checkout channel mounted accessories then you don't have to worry about clearance whatsoever. Now there is another roof clearance and that's gonna be how much height is now added to the top of the roof. So right here I measure it at around four inches. Up front I measure around 3-3/4. And imagine you have some skis with extra tall bindings. You wanna make sure those bindings aren't making contact with your roof when you're driving. If you find that maybe they do, well, that's when you can look into accessories that give you some extra lift like some ski carriers we carry here at etrailer that have that extra height. So to install your roof rack it might look a little confusing at first because there's a lot of smaller parts with different numbers, but once you get the hang of it, it's actually very straightforward. Now I already mostly install the rear crossbar, so we get to install the front crossbar together. The very first thing I do is I start unpacking all the boxes, setting up all the pieces and that way I can get familiar with what exactly I do have. Start with the crossbar. The sports bar already comes mostly assembled. In fact what you may have to do is start unassembling some pieces like this measurement strip underneath. I usually remove that and I remove the end cap as well. There is a little tab there on the inside. So what may help you out is just using the Allen key tool included to push the end cap out. Towers may or may not have this square nut already installed. If it's not installed then it's gonna be a bolt split washer and then flat washer and then you have that nut. I like to make sure it's loose enough where I can easily slide it into the crossbar. So here we have our crossbar. You can see there's that bottom channel from earlier and then we're gonna slide this tower into that bottom channel, lining up that square nut and then getting this on through. So you wanna make sure as you install it you have the towers facing out. Now how far do you slide those towers Well, in your instructions you're gonna have some measurements and that's where these strips come in handy. So for us, we need our towers be 154 away from the center. So find that spot, you can then get some scissors and cut in that area. Now I actually need to keep these strips 'cause I am installing a bunch of different roof racks. So I'm just gonna mock it up here where we push this into the end, find 154 and then just line up the end of our tower with 154. You can also do this with a tape measure that has millimeters. Once you've lined it up to the spot, then go ahead and tighten down that bolt until that split washer flattens out and then you can slide that cover in towards the tower. Now this is helpful because then you don't have wind going through that opening. Then you have the pads, you have a plastic one and then a rubber one. On the plastic one, that's gonna have an arrow up top. On the rubber one you have an arrow in the bottom and fortunately for the CR-V, all the rubber ones are gonna be the same so you don't have to pay too close attention to the numbers. So what I do is I attach the rubber pads to the plastic pad taking note of the location of those arrows and the direction of the arrows is supposed to be out and forward. So to help out with that, to orient myself, bring the crossbar in front of me, see where it says Rhino Rack, that's what I designate as the front of the bar. So getting that rubber pad I can note that it's facing out as well as forward or towards that logo and that's how I secure that onto the tower. We are gonna do this for both sides. With both rubber pads installed this means I can now gently set the whole system onto the roof. Now where do you put your towers Well, in the instructions it's gonna have measurements to where you put the front and the rear tower. For example, for our front crossbar it says if you measure from the seam of the doors and then go forward 3 inches and 15/16 of an inch and that's where you line up the arrow of your tower. Then to secure the towers, you're gonna have this clamp. So what I actually like to do is I hold up that bolt by the Allen key tool and then I use my other hand to hold up this pivoting nut in the back. So I support it from the back, I push up with the tool and then I thread that bolt on there. So you want to keep threading right until your clamp just barely makes contact with the side of the car. It's very important that you switch to the other side once you've just barely made contact with the car because especially with this style of a roof rack, it can be really easy to pull the whole system to only one side if you're not tightening this down properly. So like right here I have that hook just barely touching and now I'm gonna go maybe three more turns and then I'm gonna go switch over to make sure we're evenly distributed. As you tighten down, this Allen key is not just a security key but also has a little tension handle. So to prevent over torquing or over tightening those bolts, once you feel like you're getting close, go ahead and pull on that end. If you are at the right tension, you'll see how it's flattened out. If you have too much tension, this will actually go past the flat stage like this. So do this with all four towers, making sure they're at the right torque. And to finish it all off, make sure all the end caps are popped back onto those crossbars and to install those tower doors. So to do so, make sure you're in the unlock position. These fit right into the towers from the side. And then turn it and then that's how it's secured. Now you're ready to load up your roof rack and hit the road 'cause that's how you install your Rhino Rack Sports Bar roof rack system on your 2020 Honda CR-V.

Do you have a question about this Roof Rack?
Info for this part was:
At etrailer we provide the best information available about the products we sell. We take the quality of our information seriously so that you can get the right part the first time. Let us know if anything is missing or if you have any questions.
















Thank you! Your comment has been submitted successfully. You should be able to view your question/comment here within a few days.
Error submitting comment. Please try again momentarily.