


To see if this custom-fit item will work for you please tell us what vehicle you'll use it with.


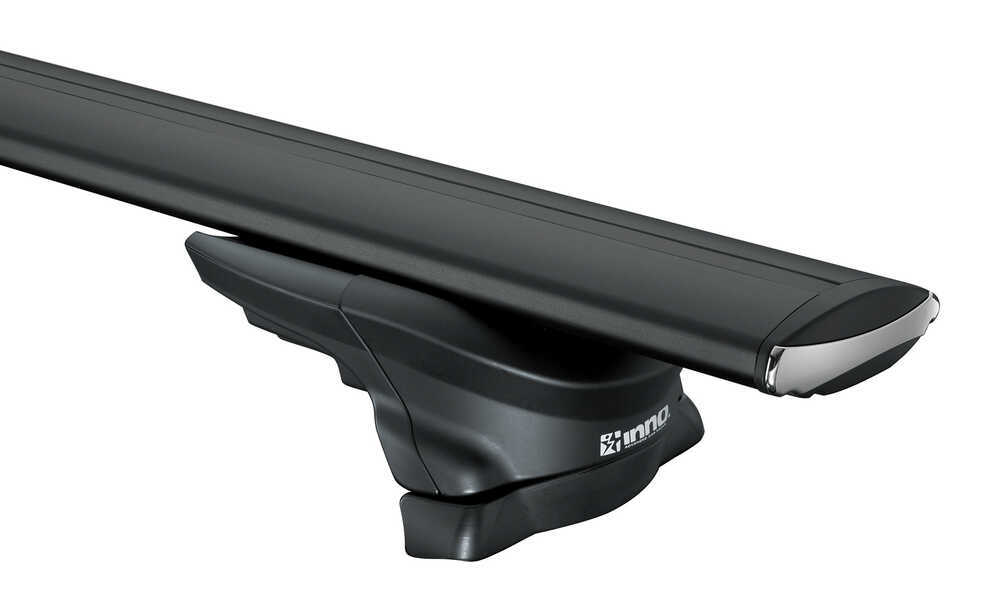


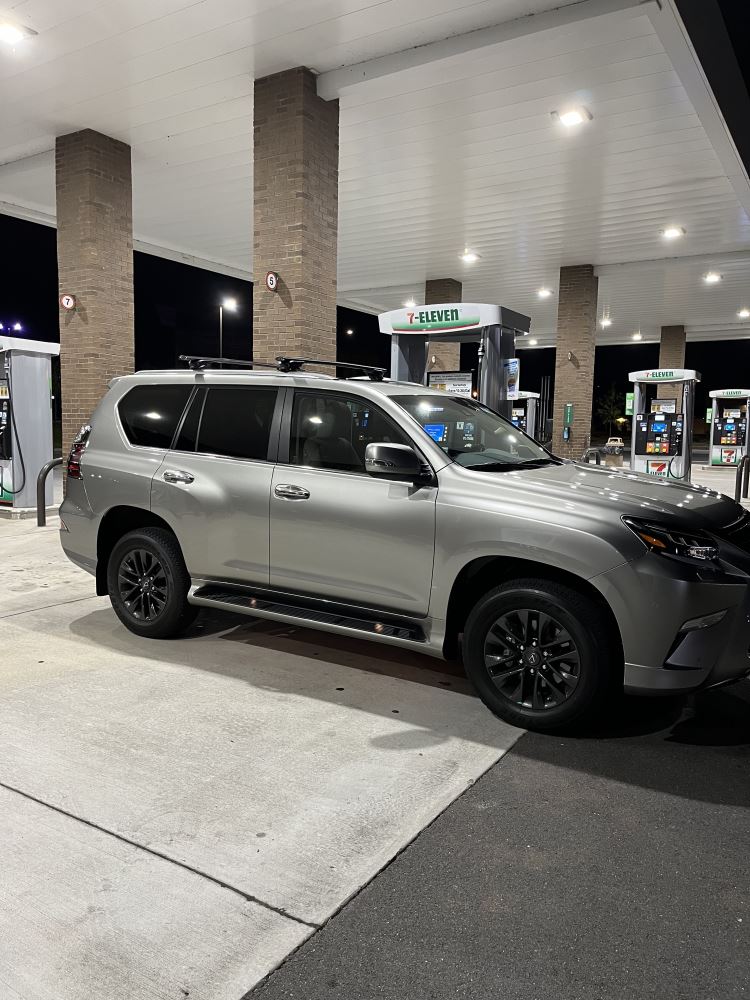
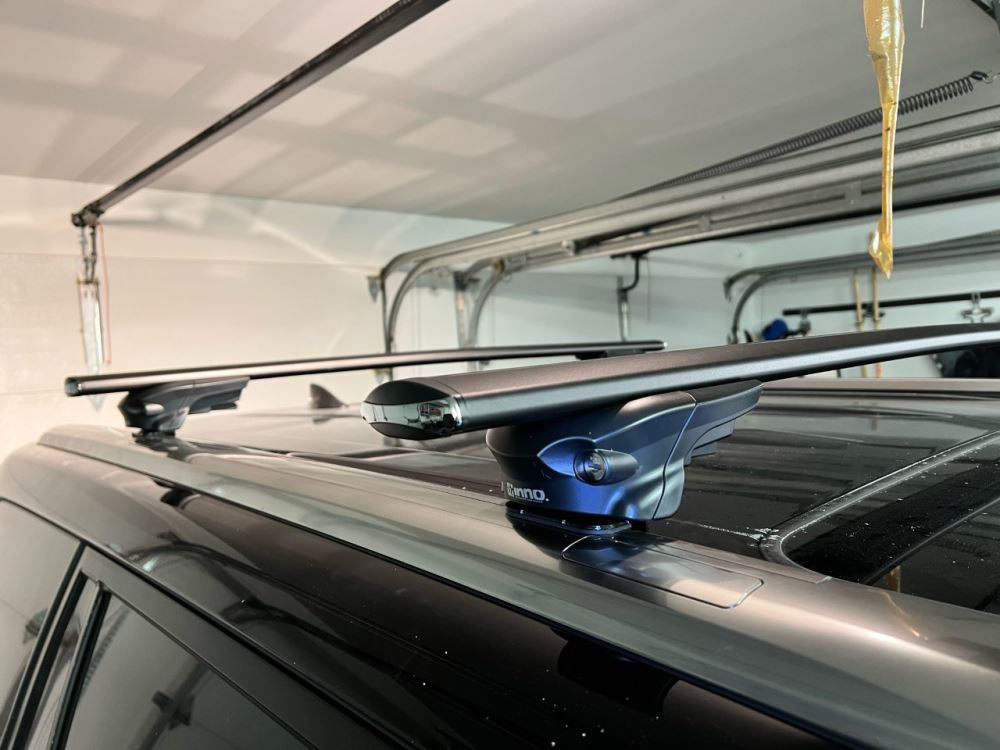
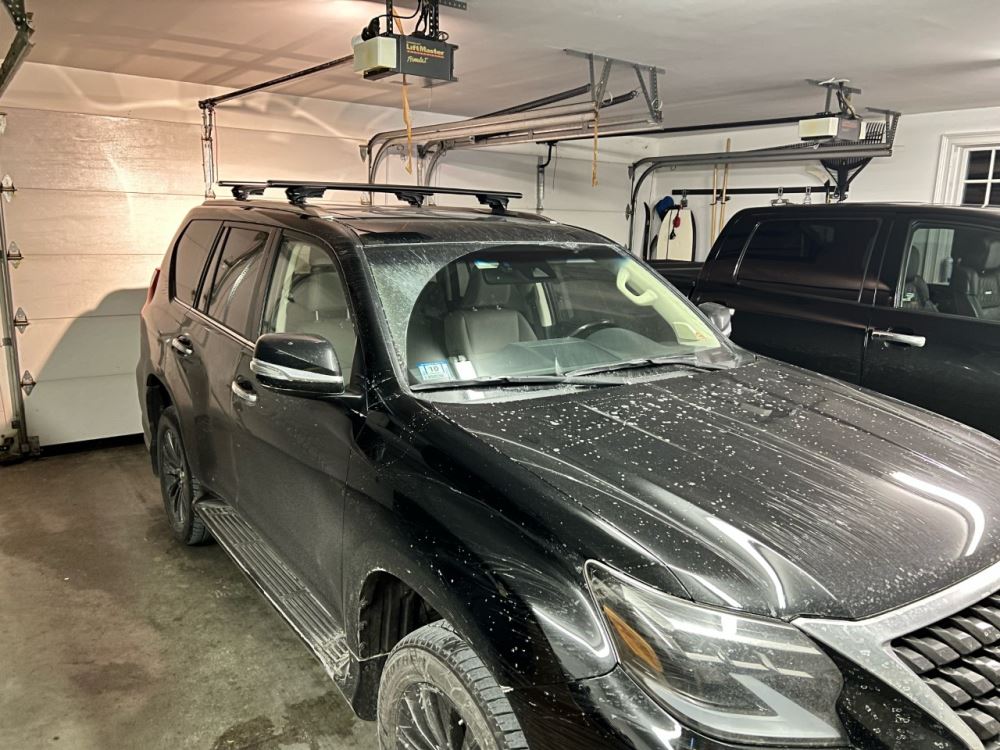
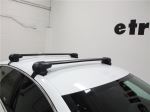
When you’re loading up heavy gear—whether it’s kayaks, camping supplies, or a cargo box—you want crossbars that feel solid and stable. This system includes 2 aluminum aero crossbars that are built to handle up to 165 lbs while keeping weight off your roof. The strong construction inspires confidence for long drives and rough roads, while the black finish gives it a clean, purposeful look that blends in neatly.
There’s nothing worse than a loud whistle or buzz on the highway. These crossbars use push-down rubber strips in the top channels that help reduce wind noise and vibration while you’re driving. The aerodynamic shape works with the strips to keep airflow smooth, making road trips quieter and more enjoyable without constant adjustments or add-ons.
Switching between setups shouldn’t take forever. These bars work with both channel-mount accessories and clamp-on carriers, so you can mix and match gear for different adventures. Whether you’re hauling a kayak one weekend or a cargo box the next, you can easily press your hardware into the top channels—no trimming required—and hit the road faster.
When you leave your vehicle parked overnight or at a trailhead, securing your gear matters. This rack includes lockable leg covers that help deter theft of the entire system. It’s a simple built-in safeguard that keeps your setup protected wherever you travel.
The included fit kit and through feet make it easy to mount directly to your roof’s fixed points for a solid connection. Everything lines up cleanly for a strong hold that won’t shift under load. Once installed, you get a sleek, stable platform ready for all your outdoor gear.
 Alternate Instructions
Videos are provided as a guide only. Refer to manufacturer installation instructions and specs for complete information.
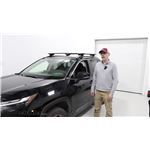
Hello neighbor, this is Curt at Etrailer. And today, we're gonna be taking a look at the Inno Aero Crossbars on our 2023 Toyota RAV4. Now this crossbar system is gonna be great for any time you just need that extra storage space that really you can't use inside the vehicle for. So whether you want to put a cargo box, a bike rack, a ski rack, or even a kayak rack, these crossbars are gonna be perfect for you. Now these crossbars are gonna have a capacity of 165 pounds. However, you should always pay attention to what your particular vehicle's roof capacity is because whatever the lowest tolerance is of any of the factors on your roof, that is your weight capacity.
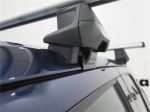
Now, center to center, this crossbar spread having fixed mounting points is gonna be at about 33 and 3/4. So any of the roof mount accessories that you have, just make sure that that particular spread is something you could use these for. So there are two ways to mount on this bar. There is a track system here that'll allow you to mount through that. You also have a three inch clearance from the bottom of the bar to the top of the roof.
That means any rooftop accessories that you put on here that use a clamp system, it's gonna give you plenty of clearance underneath to be able to do that. Now the feet here come with keys and locks so that no one will be able to make off with your roof rack. And aesthetically, these bars are very, very pleasing to the eye on this vehicle, just with the minimal chrome that it uses on the vehicle, that little bit of touch on the end cap there really, really makes these pop, almost as if they're made for it. Now installation on these bars is very simple for the reason that these are fixed mounting points, which means it's gonna take a lot less measuring in order to get these up there. But we're gonna go ahead and show you exactly how we we inchesre able to mount these on top of the RAV4.
As you can see, we've mounted the back bar. Now the RAV4 is a little different in that the short bar actually goes to the back because of the taper of the rail. We're gonna go ahead and show you how to mount the front. So the first thing we'll want to do is expose our mounts. The way that these mount are actually in the top of the flush rail, you'll see this space right here with a little slide.
Now you can pop this out a couple of different ways. Today, we actually have this rubber tip hairpin, and all you need to do is pop it right under and out. Then you're gonna expose the mounting points for our custom mounting kit. So we're gonna start with our custom mounting kit. This particular piece here is side-specific, so pay attention whether it goes on the front or rear, right or left. This piece is actually not included in the custom mounting kit, but is included in the leg kit. And you're gonna be able to find this piece by unlocking your leg, removing the cover. We're gonna loosen this knob until it eventually falls right out. Okay, so we got the front left side right here, and what we're gonna do is just drop it right in and pop it down. We're gonna take this piece here, we're gonna drop this right in. We've got it lined up, we're gonna go ahead and drop the bolt right in, tighten it down a bit. And then we'll use our Allen wrench to get it tightened all the way. Next, we'll be mounting our foot attachment point here using the small bolts that came into the fit kit. So now we've got the custom mounting kit done on the driver's side. We're gonna do the exact same thing over here on the passenger side. So what we're gonna do next is take our crossbar, turn it over on its underside, and what we'll see there is gonna be this tab along with this slider. So we're gonna want to get this as open as possible by pushing in that tab, sliding this under until we expose this area right here. At this point, we're gonna take our foot, we're gonna use these attachments here to slide right in. We're gonna get this loosened all the way up as much as we can without disengaging it completely. So we could open this lever here. Once this lever here is open, it'll allow you to slide it all the way down and across. Now we'll go ahead and get this up on our roof and make any adjustments we need from there. Now it is good to have someone there to assist you in order to get these mounting points put in here correctly and securely. So we're gonna go ahead and send it over. So it is important to bear in mind when you're putting these on that the wider part of the bar is toward the front and more of the blade part is toward the back. We're gonna bring this right over to our mounting points. And remember, we left this loose so that we can slide it accordingly, until we get it down on our mounting points. So the way this is gonna mount is this is gonna slide right into this slide here. There's a little hook tab in the back that we're gonna wanna make sure it engages in the back and grabs onto it. So with this lever in the back disengaged, you can slide this bar back and forth to make sure you get it even on both sides. When we got it even, what we came up with on the RAV4 was about three and a quarter inches on each side. So at this point, we'll be able to tighten down our clamp and twist it in on this knob latch. We're gonna press the lever as much as we can as we tighten this up. As we start to get to the point where it's quite a bit tighter, we're gonna go ahead and use our Allen key to secure it as much as possible. Now we're gonna use our insert right into this opening here. We are gonna have some excess to it. So what we'll want do is trim that. Best way to do that is to take your knife and score it lightly to where it'll be flush, and then we're gonna remove it and take it to a safer surface to make the cut. Okay, what we'll do next is take our end cap. This tab here, you'll be able to push right in. Next thing we're gonna do is store our Allen key, which is gonna go right in here above the knob. And at that point, we're gonna reattach the plate to our feet. Now that we've got that in place, we're gonna go ahead and lock it down. So now that we've got them installed, we want to just do a good shake test on to make sure they're on their very solid, which they very much are. Now if you ever wanna remove these bars for any reason, you can do so without actually removing the custom mount kit because Inno is gonna provide you with these caps right here that you could place over those parts just to keep some debris out for the next time that you put your bars on. So that's a look at the installation of our Inno Aero Bars on this 2023 Toyota RAV4.
Ratings & Reviews

They weren't as quiet as I thought they'd be. Better than the ones I replaced
The rack worked perfectly with my car. It was easy to assemble and has been toting well for more than a year
The covers that go on when the feet are removed could be a bit better, but that’s a minor gripe. Very happy with the set.
I was disappointed. There were 'way too many parts, and a lot of assembly, especially for a 'custom' fit where you could imaging a unique and easy install, and I haven't used it. I didn't want to return it because you told me there was no other alternative.
Well made.
The ease of use and the locks are a fantastic feature.
These Inno racks are very high quality, and the installation is straightforward. They look good, too.
The Inno parts were well labeled an the installation was straight forward.
great mounts, but being they do connect to the center of the underside of the rail they have a little give when roughing things up on top. but so far they are holding up great.
great looking crossbars and easy to install. No special tools required which is a major plus.
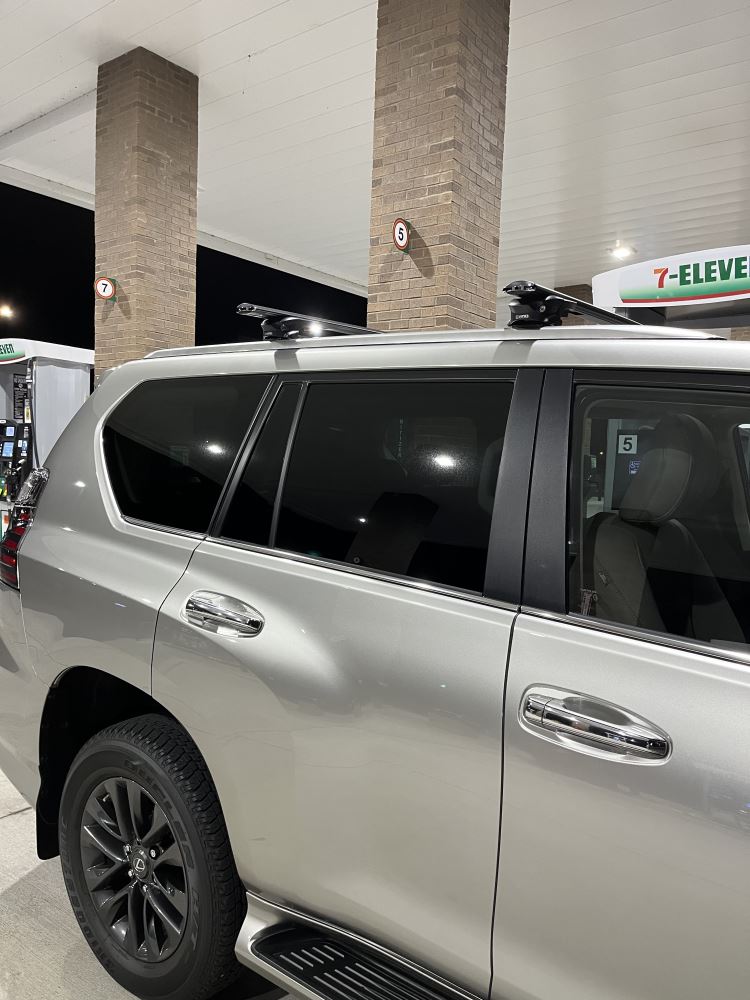
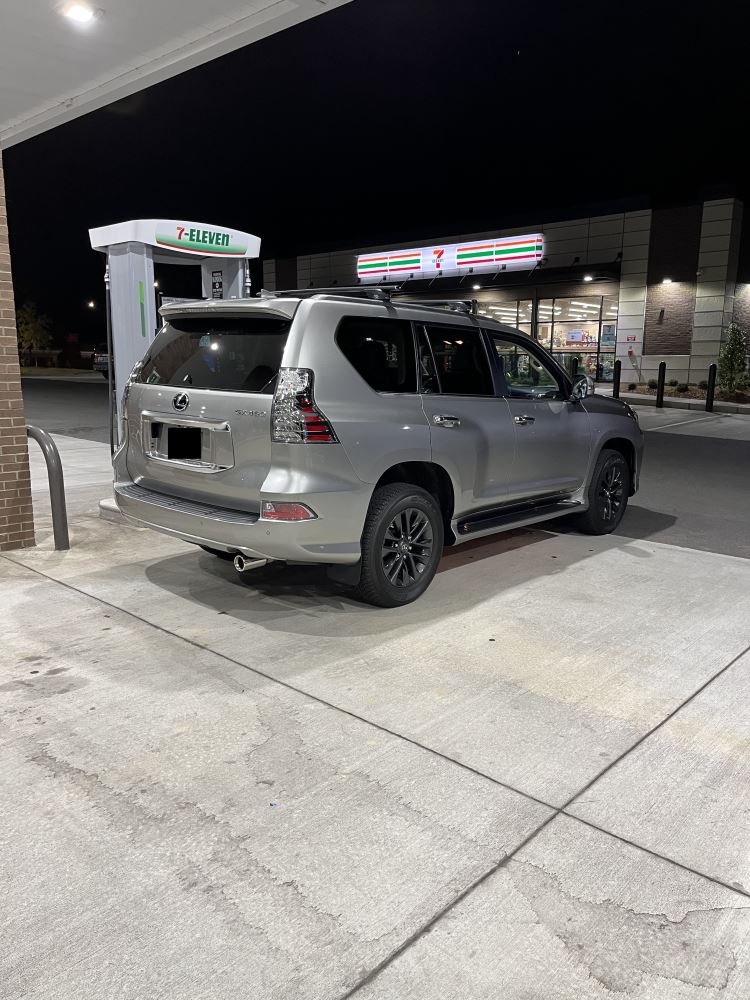
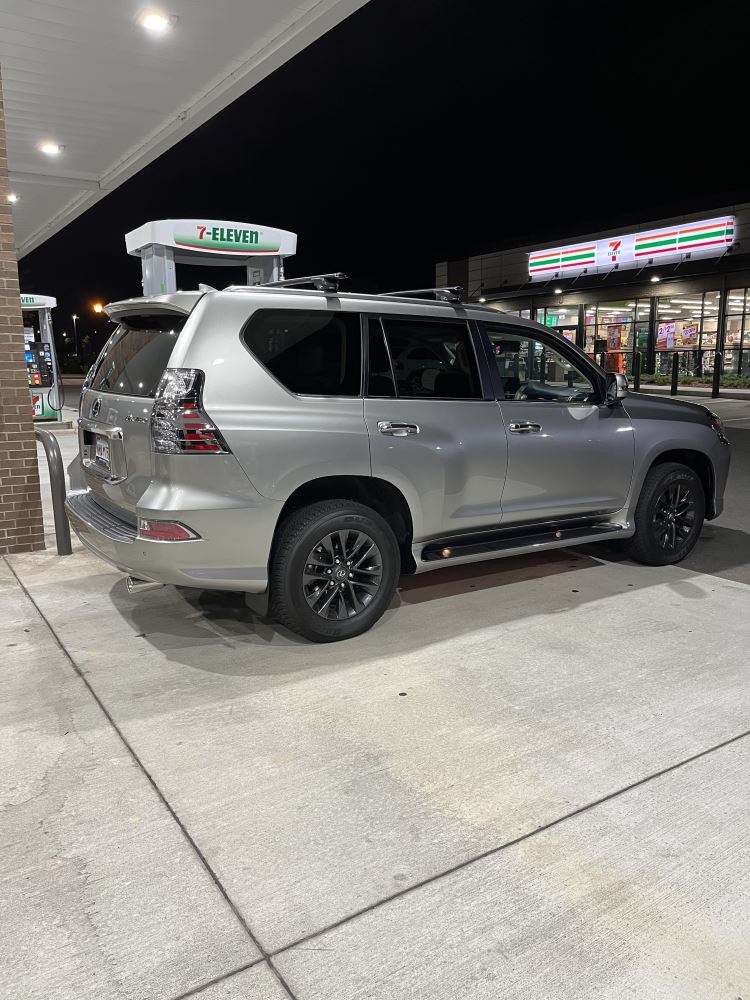
I have a 2022 Lexus GX460 Premium. Fairly simple installation and a almost seem less transition from the fit kit to the cross bar system. Can be done by one person, but I would suggest a two-person system to expedite the process
Installed on my go 460 a year ago. Put them on and never took them off. I have surfboard pads on as well. Noise level is not bad and I don’t even notice them anymore. Highly recommend them. Very sturdy.
LOVE my roof racks! Installation was fairly straightforward, and I've had no issues since. Definitely recommend them to others looking for reliable roof racks
I've completed the installation and I am very happy with the roofrack. It is very solid. However, the installation instructions must be followed very carefully, especially for the through-feet.
Easy directions to follow for install. I especially appreciate how E trailer packages all products as a unit based upon your specific vehicle. I had no idea which parts to pair together for best functionality and E trailer made it easy to create the combination of parts needed for Lexus GX460. Highly recommend.
I bought this rack because I had a pair of Thule rectangular bars. It is a solid and secure rack now. However, it is not quick on and off. Very fiddly, pretty much a two person job.
Also it make a ton of airflow noise. Pretty annoying.
John W
Making the order was easy. Product information was very helpful. The delivery tracking information was accurate.
Ellen was very knowledgable about the product and helpful in getting the exchange processed. And while the product itself seems to be of excellent quality, I did have to trim the crossbars a bit in order for them to fit precisely enough that the plastic pieces that cover the metal hardware could actually fit properly and be locked on, as they are supposed to be. There is no leeway for a non-perfect fit. It would be easy for me to mount a new set if I had to, but doing it for the first time was very time-consuming. The mechanism is somewhat complicated, and the directions were OK but could have been a little clearer on a couple of the procedures. Try it some time and you'll see what I mean.
It was easy to find the right part for my Rav4 for my Inno rack on the website. The communication was perfect and the order was promptly shipped with confirmation. I could track my order easily, seeing who handled it within the shpping department at each step. The parts were well packaged and arrived I perfect condition. The provided instructions were sufficient and I was able to quickly install the rack without requiring support. This was an exceptionally excellent experience! I will definitely order from etrailer again and highly recommend them. I am located in eastern Canada.
Waste of money. Most annoying couple hours spent in a long time. Extremely disappointed. Does not fit well. Not exactly a cheap option, but a cheap option in terms of fit and engineering. The instructions online and in the kits do not agree. Plus there are no universal set of instructions--they are all individual items for the fit kit, the bars, etc. And the engineering design is garbage--requires precise measurement yet the design is such that exact measurement is impossible due to the design.
Additionally, the parts are low quality Either low density plastic or easily stripped bolts. Even when as precise as possible, I wouldn't trust it with my kayak. What a mistake. Do yourself a favor and get a Yakima trailer or similar. It isn't that much more money in the scheme of things and then it isn't tied to your car. Can add a hitch to most vehicles anyway.
Once again etrailer.com delivers. Finding a crossbar solution for my 2021 Lexus GX 460 was far more challenging than expected until I visited the site and found exactly what I needed. The fit kit worked great and the quality of the feet and crossbars on par or better than other brands (who dropped the ball on having a product available for this vehicle). The rack is on, secure and now carrying my Thule cargo box. Very happy.
Love my new rack used it for the first time yesterday and no road noice!! The reason I picked this particular rack. Easy to get my paddle board up on it by myself! Love the look too, and super fast shipping!
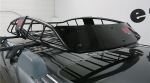
I've been a happy etrailer customer for years. Sales staff helped me pick out the right roof rack setup for my new 2023 Escape that worked with my low-profile rails. 3 separate boxes of pieces but they all came together perfectly. Very happy with my purchase and etrailer customer support! Rack is solid, low wind noise and will work with the accessories I need, kayak carrier and cargo basket.
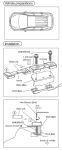
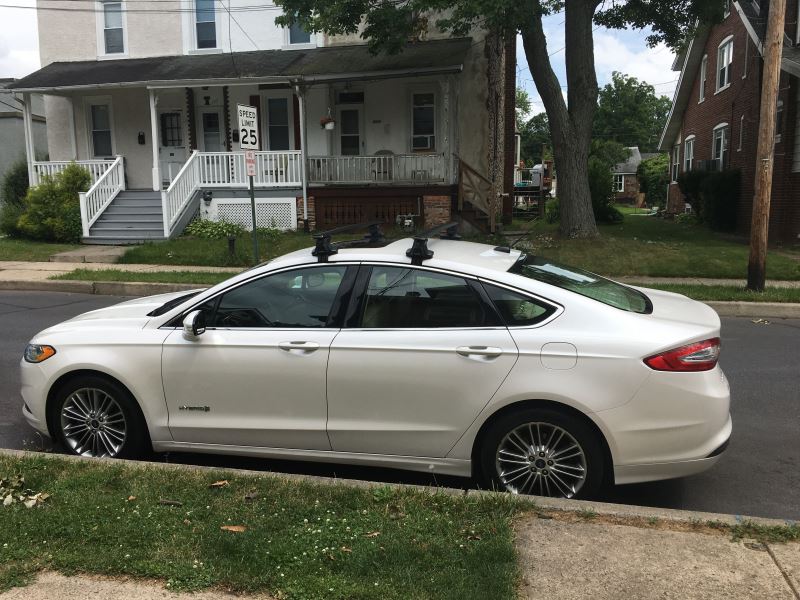
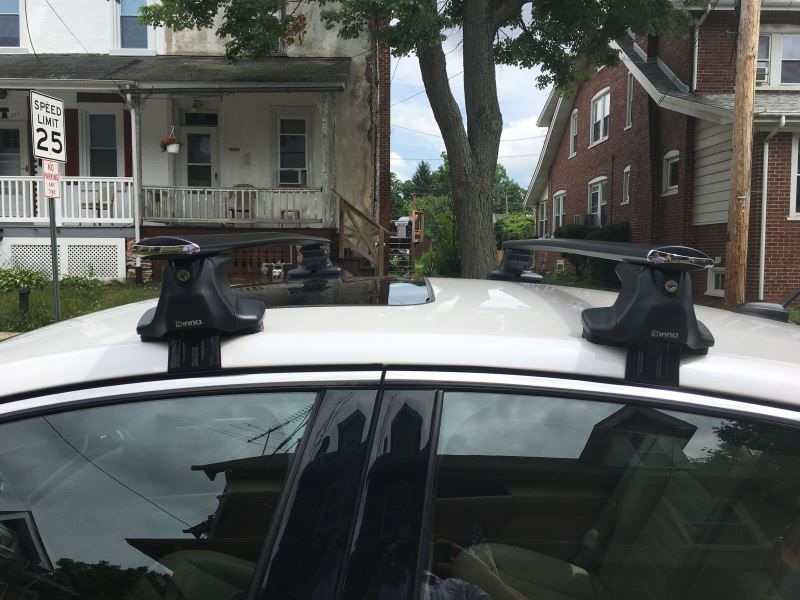
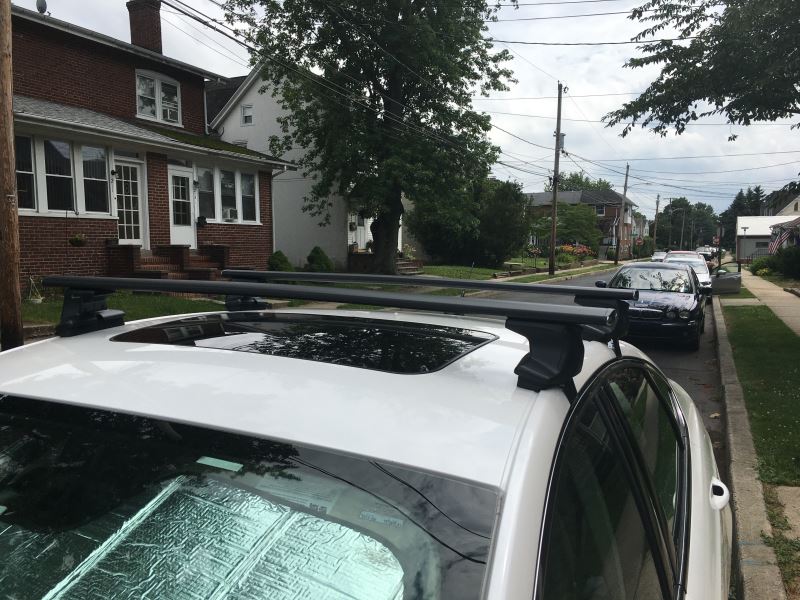
Got these with the custom fit kit (INK860) and the through feet/stays (INXS250) for my 2014 Ford Fusion Hybrid. Assembly's not difficult, though you do have to work with three different instructions: 1 for the stays/feet (the main install instructions), one for the Crossbars (minimal to do there), and one for the custom fit kit (again, minimal, though this one is crucial as it contains the measurements for the setup).
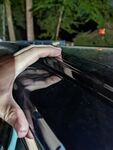
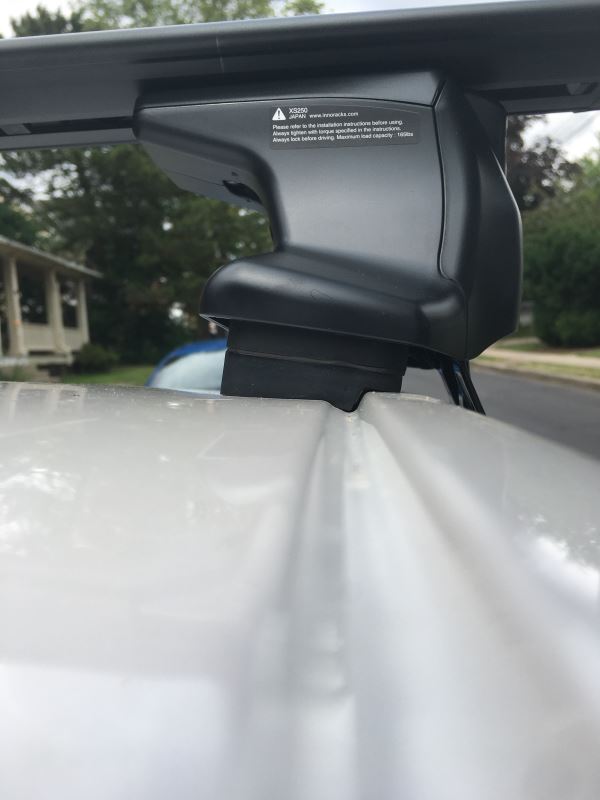
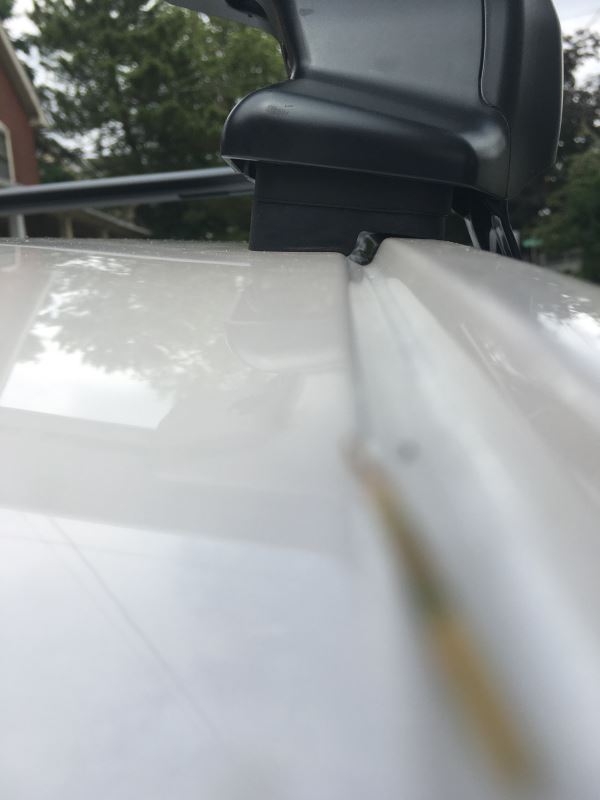
Things went pretty smoothly. However, when I put it on my roof at the measured distances from the center line, the feet didn't both occupy the rain gutter as they are supposed to. I checked the measurements, and both the front stays were at 21.5" and both back stays were at 21 3/8 " . Since those were the called for measurements, I'm not sure why I didn't fit perfectly. However, they're great and I can't wait to put them to use with my kayak and snowboard and bike. Thanks E-Trailer.
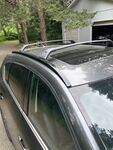
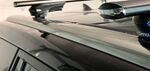
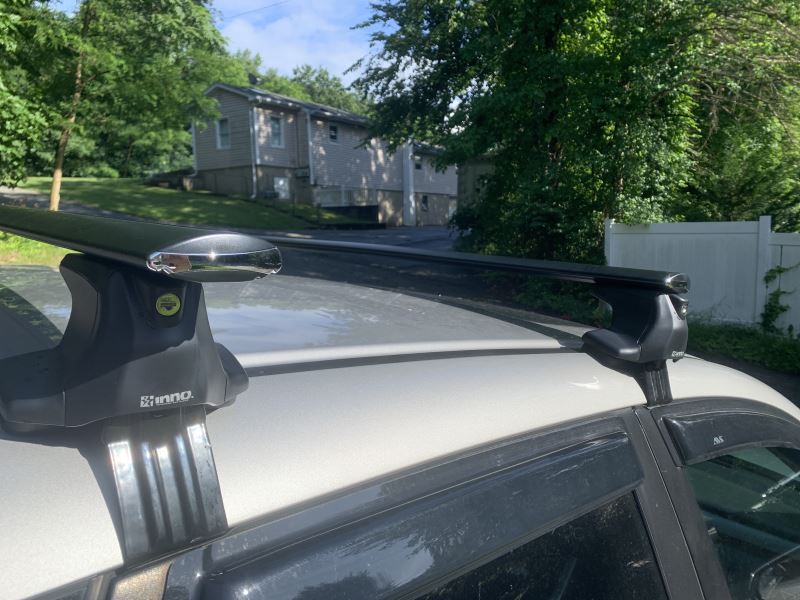
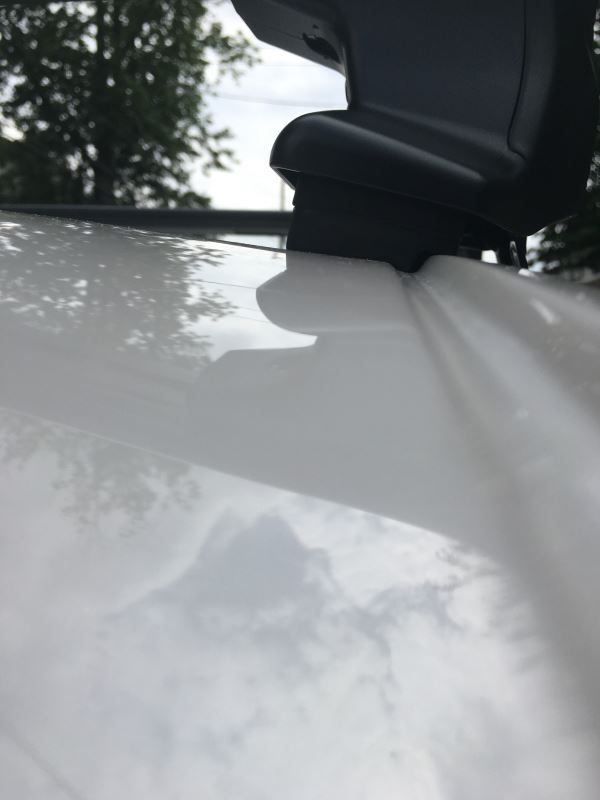
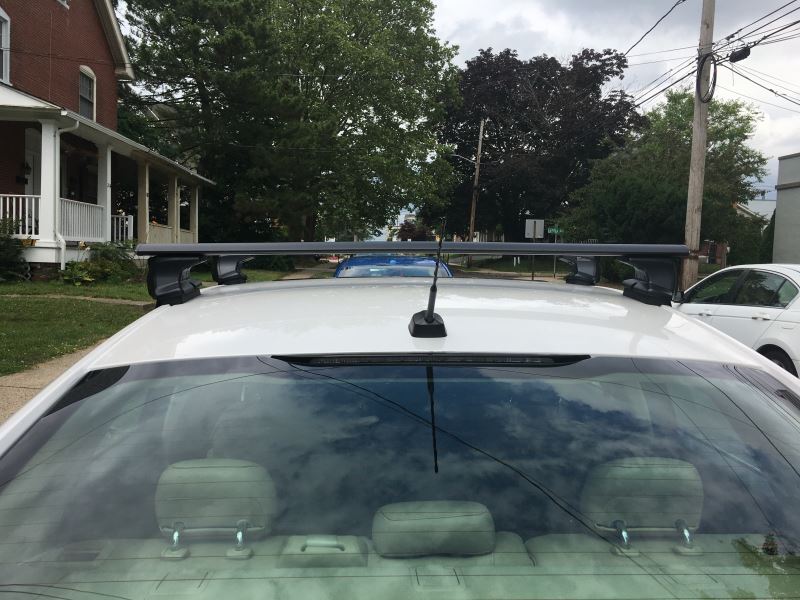
Photos show how great the system looks as well as some of the gaps at the rain gutters. I don't think it's crucial to readjust those. I did try several times but couldn't seem to get them just right.
Do you have a question about this Roof Rack?
Info for this part was:
At etrailer we provide the best information available about the products we sell. We take the quality of our information seriously so that you can get the right part the first time. Let us know if anything is missing or if you have any questions.




























Thank you! Your comment has been submitted successfully. You should be able to view your question/comment here within a few days.
Error submitting comment. Please try again momentarily.