


To see if this custom-fit item will work for you please tell us what vehicle you'll use it with.


Thank you! Your comment has been submitted successfully. You should be able to view your question/comment here within a few days.
Error submitting comment. Please try again momentarily.


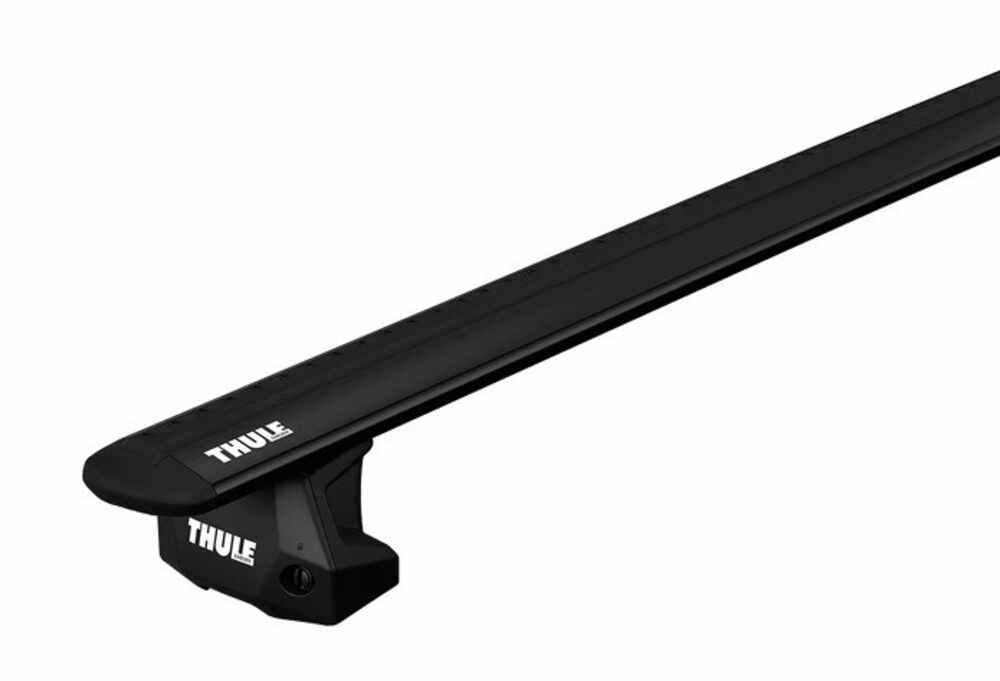


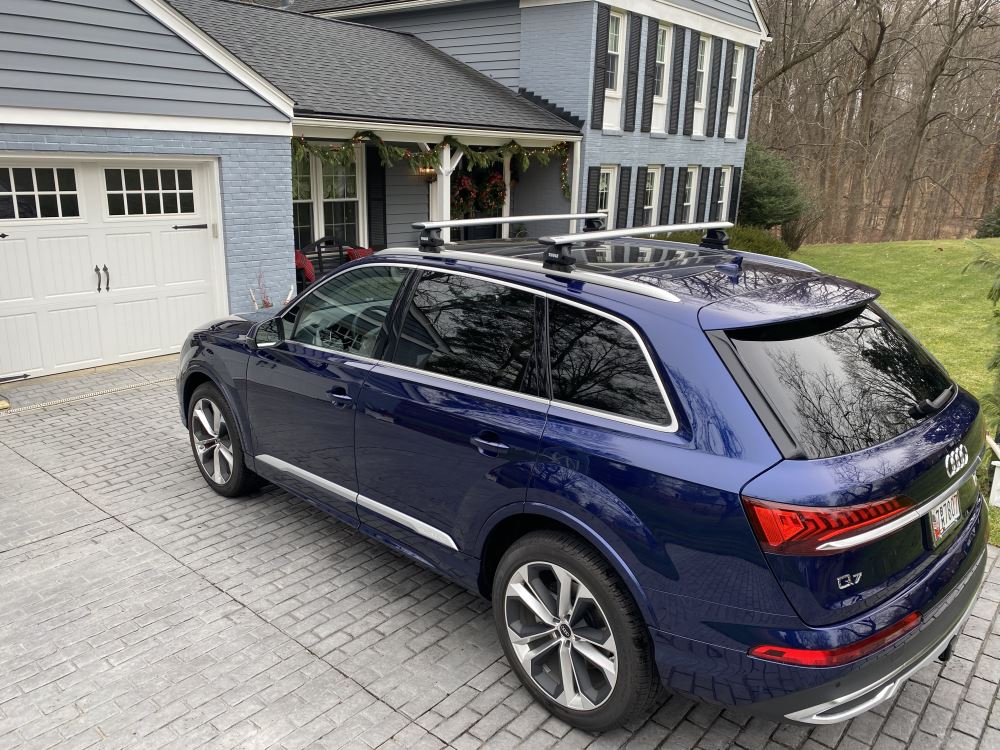
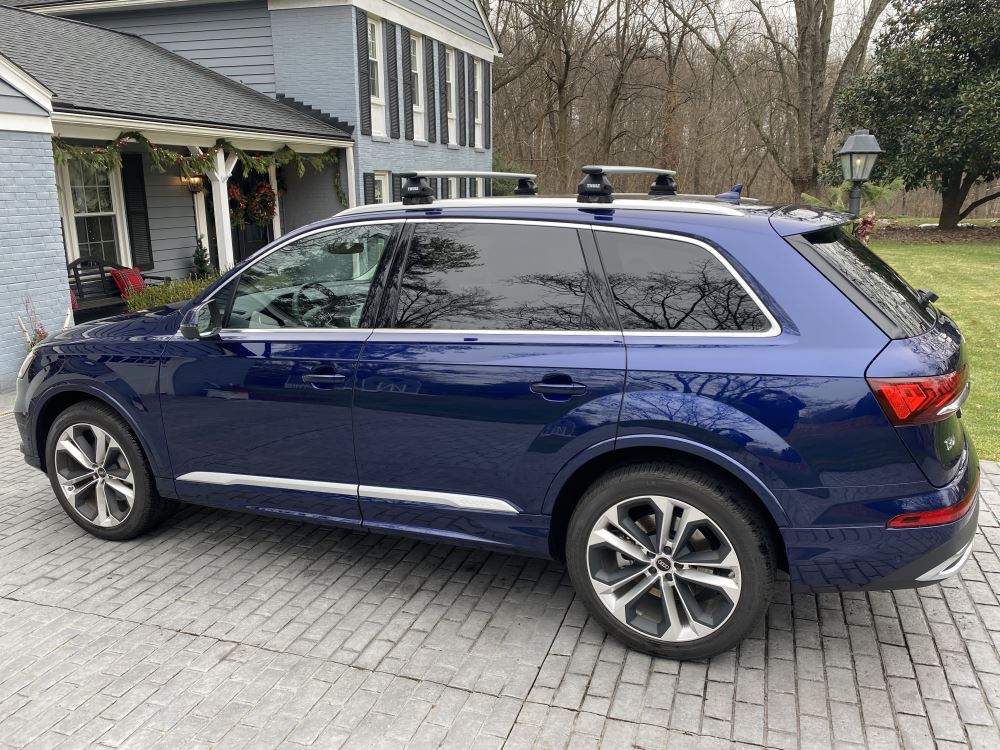
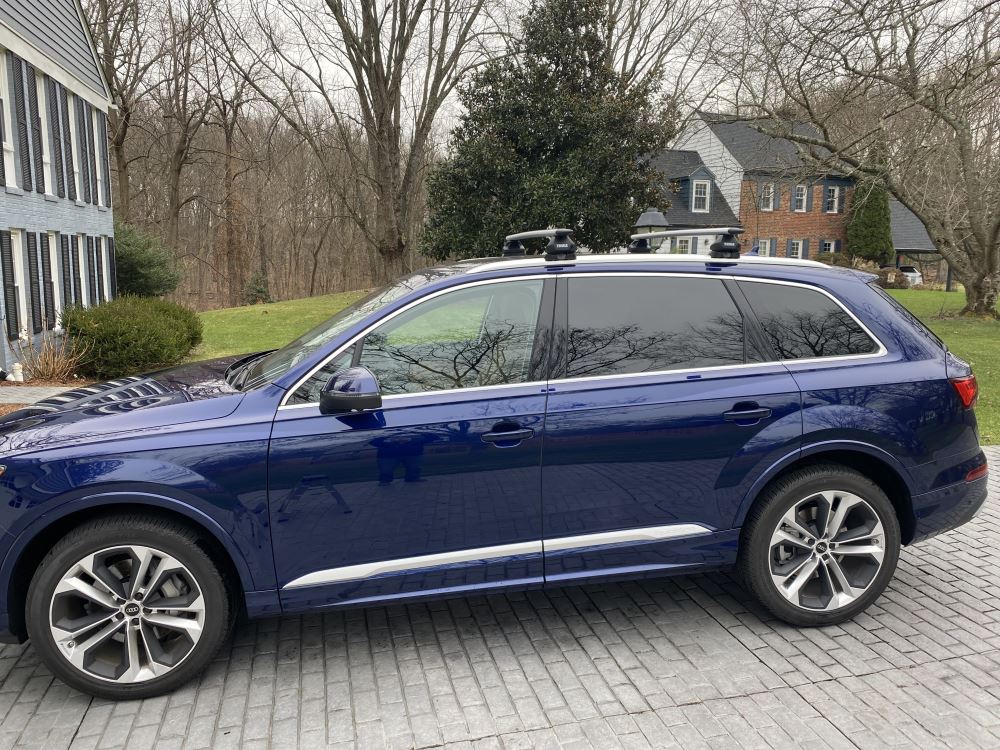

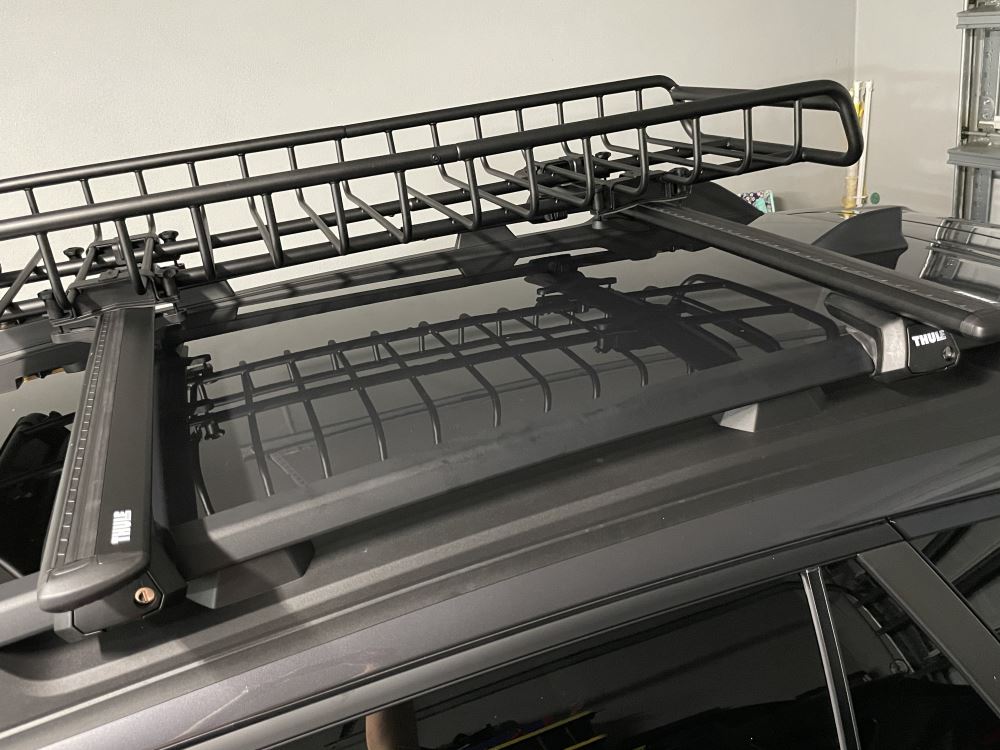


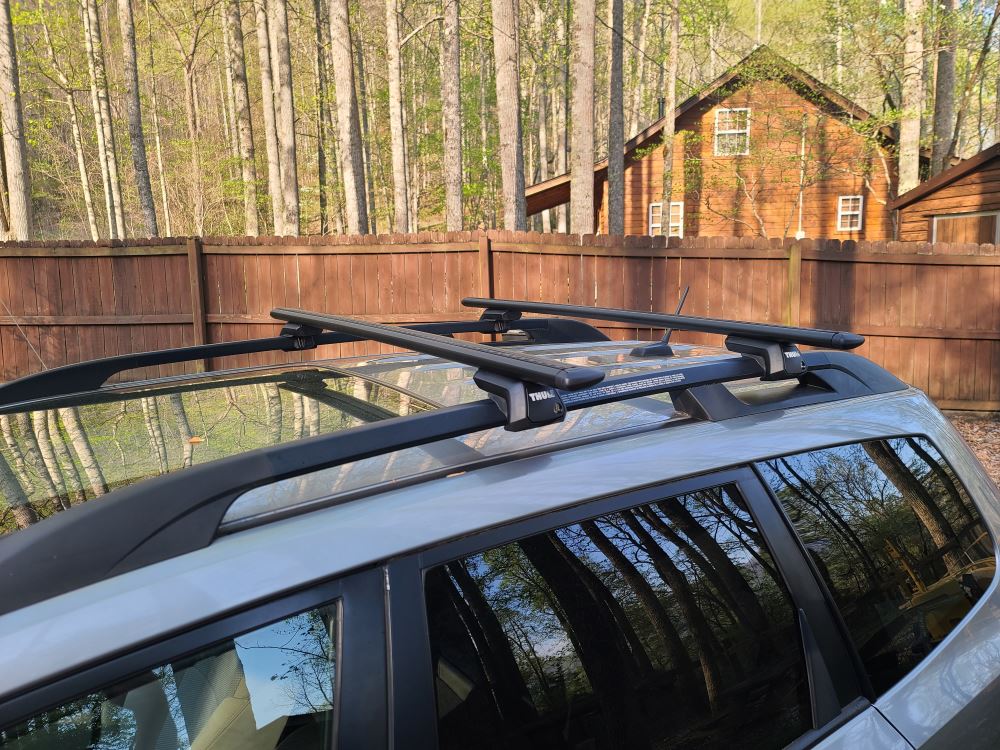
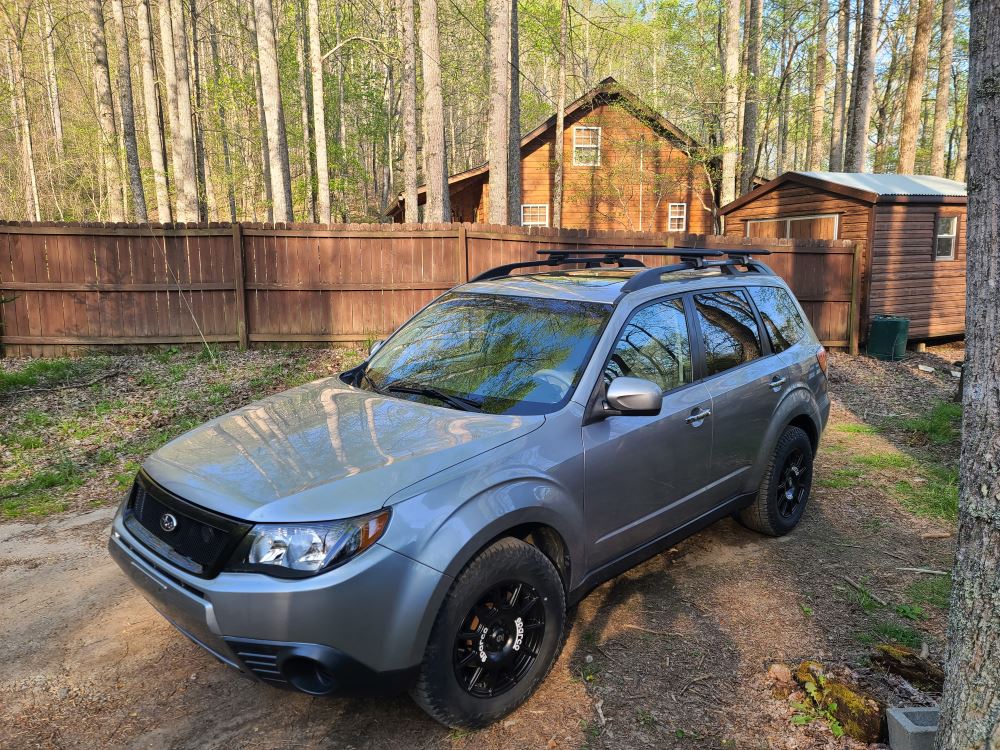
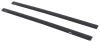
These crossbars are built to handle serious loads. The aluminum construction provides the strength needed for hauling kayaks, cargo boxes, or camping gear, all while keeping weight to a minimum. With a 165-lb capacity, you can trust them on long trips without worrying about flex or instability.
A lot of racks add noise once you hit highway speeds, but these bars are shaped to smooth airflow across the roof. The aerodynamic profile and split rubber strips in the top channels reduce whistling and vibration so your drive stays quieter and more relaxed.
Mounting accessories is easier thanks to the split top channel strips. You can slide your gear mounts directly into the track without trimming or removing anything. Once the accessory is in place, the strips close around it to keep things tight and sealed against wind.
Whether it’s a kayak cradle in summer or a ski carrier in winter, these bars work with both channel-mount and clamp-on attachments. That means you can use your existing gear or mix brands without needing special adapters. One setup covers everything from bikes to cargo boxes to fishing gear.
Security matters when you park overnight or hit a trailhead. These bars accept Thule One-Key System locks (sold separately), which let you lock both the rack and any channel-mounted accessories using a single key for peace of mind wherever you travel.
 Alternate Instructions
Videos are provided as a guide only. Refer to manufacturer installation instructions and specs for complete information.
Hello neighbor, this is Curt with etrailer, and today we're going to take a look at the Thule WingBar Evo and we're going to see how it fits and how it installs on our 2023 Toyota Highlander. Now, while the Highlander does have a decent amount of cargo space, if you've got a full compliment of passengers with luggage, that can run out really, really quick. Not only that, you might have items with you that you just can't fit into the Highlander period. Maybe you're going on a trip, you're taking a kayak, some skis, things like that, or a bike rack up here. None of that's going to fit very well in this cargo area, but the roof is a great place to put it. And the WingBar Evo is an overhanging roof rack.
That means that the crossbar comes out past the tower. That actually gives us more crossbar and more T-track at the top for our T-track mounted accessories as opposed to a flush mounted roof rack where the bar just dead ends into the tower. It also gives us a bit more room that we could put two accessories up here and we can kind of have one or two of those accessories cheat to one side or another. Personally, I like putting things a little bit closer to the passenger side when it comes to say a rooftop box where I've got some cargo in there. That way I could pull over on the road and safely get into that box if I need to without standing in any traffic.
It is an arrow style bar, so it's going to have this more blade aerodynamic shape to it. And these are going to be much more quiet of a ride while you're out on the road than your traditional square or round bars. They're not very wind resistant. They tend to vibrate and they tend to create a lot of noise. You're going to get a 165 pound weight capacity out of this roof rack.
However, you always want to double check your owner's manual for the vehicle's rooftop capacity. If it's lower than 165 pounds, then that will be your max capacity. Being an overhanging roof rack, some folks have concern that that overhang is going to cause problems with head clearance in the Highlander maybe with some taller passengers. But truth is, the end of this tower or the end of this crossbar doesn't even come out past the door threshold. So I'm not worried about hitting my head on this at all.
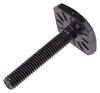
Now let's get up on the roof, take a few measurements and see how this fits on the Highlander. So one of the most important measurements that you can know about your roof rack is the crossbar spread. That's the distance between your crossbars. And the reason that's so important is that every rooftop accessory that you could put up here has a minimum and a maximum crossbar spread that's going to allow you to use it. So on here we have fixed mounting points. So that actually doesn't give us the opportunity to move these closer together or further apart. We can't move them more forward. We can't move them more back. So this is going to be crucial to know for when you go looking for different accessories to put up here. And the spread that we get is 31 inches. And I actually really, really like that. Most rooftop accessories have their minimum and maximum in between the 25 and 35 inch mark. So being pretty much right in the middle of that makes me feel pretty good that I'm not going to have any problem finding accessories to fit up here. The other thing we're going to take a look at is how much height does this actually add to the Highlander And our front bar looks like it's slightly higher than the back. This is going to add about 5-1/2 inches of vehicle height. So if you're concerned with roof clearance, maybe with a garage or something and you know your rooftop or your vehicle overall height, you can add that to it and make sure that you can clear that garage. And if you do have an accessory up here, make sure you measure that out too, so you know what your rooftop clearance is going to be. And finally, we're going to take a look at how much room we have underneath the bar. And that's going to be a very generous four inches. Now that's plenty of room to grab around on your roof rack as far as your clamp mounted accessories go. The other thing I like about it is that it easily clears the shark fin antenna that's back here in the back. So anything I put on top of these bars, I know that I'm not going to have to maneuver in a way to get around that. And another thing that this measurement here can help you with is whether or not you have clearance for your sunroof. Now, the thing is while these are quieter than round or square bars, they're by no means completely silent. So if you are traveling on the highway anyway, you're probably not going to enjoy having these up here with the sunroof open. If you're driving 30, 35 miles an hour, it probably won't bother you too much. But if you are somebody that plans on driving around with the sunroof open, I just don't know if you're going to really enjoy that with the noise and the wind noise that's going to come out of that. But if you did want to, you could use that measurement here to tell if you've got any clearance for your sunroof. Now we've gone over a little bit about what the roof rack does and how it fits on top of the Highlander. Let's take a look at how it gets installed. So when it comes to the installation, the great thing is, is Thule provides you with pretty much everything you need. The only thing you're going to want to have handy is going to be a measuring tape and a trim panel tool. And if you don't have a trim panel tool, a flathead screwdriver will suffice. The thing that we're going to need to do first is build our tower bases. They are going to bolt directly into our rails. So we're going to need just a few things. One, we're going to need this bolt right here. We're going to need this panel right here. And we're also going to need this special tool that's provided by Thule because this kind of star pattern right here is what's going to fit into the top of this bolt. So we're going to take these three items up to the roof and get started. So from up here on the roof on the rail, we've got this cutout in the top of our rail with a little notch in it here. We're just going to go ahead and use our trim panel tool to just kind of pop this out. Now, if you don't have this and you got a flathead, that's going to work just fine. So once I have that out, we see this exposed bolt hole right here. We see two threaded ends on this bolt. The wider end is what's going to go in here. So I'm going to just go ahead and thread that in. And we're going to go ahead and grab this tool right here and we're going to get it all the way down until it's very tight. Now, once you have that all the way in and tightened down, this panel right here, it's got the cutout. You want to make sure that this slanted edge is coming on the outside of your rail. And we're going to slide it right into place just like that. So the next step in building our tower base is we're going to take this piece right here and with this edge with the cavity, that's going to be facing the outside of our rail. First, we're just going to build a few things onto it. You'll find pieces like this. These aren't side specific or anything. And what you'll do is just kind of slip that under that notch and pop it down into place. Next, we've got this piece here. Now, there are two ends to this. We've got a larger tab and a smaller circular tab. If you want kind of help lining this up, you'll see on this metal piece here, a smaller hole and a larger hole. That'll just go in with the smaller and the larger tabs. And we're going to pop that right into place. And with everything on here and assembled now we're just going to slip this right over this bolt through that hole just like so. We're going to take this nut here and start to thread it on. Once it catches a little bit, I'm going to grab this tool here provided by Thule. And we're going to just get this all the way tightened down. And this is a torquing tool. So when I get this tight enough you're going to hear a loud pop come out of it just like that. And now our tower bases are secure. So next we're going to go ahead and get our towers attached onto our crossbar before we get it up on the roof. And to do that, we're going to turn our crossbar over and we're going to remove the end caps. So there's a little tab here that you'll depress. And these guys fit in kind of tight. So I'm going to work it off of here. And honestly, it's not a bad thing that it's tight fit like this. Okay, once that's off, I like to go ahead and just take the tower covers off of my tower. And I'm going to turn it over. And with this bolt facing the outside of the bar, I'm going to use these tabs right here to go right into this T-slot, just like that. Once it's on there, I can go ahead and replace my end cap. And I'm just going to repeat this process on the other side of the bar. One other thing I like to do before getting it on the roof is I like to give myself as much slack as possible here to grab onto those tower bases. So I'm going to grab the tool here from Thule and I'm going to go ahead and loosen this bolt all the way up. And you could see the back end of it here so you don't loosen it too much. Should have a stopper on it though so it doesn't go too far. But I'm going to do that on both towers just to give myself as much room to grab as I can. Now with both of our towers attached, it's time to get it up onto the roof. We're going to be setting these into here and cradling them as best we can. If you got somebody to help you out, that's great just to get it lined up. Otherwise, what I like to do is use this tab on the bottom and get that far tower all the way out just to give myself the most reach. But what I'm going to try to do is just drop that down right onto there, just like that. I'm going to do the same thing right over here. So that's going to drop right into place like that. You could see right here there's these hooks and these holes. I'm trying to get this so that those go right into there. And I'm just going to snug it up a little bit to keep it in place. Now I'm going to go ahead and go over to the passenger side and do the same thing. So we've got both sides cradled in. We've got it snugged up so it'll keep its place. Now we're going to work on our overhang. The overhang is the amount of crossbar that comes out past the tower. And I want to make sure that I've got an equal amount on my driver and my passenger side. So this is where we're going to use our measuring tape. I'm going to measure from the base of the tower there. And I'm going to measure to where the end cap meets the tower, not the end of the end cap, just because it's rounded. It's a little bit easier to be slightly off there. But I'm going to double check this measurement to the measurement that I've got over on the passenger side. And I'm going to move this back and forth until I get an even amount on both sides. So once you're even with the overhang on both sides, go ahead and grab your Thule tool. And through this bolt right here, we're going to start tightening this down. Now this is going to clamp down both on our tower base while also clamping down on our bar and making sure that's stationary as well. It's also going to be a torquing tool just like before when we used it. And my recommendation would be to work this back and forth. Give it three or four turns on the driver's side, then on the passenger side, and just tighten it down incrementally. Sometimes when you over tighten one side and the other side's too loose, it can kind of knock it out of place a little bit. We want to avoid that. And of course, once we get it tight enough, we'll get that loud pop, just like that. And the last step then to our installation is going to be to put our tower covers back on. Now, you'll notice when you open the box, there is a cavity right here. In the box, you're going to have a set of plastic lock cores that you can put in here. Now those can be opened with a flathead or a coin. So they're real easy to get in and out. Now, while they do secure your cover onto the tower really well, they're not that great as far as security goes in my opinion as far as keeping the bars on your roof from somebody that's looking to steal them. So through Thule's One-Key System, you can purchase lock cores for each of your towers. They'll be keyed alike, and you have the opportunity to get them keyed alike to other Thule accessories. So if you have a Thule bike rack or a Thule roof box, you can get the lock cores and keys for your towers keyed alike to those. And that way you're just going to keep your key ring a lot more organized and have less clutter. And the way this is going to pop on is it's just going to go in on the left, kind of swing in, clamp into place. Now at this point, I would lock it and our installation would be complete. So that was a look at the Thule WingBar Evo on our 2023 Toyota Highlander. And also if you have any questions about it still, go ahead and reach out to us. We'd love to make sure that you feel good about the decision you're making when it comes to your roof rack. Once again, this is Curt with etrailer. Thanks for stopping by.
Ratings & Reviews

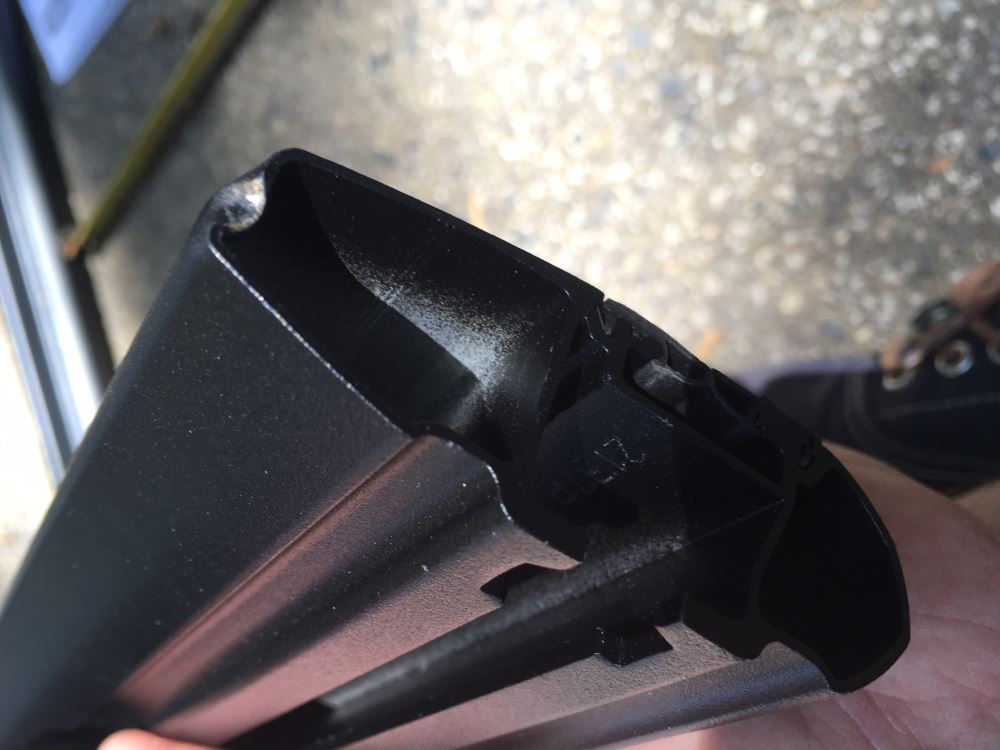
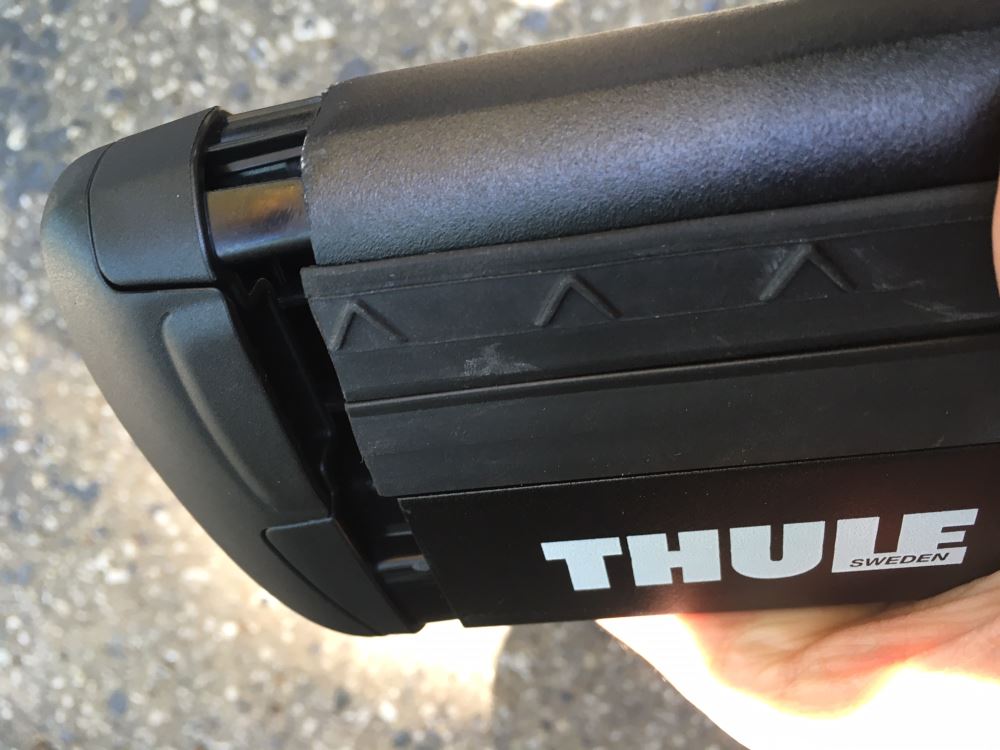
Hi! While these bars worked out OK on our car…it was only because I had to manually bend some of the ends of the piping. 3 of the 4 tubes were damaged on the ends (see pics). Is there any kind of partial refund/rebate I can receive?
Thank you!
Received delivery well in advance of original expectations. Product was precisely what I needed, fit exactly as described and extremely easy to install. Key was to research manufacturers guidance on what parts are required than order them from etrailer.
been on the car for a year, kayaks, surfboards, boxes, awnings. Never had an issue.
Just installed these on my 2018 Lexus RX. Everyone at etrailer was incredibly helpful throughout the whole process, confirming fits and offering suggestions as necessary. My new rack fits great and can't wait to use it.
Still working great after 1 year!
Had for one year. Works perfectly. No issues at all. Easy to install. Works great with my Thule Hullavator!
eTrailer never fails to deliver the best products, with the best prices, the fastest delivery and above all the BEST customer service around. I ordered these cross bars to replace the existing ones I have. I wanted ones shorter (in length) than the ones that I originally bought. Order arrived in a few days. Installation was a snap, and of course, they look great!
Purchased complete Thule Wingbar system including locks for a 2023 Hyundai Kona. Use to carry canoe and miscellaneous things. Carried canoe for first time and the system was bomb-proof. Through etrailer everything was delivered on time and complete.
Install was pretty straight forward. I did have to drill holes on the roof gutters for the fixed point bolts (2024 Mazda 3 5dr). Shipping was delayed by a month but it was not due to etrailers fault.
Alex and etrailer are great to work with. My original order was misplaced by the shipping company. I needed the cross bars for a trip and Alex overnighted an extra pair so that I had what I needed. Alex came through when I needed his help. Great customer service.
The rubber guides in the Evo bars came out within months of beginning to use it. Once the seal popped out the bars whistle annoyingly.
I purchase these along w the Thule Evo Fixpoint feet & Thule mounting points. Took less than an hour to put together & it was pretty simple. I don’t notice any whistling noises at all so that’s great. Looks super awesome! If you’re thinking of getting a roof rack definitely go with the Thule, looks low profile and sleek.
all good. thanks for your advice
Fit and performance perfect
QUALITY Crossbars! Aerodynamic, tested at 70mph on the highway with little to no noise disturbance! SOLID bars if installed correctly. Although there were instructions provided, they were a bit vague. Hop on YouTube, and you will find plenty to reference from! Most of it is self explanatory, but it’s always good having tips and tricks helping you through your particular install! A++
Work great. The rubber pieces will start to pop up at times. I will hear the bars whistling so I just reset them and good to go. Overall the bars are quiet. We use a Thule cargo box on top and it works great for traveling.
This "fit kit" from THULE does not impress me much. It does not sit flush with the roof rails of my 2021 Toyota highlander, doesn't really line up with the openings on the flush mount rails, and only attaches to the vehicle via one bolt at each of the 4 mounting locations. In that sense it's inferior to even the OEM toyota roof rack mount.
This is my first Thule product but not my last. etrailer was great to deal with the videos on how to install the product were so helpful. Between etrailer's help and all the reviews that other people had purchased and posted made this a very pleasant purchase and install. I highly recommend etrailer and the complete Thule WingBar system including the keylocks that worked perfectly.
One of the rubber strips came off somehow. I just used these bars for the second time.
The fixed point feet fit perfectly on the EVO cross bar, but typical of Thule the channel for the feet kept them 2” to far apart. Thule wants you to always buy complete new sets of everything. I extended the channel by 1” on each side. Everything fit perfectly.
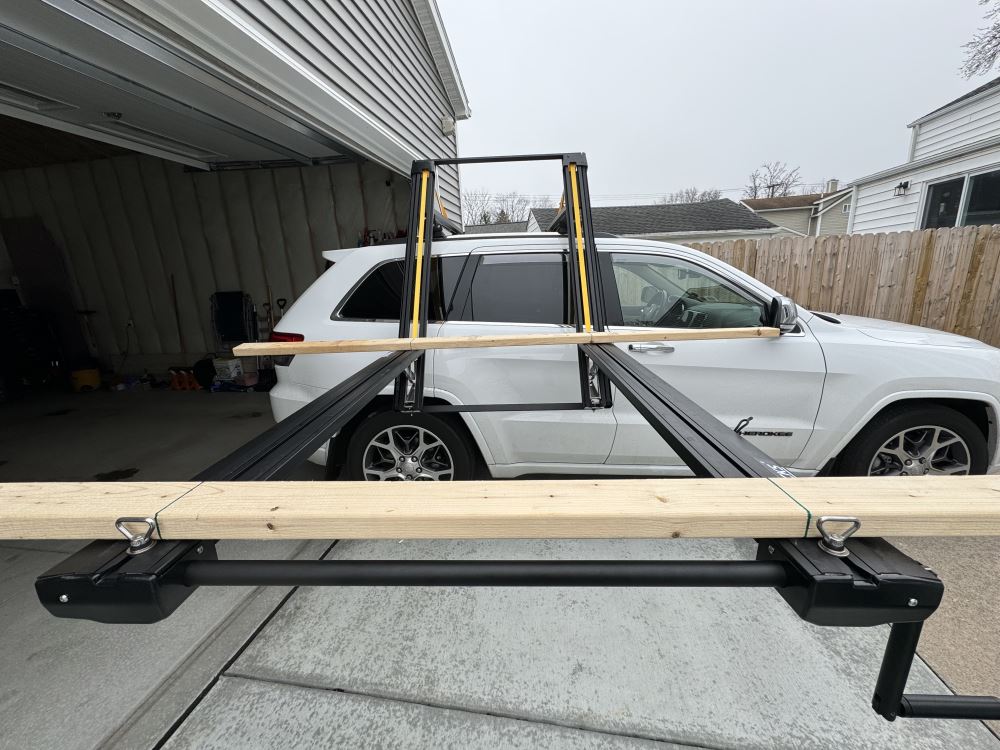
I'm using these Thule Evo Fixpoint Feet #710701 in conjunction with the FitKit #87003 to mount my DropRack XL to the rooftop of my 2021 Jeep Grand Cherokee. Eventually I'll get a Thule Rooftop Cargo Box to transport our RV camping supplies for which we don't have enough room in the Jeep or our Aliner RV camper. For now, I'm also using the setup to transport 4' x 8' plywood sheets for a DIY home project. This is the perfect solution for a multi-use application that'll enable us to accomplish more projects around the house as well as on the road.
Fit perfectly on my 2020 Highlander and was an easy install.
Great customer service and product selection. Fast shipping, item arrived in great shape. I purchased a trailer from etrailer over 10 years ago, I always like to return and purchase more items. Highly recommended.
Thule custom rack feet are always rock solid. Another great set.
Do you have a question about this Roof Rack?
Info for this part was:
At etrailer we provide the best information available about the products we sell. We take the quality of our information seriously so that you can get the right part the first time. Let us know if anything is missing or if you have any questions.















Carolyn
9/5/2025
Still solid as expected from Thule brand. Did add a deflector to reduce whistling.