


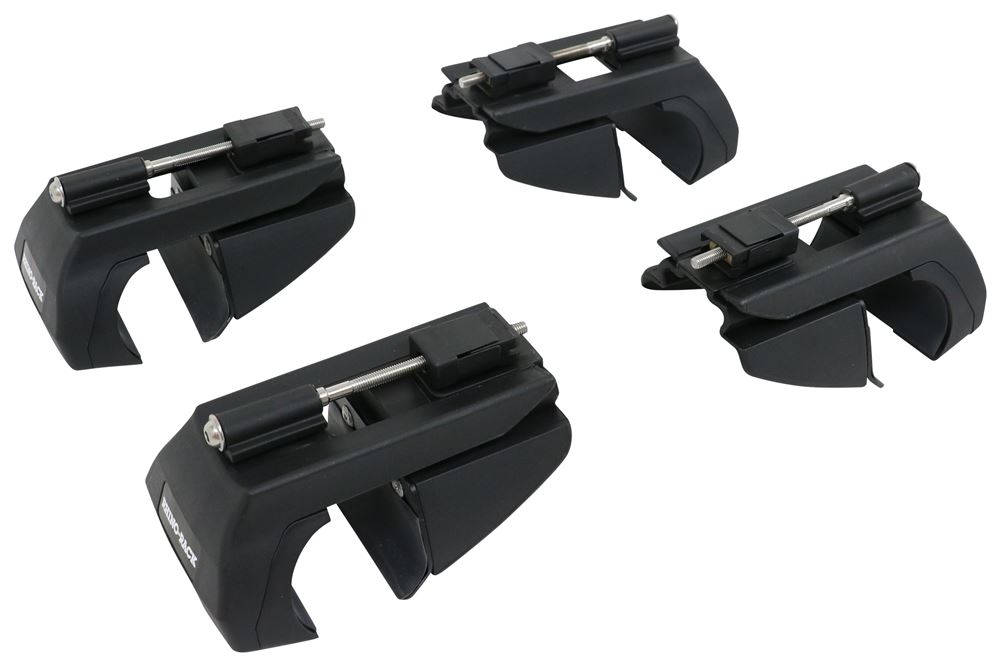
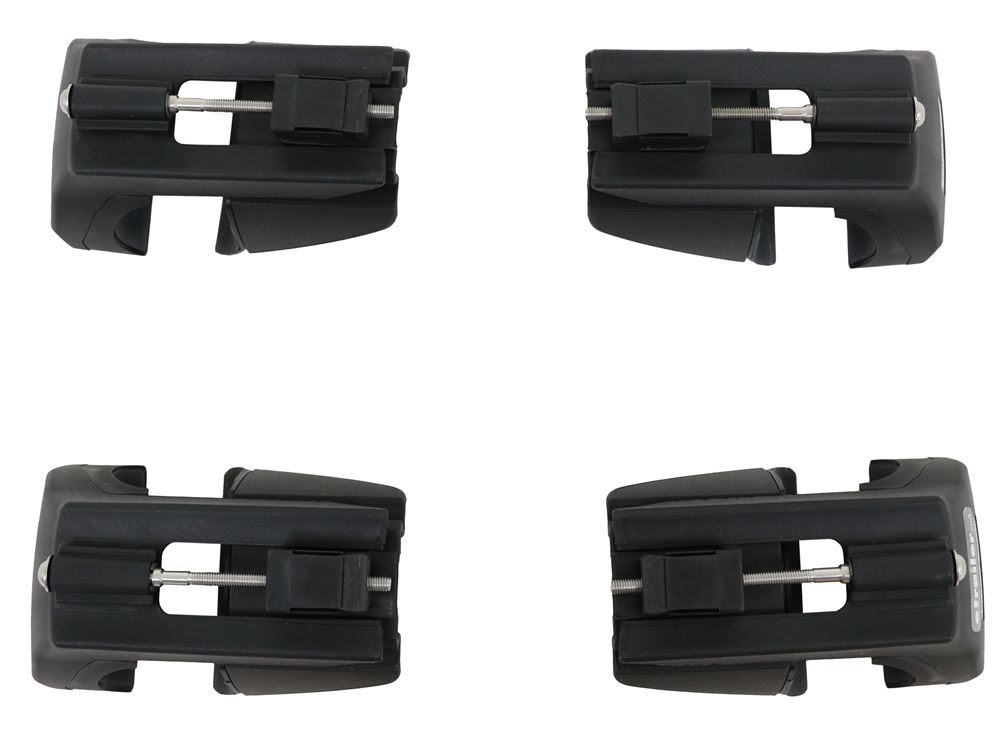
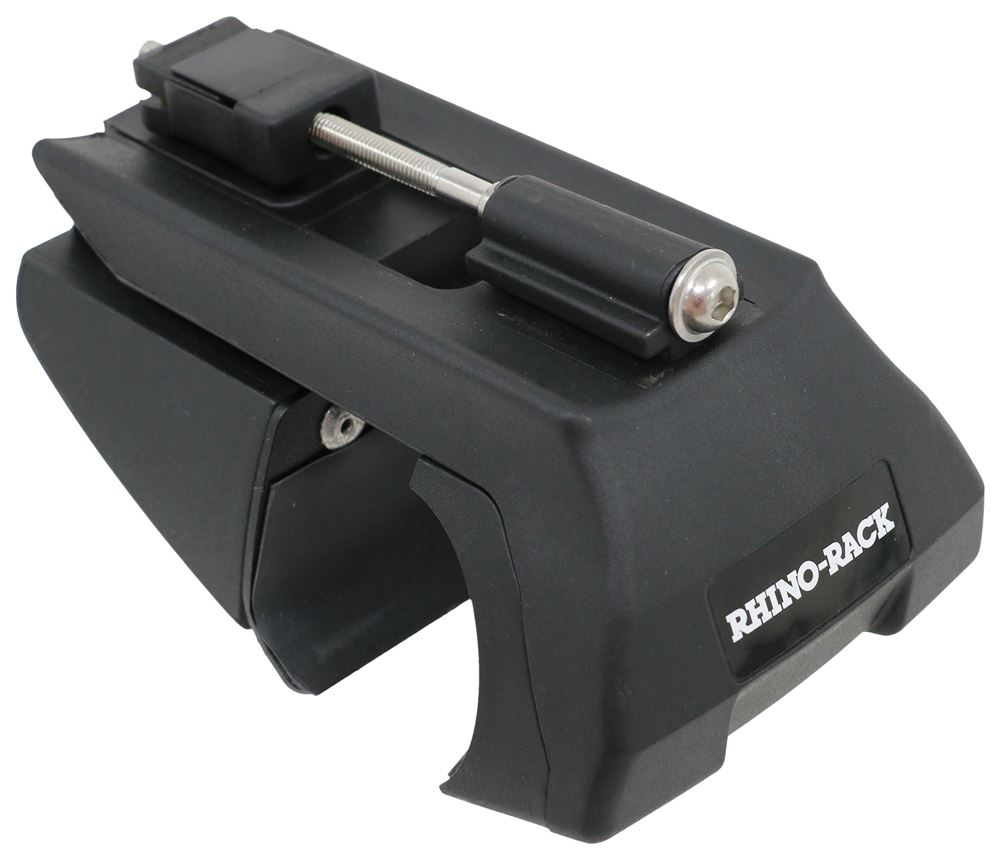
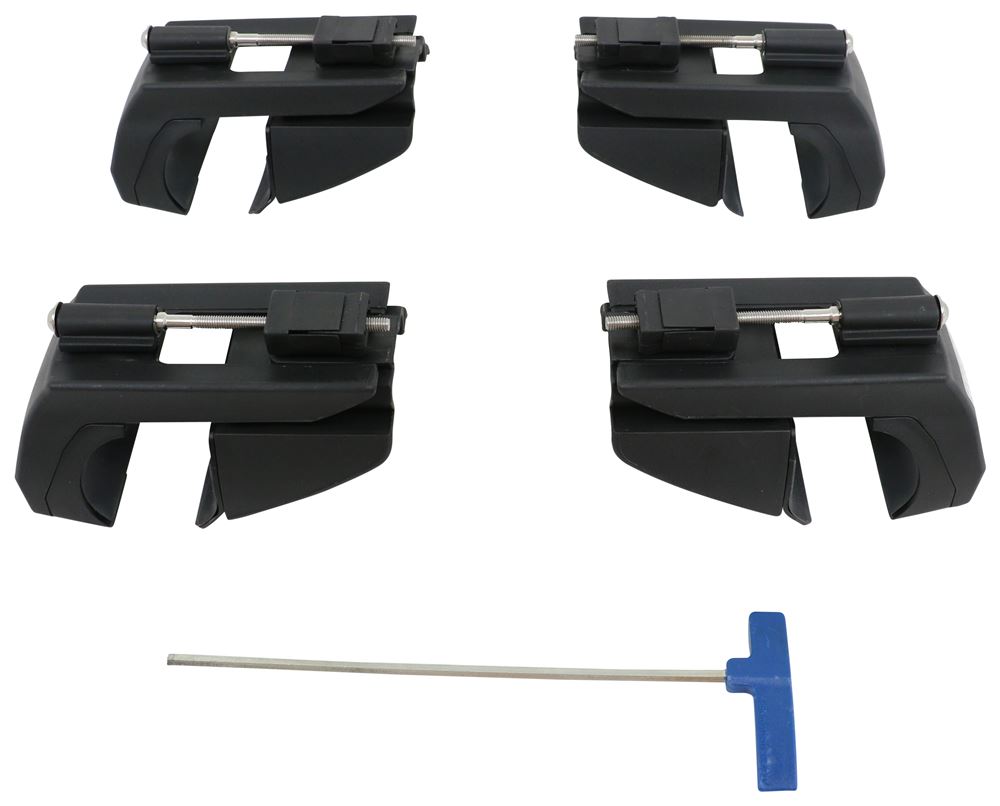
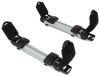
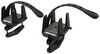
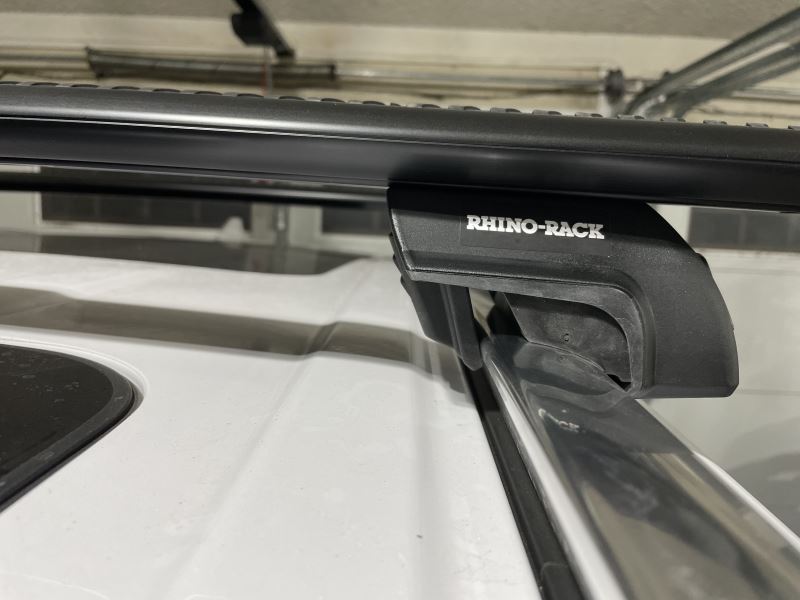
Durable nylon legs let you mount Sportz crossbars to your vehicle's factory elevated side rails. Custom-fit leg clamps tighten with included tool for easy installation on your rails. Pair with 2 crossbars to create a complete roof rack.
Features:
Specs:

Videos are provided as a guide only. Refer to manufacturer installation instructions and specs for complete information.
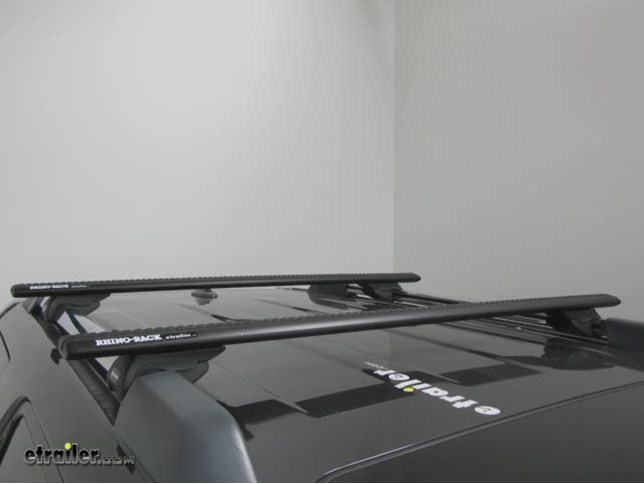
Today we're going to be taking a look at the Rhino Rack Vortex Aero Crossbar Roof Rack System. These are available in a variety of lengths and are available in black and silver. We're going to be using this with the Rhino Rack Vortex Aero Leg Kit for raised factory side rails. These are also available in a variety of different sizes. To see which ones are going to fit your vehicle please refer to etrailer.com. One of the great things about having a roof rack system is the ability to carry cargo on top of your roof without having to take up any additional space inside of your vehicle. To build a roof rack system you're going to need a set of crossbars and you're going to need the leg kits that are going to be best suited for your vehicle and your application. Let's go over a few features that make this roof rack system a great system for you.
They're going to be very stylish. They're aero dynamic so it's going to allow you to build a crossbar roof rack system that's going to offer you a stylish and quiet ride. Each bar features vortex strips in the bars top C channel. They're going to feature molded ridges. That's going to help disrupt the air flow and it's really going to help reduce the drag and wind noise. A few other great features about having those strips in there is it's going to help keep out dirt and dust out of your crossbars.
It's also going to provide some cushion for your gear and provide slip resistance. These versatile bars are going to work with channel mounted and wrap around carriers and accessories. Here on the end we have an end cap that includes a pull down tab that's going to provide easy access to the crossbar channel. When using clamp on accessories they simply wrap around your crossbar. The Vortex Aero Bars feature channels in the bottom of each bar. That's going to allow for easy installation of your Rhino Rack Roof Rack Leg Kit.
This system also comes with rulers that place in the bottom channels. It's going to help ensure that your crossbars are centered on your roof. It's also going to help reduce drag and wind noise. The Leg Kit is available with the crossbars or they can be sold separately to help build and complete a roof rack system. The Vortex Aero Leg Kit has some really great features about it.
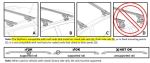
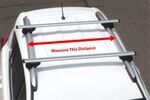
This part here is going to slide into the channel on the underside of your crossbar. The bolt is actually going to be located on the inside of your crossbar so you will need to remove your end cap. That can be a great feature to help hide that out of the way. Then on the underside we have the pads that are going to fit nicely around our raised side rails. You can see how they have ridges as well as this side has a lip to kind or curl around the outer part of the side rail to provide a nice, secure grip. Those ridges are going to keep the foot pack or the leg kit from being able to slide back and forth on your side rail. It also comes with a special tool. This is a tensioning tool that's going to be used to tighten up the leg kit around your side rail. It has a nice arc to the handle. Once you have the leg kit tight enough around your side rail, this is actually going to straighten up, assuring you that everything is tight enough. We went ahead and assembled three of our legs to our crossbars but we do want to show you how to assemble the last one. Really simple, quick installation. All you need to do is remove the end cap, turn your foot upside down, and it's going to slide right into place into that channel on the underside of your cross bar. Replace your end cap. Now we're set to adjust them to fit the width of our side rails and then we can get them secured onto our roof. We're going to take our front cross bar and place it onto the front portion of our roof rack here on our side rails. When installing this you will want to make sure that the leg kits are straight across from each other. This can be done by finding a fixed point on your side rails and simply taking a measurement back to the closest point of your leg kit. Now we'll take our rear bar and place it onto our side rails. With everything in place we'll go ahead and get it set and make our adjustments, take our measurements and get everything tightened down. To ensure that our rear legs are straight across from each other we can simply just take a measurement from the center of our front bar to the center of our rear bar. In the instructions it states that we need to have a measurement somewhere between 27-9/16" to 31-1/2". For our demonstration today we're going to set them at 30". We'll do this on both sides to ensure the legs are straight across and that our bars are parallel with one another. Before we tighten everything down we do want to make sure that the gasket here is facing outward and not tucked under the leg. When pressure is applied the gasket is going to create a nice seal between the leg and the side rail. Also we need to make sure that we have even bar overhang on each side. This can be done simply by taking a measurement. We'll do this measurement on both sides, once again to ensure that we have even bar overhang on each side of our vehicle. We'll do it for both the front and the rear. Now we'll remove the end caps and then we can tighten everything down. We'll place the tool inside the cross bar and then we can simply turn it in a clockwise direction to tighten up the Allen bolt which is going to secure our leg around our side rail. One of the great things about this system and this tensioning tool is the lever is going to straighten out to let us know we have everything tight enough around our side rail. We'll want to repeat the same tightening process for each leg. For each bar we're going to have to take four measurements. This is so we can install our measuring stick. Two measurements per side. Feel out for the opening of the C channel underneath, place our tape measure to the back of the leg. For our application today it looks like we're going to take about 3" of that measuring stick to cut out and place in our back part. We'll do another measurement here toward the outer point. That measurement is going to be right at 3". If you have the bar set up evenly, then that measurement should be identical for the other side of the rear bar. If you want to double check it doesn't hurt to take more measurements on the other wide. We'll take our measuring tape and place it over our strip. The strip does have measuring increments on there that you can use as well, but since we used the measuring tape we're just going to go ahead and get that exact measurement that we need. Then we'll mark it so I know that I need to make a cut at #70. Simply take a pair of scissors and just cut that strip. Now we'll take our other measurement and I'm going to need one at mark #100, or #140. I'll cut there. Now we'll take the strip that we just cut, place it into our channel and we'll just slide it back in place. It's a pretty good fit so we'll fit our other piece on the inside. We're not going to be able to slide this one into place but you can feel around and you can simply just push it through the channel. We have it pushed in there, now we can slide it into place and we're set to go. We'll repeat this process for the other three legs. With everything tight and secure and our measure strips installed we can install our end caps and then we can take this out on the road and show you how it performs. This roof rack system does have a maximum load capacity so you do want to make sure that you refer to your vehicle manufacturer's handbook for maximum roof load capacity. You'll want to always use the lower of the two figures. These bars come in a variety of lengths. They come in 41", 44", 49", 54", 59", 65" and 71" bars. Each bar is going to measure 3-1/8" in width and it's going to measure 1-13/64" tall. The Rhino Rack Vortex Aero Bars all come with limited lifetime warranties. All of the feet for Vortex Aero Bars for factory raised side rails come with limited lifetime warranties as well. You can also equip your cross bars with locking end caps. Those are sold separately with part number RRVA-LEC4. Now we're out on the road and we do not have our crossbar system installed. When we take a look at our decibel meter you will see that with a naked roof it's peaking out at anywhere between 70 and 72. We'll go to compare that with our roof rack system installed and you can see that it only adds about one decibel with the roof rack system installed, peaking out from 71 to 73. That's going to do it for today's look at the Rhino Rack Vortex Aero Roof Rack System for Raised Factory Side Rails. .
Customer Satisfaction Score:
77% were satisfied with this product
23% of customers were not satisfied
Ratings & Reviews

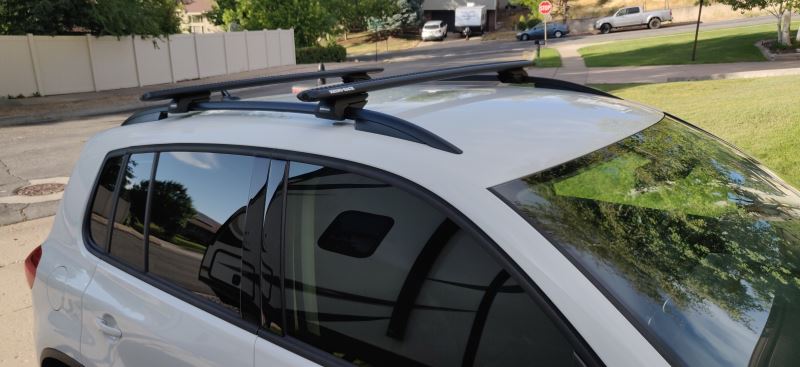
Installed the bars on my 2017 VW Tiguan, happy with the Purchase from etrailer. I had one screw that was stripped out during installation and etrailer was able to get a replacement sent out.
Thanks!
Not my first purchase from etrailer, and it won’t be my last. The research and purchase experiences are second to none.
The racks are just as expected from Rhino Rack. They got here quick, installed in 10-15 minutes, and look great. They easily support my RTT and myself after a big dinner. Excellent quality.
Although, my sticker was messed up! So there. That’s the one con.
I have a 2015 Hyundai Sport with the Ultimate Package. I ordered the Rhino-Rack SRB Leg and black Aero Crossbars. The rack was received within 4 to 5 days which is acceptable. The install was quite simple and the rack looks great against the silver car color.
Made really nice. Instructions were easy to follow. At first I read all of the reviews for this model of rack. The only complaint was the whistle you get after the install. I experienced the exact same thing, however I did use the the "cross under bar strip" after my initial test. Took it back out, and there is no wind noise at all. This rack is awesome, and well worth the price.
Just got the roof racks in the mail yesterday. Super easy to install and it looks great on our Santa Fe! Can't wait to get the kayaks on top.
Also, this is the first time I've bought from etrailer and I will be recommending them to everyone. Customer service was amazing. Thank you!
I am very pleased with the etrailer.com. Easy to navigate website and expedited shipping for no extra cost. I ordered and received my product in about a week, which is very reasonable for being across the country.
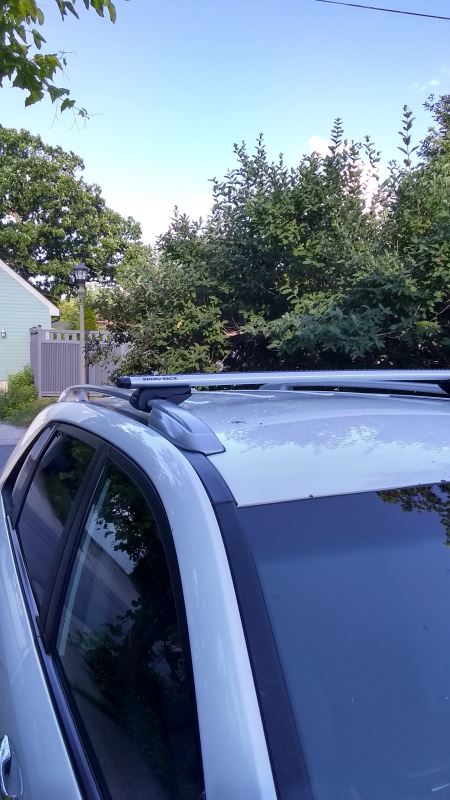
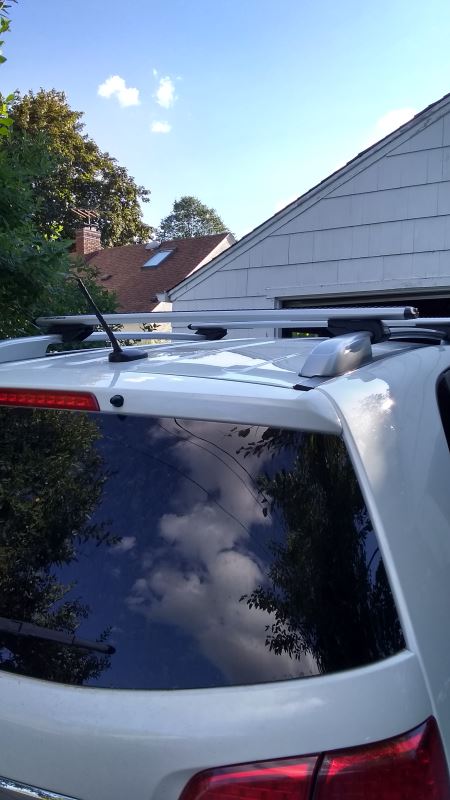
The product arrived in tact and with no damage. Easy to put the rack bars on my jeep. I've included pictures of the completed result. We plan on buying the attachments that will mount our bikes and when we do we will be doing so from etrailer.
I just installed these onto my 2016 XC90 Inscription. Haven't yet gone for a road trip yet, but they seem solid.
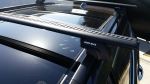
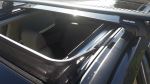
I was concerned that the low profile design wouldn't allow clearance for the sunroof to open, but there is plenty of clearance even with my Thule cargo box mounted with the claw grips.
Installation was pretty straightforward, and adjusting was very simple. They might even be simple enough to install and remove that I keep them in the garage and only install when needed.
I'll definitely update if anything bad happens, but based on what I've seen I don't expect any issues.
The parts were simple to install. The foam padding did drop out as I manipulated the parts, so being aware of its placement during installation was important.
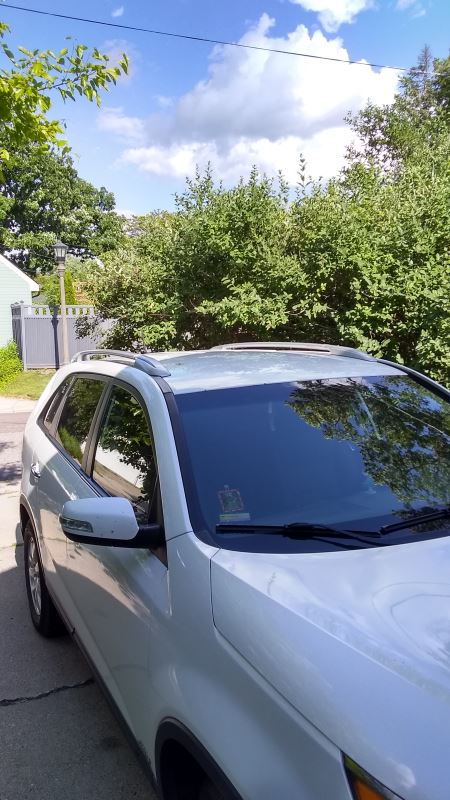
The neat, clean appearance of the items provides a nice look for my 2012 Kia Sorento.
Just what I was looking for for my 2021 MB Metris Cargo Van with Raised Rails, for hauling a 14-foot SUP. I wanted as low profile as possible and the Rhino Rack SX Series Legs and Aero Crossbars looked best. Relatively easy to set up.
Easy to install. The pins on the legs clamp perfectly into the fixed points on the car's flush rails. This is a nice low profile set up. The top of the crossbar is about 4" above the roof glass and does not interfere with opening the sunroof. This is a very sturdy setup for our Thule Motion XT XL. etrailer shipped extremely fast. Very pleased with my purchase.
Fits perfectly. Installation requires focus. Getting that Aero crossbar mounted just right was a little bit tricky because of the metal cam engaging the slot. Once I wrapped my brain around how that was supposed to work, they went on super solid. If you don't get the metal cam in place - it will make it nearly impossible to get this mounted correctly to the flush mounted rail. Read the Q&A - its covered extremely well in there. I do like the lock and key but they are not the best quality. I think if someone wants to take it they could do so with little effort. So far, I'm quite happy overall.
Attaching the bars to these feet was simple, but I did need to read the instructions carefully. Once the bars were attached, mounting everything to the car was quick and easy. I love the built-in, locking handles that tighten the feet down. My previous rack required a separate tool to tighten the feet to the roof rails; this system is much easier to use. I’ve been using the roof rack for about a year now and it has held up very well.
Its been one year since I installed the Rhino Rack crossbars and I have absolutely no issues. The main use is to carry my Kayaks on my 2013 Subaru Impreza utilizing Yakima JayLow kayak carriers. The only caveat is to be sure to properly cut and install the plastic channel inserts (underside) or you will experience an annoying whistling sound. If you're looking for high quality crossbars, I highly recommend these.
I drive an older Audi A6 wagon. This Rhino-Rack product was very easy to install and nice and snug and perfect from day one. It's been a year now and the rack still looks great, no rust anywhere, no looseness anywhere - just a good, solid roof rack. The cross bars have an aero shape and therefore wind noise on the highway is not bad at all. And I like the rubbery strips running along the top of each bar, it's just enough cushion to offer some protection to whatever you're carrying and also those same rubber strips are just grippy enough to keep whatever you're hauling from sliding around as you tie it down. I recommend this rack, I'd buy the same one again. I even put the Rhino-Rack decal in the window. ;)
The instructions is missing the detail about pushing the adjustable leg (the one that grabs the inside of the rail) up toward the top of the leg before sliding the whole leg into the bar’s end. Once you get the idea, it was extremely easy to install. This set up seems to be a universal fit, not specific vehicle. The adjustable plate looks short and only contact about 1/2 in on the inside wall of the flush rail (see pic). I understand that once the whole assembly of 2 legs and the bar is in place it’s rigid and the outside grip on the rail is more important. But I think Rhino-rack could easily make that single part a vehicle specific (longer for the Telluride) to add more security, or at least for the look. I’d like to hear opinions on this from Rhino-rack or etrailer.
Package, both items appeared used, but in good condition. The legs were not in the factory box, but just a eTrailer box. The instructions were hard to follow, even with a little help from YouTube. Just about to test drive to check the noise level. Time will tell, there is soft rubber on the legs and it may be wise to remove these when not in use, especially during Florida summers.
This is the product that was recommended on etrailer as a fit for my BMW X-5, but when doing a search on the SKU I ordered, there’s a message that the product is not a fit. But actually it seemed to fit fine. I think it looks great. I’m concerned it moves a bit on the rail although I have it as tight as I can get it. Hopefully it will be fine. Furthermore, the directions that come with the product really suck. Not that it’s hard to attach, I used the video on the website to get an overview. I was disappointed that the top rubber insert was inside the bar and that information was not made obvious. I learned that by watching another video on YouTube after I ordered them from Rhino. Nonetheless, I’m happy with the purchase. It looks great on my X5 and was more reasonably priced versus the Thule.
By far the best price/ value in a quality rack for the Hyundai Santa Fe Sport, and etrailer has the best price on the internet. Have a look at the Thule, but I can't imagine that anyone with common sense would choose the Thule over the Rhino rack system. The Thule has far less carrying capacity and costs a lot more.
The Rhino Rack has the highest load carrying capacity among it's competition and is designed to work specifically with the mounting system that is factory stock- i.e., the factory rails on the roof have a 3 position mounting hole system that locates the Rhino rack and also greatly adds to the strength and stability.
I would add that when assembling and mounting them, pay very close attention to two things:
1. As shown in step #1 in the printed instructions, there is a cam that has to be inserted *inside* the cross bar, not under it. It takes some effort and attention to position it properly and ensure that the the cam does go up inside the bar when the foot is slid onto the bar, but you have to, the legs will not clamp to the cross bar if it is not.
2. As shown in step #3, the small pin on the metal plate of the leg has to go firmly and completely into one of the 3 holes on the factory roof rail. When I first did it, it was in a little, but not seated firmly, so the rack was not attached securely to the car, even though it was tightened down all the way. Glad that I looked closely and re-did it correctly. You have to wiggle the plate and pin until you feel it pop into that hole, then hold it there with one hand as you tighten down the lever to secure it with the other. When correctly fastened, the Rhino Rack has no play or looseness- it is attached very firmly.
Also, I have the panoramic sun roof on my Santa Fe, I can confirm that you can open and close the sunroof without any problems with the rack mounted- there is plenty of clearance.
That may change depending on which accessory you attach to the rack. This is a 2015 Santa Fe Sport.
I am doing a renovation on a house I bought recently so I haul a lot of lumber etc from the hardware store. I was concerned when I replaced my Cherokee with the Santa Fe, that I would not be able to carry lumber and sheet goods, but with the Rhino Rack, I can carry everything that I need on top, securely. Seems easy to get on and off, once you installed it the first time and established the position of the legs on the bars. I'll put it on when needed to carry something, then keep it safe and out of the hot sun in the garage when not in use. Probably a good idea to take a label maker and add small tags on each bar in a hidden place to indicate which bar goes front and rear- also left and right for each, so you can re-install with minimal confusion.
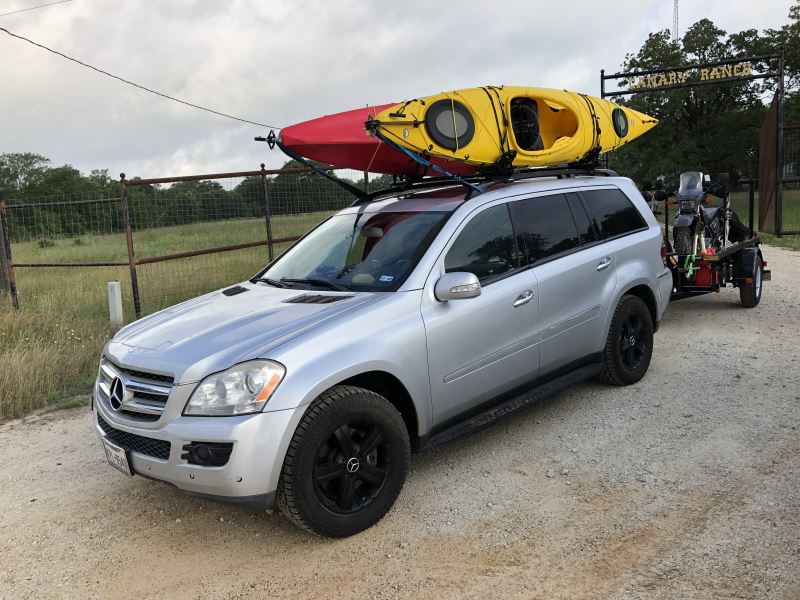
Using Rhino-Rack Vortex Aero Crossbars, Using Rhino Kayak holders. Also use a Rhino bicycle rear receiver mount. Love Rhino products.....strong, well engineered, low noise, and every part is quality... mounts, straps, etc. Photo is departure picture from last years trip to Big Bend, Texas. We probably put a couple thousand miles on these pieces of Rhino equipment on all types of roads at both Big Bend Park and Big Bend State Park... You really cannot go wrong buying Rhino products. Everything they make is well designed and will not disappoint.
Thank you. Fast delivery
these legs work on large size factory rails, whereas the sx022 did not.
Great fit and finish. Did exactly what I needed and they look fantastic.
Great product and even better service. I put a hardshell RTT on my 4th Gen Four Runner. The Rhino Rack cross bars work like a charm and is what Noah(customer rep) recommended. They are super quiet, strong and stable. I ordered the product on Wednesday afternoon at 4:40 and it was delivered by 2 pm on Friday! Amazing! Thanks Noah and etrailer!
Info for this part was:
At etrailer we provide the best information available about the products we sell. We take the quality of our information seriously so that you can get the right part the first time.












































Thank you! Your comment has been submitted successfully. You should be able to view your question/comment here within a few days.
Error submitting comment. Please try again momentarily.