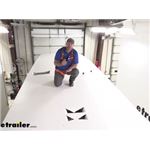
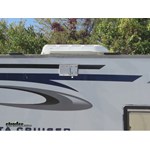
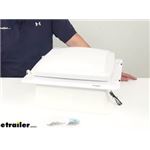
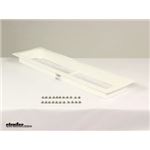
Pick a vent cap that matches your stack—common fits include 1-1/2" or 2" pipes, and some cover 1" to 2-3/8" openings. Many install on sloped roofs; note that hole patterns can differ, so you may drill new ones and seal thoroughly. Hardware and sealant are typically not included, and certain designs call for specific sealants like 3m 5200 or Sikaflex 221; butyl tape and self-leveling sealant help ensure a watertight finish.
Yes, vent caps can be installed on sloped or angled roofs. The key is securing the base tightly and correctly to the surface. Follow the instructions for orientation, then seal the perimeter to help prevent water intrusion.
Typically, no—vent caps often come as the cap assembly only. Plan to source screws and sealant. Some instructions specifically call for 3m 5200 or Sikaflex 221 on inside components and piping, not just regular RV outside sealants, so check before you open the carton.
Measure your vent stack and match the cap's stated fit. Some caps are designed for a 1-1/2" or 2" diameter vent stack. Others fit vent openings between 1" and 2-3/8". If your pipe size falls between these, pick the option that explicitly lists your measurement.
If a flexible friction-fit part is hard to bend into a 1-1/2" PVC pipe, avoid forcing it to prevent breakage. Test-fit first and consider gentle shaping. If retention is loose, a backup like zip ties can help anchor it to the pipe while the sealant cures.
Not necessarily. Caps can have different hole counts and patterns. If the holes don't match, drill new ones and seal everything up to prevent leaks. Before drilling, dry-fit the base and mark the new locations so you don't miss the roof framing under the old sealant.


 RV Vents and Fans Parts or Accessories
 Filters