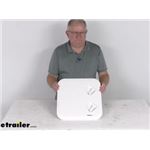
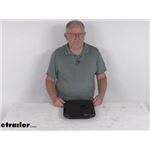
Compact openings call for a 4 inch tall cutout, and an open back leaves room behind the panel for control modules or cable pass-throughs. Measure your opening and verify rear clearance, especially if choosing a locking latch that can protrude out the back. Handy for adding access to things like leveling controls or generator cords on campers, sheds, or DIY projects.
They can provide a water tight seal when installed with the included seal tape and hardware. Clean the surface, apply the seal tape evenly, and snug the screws. Deburred edges help; finishing cut edges has been used to tidy up installs. Recheck around the frame after mounting to reduce leaks.
Measure both your current door and the wall opening to match a 4 Inch Tall Cutout. Some replacements have fit perfectly and even aligned with existing screw holes. Take time to mark carefully before cutting; a drill, hand-nibblers, file, and self-tapping screws have worked well for installs. If cutting fresh, double-check your layout to avoid rework.
Choose a lock for basic deterrence or a turn knob for quick access. Some locks have been called flimsy and can protrude, so verify your security needs and rear clearance. Note that some come with only 1 key, and big-box stores couldn't copy it in one case—plan for a locksmith if you need extras. A thumb-lock has worked well for simple access.
Use an Open Back when you need pass-through or panel access, like for a generator cord, a leveling control panel, or service access. Check clearance behind the wall—some locks protrude out the back and may not fit tight spaces. If you need more depth for a control panel, confirm the opening allows it before mounting.


 Electrical Cable Hatch
 Multi-Purpose Hatch
 Sewer Hose Hatch
 RV Access Doors Parts or Accessories
 Filters