
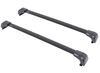
Inno Aero Roof Rack for Flush Rails - Aluminum - Black - Qty 2


To see if this custom-fit item will work for you please tell us what vehicle you'll use it with.


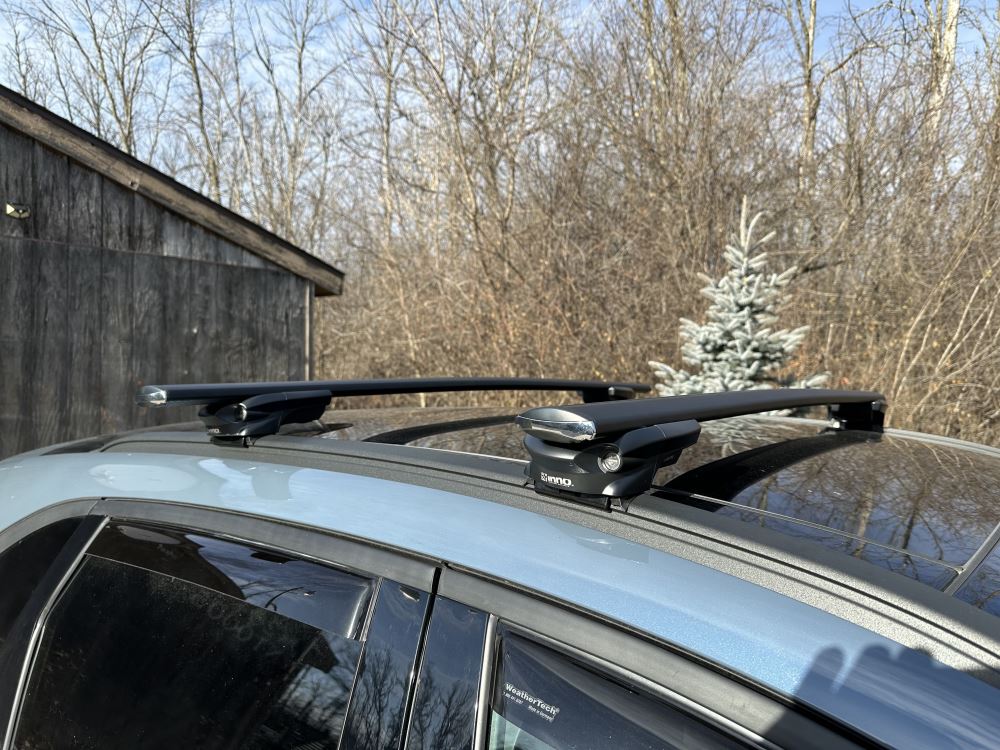
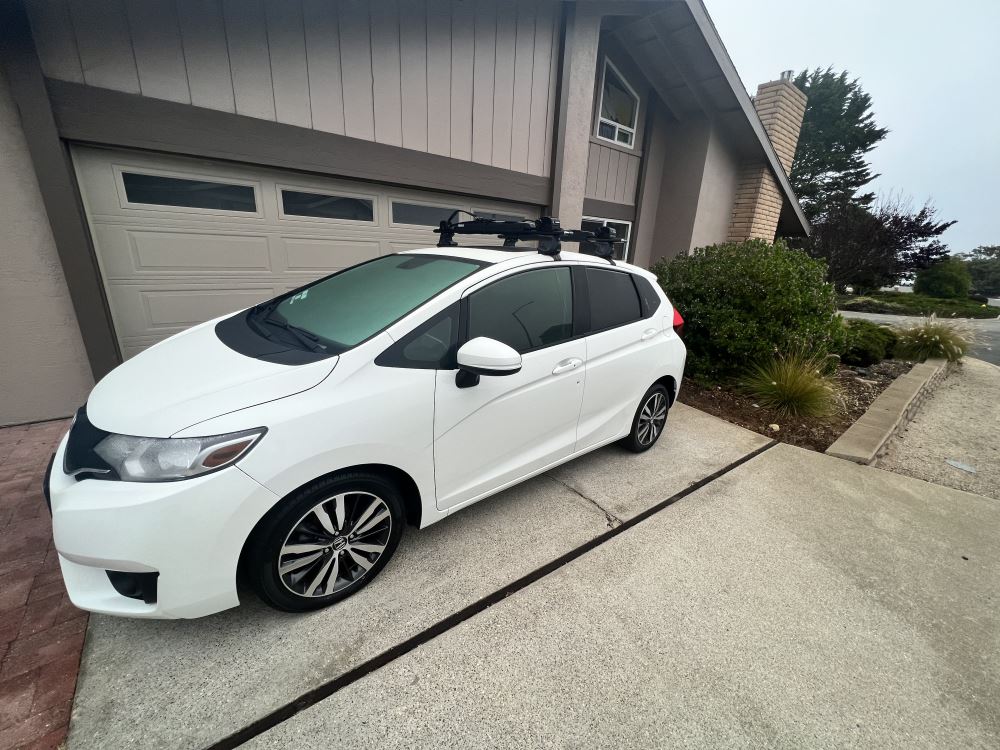
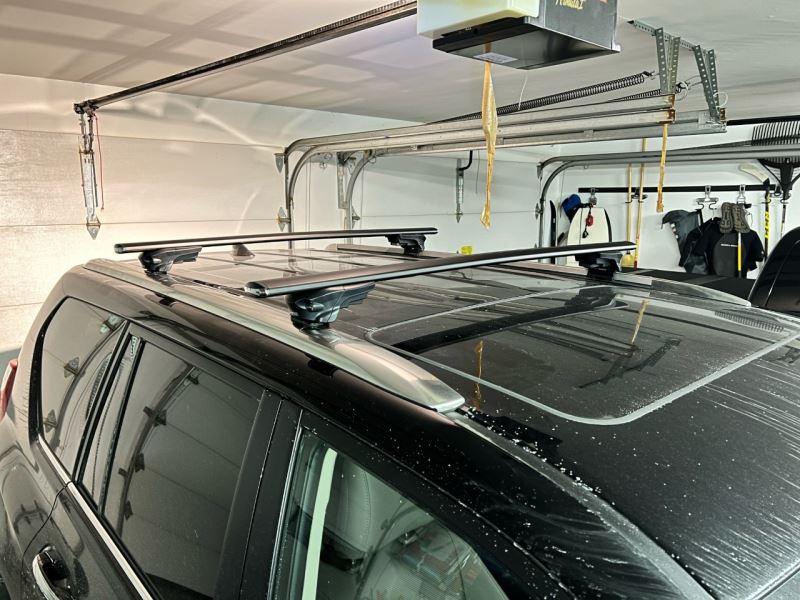
This setup comes ready with everything you need—2 aero crossbars, 4 through feet, and a custom fit kit. With a weight capacity of 165 lbs, you can haul kayaks, cargo boxes, or camping gear with confidence. The aluminum construction adds strength without extra weight, keeping the load steady and dependable on every trip.
Wind noise can get old fast when you're logging highway miles. These bars are shaped for smooth airflow and feature top channels with push-down rubber strips that help reduce wind noise and vibration. The strips also seal around the mounting hardware to keep things tight and quiet while you drive.
You don’t have to worry about which style of mount your gear uses. The aero-style crossbars handle both channel-mount and clamp-on accessories, making it easy to attach carriers for your kayak, bikes, or cargo boxes. No trimming of strips is required—just press your hardware into the tracks and load up what you need for the day.
When you stop at a trailhead or hotel, you can relax knowing your rack is protected. The lockable leg covers help deter theft by keeping the rack secured to your roof. It’s a simple safeguard that keeps your setup intact wherever your trip takes you.
The black aluminum crossbars measure 48" long x 3-1/8" wide x 1-3/16" tall (also available in 51" length) and include top channels sized at 13/16" wide x 1/4" tall with a 3/8" opening. That solid construction provides long-term durability while maintaining a sleek look that blends well with any vehicle roofline.
 Alternate Instructions
Videos are provided as a guide only. Refer to manufacturer installation instructions and specs for complete information.
Hello, neighbor, this is Curt with etrailer, and today, we're gonna be taking a look at the INNO Aero Roof Rack, and we're gonna see how it fits and how it installs on our 2026 Mazda CX-50. So whenever you're taking a trip, the CX-50 is a great vehicle to do it in. It does have a generous amount of cargo space. However, if you're traveling with a lot of equipment or a full compliment of passengers, you're gonna run outta room, with their luggage and everything else, pretty quickly back here. And a roof rack is an excellent way to transport those extra items that either won't fit in the vehicle with you or you don't want in the vehicle with you. There are all sorts of accessories that can be used up here.
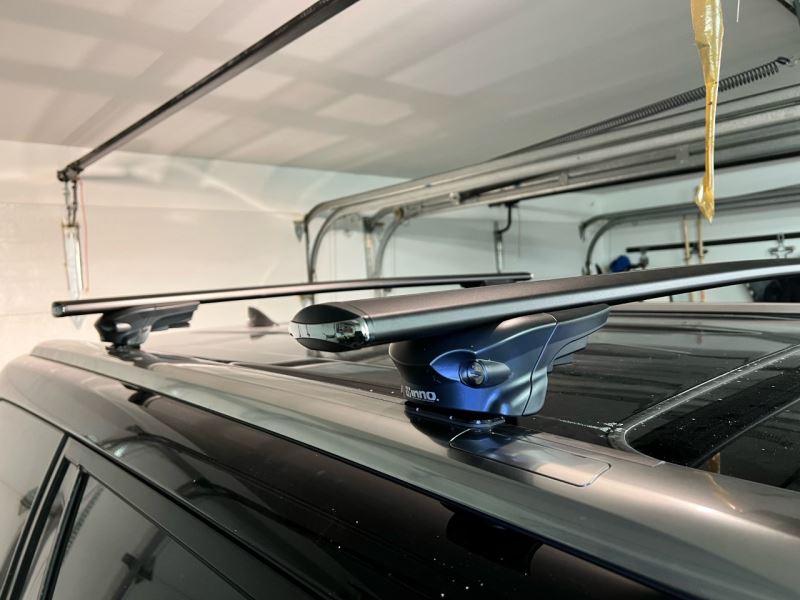
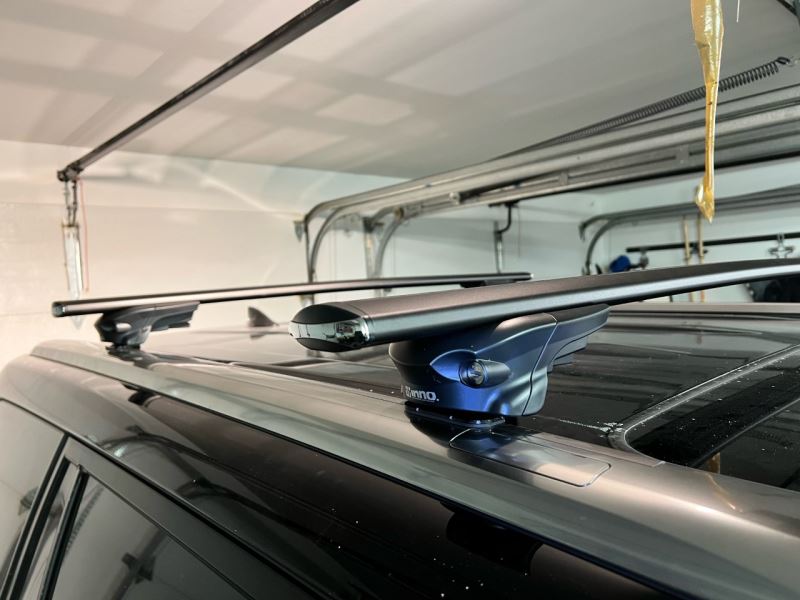
For instance, you've got cargo boxes, cargo baskets, you've got bike carriers and kayak carriers, and all sorts of things to help you get to your destination and make it that much more enjoyable. Now, the first thing that we notice is that it's an overhanging roof rack, which means that the crossbars here actually come out past the towers. And that allows us to have a lot more bar space. The front bar is a 51-inch bar, the back bar is a 48-inch bar, and that's because INNO has a thing about symmetry where they like to have the same amount of overhang coming off of each of 'em. Now, normally a lot of roof racks end up with bars that are the same length and that allows you to put clamp-on accessories outside of both bars, and with an overhang bar, that's one of the advantages, that you do have more room that you could possibly put two different accessories side by side up here.
But when it comes to clamp mount, the end of this crossbar actually is inside pretty much of this tower. So you're not gonna be able to clamp anything on on the outside. But what you will be able to do is take advantage of all that T-track coming all the way over like this. So if you have a kayak carrier with assisted loading, those usually have to come down over the side, you can only use those with an overhanging bar like this. It's also an aero bar, which makes it a lot more aerodynamic.
It's got a kind of a wing shape, wider in the front, narrower in the back. This is way more aerodynamic than your round or square bars, and it's gonna be a lot quieter out there on the road for you. There is a T-track that I had mentioned. You can access that through the end cap here. All you need to do is push down on it and slide your accessories over to wherever you want 'em placed.
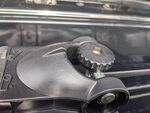
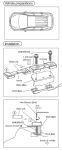
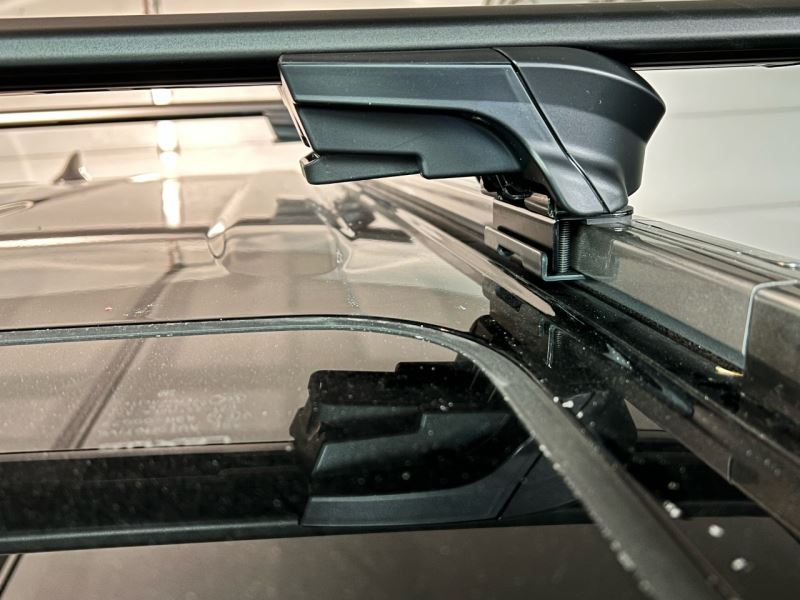
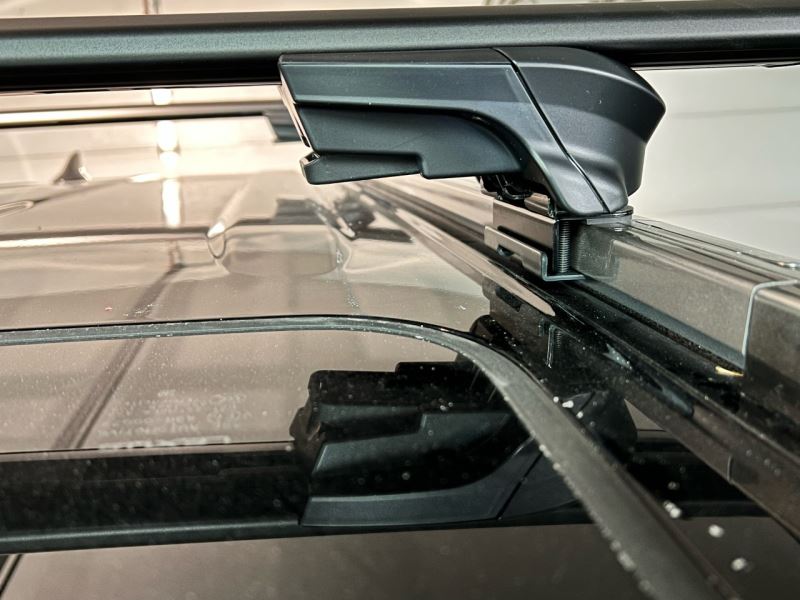
And the weight capacity of these is 165 pounds. So bear that in mind if you plan on traveling with two accessories up here. The weight capacity is 165 pounds, but you always want to double-check your owner's manual for the vehicle's rooftop capacity. If that number is lower than 165 pounds, then that's gonna end up being the max capacity that you can carry up here. Now, let's grab a measuring tape and get up on the roof and take a few measurements and see exactly how these fit. Now, the first measurement that I wanna take is going to be our crossbar spread. That is going to be the distance between your two crossbars. And this crossbar spread is sitting at 27 3/4 inches. And that's a good one to have because every rooftop accessory has a minimum and a maximum crossbar spread that is allowable in order to use that accessory. And at that, you know, around 28-inch mark, that's a little bit of a sweet spot. There aren't a whole lot of accessories that aren't gonna fit that crossbar spread. Now, the other thing I wanna look at is the crossbars as far as the clamp-mounted accessories. Because these rails up here taper and get narrower as you get toward the back of the vehicle, the towers on your back bar are actually closer together. So the actual bar space that you have to use your clamp-mounted accessories is around 33 inches. That's still a decent amount, but unless it's a track-mounted accessory. You're gonna have a tough time putting two different accessories up here side by side. The next thing I'm gonna take a look at is how much room do we have underneath our bars And these are sitting right at about 2 1/2 inches. So this is actually a roof rack that does sit a little bit closer to the vehicle. It's still plenty of room to get your clamp-mounted accessories around your crossbars, but I would not recommend using your sunroof at all when you have these up here. For one thing, the towers actually come over the sides of it, but for another, the CX-50 has a really aggressive tilt on its sunroof. So the thing about that also is that, generally speaking, you really don't want to drive with your sunroof open and a roof rack on. These are quieter than round or square bars, but they're by no means completely silent. It'll be pretty distracting if you try to do that. So it's not something I would recommend. The other thing I'm gonna take a look at is how much height is this adding to the vehicle And it's gonna add a little over 3 1/2 inches. So if you take that t3 1/2 inches with the vehicle height and your accessory height, you'll be able to determine rooftop clearance if you come, you know, into any low-clearance-type areas. Now, we talked a little bit about how all this fits, let's go ahead and show you exactly how we got these on the roof of our CX-50 today. So the installation of the roof rack is fairly straightforward, but there are some nuances that we're gonna go over as we show you how to install this. The first thing that you want to know though is that you're coming with two different bar sizes. And that's because, for INNO, they like a bit of symmetry when it comes to the actual overhang of the bar past the tower. So your front bar, because the rails are wider in the front on the roof of the CX-50, is gonna be a 51-inch bar. Your 48-inch bar, which is what we have here, is gonna go on the rear. We have the front bar installed because that front bar needs to be installed first in order to determine the location of your second bar. So everything that you need as far as putting this together and getting it up on your roof actually comes out of the box for INNO, something I really like about them. We've got our tower, we've got our inner clamp, outer clamp, the bolt that holds it together. We've got keys for our covers. And we have our tool here that is a torquing tool that we're gonna use on that bolt. They even give us a measuring tape in order to make sure that we have all of our proportions correct. The first thing that you wanna do though is you wanna get rid of your tower cover. So we're gonna go ahead and remove that, and get that off of here. That way we've got exposure to get our clamps on. But for me, I actually like to get it onto my crossbar first. So your crossbar is gonna have this kind of sliding tab here. We're gonna want to depress this and move it all the way in so we open up this cavity right here. Now what we'll do is on the underside of the tower, we've got this lever. As we pull it up, you may see that it actually releases this clamp right here that's gonna go through this T-slot. So I'm gonna go ahead and drop it right into place in that cavity, lift up, and I'm gonna be able to slide it over. Now, once this tab pops up, it's going to be on here, okay We've got the end cap stopping it from one end and this tab stopping it from the other. So next, what you wanna do is go ahead and grab that measuring tape that INNO gave you. Of course you could use your own measuring tape if you've got it handy. The crossbar on the INNO has an indicator right here that's gonna give you the exact center of your bar. And we're gonna use that to measure out and determine how far apart our towers need to be. So this is where one of the nuances comes in. The INNO instructions, we found that the measurements that we inchesre in there were really not correct for the roof of the CX-50. They we inchesre actually for another vehicle that uses the same fit kit as this. So we went ahead and experimented and figured out what the correct measurements were. If you're measuring from this very center right here, it's going to end up being 16 9/16 inches from the center to where your tower is at. 33 1/8 inch is what the total is across. But if we wanna get an equal overhang outside of each tower, you wanna do that center measurement. So I'm looking for 16 9/16 inches, which what I like to do is kind of put it there on here. It's gonna be just past the 16 1/2-inch mark or at about that 42 mark on the metric side. So as I pull this out, I could see that I need to move my tower out just a little bit. We're just gonna go ahead and remeasure that. And we're just gonna kind of play with it back and forth until we get that 16 9/16 inches. Once we've got our location set, we can go ahead and close this lever here. And that is going to lock it into place. Next, we're gonna take our foot pad we have right here. This is going to go on with these taller tabs facing the inside. They're gonna go right there. It's kind of got a slot on the side. And it's pretty flexible, so it actually slips on pretty easily. There's some corners up here in the front that I'm gonna go ahead and hook onto. And I'm gonna work my way around. You know, there's no real order to doing this. It's just whatever you find easiest to get it on. You just wanna make sure that it is completely seated, so you can make sure that it stays on there the way it's supposed to when we get it up on our roof. So checked all four corners, everything is right where it should be. The next thing I'm gonna do is grab my inner clamp. The inner clamp has a rubber pad to it that's gonna be facing the rubber pad underneath your tower. It's also got this cylinder in it that's threaded for our bolt to go through. This is gonna end up going right back here. Next, I'm gonna grab my outer clamp. Now, the outer clamp has a couple of tabs that are gonna go right above these two points here. So I'm gonna get that into place just like that. And I'm gonna grab my bolt, and I'm gonna thread that on through. Now, you can actually do this before you set your towers on the crossbar. It's whatever you're kind of comfortable with. But since it's upside down anyway, I do find that this is the easiest way to do it. So I'm just hand threading this through. I'm gonna let it get out a little bit past this cylinder. But the point is, it's gonna keep my clamp in place and also keep it open enough that it's gonna fit around my rails. Now, while in the instructions, the distance between the towers in the INNO instructions is a bit off, the instructions for where you actually place them is accurate. So in order to do that, our front bar needs to be six inches from the door seam right here. So that's just going to be to the center of our tower right here. As you can see, we've got six inches right there. We also took that measurement on the other side of the vehicle as well. And the reason we did that is 'cause we really need to make sure that our towers are directly across from one another. When we do that on both of our crossbars, our crossbars are gonna be perfectly parallel and therefore safe to carry any kind of load or accessories that you have up there. So go ahead and feed your crossbar across to the other side. We've left plenty of slack in our clamp, so you should be able to get it to just slip right down over it just like this. To determine where this needs to sit, we're gonna use the door seam again, and our second bar needs to be 21 3/4 inches to center from that door seam. So as I measure it here, I see that I need to bring it back about 3/4 of an inch. Now, the pad under here is kind of skirted. If you try to just drag it back and forth, it ends up dipping under there. So you're better off just kinda lifting it and dropping it back into the place where it's needed. And you wanna do that until you get it correct again on both the driver and the passenger side before tightening it down. Now that we've got everything in the correct spot, we're gonna go ahead and grab the tool that INNO gave us here. All you need to do is slip the stem out of it, drop it into place underneath, and it's got the reach to go past the overhang. What I like to do at this point is kind of press the clamp until it's snug. And what I'm gonna do is I'm just going to start tightening this bolt until I feel some resistance on it. I don't wanna tighten this side all the way down before the other side. Reason being is, when you do that, you're inevitably gonna knock the loose side out of place. And what you'll have to do is loosen everything up and remeasure and just do it all over again. So if you get it to where it's snug, you can kind of work yourself back and forth, tighten it down a little bit on the driver's side, and then move over to the passenger's side and do the same, and just incrementally go back and forth until we get it tightened down completely. Now, once you've done that enough, the tool provided by INNO is a torquing tool. It's gonna let you know when you've got it tight enough. You're gonna hear a loud click outta your tool. So once you get that on both sides. (rack clacking) Just like that, you've got it tightened down completely. Now, once that's done, this is something that I always like to do just to be sure that everything's gripping on everything correctly, I like to just grab it and give it a good manual shake back and forth. I'm getting no movement this way on my rail. I'm getting no movement out of the crossbar. So I've got a good tight, solid fit on here, which only leaves us left with putting on our tower covers. Now, one of the things I wanna talk about before we do that is the fact that one of the things I really love about INNO is that right out of the box, you're gonna get a metal lock core for all four of your towers, along with the keys. Most of these roof racks that are out there these days, they give you a plastic lock core. You have to actually purchase metal lock cores separately in order to keep them secured up on your roof. So that's a great thing about INNO providing that security right outta the box. We're just gonna slip our tower cover right back on. Go ahead and lock it. And our installation is complete. And if after watching this video you decide this is still a little bit more than you wanna take on on your own, please allow us to help you find an installer near you that can help you get the INNO Aero Roof Rack on the roof of your 2026 Mazda CX-50. Once again, this is Curt with etrailer. Thanks for stopping by.
Ratings & Reviews

Good fit. Very little noise.
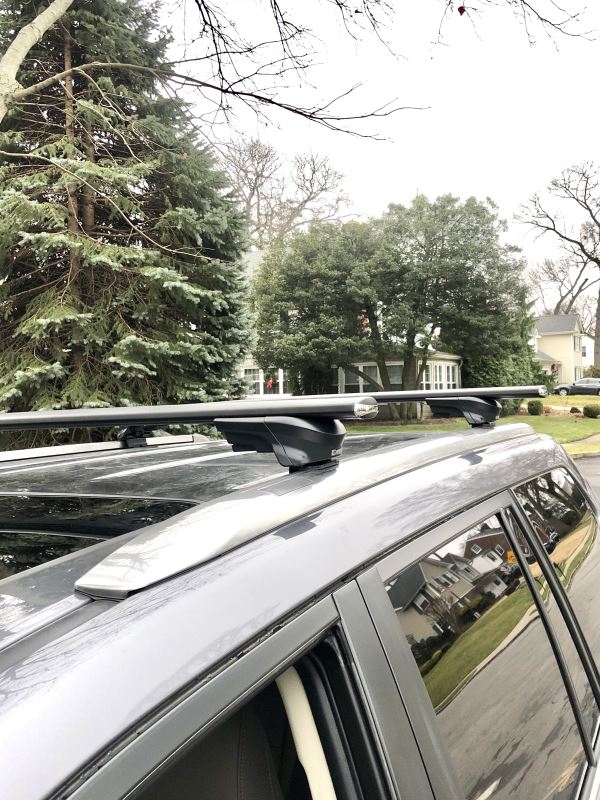
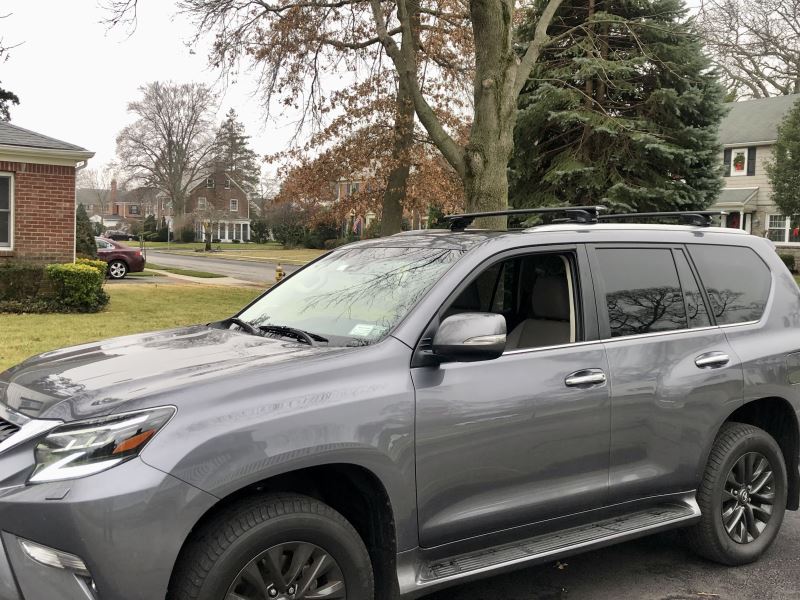
Check out my other review and pics....all the info is there
Easy install. Works great.
This is the best rack system I have ever bought. The delivery was very prompt.
The rack worked perfectly with my car. It was easy to assemble and has been toting well for more than a year
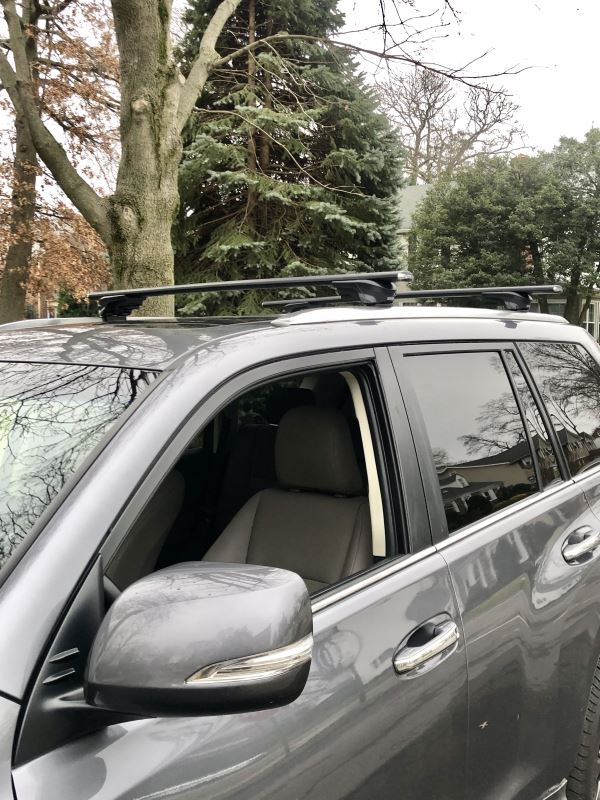
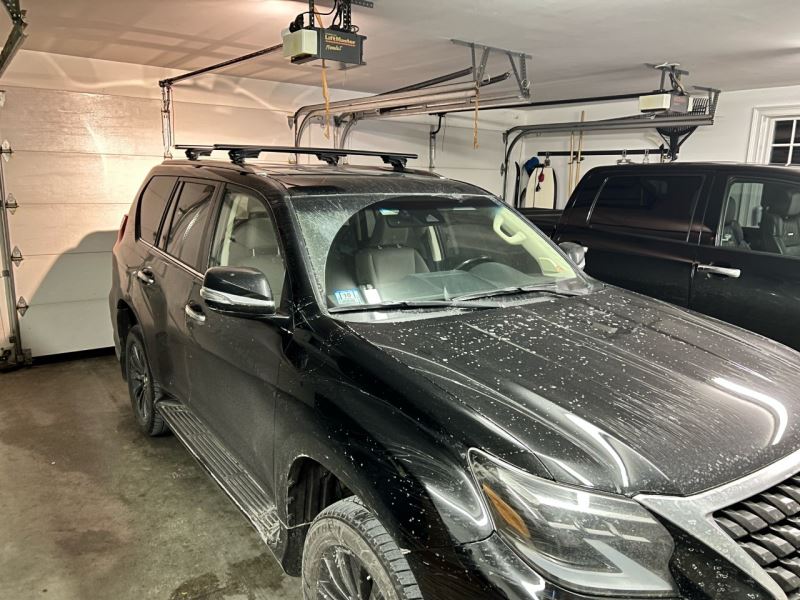
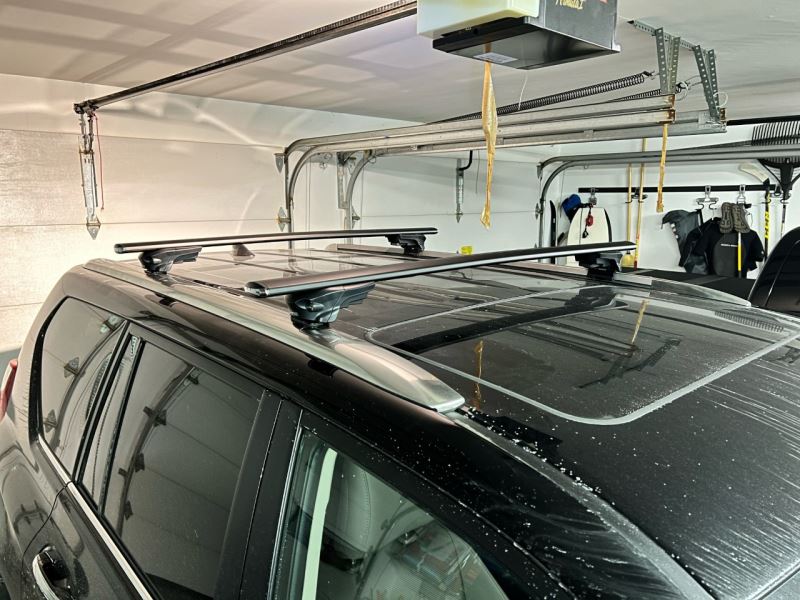
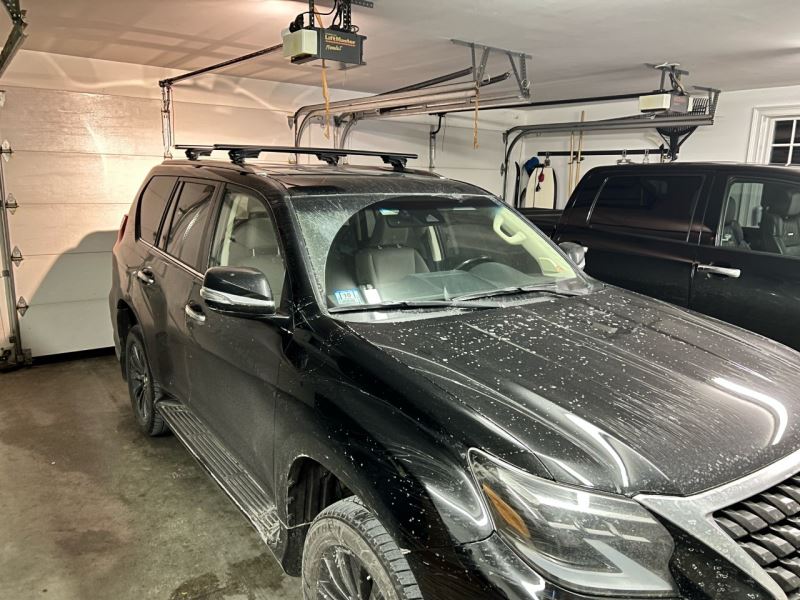
Great bars and provides a good height on my GX460. the ONLY minor nuissance is there is a soft whistle at high speeds. other than that its fab
Looks like a quality product. Did not fit the rails on my 2020 Subaru Forester exactly but good enough for a strong safe fit. (I understand this product is made for a multitude of different vehicles)
Great product. Fit perfectly. Went together easily. High quality parts.
Solid product at a better price than most other rack bars. Has served me well for a year without any issues.
Your videos provided a great deal of help when it came to installing the crossbars. They are great quality and I can’t wait to hit the road and finally use them!
Installed on my go 460 a year ago. Put them on and never took them off. I have surfboard pads on as well. Noise level is not bad and I don’t even notice them anymore. Highly recommend them. Very sturdy.
Works perfectly! As indicated in previous review the tech writers at Inno should update the instructions on measurement process, but after I placed and centered the roof rack on my vehicle and tightened it down it worked great!
Easy directions to follow for install. I especially appreciate how E trailer packages all products as a unit based upon your specific vehicle. I had no idea which parts to pair together for best functionality and E trailer made it easy to create the combination of parts needed for Lexus GX460. Highly recommend.
Ellen was very knowledgable about the product and helpful in getting the exchange processed. And while the product itself seems to be of excellent quality, I did have to trim the crossbars a bit in order for them to fit precisely enough that the plastic pieces that cover the metal hardware could actually fit properly and be locked on, as they are supposed to be. There is no leeway for a non-perfect fit. It would be easy for me to mount a new set if I had to, but doing it for the first time was very time-consuming. The mechanism is somewhat complicated, and the directions were OK but could have been a little clearer on a couple of the procedures. Try it some time and you'll see what I mean.
Seems to be solid railing and aerodynamic easy instillation for the most part. Measurement recommendations are a bit off.
I have a 2022 Lexus GX460 Premium. Fairly simple installation and a almost seem less transition from the fit kit to the cross bar system. Can be done by one person, but I would suggest a two-person system to expedite the process
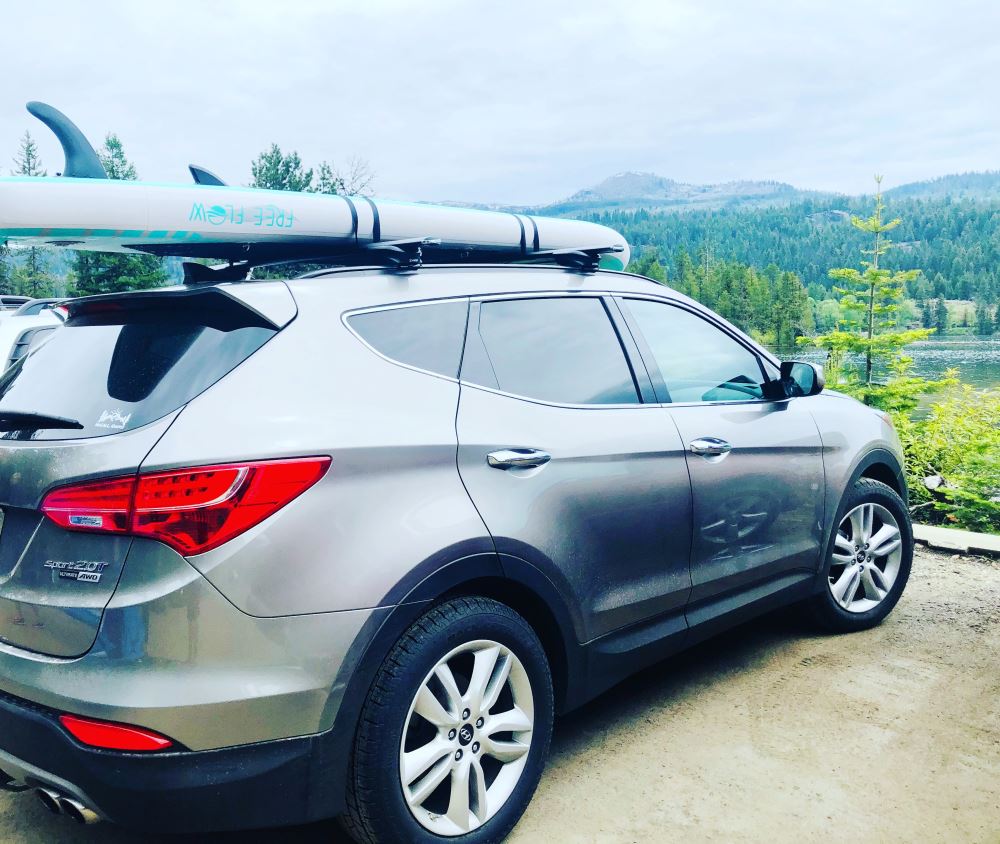
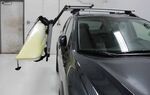
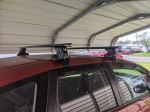
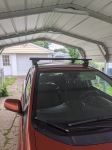
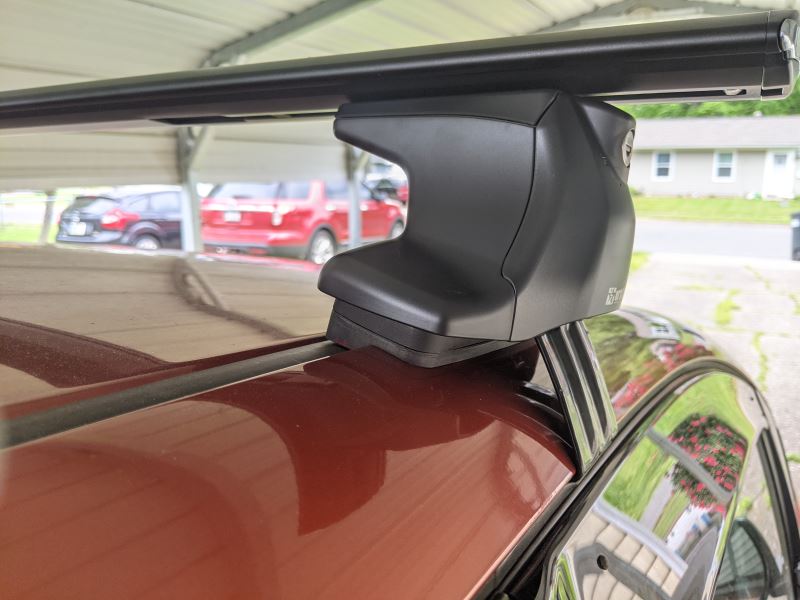
I got my new rack very fast after I ordered it which was awesome I ordered the one I ordered because it had great reviews about road noise… Are used it Saturday didn’t hear anything which is also awesome my paddleboard did not even move on my rack I was concerned about air trying to lift it it’s easy to mount my paddleboard on top of my car and I couldn’t be happier here is a picture for reference...
I've been a happy etrailer customer for years. Sales staff helped me pick out the right roof rack setup for my new 2023 Escape that worked with my low-profile rails. 3 separate boxes of pieces but they all came together perfectly. Very happy with my purchase and etrailer customer support! Rack is solid, low wind noise and will work with the accessories I need, kayak carrier and cargo basket.
Solid, good looking, reasonably priced rack with locks/keys included. Looked up INNO read that they have 60% of roof rack business in Japan. A good tight fit on my Mazda CX-50.
Originally, I was waiting for the Yakima crossbars to be restocked for my GX460 but decided I couldn’t wait it out any longer and went with the Inno’s aero set. Overall, they look great, fit great and seem to be very good quality. I was able to assemble the rack myself, it took me about an hour and half, I wish the installation was a bit easier but after watching the video from etrailer it all came together perfectly !
Once again etrailer.com delivers. Finding a crossbar solution for my 2021 Lexus GX 460 was far more challenging than expected until I visited the site and found exactly what I needed. The fit kit worked great and the quality of the feet and crossbars on par or better than other brands (who dropped the ball on having a product available for this vehicle). The rack is on, secure and now carrying my Thule cargo box. Very happy.
Very quick shipping and easy ordering! It was a pretty simple process of putting it all together. I am a 58 year old woman who put it all together and put it on the roof myself! I am thrilled with my purchase. My car has a new "Kayak Crown" and she looks even more sporty and sleek! Definitely will use etrailer again.
Ordering was terrible. Two calls to make sure I was getting the right parts and still got the wrong cross bars. I paid extra for quicker shipping and the item still arrived late.


Do you have a question about this Roof Rack?
Info for this part was:
At etrailer we provide the best information available about the products we sell. We take the quality of our information seriously so that you can get the right part the first time. Let us know if anything is missing or if you have any questions.

























Thank you! Your comment has been submitted successfully. You should be able to view your question/comment here within a few days.
Error submitting comment. Please try again momentarily.