
Inno Aero Flush Roof Rack for Naked Roofs - Aluminum - Black - Qty 2


To see if this custom-fit item will work for you please tell us what vehicle you'll use it with.


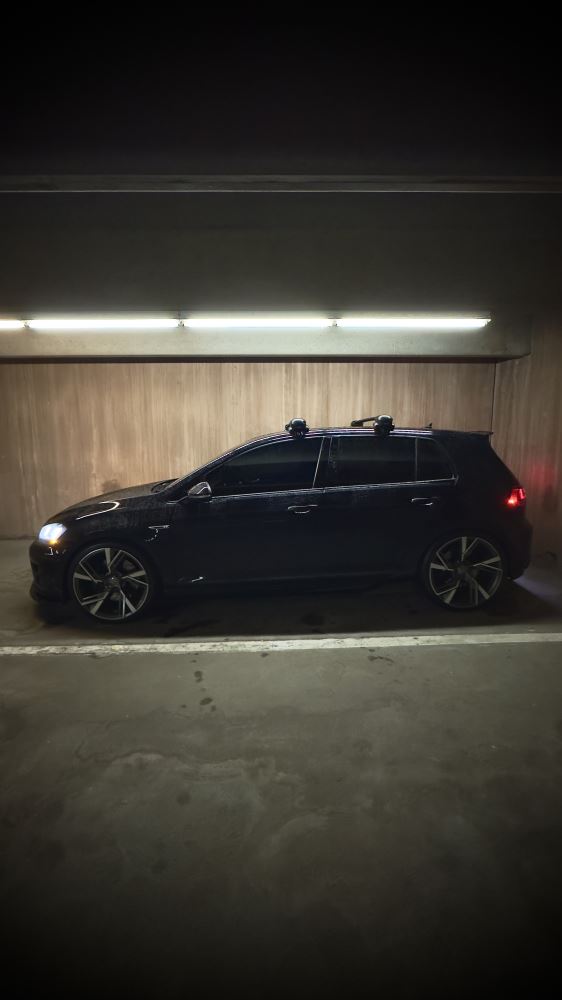
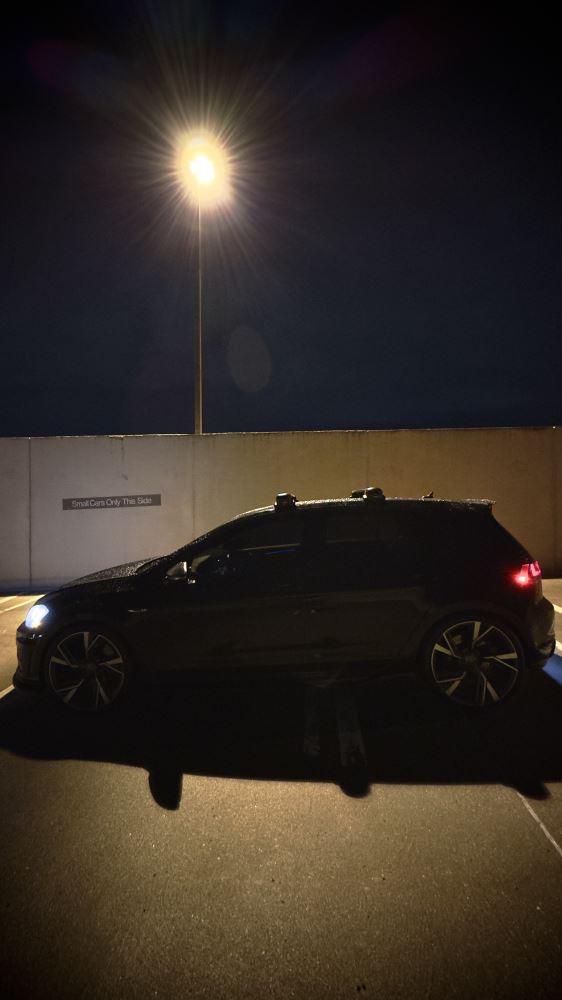
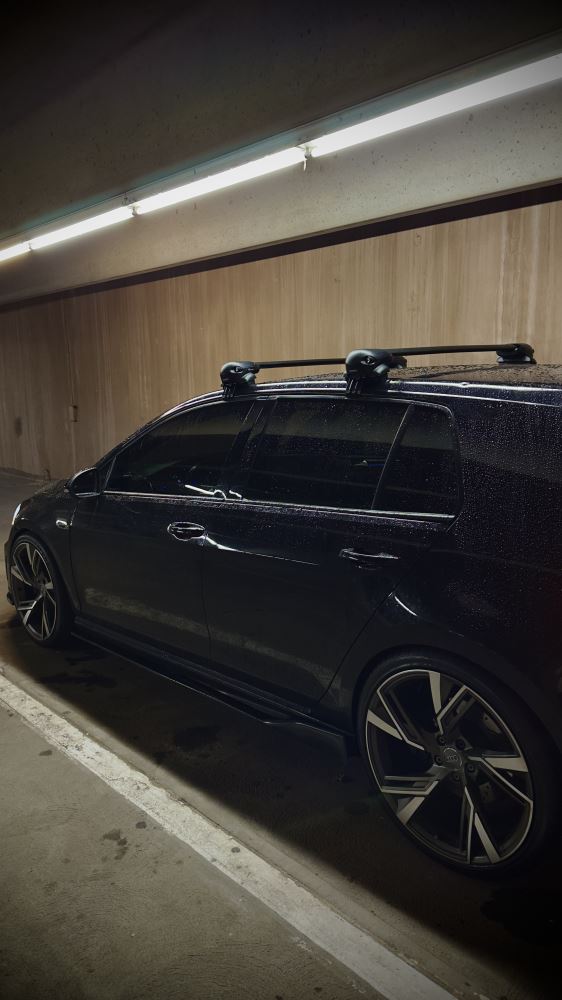
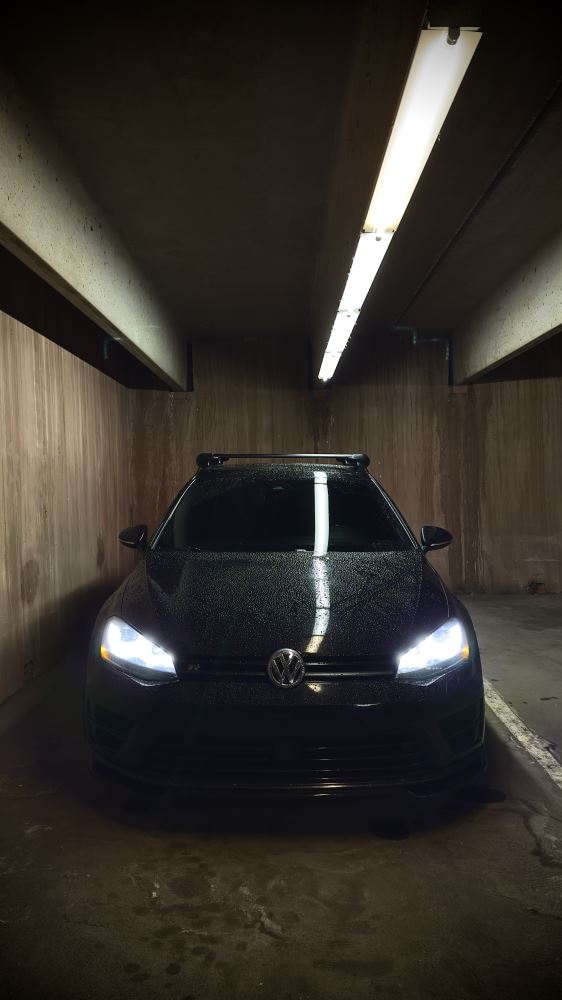
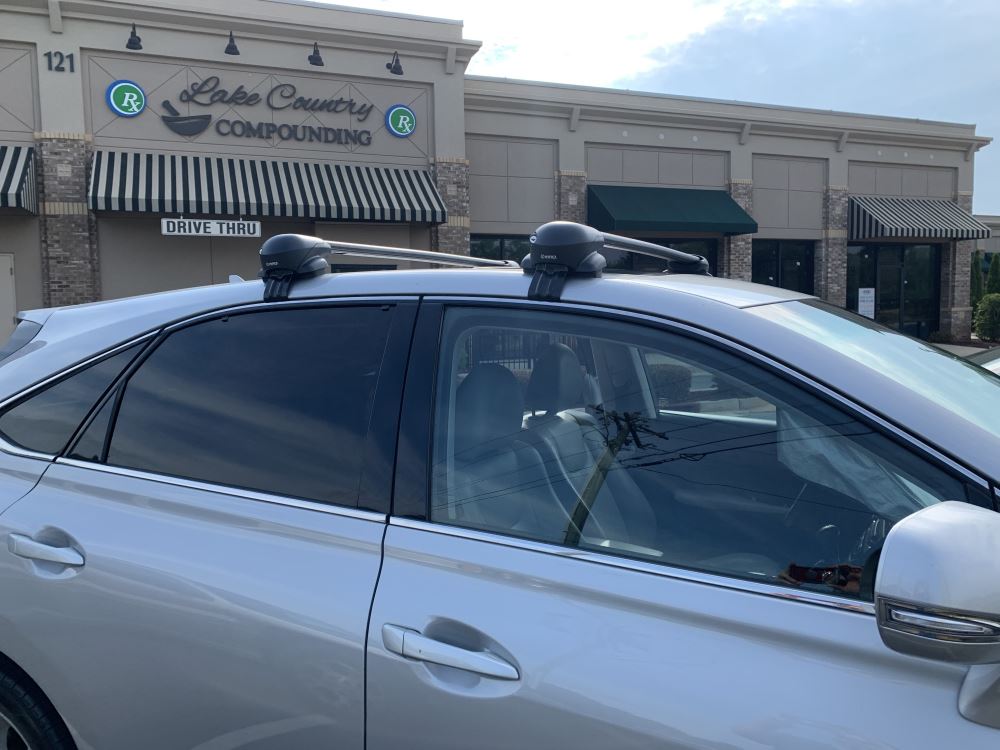

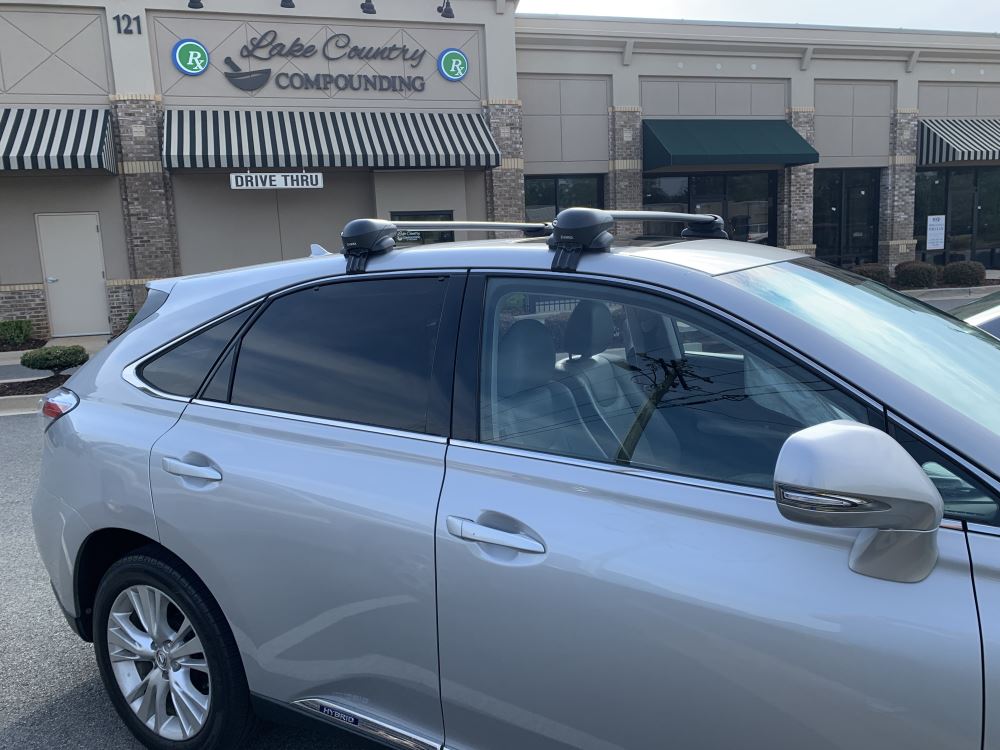
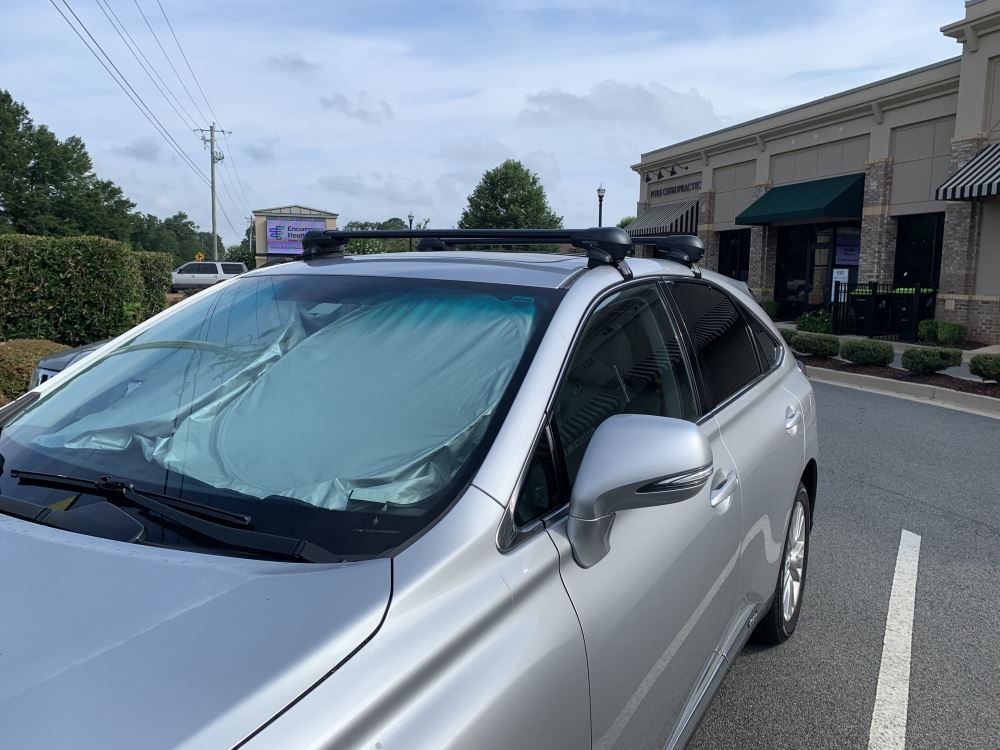
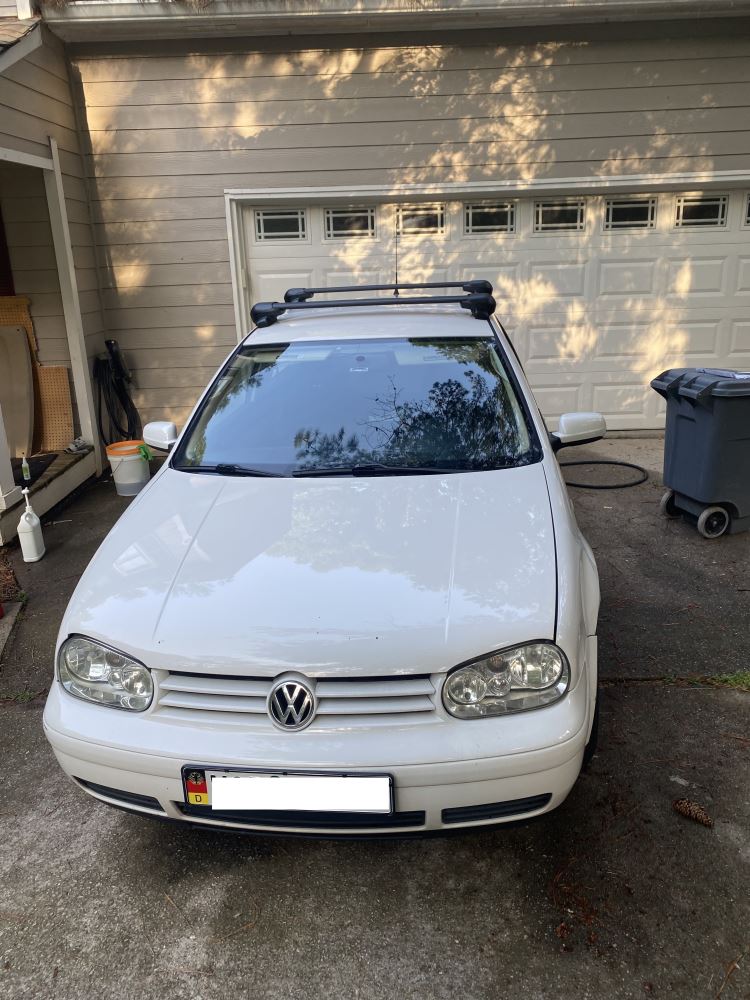
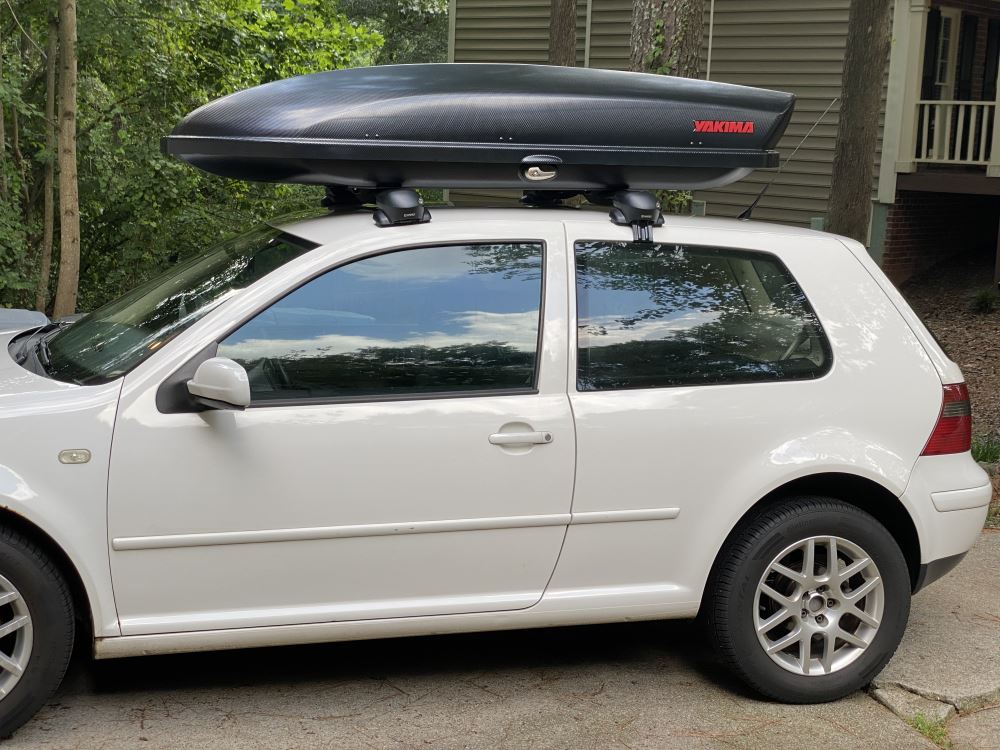

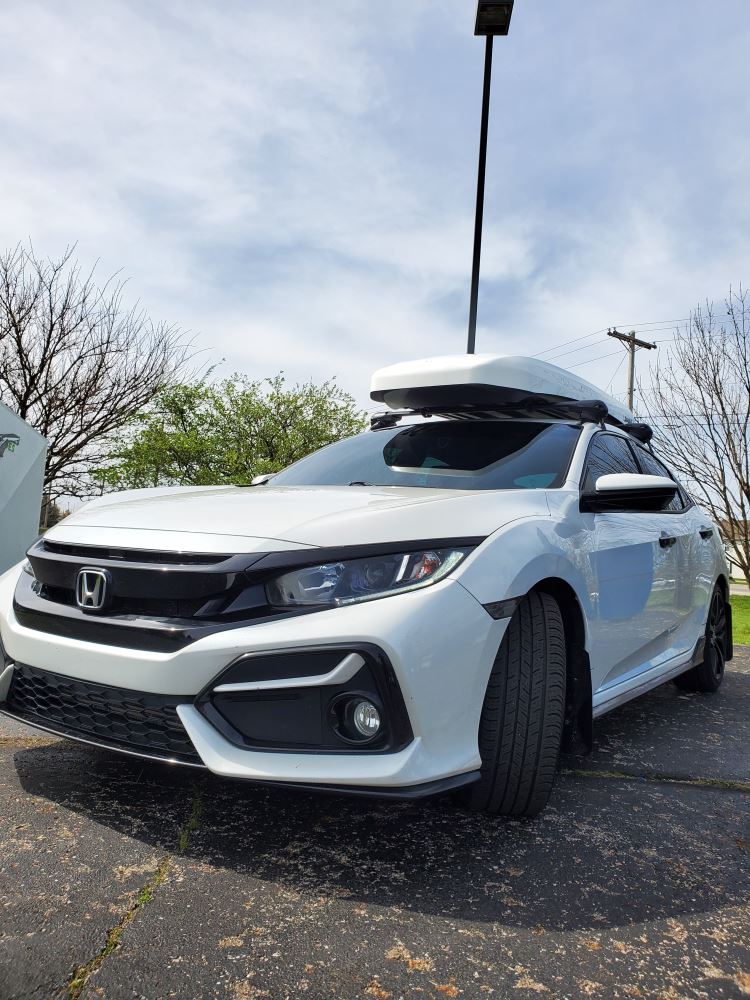
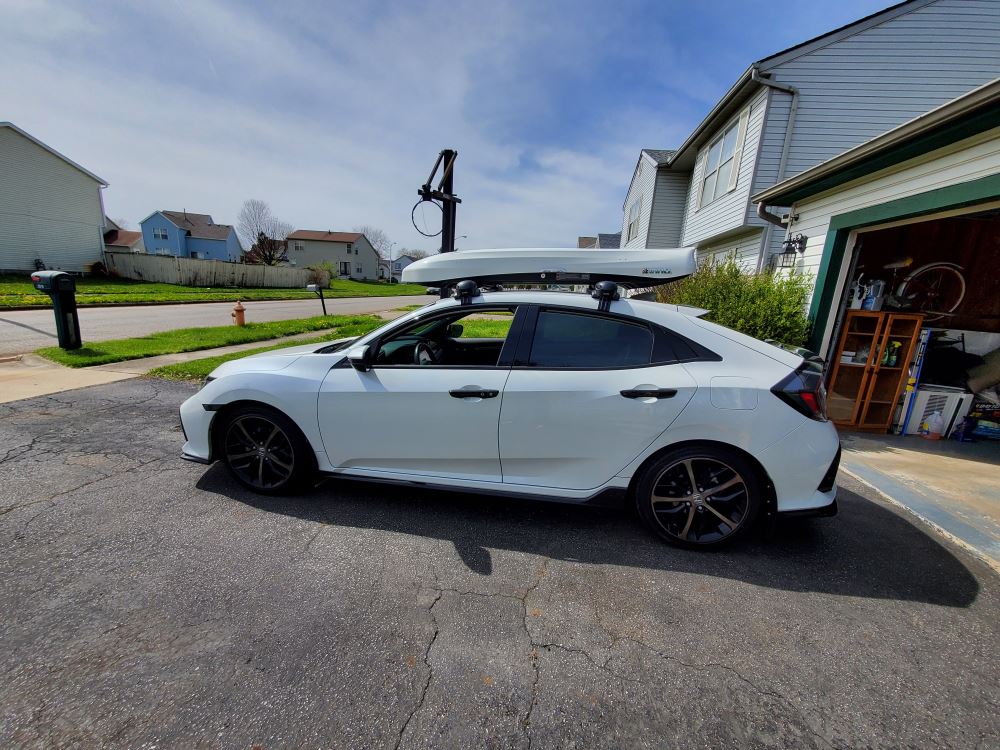
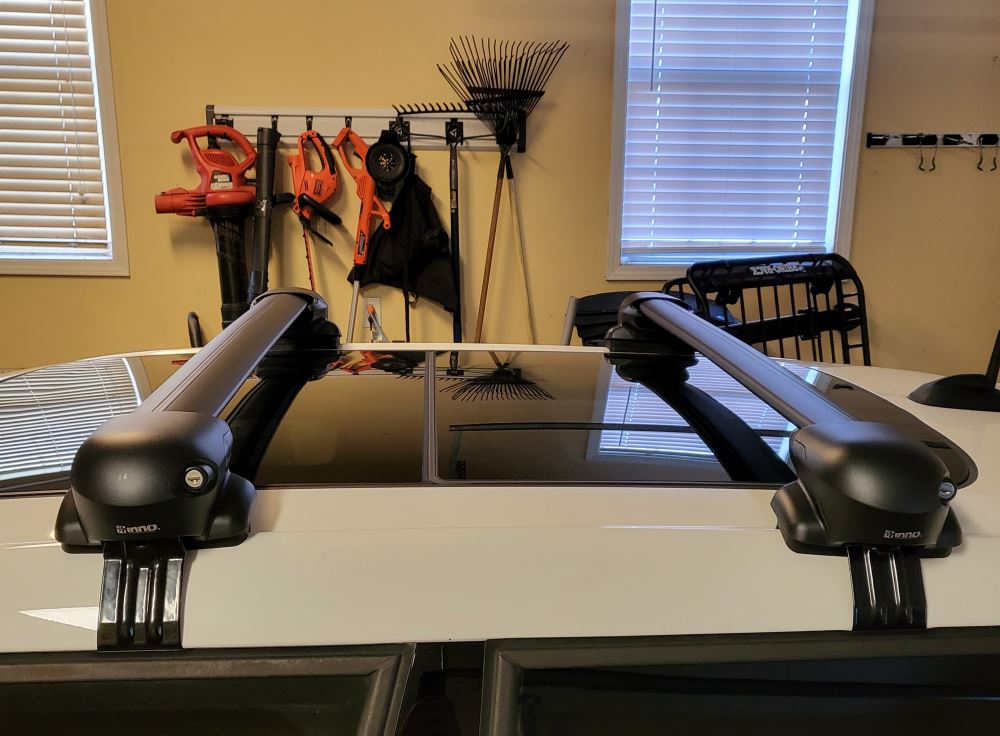
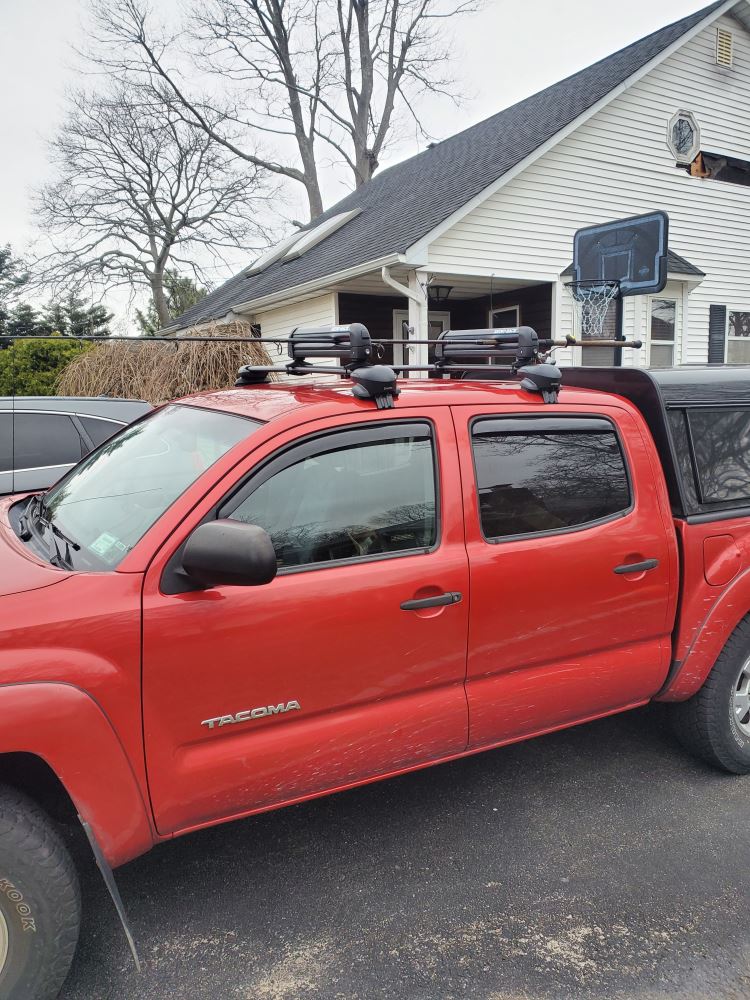
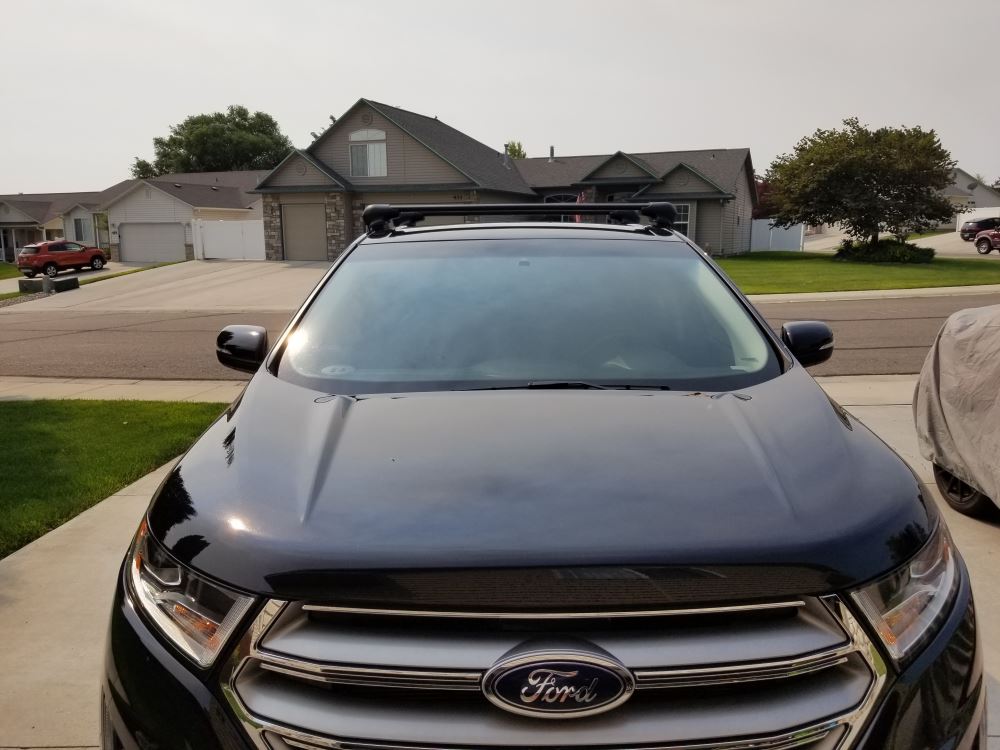

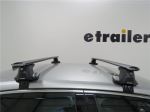
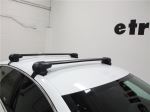
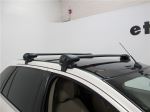
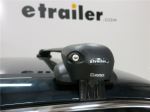
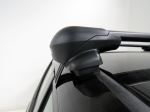
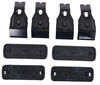
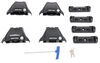
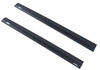
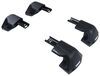
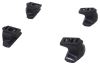
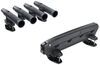
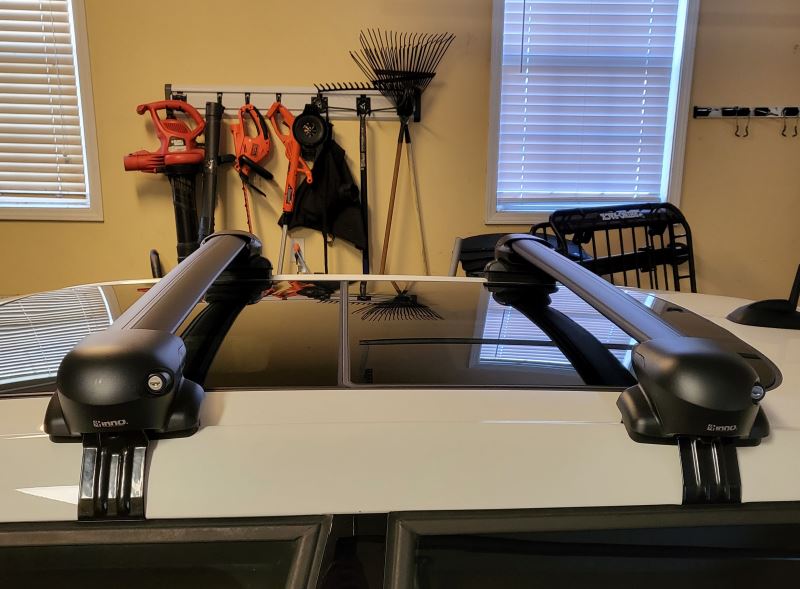
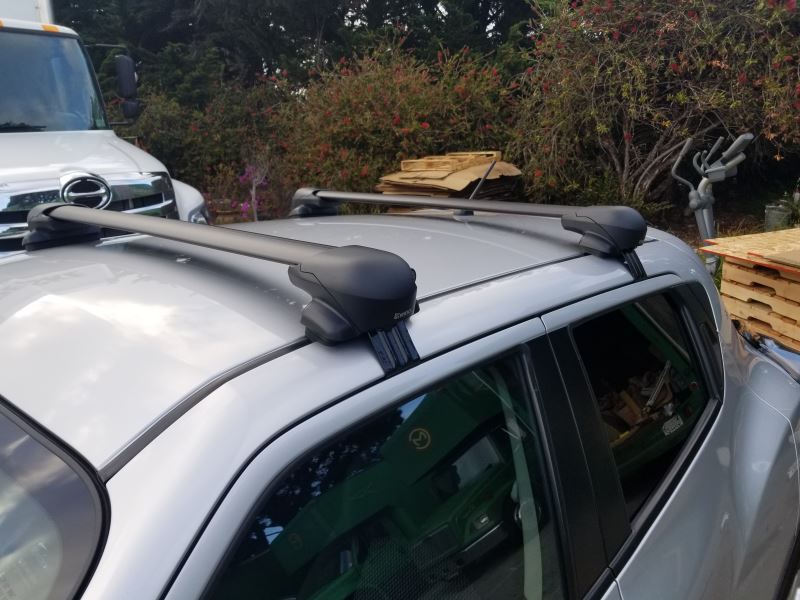
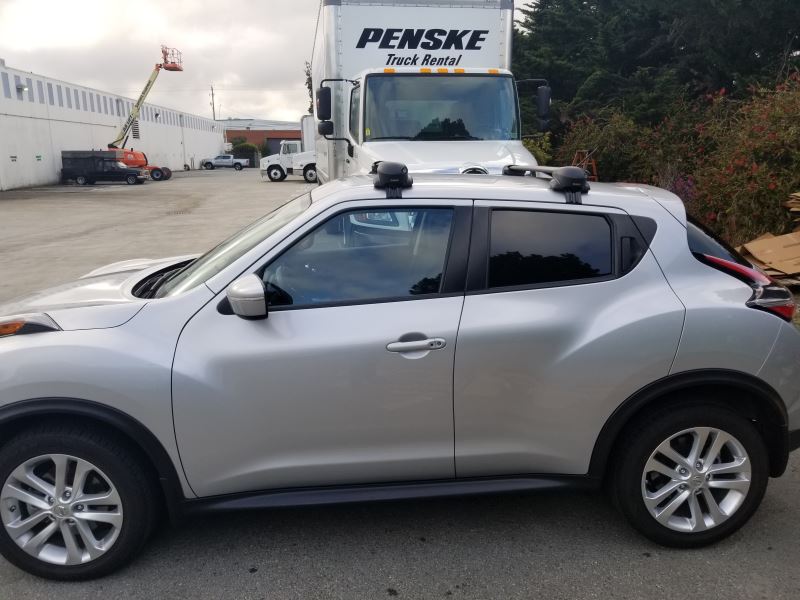
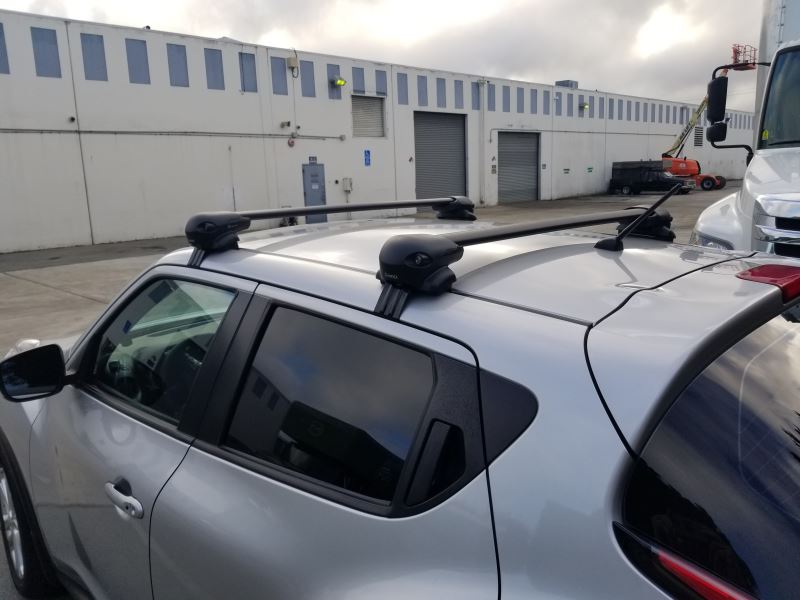
The Inno Aero Flush Roof Rack has a clean, integrated look that sits tight to the roofline. The crossbars don’t extend past the feet, so it keeps a low profile and gives your setup that factory-installed style. It’s a complete system with 2 aero crossbars, 4 flush feet, and a custom fit kit for a solid, streamlined mount on your naked roof.
Wind noise can get old fast on long drives. These aero-style crossbars are shaped to reduce drag while built-in push-down rubber strips fill the top channel to cut back on whistling and vibration. The strips close around your hardware once you’ve installed it—no trimming or fiddling required—and help keep the ride quiet and smooth.
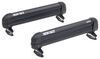
This rack is ready for every kind of hauling. The bars work with channel-mount accessories that slide into the top tracks or clamp-on carriers that wrap around the bar. That means you can run cargo boxes for road trips, kayak cradles for paddling days, or ski racks in the winter—all on the same pair of 39" and 42" crossbars.
When you’re loading up gear, strength matters. The aluminum build keeps things light yet sturdy, supporting up to 165 lbs—just be sure to stay within your vehicle’s roof load limit. The black finish looks sharp while standing up to years of use in changing weather conditions.
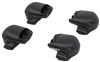
Worried about leaving your rack on between trips? The lockable leg covers add theft deterrence for both the rack and any channel-mounted accessories. Once locked down, your gear stays put until you’re ready to hit the road again.
 Alternate Instructions
Videos are provided as a guide only. Refer to manufacturer installation instructions and specs for complete information.
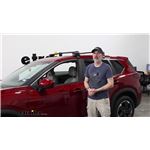
Hello neighbors, this is Curt with etrailer, and today, we're gonna take a look at the INNO Aero Flush Roof Rack on our 2025 Nissan Rogue. Now, if you've had any experience with this roof rack or if you have questions following this video, go ahead and leave those in the comments below. We'd love to help answer those and use your experiences to help our other neighbors really make the best decision for themselves. Now, this INNO Aero Flush Roof Rack is exactly what it says. It is a flush rack, meaning there's not gonna be any overhang to the bars. That, in a lot of cases, is a style that people like because it does create a cleaner, more factory look on the vehicle.
Plus, if you're a taller person or on a lower vehicle like this, you really wanna make sure you're not hitting your head on anything getting in and out of the vehicle. Now, this flush system from INNO does have the aero-shaped bars, also in the name, which means it's kind of a blade shape. It'll be wider in the front and narrower to the back. That's really gonna help with wind resistance. So that's gonna cut down on noise as you're driving and probably help a little bit with gas mileage as well.
You're gonna have a weight capacity on these of 165 pounds. However, it is important that you double-check your owner's manual and see what your roof capacity is. If it's lower than that 165, that's your capacity. Now, as far as how it's going to fit on your Rogue, the instructions do give, you know, very specific fixed points, as far as where you should be mounting. So from that, we're gonna go ahead and get a crossbar spread.
Our crossbar spread is at 27 3/4 inches, and that's a pretty good place to be because most rooftop accessories want a crossbar spread between 26 and 32. So this should be able to accommodate most things that you'd want to put up here. It is going to add a little bit of height to your vehicle, but that little bit of height only comes out to about 3 1/4 inches. So, not all that much. This isn't a tall vehicle to begin with, so you shouldn't have any clearance issues, but it's good to know what's up there.
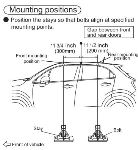
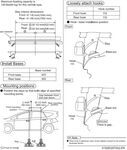
Underneath the bar, we're just under two inches, so that should be plenty of room for most clamp-mounted accessories. You, of course, have the push down T-track up top so that you could add your T-slotted accessories as well. They are positioned in a really good spot, if you ask me. I'm standing right in the door threshold for the second row of the vehicle. It puts me right in between the bars. That, to me, is a great place to be as far as standing up somewhere and being able to access all of your gear. Now, there is one really unique feature to INNO Crossbars, as opposed to others that are out there. The INNO roof racks come with lock cores and keys already. Most roof racks, you have to purchase those separately, it can get a little expensive. The upside to that is that you can generally get them keyed alike to other accessories from the same manufacturer. But the fact that INNOs come with keys right out of the box is a huge upside for this roof rack. Now, stick around. We're gonna show you exactly how we got these up on the roof of our Nissan Rogue. Now, as we begin our installation process, you may notice that we already have our front bar installed. The rear bar is gonna install exactly the same way. There's just gonna be some slightly different measurements that we're gonna get acquainted with. So the first thing we want to do is come over to the end of our bar here. We can just depress this and slide it until it's all the way out with this tray-like right here. We're gonna insert that with that open tab end facing outward, and then we're just gonna get it right back into our position here. Next thing we'll do is take our tower assembly and our foot pad. It's very easy to figure out where it goes because there are little notches here for all the bolts. So we're just gonna put that on and get that pressed in snug. (part clattering) And once we have that on there securely, what we'll be able to do now is we've got this T-slot, bolt, and another little tab here, which will line up with this slot for the T-slot, the bolt, and that small tab there. We're going to put the T-slot end into the end like this. We're going to slide this back, and we will feel this drop in at that point. Once that's in, you're pretty secured on here. We are gonna have our L-shaped Allen key that is provided to be able to tighten it down. But first, we need to determine the measurements of how far apart we need to be. Now, the instructions that you get, unfortunately, give you measurements for the through feet. However, this is a flush rail system, meaning none of the bar is going to be overhanging the towers. So our measurements are going to be slightly different. So what we had figured out was that for the back bar, if they're actually spread completely as far apart as they can be, that actually ends up fitting right in the spot where they're telling us to put it. So, to put it into terms of like the measurements that you're gonna see in the instructions, they'll have you measure from the very center of the bar over to where your tower starts. And the measure that we came up with for the back bar once we got it on there was 17 5/8. On the front bar, the measurement we got was 18 5/8. But like I said, on the back bar, for where they wanted us to put it, that actually ends up being with them spread out completely to its maximum. So since we have it in that spot already, I'm gonna go ahead and take our L-shaped Allen tool, and I'm just going to tighten down the bar to the towers so it doesn't slide around on us and change its length. And once I get that hand tight, we can go ahead and get it up on our roof. Now, included in your instructions are basically gives you the measurements of where exactly your crossbar should end up being. They're gonna judge that by the center bolt and off of the door seam right here. So the front door from the center bolt was a two-inch measurement. We double-checked that on each side before tightening this down to make sure that it was perpendicular with the vehicle. The measurement from the door seam to the bolt of the second bar is 25 1/4. So now that we have that in place and measured up in both sides, we're gonna go ahead and grab our clamps and get those on right now. Now when you open your Fit Kit for the Rogue, you're gonna notice that there are two different lengths of clamp. The shorter length of clamp is going to go on your front bars because it's got a very narrow width of body here that it's got a cover to get down into the door seam. The rear bar clamps are going to be longer because they have so much more car body to get through before it gets to the door seam. But to get this on is really, really easy. All we're gonna do is remove this bolt. It's a long bolt. There we go. And we're gonna go ahead and open our door and put this into place. We're gonna just cover that up right there, hold it in spot, and then we're gonna thread that bolt back in and just kind of hand-tighten it in a little bit. We don't have to make it tight quite yet. We just want it in a spot where it's not gonna go anywhere on us. Excellent. Now that we have our clamps in place, I'm gonna go ahead and take the included tool from INNO. This tool has a handle on it. It is a torquing tool, so it will let us know when we have this tight enough. However, I'm not going to advise that you tighten down one side completely and then move over to the other. The likelihood of it popping out of place if you do it that way is high. I would tighten it a few turns down on each side until we get to the point of torquing, making sure the entire time that the rubber padding is seated properly on the contours of the vehicle and that our clamp here doesn't lose any grip. So I'm just gonna start tightening it down a little bit on each side until we get to that torque point. And once we get it tightened down, you're gonna hear a pop just like that. When you get it completely tightened down on both sides, we're gonna go ahead and grab our covers and get those latched on. Now, we just need to attach our tower covers. Just make sure that you've got it lined up properly. You're going to see your keyhole here. That should be lined up with this rectangular slot right here, so it'll catch and latch on in the back. So we're just gonna slide that over, lock it into place. We're gonna give it a little bit of an extra shake, make sure everything's secure onto the vehicle, it is, now we're ready to get things loaded and hit the road. So that was a look at the INNO Aero Flush Roof Rack on our 2025 Nissan Rogue. I'm Curt with etrailer, thanks for stopping by.
Ratings & Reviews

Great fit, look and service
Perfect roof rack for my car.
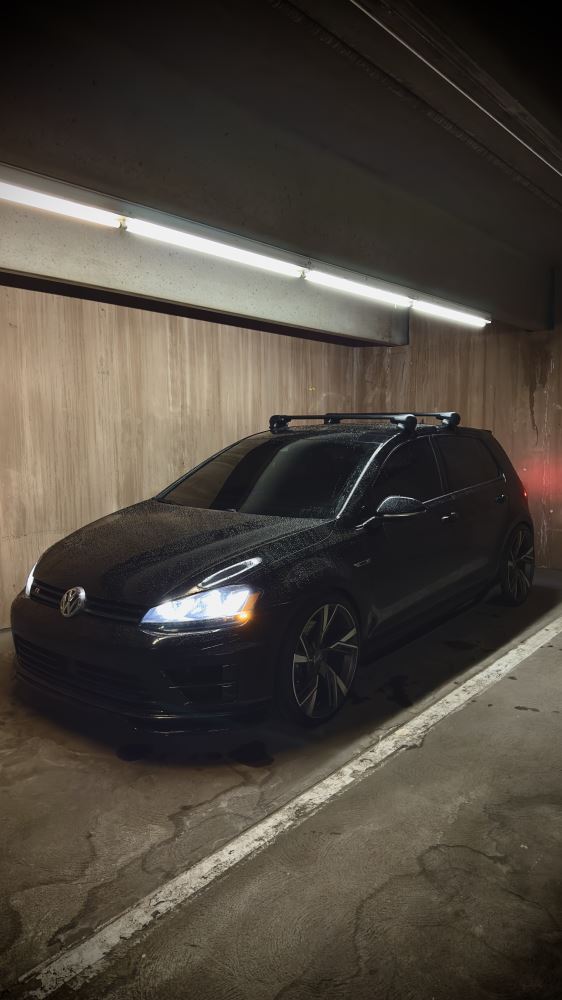
2016 Golf R MK7
Love it so far
Very helpful staff. Great product and super fast shipping.
Easy install, build quality is really nice as is fit and finish. Almost no wind noise at highway speed.
Heavy duty and well designed feet. Love the locking feature, and instructions were clear.
Easy and worked well with the total kit for our vehicle. Feel sturdy and strong. We’re happy with them.
fast shipping, great customer service, and easy to install
The Inno racks have handled an assortment of different loads without problems. They are quiet at highway speeds. The lack of tie down points are the only drawback with these racks.
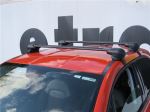
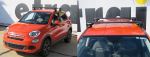
I bought this for my 2016 Fiat 500X which has two glass sunroofs, and it fits perfectly! Follow the directions, put the bars where it says to, and your glass will be safe. You can't open the sunroof while this is in place, but hey, at least you can haul gear on your roof without breaking the glass.
I bought this for my 2016 Fiat 500X which has two glass sunroofs, and it fits perfectly! Follow the directions, put the bars where it says to, and your glass will be safe. You can't open the sunroof while this is in place, but hey, at least you can haul gear on your roof without breaking the glass.
The rails completed the parts I needed to install my roof rack on my 2010 Forester. What was particularly important were the buying and installation guides and video for the products I selected. Order placement was simple, and the order follow up from eTrailers was greatly appreciated.
Very happy with these cross bars for our 2023 Tiguan. Installation was easy as is adding accessories such as baskets. Great looking too. There is some audible drag on highways but not terrible and no real noticeable MPG difference. I would still purchase again.
The quality of this product is 5 start and fit exactly with my 2017 nissan rogue..
I bought these last summer to affix my kayaks to the roof of my corola. my husband, who is decidedly not a handy person, installed them in an hour and they've been great. no issues– slight whistling at times on the interstate, but that's to be expected. highly recommend!
Great product and figment, the service was great as well, the only suggestion I have is if there is a product that cannot be shipped to Canada it should be told when you try to order it, however the follow up call was appreciated .
Everything about this kit met my expectations.
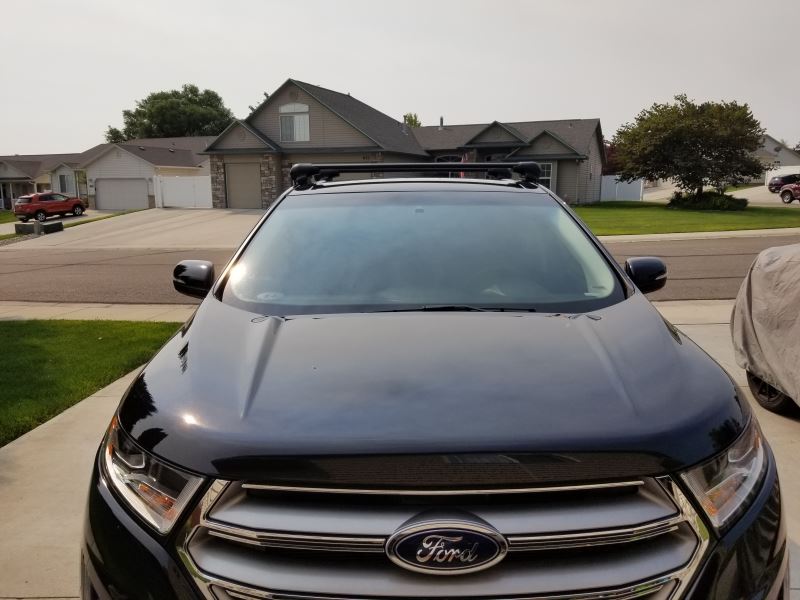
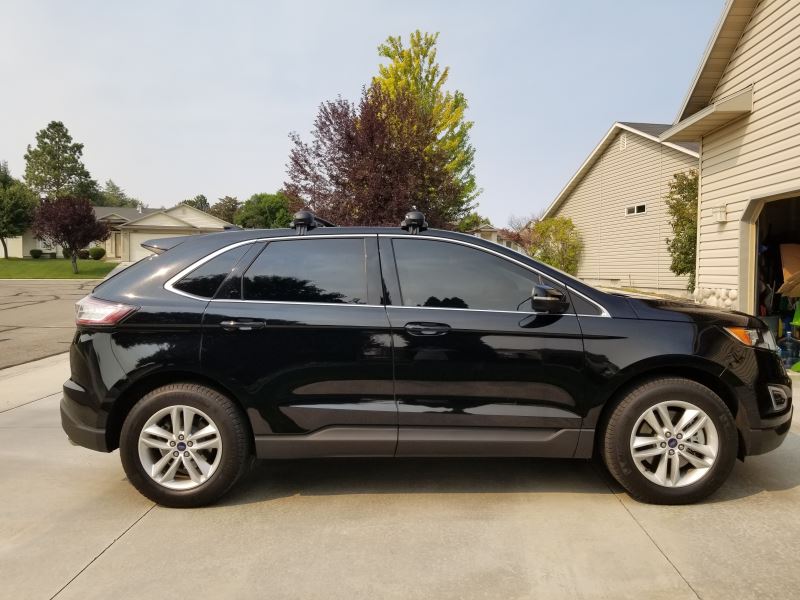
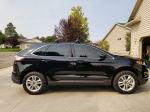
- Perfect fit for my Ford Edge, as advertised.
- Lowest bar height that was still high enough for the Edge Vista roof to clear. The glass does clear when nothing is attached to the bars.
- Aero bar shape. I haven't done a lot of miles yet with only the bars and no other attachments.
I attached an Inno roof box (which still fits through my garage door!) and did a 2000 mile road trip at insterstate speeds. Except the box noise (expected), and a bit of a mileage hit, I had no issues. Secure fit the whole way.
I bought the whole kit for 2008 honda fit for a cross-country trip, and it performed great. Made it with two surfboards on top with no problems. Instructions for installation are atrocious, but youtube videos can fill in the gaps. Shipping was quick. I didn't use any of the customer service options, but it seems like they would be useful if needed.
The roof rack arrived days before it was scheduled to. Everything ordered arrived intact. Assembly and installation were pretty easy per the directions included and the video on the etrailer site. The rack looks fine on my Maxda CX5 and the additional noise from the rack is not too bad. Haven't had my cargo box on the rack yet but anticipate no problems with it. My experience with etrailer has been first rate.
Shipping and packaging was very good and delivered on time!
Love the flush bar look!
Thank you etrailer my car looks great I spent 4 hours to ensemble this cross bar and the bask rack but finally I made it now I have more cargo space in my car I really recommend etrailer good quality items and good service thanks again
By far the best service I have received in a very long time. I recieved my inno flush feet areo crossbars, sooner than expected and the assembly was just as specified. I especially liked having the video with the tutorial.
I like the look of the low profile and the quality is outstanding. I have used this for my kayak and the low profile helps with the loading and unloading.
I would highly recommend this product and Company.
This is the second time buying the Enno Aero Crossbars from etailer - a set for each car. Best price around. The bars are incredibly quiet even with the cargo box on top. If etrailer doesn't have all of the components for your make and model of car, I suggest you buy what does fit your car from etrailer for price and shipping speed and then buy the rest directly from Inno USA site.
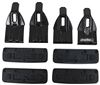
The e trailer box didn’t come with the the flush feet. There are the 4 metal grab pieces and also nice rubber pieces to go against the car but the flush feet pieces that are used to attach didn’t come with it. Idk if that has to be ordered separately. I’ll probably return the whole lot if so because I thought it was the entire kit when I ordered it.

Do you have a question about this Roof Rack?
Info for this part was:
At etrailer we provide the best information available about the products we sell. We take the quality of our information seriously so that you can get the right part the first time. Let us know if anything is missing or if you have any questions.




















Thank you! Your comment has been submitted successfully. You should be able to view your question/comment here within a few days.
Error submitting comment. Please try again momentarily.