Memorial Day Deals Are Here!
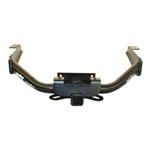

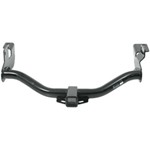
Custom fit trailer hitches are available for virtually every vehicle. At etrailer.com we carry rear mount trailer hitches, front mount, fifth wheels, goosenecks, RV trailer hitches, and weight distribution systems from the best manufacturers such as Draw-tite, Hidden Hitch, Reese, Torklift and Curt. You will also find a complete selection of hitch accessories and related products such as bike racks, cargo carriers, hitch covers, ballmounts, and locks.
Hitch Accessories
More Trailer Hitches
Trailer Hitch Manufacturers
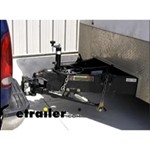
Towing
Performance Accessories
Vehicle Trim